How to clean a Beko washing machine
 Any household appliance requires careful maintenance to ensure it lasts for decades, not just years. This includes not only proper operation and adherence to all safety precautions, but also regular cleaning. Cleaning a Beko washing machine should be thorough, meaning removing not only visible dirt from the body and components but also the internal components of your "home helper," which can even fail over time due to dirt and debris. Let's examine each cleaning step in turn, paying close attention to all key components.
What elements need to be cleaned?
Even though a washing machine regularly comes into contact with water and powerful cleaning chemicals, it still becomes dirty inside and out. Even cleaning chemicals can negatively impact the internal components of a Beko washing machine, leaving limescale deposits on the hoses and heating element, and soap scum on the dispenser and drum. Plus, the machine regularly gets dirty with lint from clothes, pet hair, and house dust.
Experts recommend performing a thorough cleaning of your washing machine at least once every six months.
This is why laundry equipment gets dirty so often, both inside and out. However, the level of dirt varies, so you should pay much closer attention to the drain filter, the cuff, the pump, the powder drawer, and the bottom of the tank. Why do this?
- Drain filter. This element is often called a debris filter, as it traps approximately 90% of the various debris that enters the machine. This includes foreign objects from clothing, hair, threads, wool, and much more. This unit should be cleaned at least twice a year.
- Hatch seal. The rubber seal consists of several folds that collect various debris, soap, and waste liquid. Therefore, the seal must be wiped dry after each use to prevent mold, odor, and staining of clothing.
- Pump. The impeller, which collects the remaining 10% of debris after the dust filter, requires careful inspection. Hair, fur, lint, and other debris often block the blades, which can eventually lead to pump failure.
- Powder drawer. Household chemicals often remain in the drawer without dissolving, leaving dust and residue to dry. If not maintained, mold can form there, causing an unpleasant odor.
- Bottom of the tank. Finally, you can clean the bottom of the tank, where debris from the drum, soap, and waste liquid residue sometimes accumulate. Removing debris from the bottom isn't always easy, but that doesn't mean you can ignore it.
This is the list of elements most susceptible to contamination. Forewarned is forearmed, so now you can begin cleaning your washing machine, moving from the simplest to the most complex. The cleaning process is very simple, so you can handle it yourself, without even calling a repair service.
The main "accumulator" of dirt
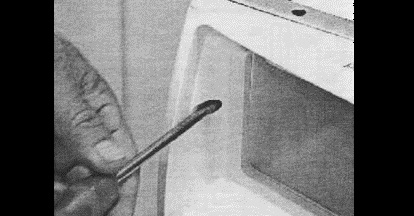
Most Beko washing machines have a drain filter hidden in the lower right corner, just behind a rectangular access hatch. To gain easy access to the waste filter, simply pry the hatch open with a screwdriver and release its plastic clips. Next, locate the black plug and proceed to cleaning the element according to the instructions.
- Be sure to disconnect your “home assistant” from all communications.
- Tilt the washing machine body back so that its front legs are raised 5-7 centimeters from the floor.
- Place a large bowl or bucket under the drain filter to collect any remaining water from the last operating cycle.
- Find the emergency drain hose, disconnect it and drain all the liquid into the same container prepared earlier.
These instructions are for washing machines with a special drain hose. If your model doesn't have one, the instructions will be slightly different, as you'll need to remove the debris filter. In this case, the procedure is as follows: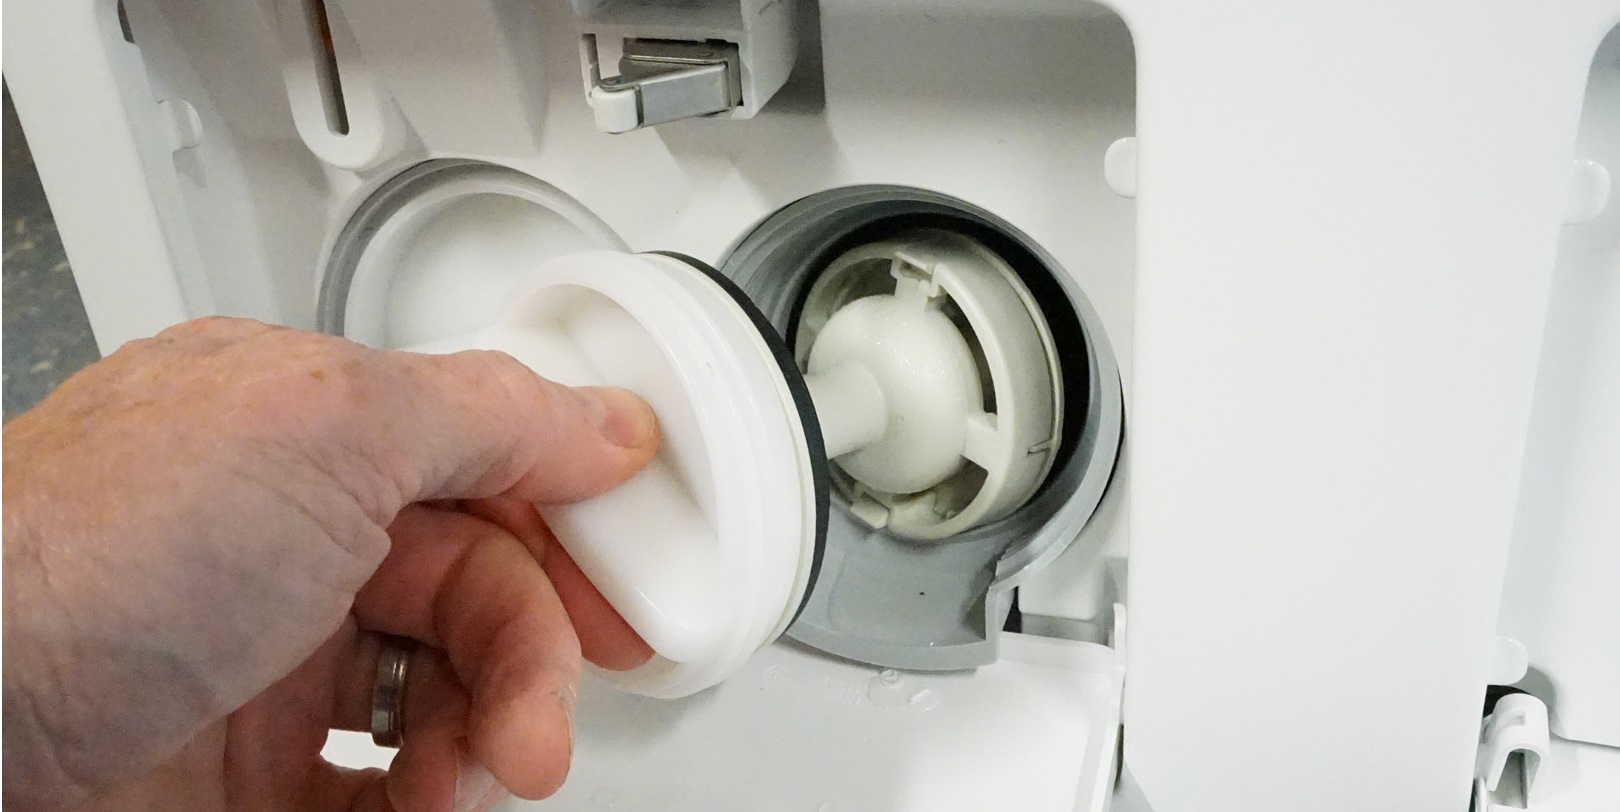
- grab the lug on the plug and twist it from right to left;
- remove the nozzle;
- Carefully examine the seat for contamination using a flashlight;
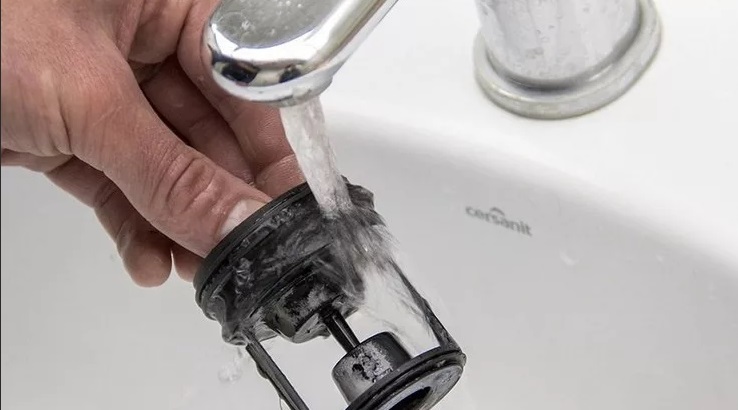
- remove all dirt and debris from there;
- Clean the nozzle itself of any debris that may have stuck to it. This can be easily done using a powerful stream of hot tap water or by soaking the element in a citric acid solution;
- install the part into its seat;
- close it with a hatch.
Experts recommend cleaning the drainage element at least once every three months if you wash normally and don't have pets. If you have a cat or dog, it's best to clean the filter once a month. Finally, the unit should be cleaned of any lint after each wash of woolen items.
Dirt in the powder drawer
The detergent drawer is considered to be a rather dirty place in the washing machine. If you don't clean it in time, powder, gel, conditioner and other household chemicals will eventually stick to the walls of the tray. The longer you leave the compartment uncleaned, the more residue will accumulate. This can lead to clogged hoses, preventing water and detergent from exiting the dispenser properly, leading to leaks, and reducing overall washing quality. To prevent this, thoroughly clean the detergent drawer after each cycle. You can do this using citric acid, vinegar, or baking soda as follows:
- First, you need to remove the powder receptacle by carefully holding it by the handle;
- then pull it towards you until it stops;
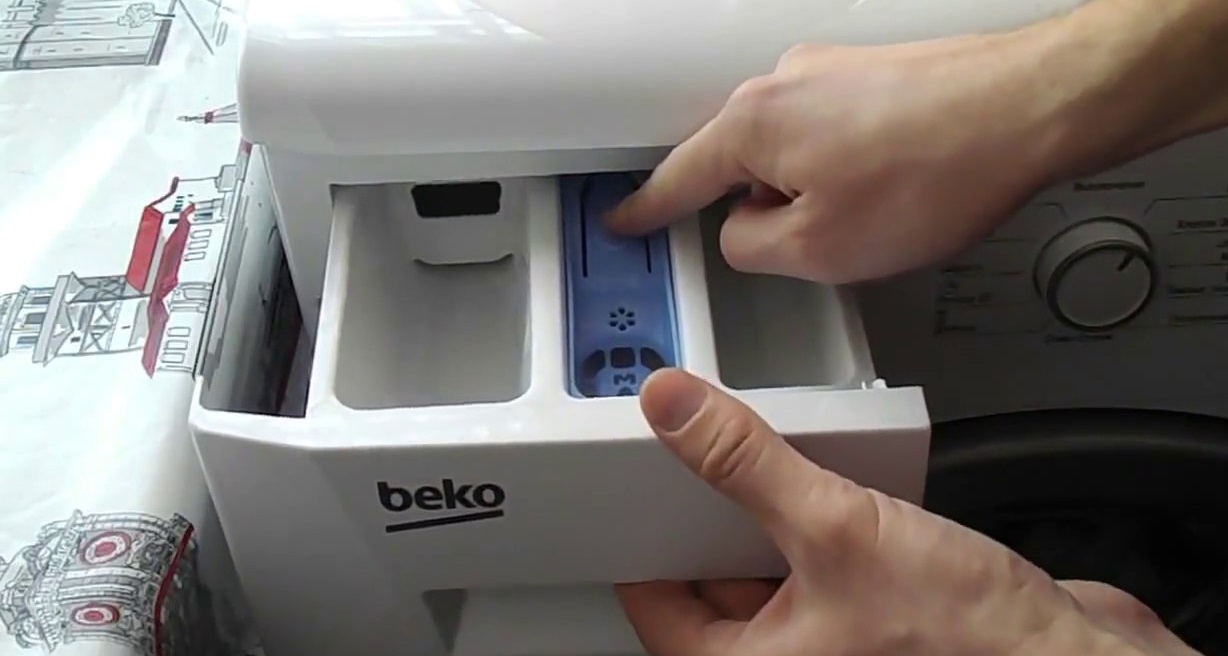
- Press the small lever in the center of the cuvette to remove the block;
- remove the tray, which is no longer obstructed from exiting its seat.
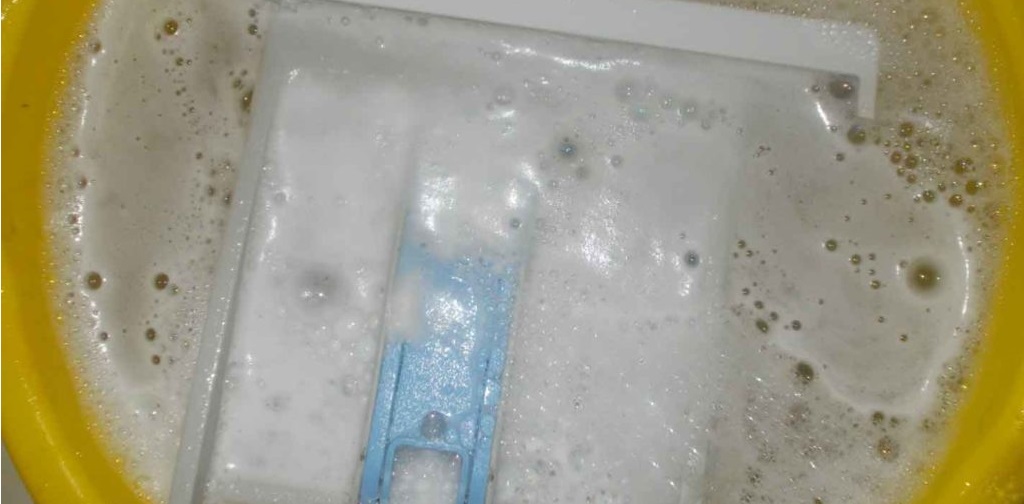
Sometimes, you can remove dirt with a strong stream of tap water. However, if the tray hasn't been cleaned in a while, you'll first need to soak it in a solution of the aforementioned cleaning agents for several hours. Afterwards, thoroughly scrub the surfaces with a sponge or an old toothbrush to remove all residue, then rinse the tray and dry it thoroughly. Then, simply replace the powder drawer by inserting it into the opening and pushing it in until it stops.
The cuff also gets dirty
The washing machine's rubber seal also requires close attention, as its lower folds accumulate a lot of debris, from hair and fur to soap scum and waste liquid. It's best not to leave these particles in the seal, as high humidity without air conditioning will quickly lead to mold and unpleasant odors inside the machine, which will be difficult to remove. How can these consequences be prevented? It's best to remove any excess debris from the lower folds of the seal yourself after each cycle. It's also a good idea to thoroughly clean the seal from time to time.
- Open the washing machine compartment door.
- Treat each fold of the rubber seal with bleach.
- Close the door.
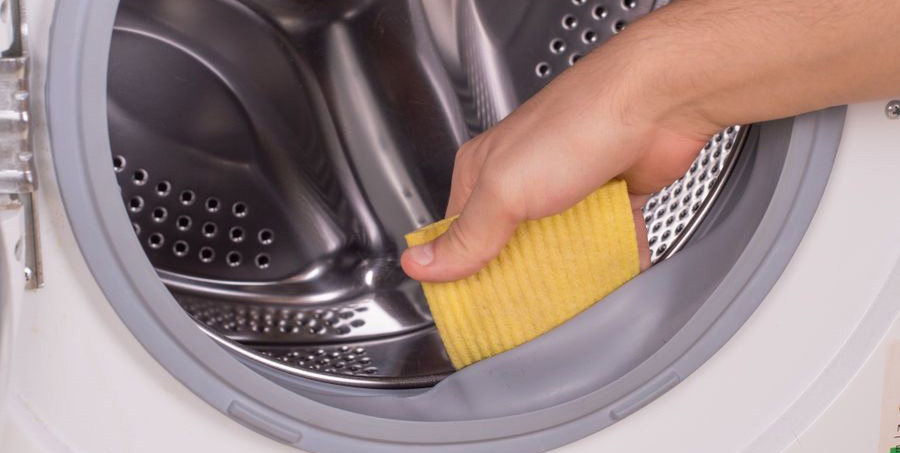
- Wait about an hour.
- Rinse the cuff manually or activate an idle working cycle with a minimum duration.
- Be sure to wipe the rubber band dry.
You don't have to use bleach; a solution of citric acid or baking soda will also work. The most important thing is to avoid using caustic acids, which can damage the rubber element. When working with cleaning solutions, be sure to wear protective gloves and goggles to prevent harmful chemicals from coming into contact with your skin and eyes.
The pump impeller is blocked by dirt.
Let's move on to more complex steps. Ensuring free access to the pump impeller isn't easy, but it's essential to ensure your "home assistant" lasts a long time. First, disconnect the appliance from all utilities and move it away from the wall, or remove it from the kitchen cabinet if it's a built-in appliance. Then, follow our instructions carefully.
- Remove the detergent drawer.
- Unscrew the two screws hidden behind the powder receptacle.
- Loosen the bolts around the perimeter of the instrument panel.
- Disconnect the board from the housing without separating the wires from it, but simply placing it on top of the washing machine.

- Pry and remove the service hatch door.

- Remove the outer clamp from the rubber seal and carefully tuck it inside the drum.
Do not remove the cuff completely, as without experience it is very difficult to install it back into place.
- Disable the hatch locking device.
- Remove the front panel from the Beko washing machine.
- Drain any waste liquid that may remain from the last wash.
All that's left is to locate the drain pump, mounted underneath. Unscrew the fasteners that hold it in place, disconnect the wiring, and gently rock the element to remove it from the appliance. Now you can carefully inspect the impeller for debris. Remove any hair, fur, foreign objects, or other debris that has accumulated over the life of the appliance. Be sure to clean any debris from the drain surface, as well as the area around the volute, and clean the internal components of the pump after disassembling it.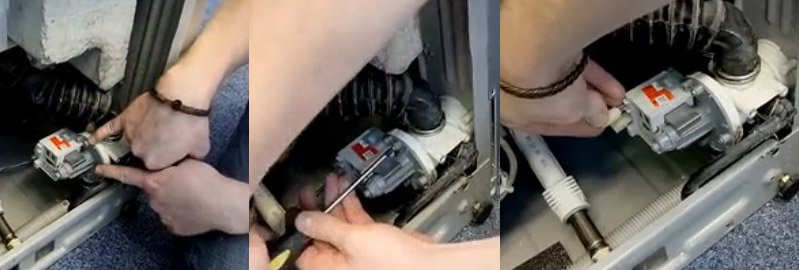
Once the pump is clean, reassemble it, install it in its mounting location, and reassemble the washing machine according to our instructions in reverse order. If the impeller is damaged—for example, if a blade is broken, loose, or falling off the shaft—do not attempt to repair it with sealant or glue. In this case, the only viable solution is a complete replacement.
Bottom of the main reservoir
Finally, all that remains is to figure out how to clean the bottom of the tank. There is no need to perform this action every six months, as this procedure is only necessary in an emergency, for example, if a bearing needs to be replaced or if a foreign object gets stuck in the unit.
If you really need to clean the bottom of the main tank, you'll have to spend a lot of time removing the heating element and then cleaning the bottom through the hole that appears. Here's how to do it:
- Disconnect the Beko washing machine from the power supply and water supply;
- drain the waste water;
- ensure free access to the machine by moving it away from the wall or removing it from the kitchen unit;
- remove the back panel;
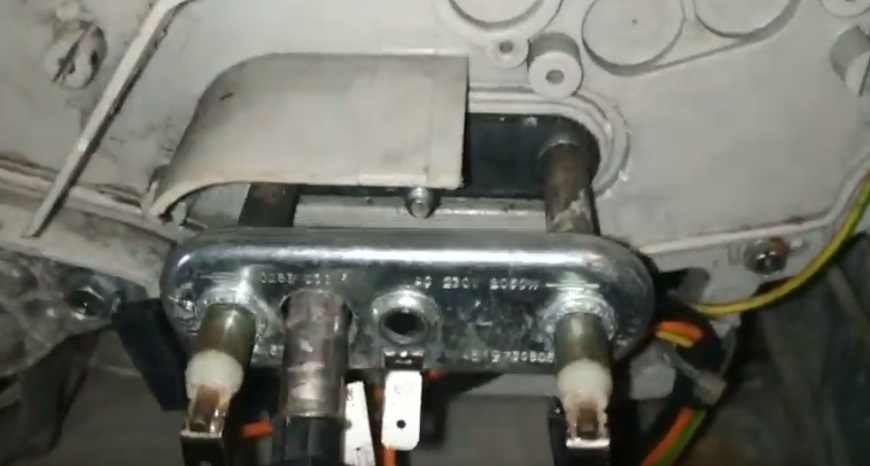
- Disconnect all wiring from the water heating element.
Just in case, take a photo of the wire connections to the heating element so that you have an example to hand for reassembly.
- remove the thermistor;
- remove the central nut that secures the element;
- push the bolt in;
- Carefully remove the heater.
This will provide you with an opening through which you can reach your hand to clean out any debris or foreign objects from the bottom of the main tank.
Interesting:


Readers' comments
Headings
Washing machine repair


For buyers


For users


Dishwasher


Add a comment