How to dismantle a washing machine
 A washing machine is usually installed once and for all. However, a sudden breakdown, a move, or an urgent need to relocate forces you to urgently consider disconnecting and preparing the machine for relocation. Simply disconnecting all the hoses and wires and transporting the machine to a service center or a new home isn't enough – you need to drain the water, dry the machine, and secure the drum. This article explains how to properly dismantle a washing machine yourself.
Preliminary actions
Dismantling a washing machine begins with preparing to disconnect it from the utilities. This primarily concerns the power supply, but only if access to the outlet and plug does not require moving the machine. Of course, the machine being disconnected should not be in the middle of a wash cycle, and ideally, it should be thoroughly dry after the last cycle. Then proceed as follows.
- Turn off the water supply valve on the water supply line (usually located on the pipes behind the washing machine or under the sink). Turn it clockwise until it stops. Most often, only cold water is supplied to the machine; if hot water is available, repeat the procedure with the second valve.
- Move the unit away from the wall, moving each end forward one at a time. If you have a built-in model or the machine is heavy and unwieldy, get an extra pair of hands.
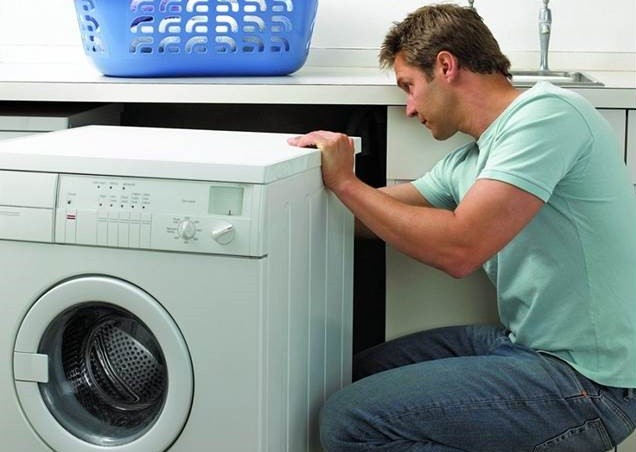
- Calculate the distance from the wall so that the connected hoses are not taut and there is enough space for free access to the back wall.
Now the machine is ready for disassembly. All that's left is to gather a few containers and rags to collect the water, as well as a flat-head screwdriver, round-nose pliers, and tape. All of these will be useful when disconnecting the hoses, which we'll discuss in detail later.
Preservation of the machine
It's important to understand that water always remains inside the washing machine. If it's not drained, it can easily spill onto the wiring or electronic board when tilted or jostled during transport. The consequences of such moisture are dire, so it's best to carefully preserve the machine. To do this, follow these steps: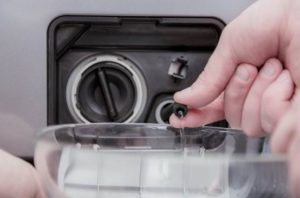
- Place the prepared containers behind the machine below the waterline and spread the prepared rags around them. Be prepared for water to spill and splash;
- We check whether the water supply valves are closed. It is worth considering that it is easy to accidentally turn the switches to the open position;
- We wait about a minute after closing the valves for the pressure in the hoses to normalize;
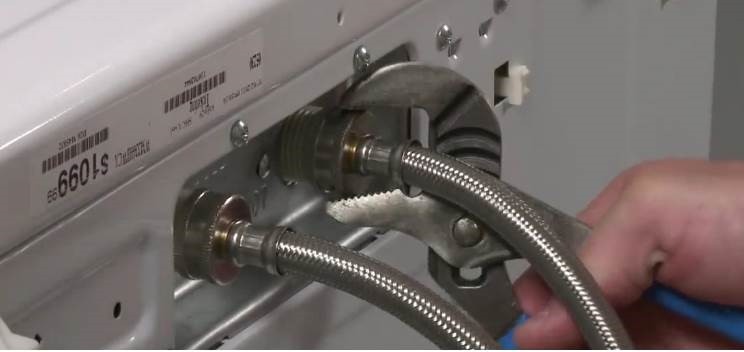
- We remove the clamps on the inlet hose on both sides, lower it into a bucket or basin and drain the water.
To loosen the hoses, turn them clockwise. If this is difficult, use a flat-head screwdriver, wrench, or pliers. Plastic nuts can only be removed by hand.
Caution! When using tools, control the force applied, as excessive force can easily strip the threads and damage the nut.
We repeat the procedure with the drain hose. There are several variations here depending on the existing drain. This could be a connection to the sink's trap, a hole in the floor, a common water supply, or a wall-mounted drain. The main thing is to turn the switch, turn off the water, loosen the clamp (if there is one, then also the rubber gasket) and remove the hose. You can leave the machine alone and let it dry. During this time, pour out the drained water and wipe the floor dry. This will prevent slipping when preparing the washing machine for the move.
Preparing the car for transportation
Finally, walk around the washing machine and make sure there are no more wires or hoses connected. It's recommended to immediately clean the drain connections, using a brush to thoroughly remove any accumulated dirt. Wipe the detergent drawer dry, and inspect the drain filter and the inside of the drum. Also, remember:
- remove the power cord or place it in the specially provided slots, and for reliability, secure it with tape (then you won’t have to worry about accidentally disconnecting or damaging the plug);
- unscrew the handles from the washing machine body;
- close and tape the door and powder receptacle;
- Secure the drum by inserting a V-shaped piece of foam rubber into the tank, stuffing it with laundry, using special bolts or tightening the screws provided on the back wall of the housing.
Important! It's best to read the user manual that came with your machine to determine which method is best for your specific model.
We complete the preparation by wrapping all spare parts, hoses, handles and cords in rags or paper. It would be a good idea to pack the washing machine in a store-bought foam frame and wrap it in fabric or cardboard. All that remains is to transport the machine to the planned location, avoiding tilts, shaking and jumping.
Some tips
 To make the washing machine disassembly process as simple and safe as possible, proceed carefully, slowly, and consistently. Avoid rushing or attempting anything yourself, and follow these tips.
- Before disconnecting the circuit breaker from the utilities, mark all fasteners and joints with a marker.
- Taking photos of the sequence of actions can save time and hassle during reassembly.
- Cracked or frayed hoses and cords must be replaced.
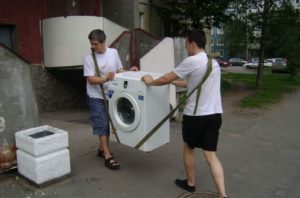
- It is difficult to dismantle the washing machine alone, as the machine weighs over 50 kg and does not have any easy-to-move protrusions or handles.
- After dismantling, it is recommended to leave the unit with the door and tray open for 1-2 days to allow the hose connections to dry.
Most importantly, don't put off moving preparations until the last minute and don't be lazy in reading the instructions that came with your washing machine. Each manual contains detailed instructions for dismantling a specific model, taking into account the machine's features and technical specifications. This way, the process will be quick, easy, and won't flood your neighbors.
Interesting:


Readers' comments
Headings
Washing machine repair


For buyers


For users


Dishwasher


Add a comment