How to test the drain pump on a washing machine
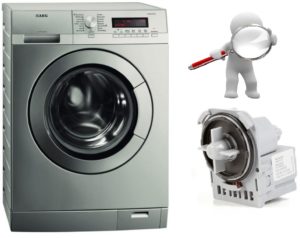 Checking the pump on a modern automatic washing machine seems simple enough, but not everyone does it correctly. As a result, incompetent technicians end up replacing a working drain pump, wasting time and money, only to discover that the problem was caused entirely differently. By checking the pump correctly, you'll avoid a host of problems and be able to identify and fix the annoying problem yourself.
What will be required?
What should motivate you to check the pump? It's nothing more than indirect signs of failure that you may observe in your washing machine's behavior. What are these signs?
- An error code that appears thanks to the self-diagnosis system of a modern washing machine
 automatic machines. If decoding the error code led you to a problem with the pump, then we check the drain pump first.
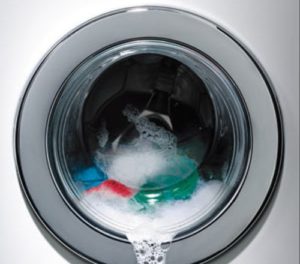
 - Before the command to drain water from the tank is started, the machine stops and hangs with a full tank of water.
- The washing machine drain pump makes no noise and shows no signs of working at all.
If you've got a reasonable suspicion that the pump is broken, don't put it off and start looking for tools that will help diagnose the problem. We won't need many, so don't worry about not being able to find them. You'll need:
- multimeter;
- Phillips and flat head screwdrivers;
- pliers;
- awl.
Get a working electronic multimeter. If you don't have one, be sure to get one—it'll come in handy.
Getting to the details
In an automatic washing machine, you can easily see the drain pump without even disassembling the housing. This is true for most models. To access the drain pump, unplug the washing machine, drain the water through the drain filter, remove the detergent drawer, lay a cloth on the floor, and turn the washing machine on its right side.
The problem is that many washing machines have no bottom, and the components underneath are easily accessible. On the one hand, this is a good thing, as it allows access to both the pump and the motor from underneath. But on the other hand, the lower parts are at risk of damage when carrying the washing machine or as a result of exposure to large amounts of dust and dirt.

In this situation, if you look through the bottom of the machine, the pump will be right in front of you. It's mounted opposite the drain pump housing, which you periodically unscrew and clean out. It's very hard to miss.
Perhaps your model of automatic washing machine has a bottom in the form of a special lid. In this case, you also lay the washing machine on its side, but this time, use a Phillips-head screwdriver to remove the screws holding the bottom in place. Pry the lid off with a flathead screwdriver, allowing access to the interior of the machine.
If your washing machine is completely leak-proof, it has a special tray with a sensor that needs to be removed. To access the drain pump on such a machine, follow these steps:
- disconnect the washing machine from the water, sewer and power supply;
- we drain the remaining water from the tank through the emergency drain hose or drain filter;
- we take the washing machine out to the middle of the room and lay a rag on the floor;
- take out the powder tray;
- we put the washing machine on its right side;
- We pry up with a flat screwdriver and pull off the 4 latches of the tray;
- Move the tray slightly to disconnect the wire running from the sensor attached to the tray to the body;
The sensor attached to the tray is nothing more than a leak sensor, which, if water gets into the tray, shuts off the water and stops the washing machine, helping to avoid flooding.
- We remove the tray to the side, gaining access to the parts inside the case.
We examine the electrical and mechanical parts
Once you have found the washing machine pump, you should check it immediately. The main mistake novice mechanics make is that they try to immediately check the pump with a multimeter, thinking that its electrical part has burned out. In fact, the most common reason for a pump to stop working is dirt, hair and other debris.
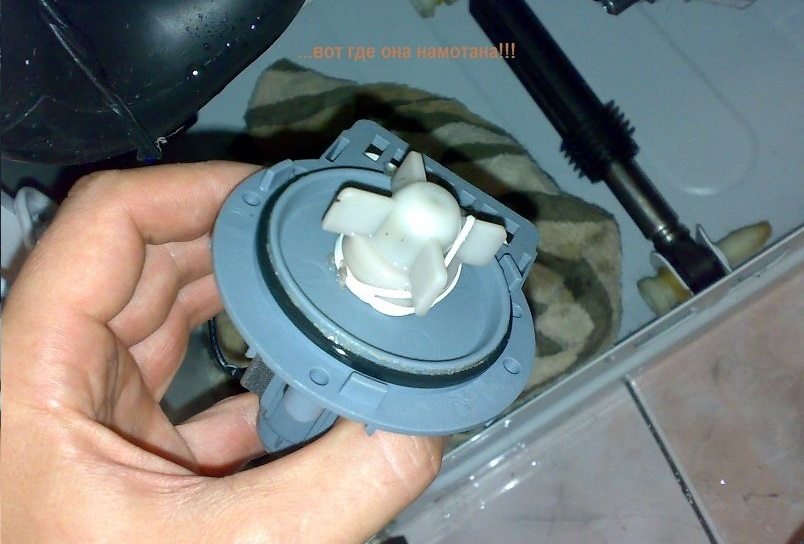
In general, a washing machine's drainage system is designed so that most of the debris accidentally dropped into the drum along with the laundry eventually settles in the depths of the waste filter. But even a small amount of debris touching the pump impeller can cause a lot of trouble. Even human hair, tangled around the impeller, can easily clog it. In this situation, there's no point in arguing; you need to act.
Washing machine pump repairWe begin our inspection by dismantling the part. The pump is very easy to remove.
- We take photographs of the location of the wires.
- We remove all the wires from the part.
- Using pliers, loosen the clamps that hold the hose and pipe on the pump.
- We pull off the hose and the branch pipe.
- We take hold of the pump body with our hand and make a half turn counterclockwise, the pump will be removed.
Next, we'll need to pry off the special latches and disassemble the pump housing, but before that, we can inspect the impeller. If hair is caught on it, it will be immediately noticeable. When inspecting the mechanical part of the pump, you need to inspect the integrity of the mechanism and rubber seals, and at the same time clean out any dirt that has gotten into the part.
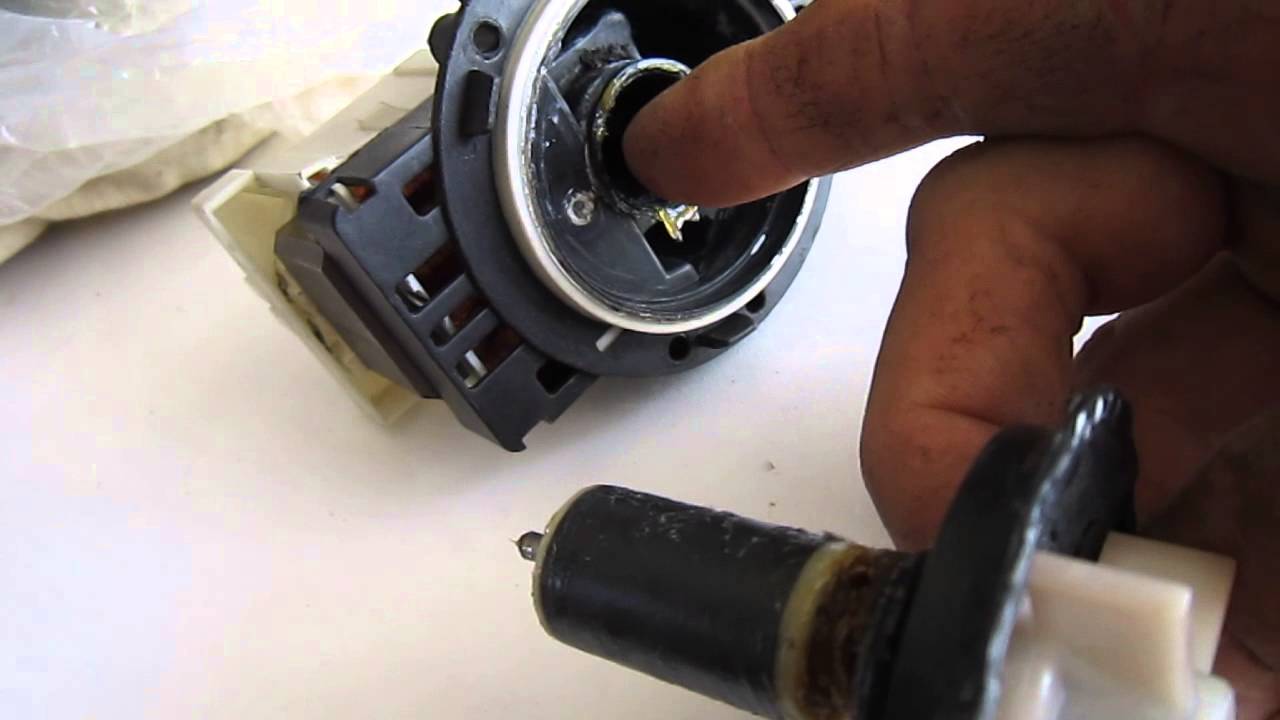
If you've checked the washing machine's pump mechanism but still haven't found anything wrong, you can move on to checking the electrical system. Set the multimeter to check voltage and place the probes on the pump contacts. If the instrument display shows zero or one, the pump motor is most likely burned out and the part needs to be replaced. If you see a three-digit number on the display, it means you need to look for the fault further, but it’s most likely not the pump, perhaps the control board triac, it’s hard to say offhand.
To summarize, checking the drain pump on a washing machine isn't a complicated procedure, especially if you get expert instructions beforehand. Accessing the pump requires minimal disassembly, and checking the part itself takes very little time. Good luck!
Interesting:


16 reader comments
Add a comment
Headings
Washing machine repair


For buyers


For users


Dishwasher


It's easier to disconnect the terminals from the pump and apply voltage.
What is the voltage on the pump?
220 volts
The pump rotates, but does not push out water.
What if the pump doesn't turn off? What could it be?
"Setting up the multimeter to check voltage..." correct to resistance.
My multimeter displays tenths, hundredths, and thousandths of a unit of measurement. And seeing a three-digit value of 00.xxx should make me happy. Hooray! The pump's resistance is intact!
I have 268 ohms.
Normal resistance is 160-260 Ohm +-5%.
Agreed. I have 216 ohms, and the pump is working. To check, connect it to ~220 V.
What voltage can there be on a pump that is removed and disconnected from the power supply!? Resistance!!
Thank you! In accessible Russian, without any awkward pretensions.
I removed the pump and didn't check which wire went to which terminal. Is there polarity on the pump?
There is no polarity!
I have 337 ohms. Is this normal?
Why does it show 170 ohms, if according to the formula it should be 1200 ohms?