How to lubricate a bearing in a Samsung washing machine?
If a previously functioning washing machine has started making noise, it could be due to worn bearings. It's likely that this isn't a problem yet, but it's best not to put off lubricating the part. Properly lubricating the bearings in your Samsung washing machine can prevent further damage. Let's look at what to lubricate the bearings with and how to do it.
Description of the procedure
New branded bearings and seals, manufactured specifically under the Samsung brand, are ready for installation in the washing machine and do not require additional lubrication. If you purchase questionable components from an unknown manufacturer, it is recommended to renew the lubricant. Old bearings in the washing machine are inspected for damage. If no defects are found, they may not need to be replaced; simply lubricate them generously with a special lubricant.
Before processing, parts are cleaned of dirt using WD-40 aerosol, and only then lubricated.
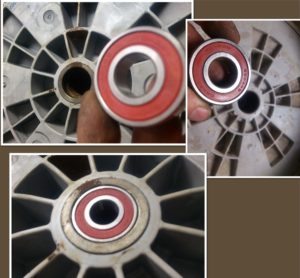
If the bearing is disassemblable, first remove its protective cover using a tool, then apply grease. The lubricant is applied evenly to the inner ring that contacts the bushing. After the bearing is processed, the seal is lubricated and installed.
How do you properly lubricate a non-separable bearing? The part is also pre-treated with WD-40 and wiped with a dry cloth. The protective cap on sealed bearings cannot be removed easily. The following procedure is recommended:
fill the inner ring of the element with polyethylene (a regular bag);
cut the neck of the tube of lubricant so that its diameter matches the size of the ring;
place the tube with the substance on the inner ring, start squeezing out the lubricant until it appears on the other side;
twist the bag to distribute the lubricant inside;
Wipe off excess with a cloth and install the part back in its original place.
Thus, both separable and sealed bearings are subject to mandatory treatment. There are no lubrication issues in either case.
It is important not to forget to apply the composition to the rubber seal. It is essential to lubricate not only the bearing, but also the seal of the Samsung washing machine. The rubber seal is treated with a standard syringe. The substance is applied to the inner groove of the seal, after which the seal is reinstalled.
We purchase a lubricating compound
Several specialized lubricants for washing machine parts are available for sale. Each product has different properties. The composition used for treating bearings and seals should be:
Moisture-resistant. The purpose of the seal is to protect the bearing from water. Therefore, the lubricant for the rubber seal must be water-resistant and not be washed out over time;
Resistant to temperature fluctuations. During operation, the water in the machine heats up to 95 degrees Celsius on certain programs. The shaft also becomes very hot when rotating. Only a heat-resistant compound will maintain its properties and ensure protection against water ingress;
Suitable for rubber parts. Seals lubricated with a low-quality substance may become very hard or, conversely, soften. This will lead to a loss of seal integrity;
thick. This will prevent the mixture from leaking out during washing.
Automotive lubricants are completely ineffective for lubricating washing machine bearings; it is best not to use them during repairs.
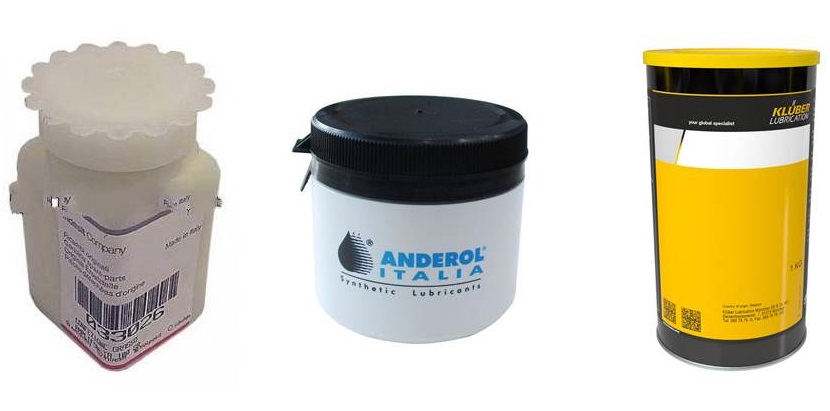
Typically, service center technicians use the following lubricants:
AMPLIFON is a waterproof composition from an Italian manufacturer;
Anderoll is a product specifically recommended for Indesit cars. It comes in two forms: a 100g can or a syringe.
STABURAGS NBU 12 is a water-resistant and temperature-resistant compound that has proven itself well on the market;
LIQUI MOLY "Silicon-Fett" is an expensive German lubricant. It's a very high-quality product that meets all requirements. It's available in 50-gram tubes.
When choosing a bearing and seal treatment, carefully read its specifications and parameters. Read user and professional reviews.
Removing the body panels
To lubricate the parts of a washing machine, you need to get to them. Accessing the bearings is a difficult task, as they are located inside the washing machine's drum, and you will have to almost completely disassemble the washing machine. First, disassemble the case. The sequence of actions is as follows:
remove the top cover by unscrewing the bolts that secure it;
unscrew the screws holding the rear panel of the unit and move the wall to the side;
remove the detergent container;
Unscrew the bolts located behind the cuvette, as well as on the opposite side of the control panel;
Release the latches securing the control panel. If you decide to disconnect the wiring, take a photo of the wiring diagram to avoid mistakes during reassembly. However, you can leave the wires connected and carefully slide the panel onto the top of the machine.
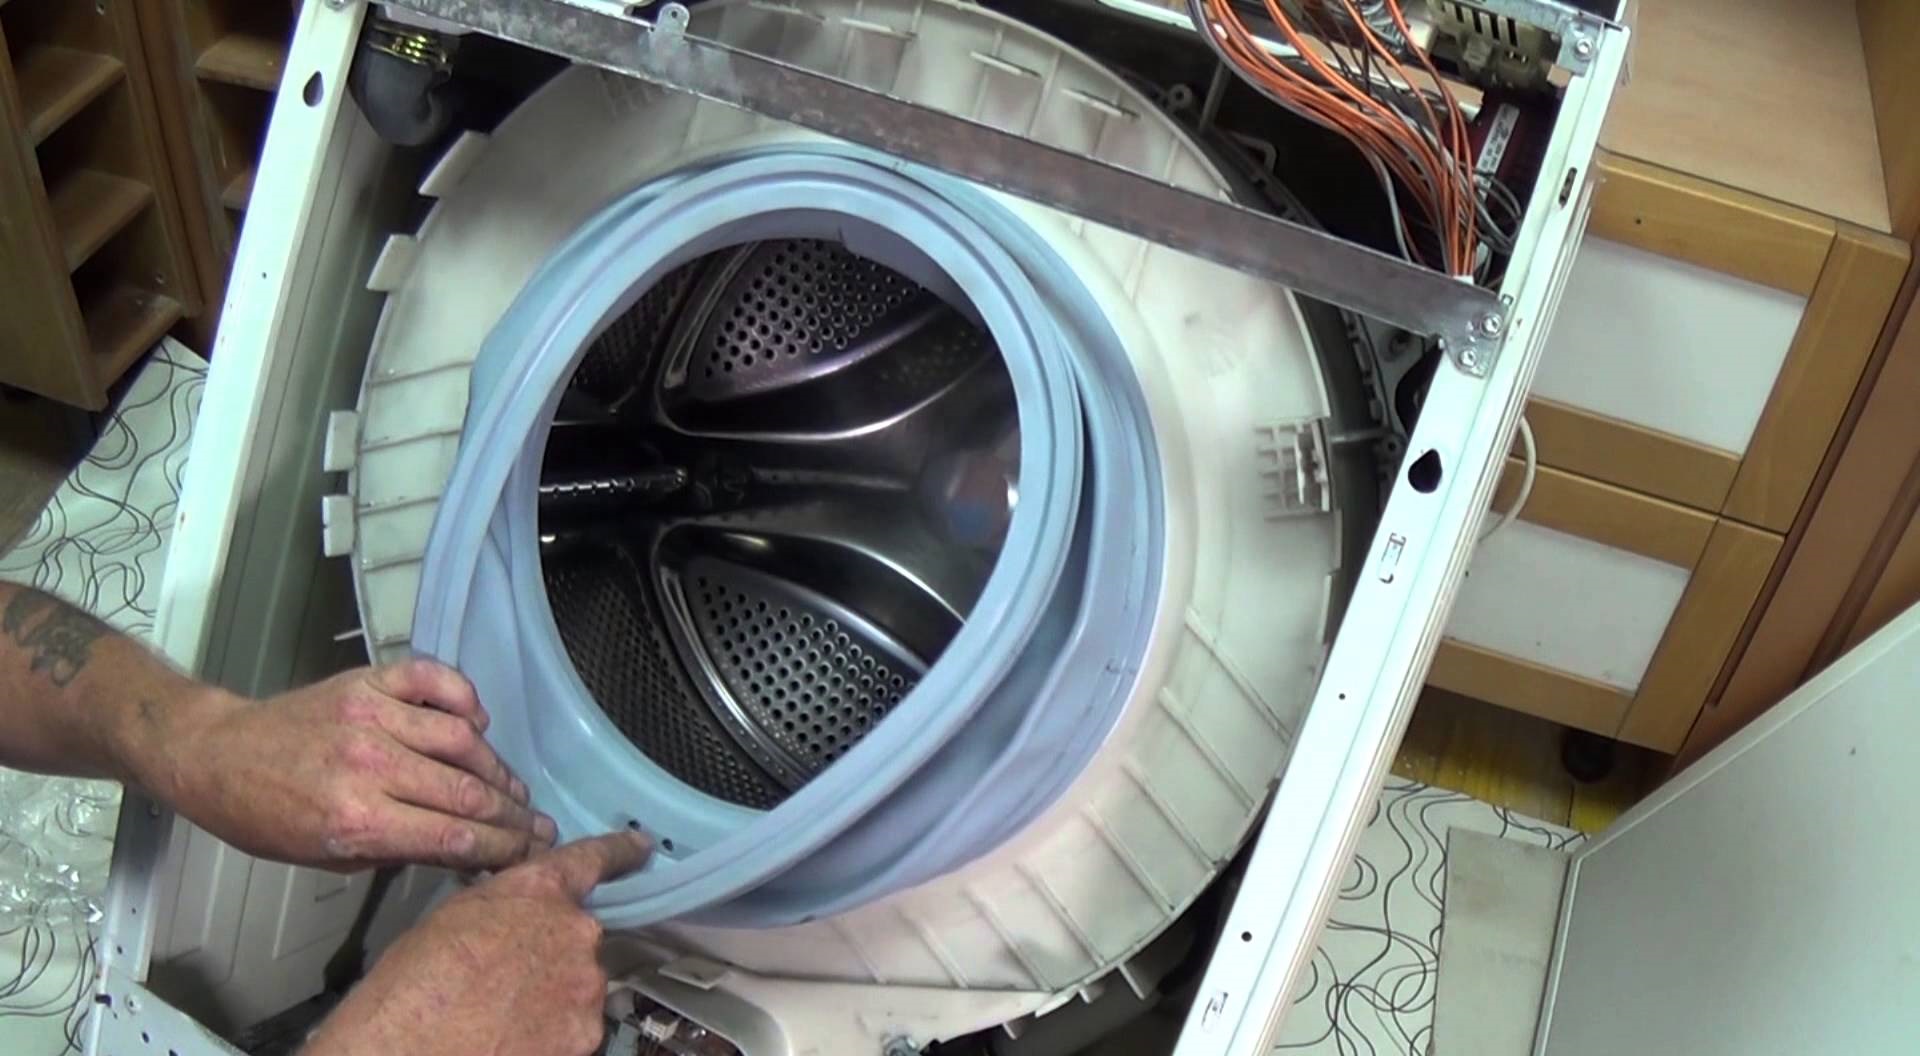
open the hatch door, remove the outer clamp holding the cuff;
tuck the sealing rubber inside the drum;
unscrew the bolts securing the door lock and disconnect the power supply wiring from it;
Remove the other bolts holding the front wall.
That completes the work on the body. Next, you'll need to remove the "guts" of the Samsung washing machine. Only after disconnecting all wires, pipes, and components from the drum can you remove it from the machine.
Removing parts that prevent access to the tank
The next step is removing the upper counterweight—the concrete block that stabilizes the washing machine. Next, remove the dispenser by loosening the clamp securing the hose to the tray. The inlet solenoid valve tubes are also connected to the powder receptacle. You can detach them from the tray or remove the container and valve together. Removing the inlet valve is simple: unscrew the bolt that secures it and disconnect the power supply. Pull out the element along with the dispenser. Next:
disconnect the water level sensor pipe from the tank;
remove the front counterweights of the machine;
unfasten the heating element connectors and remove the heater;
loosen the drain hose clamp and disconnect it from the tank;
tighten the drive belt;
Unscrew the bolts holding the engine, pull out the engine;
Loosen the clamp and unfasten the pressure chamber attached to the tank;
unscrew the shock absorber spring screws;
lift the tank to remove it from the special hooks and remove the element from the housing.
Next, place the tank on a flat surface and remove the hatch seal by loosening the inner clamp. Next, remove the pulley by unscrewing the central screw. Remove the bolts around the tank's connecting seam, separating it into halves. Remove the drum, exposing the bearings and seal.
 If a previously functioning washing machine has started making noise, it could be due to worn bearings. It's likely that this isn't a problem yet, but it's best not to put off lubricating the part. Properly lubricating the bearings in your Samsung washing machine can prevent further damage. Let's look at what to lubricate the bearings with and how to do it.
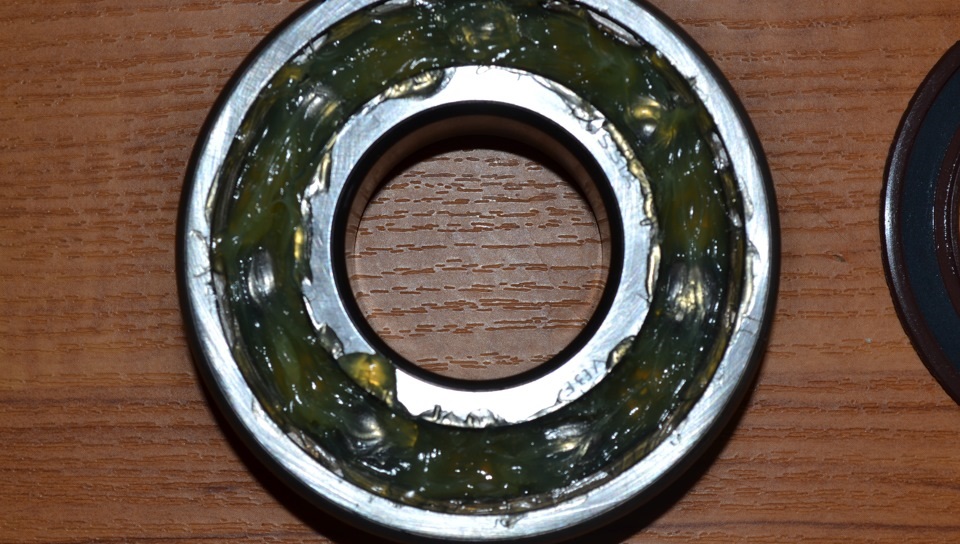


Add a comment