What paint should I use to paint a washing machine?
 Every housewife wants her appliances to be in perfect condition. This applies not only to their functionality but also to their appearance. Scratches, rust, and dents aren't a reason to replace your "household helper," but rather a reason to freshen it up a bit. While you can try to conceal such marks, it's much better to repaint the washing machine's body to ensure its appearance is impeccable. Let's figure out what paint to use on a washing machine to make it look like new.
We find everything we need
Painting a SM's body may seem like a simple task, but in reality, it requires careful preparation. First, understand why you're changing the color in the first place. If you simply want to refresh the look of a flawless car, the job won't take much time or effort. But if you need to conceal deep scratches and rust marks, you'll need to be patient. In this case, you will need to do anti-corrosion cleaning, and then additionally prime the body for the subsequent coat of paint.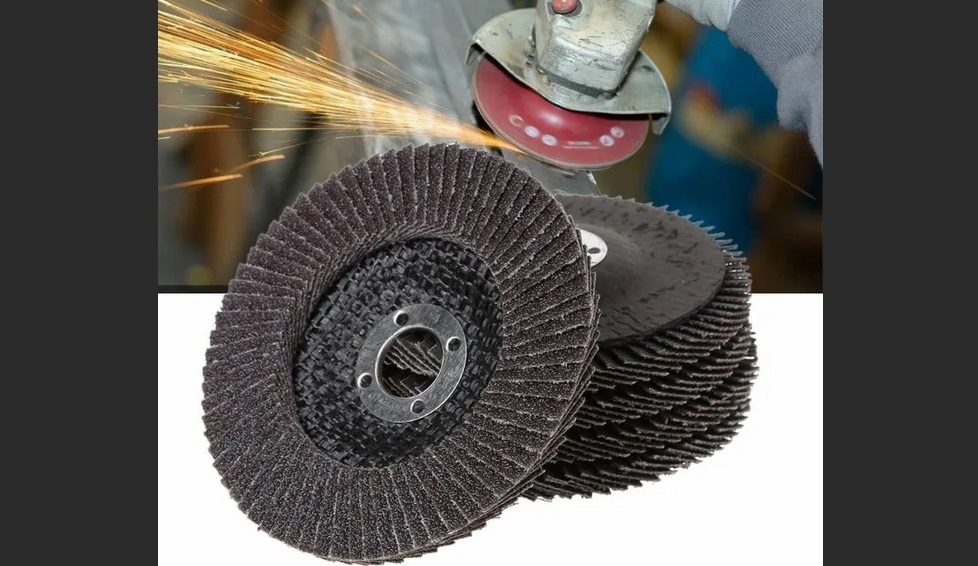
Next, decide on the color and type of paint. These days, many types of paint are produced that adhere perfectly to household appliances. It's important to choose carefully, ignoring generic formulas. Otherwise, you risk using paint that won't withstand the constant heating and cooling of household appliances, as well as moisture and household chemicals.
Washing machine paint must be extremely durable and able to withstand high and low temperatures, otherwise it will quickly begin to crack and peel during the operation of the washing machine.
That's why it's best to buy only specialized paints for household appliances, such as epoxy or acrylic spray paints from brands like Decorix, Kudo, Bosny, Veslee, and others. These highly durable aerosol paints come in small, convenient cans that will help refresh the appliance's appearance and protect it from scratches, rust, minor dents, and other damage. You can also use paints for metal or plastic. These are easily found at any hardware store, where they come in a wide variety of colors and finishes—gloss, matte, hammered, pearlescent, metallic, and classic RAL colors. But paint isn't the only thing you need to buy at the hardware store for future restoration projects. What else do you need?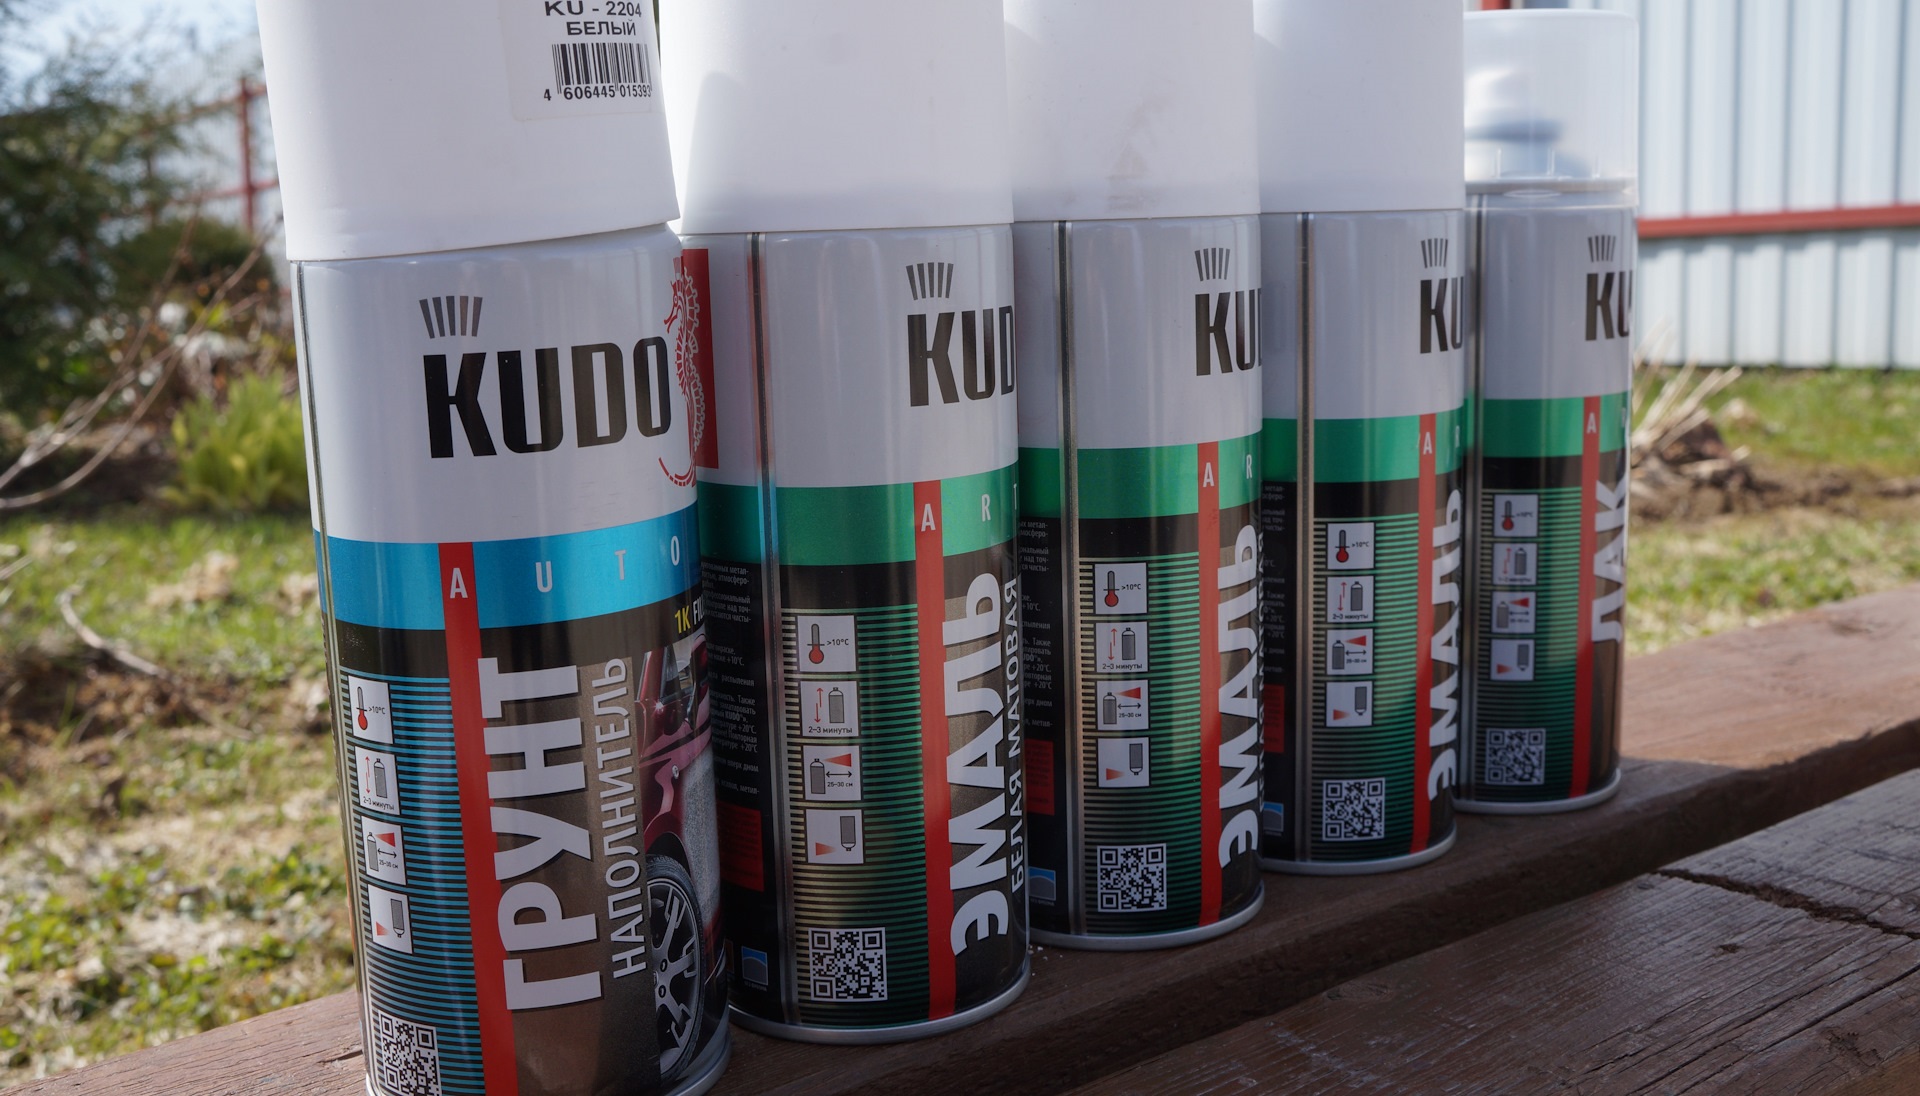
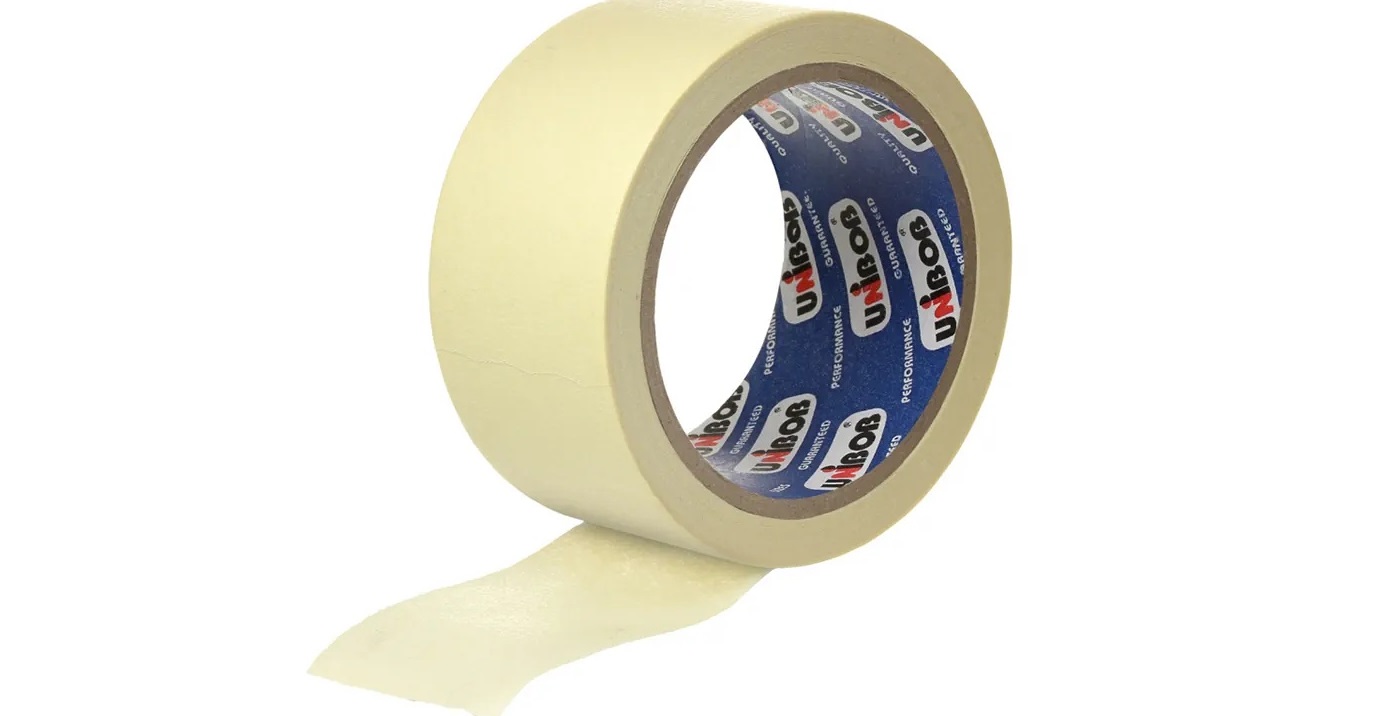
- Masking tape or masking tape will help protect handles, rubber parts, and the control panel from paint.
- Sandpaper to remove paint, as well as sanding discs for a sanding machine.
- Solvent and other household chemicals needed to clean the washing machine body from dirt and dust.
- A primer that will help fill in scratches and other damage to even out surfaces.
- A respirator and gloves are needed to protect against harmful chemicals during repair work.
At this point, the preparatory stage is complete; we can move on to restoring the “home assistant”.
Preparing the machine
Don't rush to remove paint from equipment; first, disconnect it from all utilities and move it to a well-ventilated and well-lit area where it will be comfortable and safe to work with. It is also very important that the machine stands on a flat surface, and there is plenty of free space around it so that nothing interferes with covering the body with paint on all sides.
The ideal location for restoration work is a garage or shed, or an outdoor covered area if weather permits.
When you're ready to begin, remove the top panel of the washing machine and the detergent drawer. Next, remove the plastic panel located at the bottom of the front of the washing machine. Finally, remove the plastic control panel, as it will otherwise interfere with painting the interior end panels of the washing machine.
Next, be sure to remove all dirt, grease, hair, and other debris from the appliance body. Along with the stickers, remove the entire layer of old enamel. For this, you'll need sandpaper or a special paint remover, such as ABRO aerosol cleaner, which effectively removes any paint, even from the most difficult areas. If you have a sander at home, you can use it to speed up the job.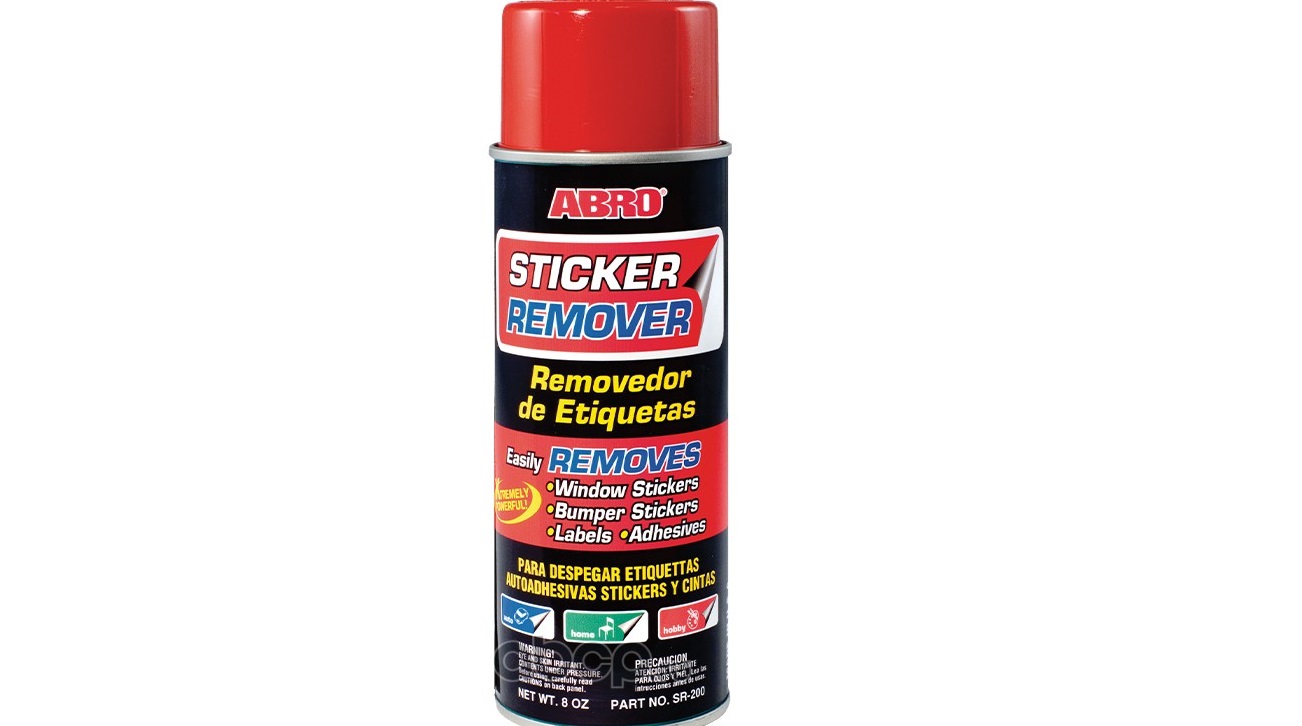
Next, carefully inspect the surfaces to detect any cracks, scratches, dents, and other damage that needs to be pre-treated. If your "home helper" is less than ideal, you'll need to apply an anti-corrosion treatment, for example, using an ABRO rust converter. Next, smooth out any problem areas with a converter that acts as a primer or a full-strength acrylic primer, such as those from MOTiP, Veslee, Bosny, Kudo, and others.
For convenience, you can use ready-made colored enamels that already contain rust neutralizers, for example, from the brands Decorix and Rust-Oleum.
When working, consider the desired color. If you plan to paint the washing machine body white, beige, or another light color, only a white primer will work. Similarly, if you've chosen metallic, gray, or dark colors, you should choose a gray or black primer. Before starting work, be sure to carefully cover the parts with masking tape or tape to avoid accidentally covering them with primer.
After removing the paint and applying a coat of primer, prepare the required amount of aerosol enamel. This is very easy to do, as manufacturers often indicate on the packaging the area that can be painted with one can. A standard can of paint is usually enough for about 1.5 square meters. If you decide to decorate your "home helper" with a complex design, be sure to mark out the sketch by attaching a stencil to the body.
Painting of equipment
Now you can begin applying the spray paint, which should be done evenly, maintaining a distance of 30-40 centimeters. Keep the can handle in one position to ensure the paint is applied in a beautiful, even layer. Never neglect personal protective equipment, which is necessary even in situations where the paint is non-toxic. For a better appearance, apply two coats of paint instead of one. In this case, you'll need to wait a bit for the first coat of spray enamel to dry completely.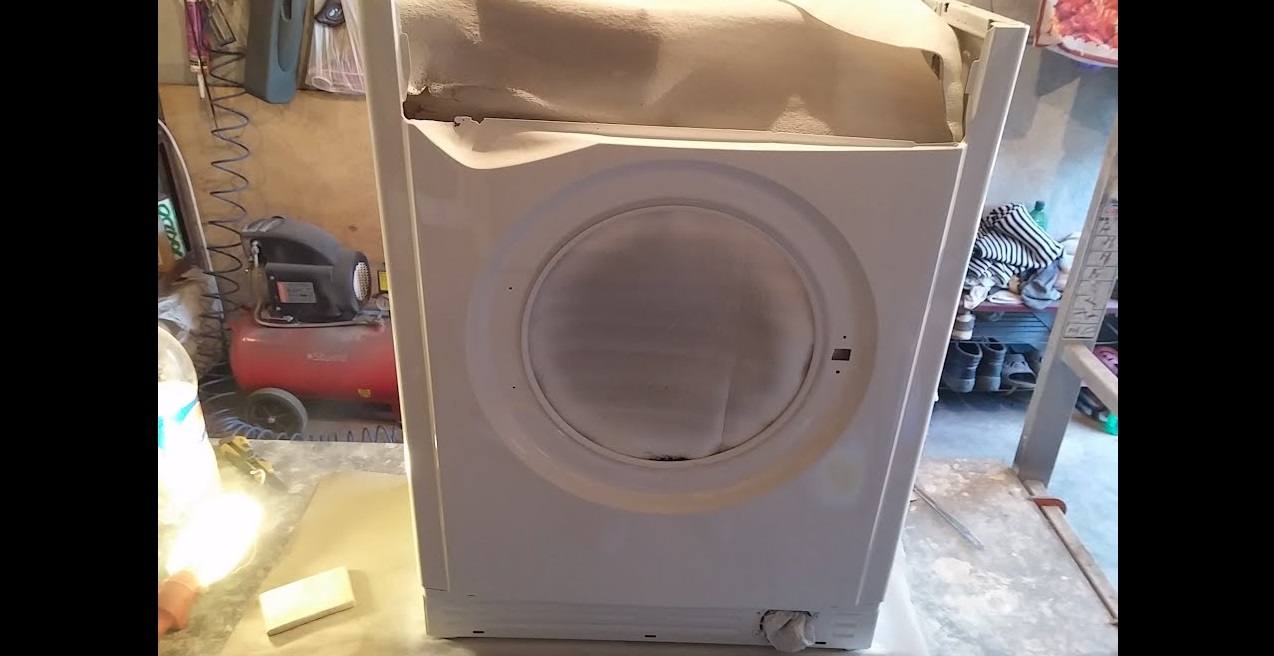
At this point, the restoration work is almost complete. All that remains is to remove all the protective masking film or tape, as well as the stencil, if you used one. Be sure to evaluate the result and correct any imperfections, as you likely have some enamel left over that can be used to cover up any imperfections. For an even better finish, you can additionally coat the washing machine with a sealing varnish, which is ideal for products from Bosny and Veslee.
As you can see, refreshing your beloved "home helper" doesn't require hiring a professional; you can do the job yourself. It won't break the bank either, as you don't need to purchase any expensive tools, and the necessary products are inexpensive. The end result will be reliable protection against new cracks and rust, plus you'll refresh the look of your appliance, making it even more beautiful in your home.
Interesting:


Readers' comments
Headings
Washing machine repair


For buyers


For users


Dishwasher


Add a comment