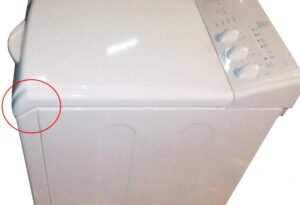
The lid of the top loading washing machine won't open.
 Older top-loading machines were equipped with very simple top lids, without a locking device. This approach is actually quite reasonable – after all, water won't overflow, and clothes are securely sealed within the drum flaps. Manufacturers have recently improved these machines and are now installing locking devices. This innovation causes a lot of problems for users, as sometimes the locking device doesn't engage automatically. What should you do if the lid of your top-loading machine won't open? How can you replace a broken locking device? Let's explore the nuances.
How to open a machine?
The locks on vertical cameras are much simpler than those on front cameras. The blocker only works when the washing machine is energized. Without current supply, the mechanism cannot jam; it will open automatically.
If the machine does not open, completely disconnect it from the power supply - then the locking device will stop functioning and the lid can be easily lifted.
After unplugging the power cord, wait a few minutes. The locking plates will cool, and the machine will open. This will allow access to the inner drum doors. Once the lock is unlocked, it's best to remove it immediately and check it. If the lid is jamming repeatedly, and an error code is displayed, don't let the situation continue. It's much easier to buy and install a new locking plate.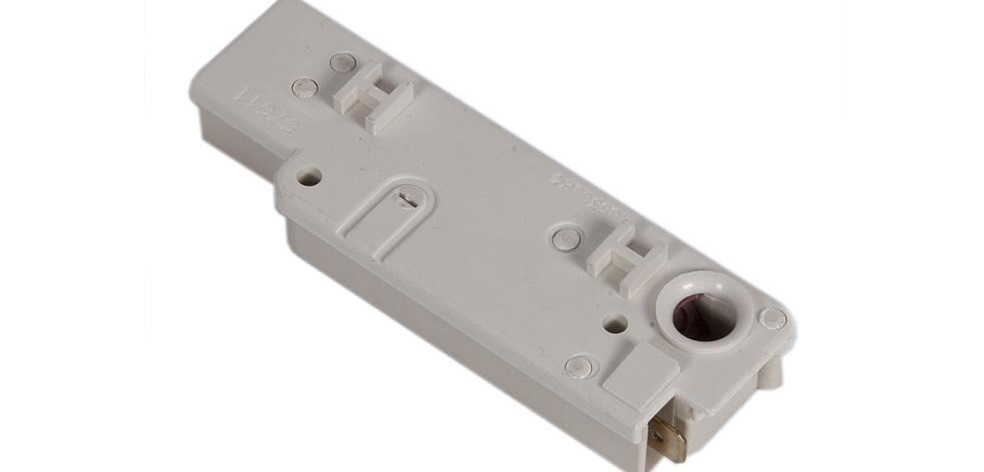
We remove, check and change the lock
You can do all the work yourself, without the help of a professional. What should you do first? Prepare the tools you might need. These include a set of screwdrivers, an impact wrench, and a thin putty knife. After that, tackle the machine: turn it off and disconnect it from all utilities. The next step is as follows:
- Move the vertical rack away from the wall to have free access to its back part;
- Close the lid and tape it shut. The tape will help secure the panel. This is necessary to prevent it from opening during work and damaging the dashboard.
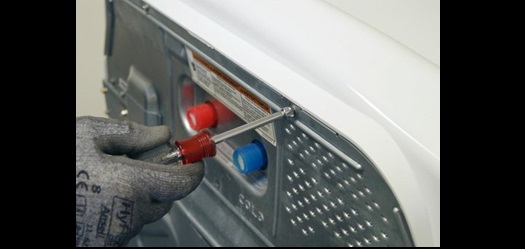
- Unscrew the screws located on the back wall of the washing machine;
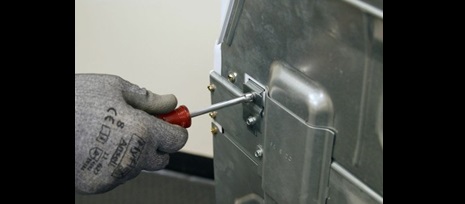
- remove the bolts from the pair of hinge brackets on the back of the machine;
- unscrew the screw from the hatch hiding the wires;
- remove the top bolts;
- Disconnect the control panel from the housing.
Removing the upper instrument panel is a separate process. You will need to:
- move the panel forward a little, approximately one and a half centimeters;
- from this position, raise the dashboard by 6-7 millimeters;
- move the raised panel back by 6 mm and release it from the brackets;
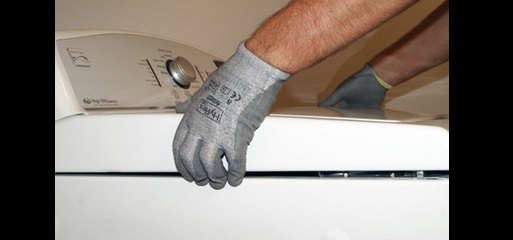
- lean the dashboard against the wall so it won't get in the way while you work.
After this, you can begin removing the locking device. Using an impact wrench, remove the two screws that secure the lock to the overhead panel. Release the latches and disconnect the locking device from the dashboard. The lock will now be suspended only by the wires that extend into the console. The rest of the procedure is as follows:
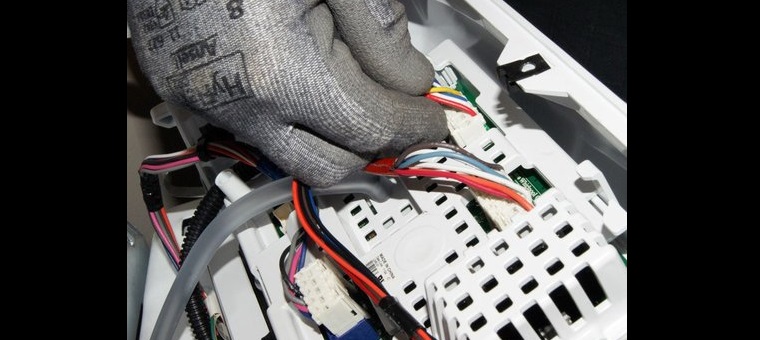
- Using a slotted screwdriver, release the wiring harness from the clamps;

- Use the same tool to pry up the white wiring clip located at the back of the dashboard;
- release this clamp, but do not remove it completely and do not take out the wire harness;
- Carefully place the control panel on the lid of the washing machine;
- Walk around the machine to access the back of the panel;
- unscrew a couple of bolts located on the top of the rear part of the dashboard;
- Press lightly on the control panel from the front, inserting a thin spatula under the right corner of the dashboard (this will help you remove the mounting clip);

- Repeat the steps described in the previous step from the left corner of the control panel. This will help release the clamps and free the console;
- place the console on the lid of the washing machine;
- Disconnect the door lock wires from the dashboard. To do this, press the tab and remove the connector from the control board socket;
- slide the lock-blocker;

- Pass the UBL wires through the hole on the back of the dashboard, in the place where you left the white plastic clamp;
- remove the tape from the lid and lift it;
- Remove the hatch blocker - now nothing will interfere with dismantling.
It's best to take photos of the stages of dismantling the blocker - this will make it easier to install the new device in place.
What to do next? Experts recommend checking the UBL with a multimeter. Switch the tester to resistance measurement mode and apply the probes to the lock contacts. The lock will likely be functional and won't need replacing. If the ohmmeter readings are within specifications, carefully inspect the wiring. There may be a defect in one of the cables, which will need to be corrected.
If the multimeter actually detects a faulty locking device, the part will need to be replaced. The lock must be purchased specifically for the washing machine model. Installation is performed in reverse order.
Interesting:


Readers' comments
Headings
Washing machine repair


For buyers


For users


Dishwasher


Add a comment