LG Washing Machine Maintenance
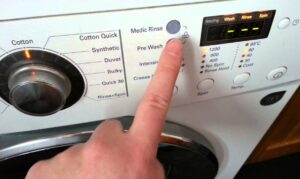 Washing machines require regular maintenance and service to ensure they function longer and more efficiently. While the operating instructions provide detailed recommendations, not all appliance owners follow them, leaving them perplexed when they discover clogged drains, mold in the pipes, scale buildup on the heating element, and other malfunctions. Maintaining your LG washing machine involves a number of easy-to-follow steps.
Regular maintenance
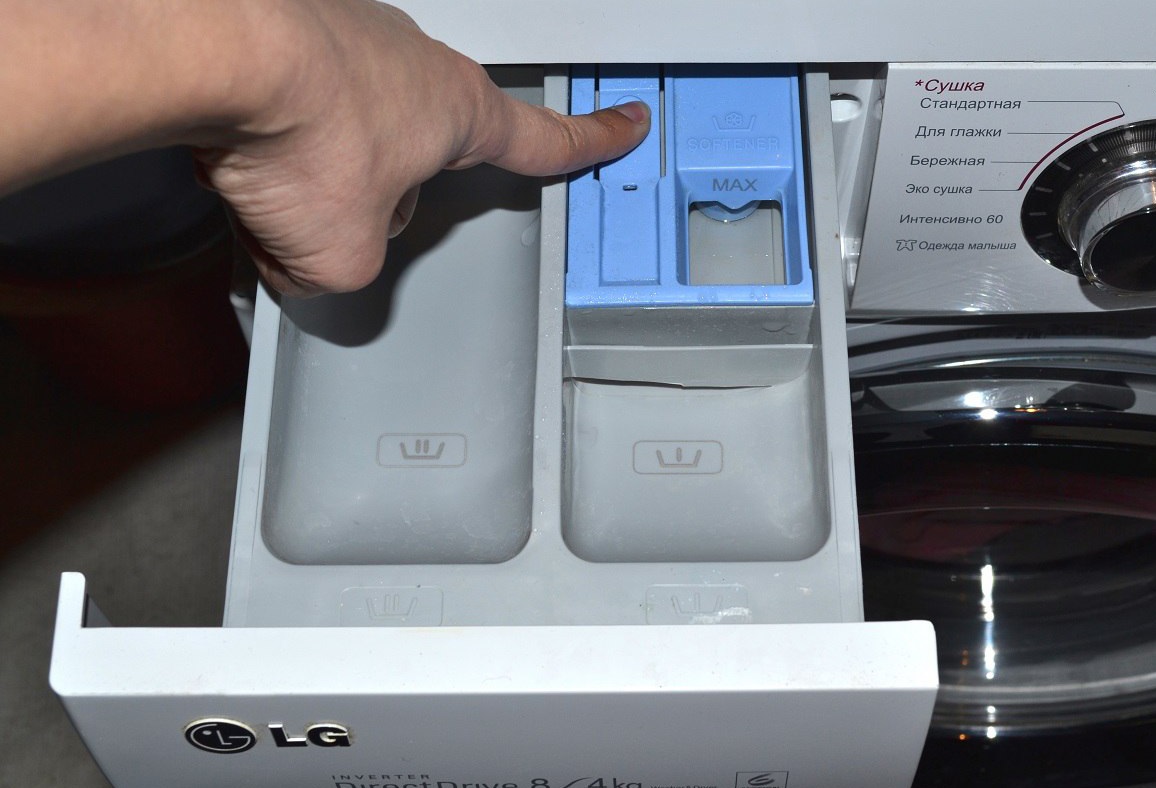
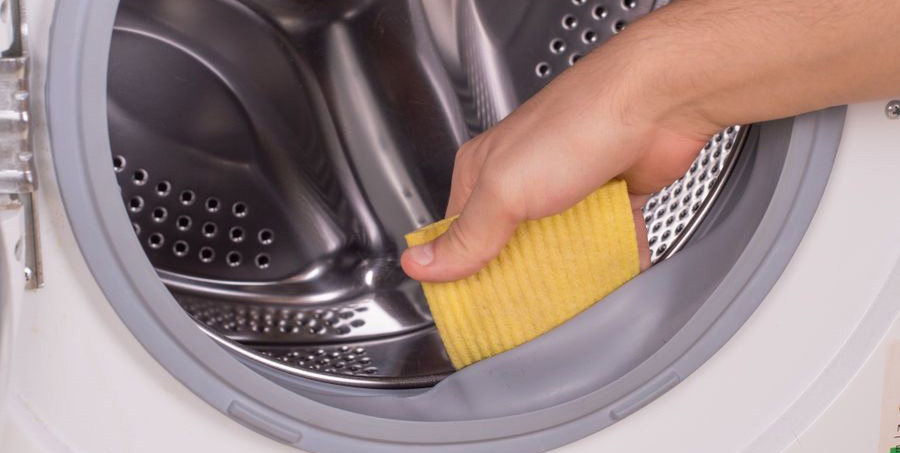
Every housewife knows the essential rule of leaving the washing machine door and drawer open between washes. It's also a good idea to thoroughly wipe the door's interior glass, detergent drawer, rubber seal, and the drum itself.
Every 3-6 months, you should perform a more intensive cleaning of your appliance, including its internal components. Calling a professional for this isn't necessary; you can do it yourself. To do this:
- disconnect the household appliance from the power supply and water supply;
- remove the detergent drawer and wash it to remove any remaining powder, fabric softener, or mold;
- disconnect the water supply hose, remove the filter mesh from it, clean it from scale, soap scum, and accumulated small debris;
- clean the drain filter;
- clean the drum cuff and check its integrity;
- evaluate the ease of rotation of the drum by rotating it several times clockwise and counterclockwise;
- Remove and rinse the drain hose, remove any blockages from it.
Cleaning the drain filter requires some preparation. First, remove the bottom plastic panel and unscrew the filter cap. Water will drain out, so make sure you have a basin and a dry cloth handy. After the water drains, remove the hose and clean it under running water.
The drum also requires special attention: while it's spinning, pay attention to any crunching, grinding, or creaking sounds, which may indicate that small objects, such as hairpins, paper clips, bra underwires, etc., have gotten into the drum. It is quite difficult to extract them on your own; in such a situation, you may need the help of a specialist.
In-depth equipment inspection
A more thorough inspection of the unit's modules and components is required at least every 1-2 years. Increased vibration, humming, grinding, and other unusual noises during washing will indicate a malfunction. In such cases, it's necessary to disassemble the unit and assess the condition of the following components:
- dampers (muffler, shock absorber):
- bearing unit;
- counterweights.
To do this, unplug the washing machine, turn the water supply valve to the "Closed" position, and disconnect the water supply and drain hoses from the appliance. Next, position the appliance so that all surfaces are accessible. After unscrewing several bolts on the rear panel, remove the top cover of the unit, then remove the screws securing the rear panel.
Access to the washing machine's internal components will be revealed. First, you'll need to find the concrete blocks that serve as counterweights. You need to make sure that there are no chips or cracks on them (replace them if they are damaged), and also check the quality of their fastening with bolts - to do this, you need to press on them. If the bolts are loose, they need to be tightened.
The next step is to assess the belt tension. If it's loose, consider replacing the part or cleaning it, letting it dry, and then treating it with pine rosin.
Below are the shock absorbers, which are checked for elasticity. It wouldn't hurt to treat them with graphite grease.
Now it's the heating element's turn. Carefully disconnect the electrical wires, loosen the central nut, and remove the heating element. Vinegar will help remove limescale: soak the heating element in the acid until the limescale softens, then remove it with a brush or a stiff sponge.
Do not ignore the wires and sensors, the tubes connecting the dispenser and the tank, the valves - all these components must be intact.
The final step is to assess the condition of the bearings. If you hear a grinding or crunching noise when the drum rotates, or if there is significant play, the part needs to be replaced.
Replacing components usually requires disconnecting adjacent and connecting parts. Taking a photo of the wiring diagram beforehand can eliminate the risk of incorrectly installing the new component. Promptly identifying damaged components and replacing them with new ones will extend the life of your washing machine by 5-7 years.
Interesting:


Readers' comments
Headings
Washing machine repair


For buyers


For users


Dishwasher


Add a comment