Error 6 in a Gorenje washing machine
 Many people have heard about self-diagnostic systems in washing machines, so they treat error codes not exactly indifferently, but not as seriously as they'd like. And that's a shame, because there are error codes that truly require emergency action and adherence to certain rules, otherwise, things will get worse. The same applies to error 6 in a Gorenje washing machine. What does it mean and what should you do if it appears?
Code manifestation and its decryption
Not all Gorenje washing machines are equipped with a digital display. Those that do simply display a code on the screen, while less sophisticated models alert the user to a problem in a different way, namely, a specific pattern of LED flashes on the control panel. First, the ON and OFF buttons will flash alternately (at very short intervals of 0.25 seconds), six times. Then, only the OFF button will flash for 5 seconds. After a pause, the process repeats. Where can you look for the cause of this behavior in your "home assistant"? Usually, they are rooted in a faulty heating element, since the sixth error indicates an insufficient temperature value.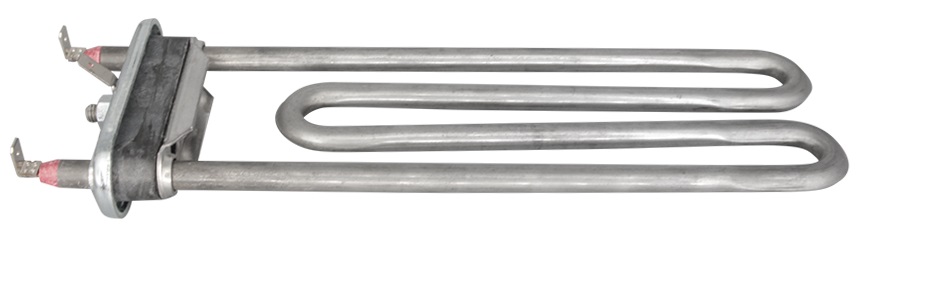
Gorenje detects an error if, at the end of the heating process, the actual temperature is at least 15 degrees below the set temperature. However, the wash cycle will not stop and will continue as normal. The user will only become aware of the problem at the end of the wash cycle. The first thing to check in this case is the tubular electric heater (commonly simply called the heating element). Of course, the thermistor or control module could also fail, but the likelihood of this is significantly lower, and such problems are easier to fix.
Testing the heater
You're very lucky if the wash cycle completed successfully, with the laundry just rinsing in cold water. However, if the heating element fails, the unit can sometimes generate an electric shock. Another potential hazard is a short circuit, which will inevitably lead to a fire. Therefore, as soon as you receive an error message, unplug the washing machine immediately. The element itself is located at the bottom of the machine, at the rear, on the edge of the housing. To access this component, simply remove the rear cover and possibly remove the drive belt (not applicable to all models). Let's look at the inspection process in more detail:
- After disconnecting the plug, remove the wiring;
- take a tester and set it to measure resistance;
- set the selector to 200 Ohm;
- Connect the tester antennae to the terminals of the water heating element.
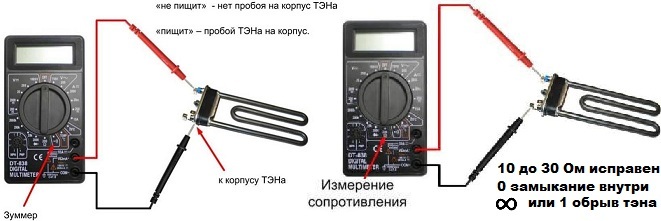
Now we need to decipher the multimeter readings.
Important! The heating element is working properly if you see the numbers 26, 27, or 28 on the display. If the display shows 1 or 0, there's a problem. A 1 indicates an internal break, which means the heater is no longer usable. A 0 indicates a more serious problem—a short circuit within the heating element.
In both cases, it's practically impossible to repair the part yourself, and experts recommend replacing the part rather than repairing it.
However, the test doesn't end there. Sometimes the dielectric between the tube walls and the heating element coil leaks onto the washing machine body. To check for a breakdown, set the tester to buzzer mode. Now attach one probe of the multimeter to the heating element terminal and the other to the wall of the machine. If no sound is heard, everything is fine, but if the tester beeps, a breakdown has occurred and the problem needs to be addressed.
Interesting:


Readers' comments
Headings
Washing machine repair


For buyers


For users


Dishwasher


Add a comment