Gorenje washing machine error E2
 Diagnosing washing machine errors is becoming easier every day, as the device often accurately identifies the cause of the malfunction and notifies the user. For example, the E2 error in a Gorenje washing machine indicates that the appliance is unable to start the cycle because the door isn't closed. This could be due to a faulty locking mechanism or damaged wiring in the door lock. The worst-case scenario is if the problem is caused by a faulty control board, which is nearly impossible to troubleshoot at home. But first things first. Let's start by checking the appliance for the most basic causes of malfunction.
We will check for mechanical damage
First, you need to examine the mechanics. If your automatic washing machine won't close, the cause is most likely a damaged lock, a warped door, or a deformation of the door itself. This could be due to normal wear and tear during use or due to careless handling. For example, this could occur if the user slammed the door hard, hung wet laundry on it after washing, or if small children rode on the door.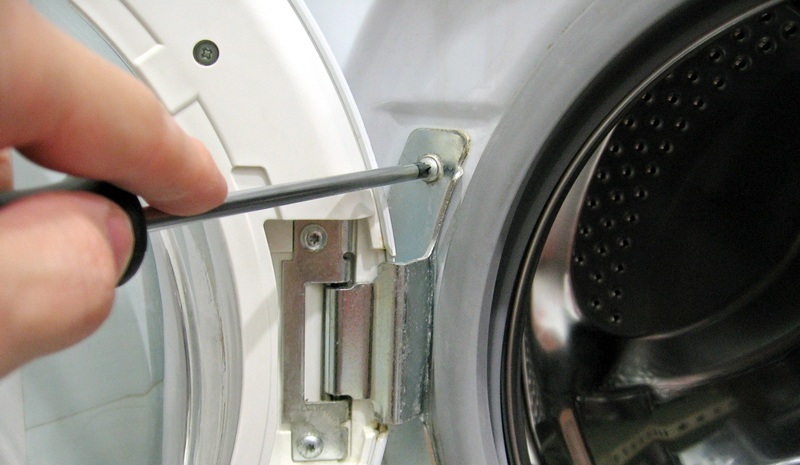
Therefore, if the door no longer closes completely, it's due to a misalignment, which can be easily corrected. To correct the sagging hinges and allow the latch tongue to engage again, simply level the door and tighten the hatch fasteners.
If the hinges are in good condition, but the door doesn't close completely, the latch mechanism has failed. The metal rod that holds the locking element often falls out of its seat, causing the latch mechanism to fall and no longer secure the door. In this case, a minor repair is required, including disassembling the door and adjusting the rod. Alternatively, you can leave the mechanism alone and simply replace the entire hatch handle, if that's easier in your particular situation.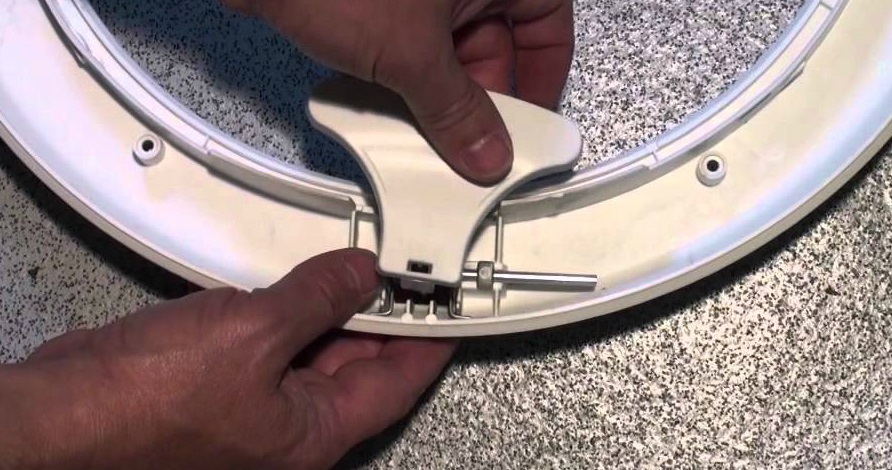
Finally, the third possible cause of failure is when the door closes completely but without the standard click. In this case, it's necessary to check the guide, a thin plastic element that may have become deformed over time. The guide ensures that the hatch door closes completely with a distinctive click. Therefore, if there's no sound when the door closes, the plastic element has fallen out or is partially worn, causing a slight misalignment that interferes with the hatch's normal operation. To fix this and restore the latch's locking position, you'll need to purchase and install a new guide.
Problem with the hatch locking device
So what should you do if the display shows the E2 error code and the machine refuses to start the wash cycle? This happens because the machine itself prevents the cycle from starting due to safety precautions. If the drum isn't sealed, washing can be dangerous due to the possibility of the door accidentally opening during operation, which could lead to flooding of the floors and the neighbors below. Therefore, for increased safety, manufacturers have added a door locking device so that the door is also secured with an electronic lock. So why might the door locking system fail?
- Natural wear and tear during use. Over time, the bimetallic plates of the electronic lock may lose their properties, causing them to no longer respond to the SM signals. In this case, repairs are not necessary; only a complete replacement of the hatch locking device is required.
- Contamination of the door locking system. Sometimes small foreign objects, such as threads, hair, and other debris, get into the device, interfering with its operation. If this happens, you need to disassemble the device and clean it of all debris.
- Damage to the CM control module. The worst that can happen is failure of the control module, which transmits commands to all key components of the device. It can stop functioning properly due to burnt-out tracks, triacs, or a previous failure. Correcting the situation requires a thorough diagnosis, repair, or complete replacement of the component.
The first two reasons are easy to fix yourself, but the third is almost impossible to deal with without special knowledge. The washing machine's control module is the "brain" of the entire system, its most important and most fragile part, which is very easy to accidentally damage. To avoid further damage, it's best to play it safe and immediately seek help from a service center specialist. This way, you might save money on replacement by only repairing the unit.
We test and change the lock
Don't rush into buying a new door lock without checking the old one. First, run a quick diagnostic to ensure the unit is truly faulty. Follow our instructions to remove it.
- Disconnect the machine from all communications.
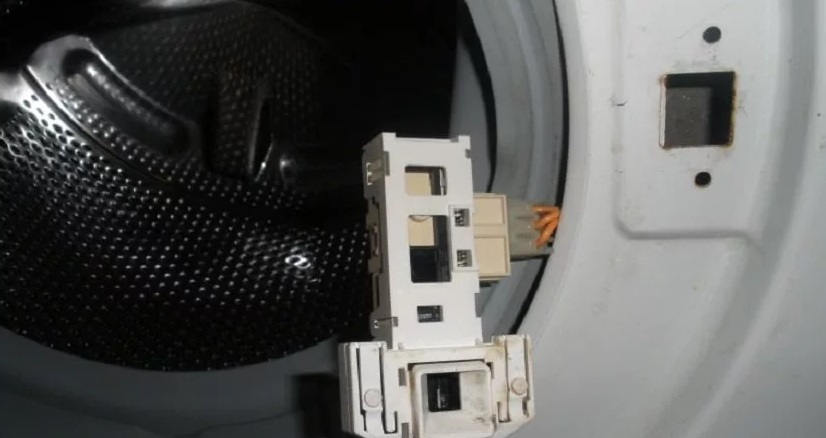
- Open the hatch door. Since the lock is locked, you'll need to tilt the appliance slightly on its side, remove the lower decorative panel, reach into the opening, and try to manually push the latch. If this doesn't work, unscrew the lid of the washing machine, tilt the appliance back, and try to push the latch from above.
- Remove the hatch cuff by bending the edge, hooking it onto the clamp and removing it.
- Remove the screws securing the lock.
- Disconnect all wiring from the UBL.
Be sure to take a photo of the wire connections to the device so that you can use it as a cheat sheet during reassembly.
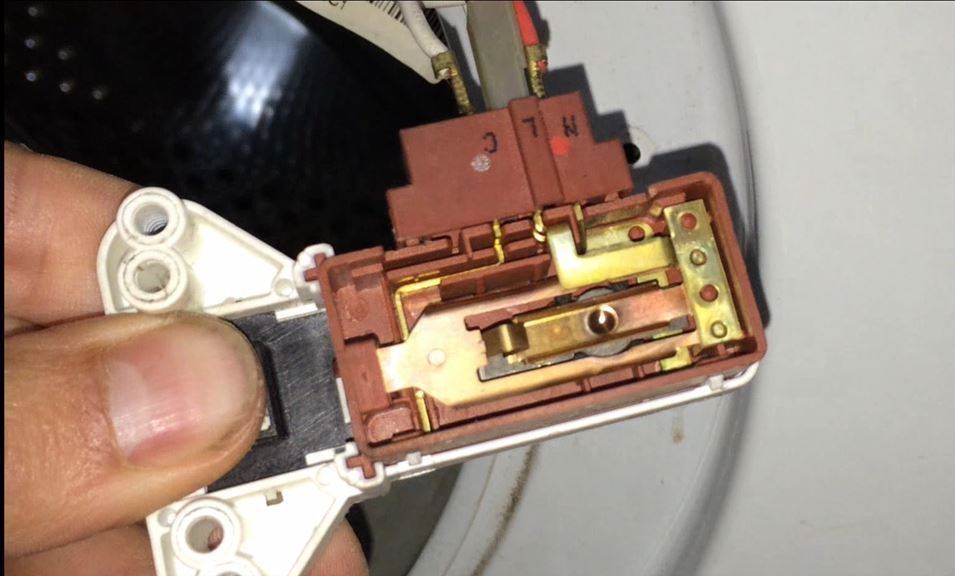
- Remove the hatch locking device and proceed to inspection.
Once you have the lock in hand, take the official user manual to find information about the door lock's electronic circuit. Next, set a standard multimeter to resistance measurement mode, connect its probes to the neutral and hot terminals of the electronic component, and evaluate the resulting values. If the result is three digits, the device is in good condition; otherwise, it needs to be replaced. Next, switch the tester to the common and neutral terminals. If the result is 0 or 1, replacement is not necessary.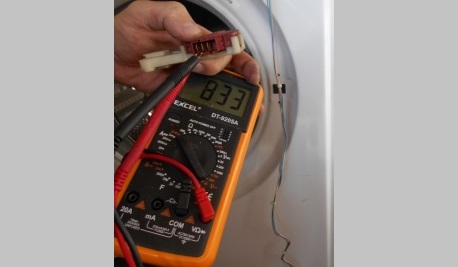
Most homeowners sooner or later experience a broken hatch locking system, so there's nothing critical or alarming about it. It's best not to attempt to disassemble and repair a damaged hatch locking system yourself, as it cannot be repaired, and a new part is not very expensive.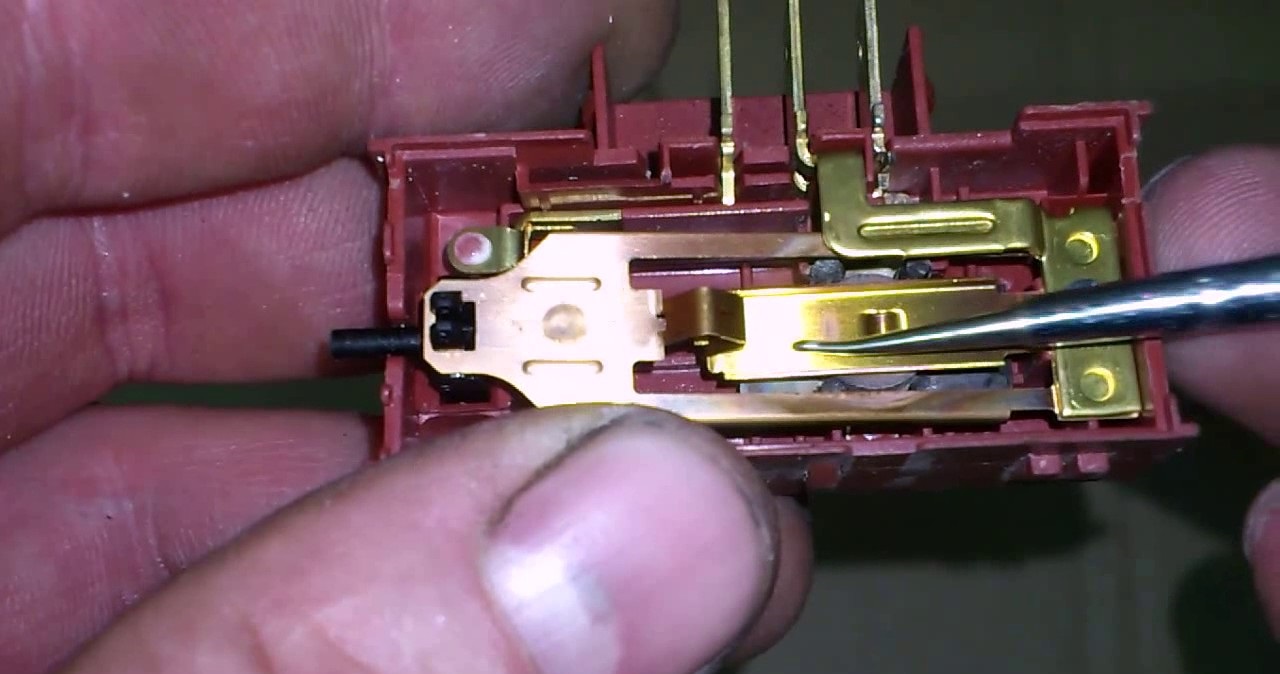
To replace the door lock, simply take the faulty door lock with you to the store as a reference, or write down the serial number of your Gorenje washing machine to ensure you choose the right one. Installation is easy enough for anyone—just follow our instructions in reverse order, using your own wiring photos as a guide and remembering to securely fasten the unit. Be sure to run a test cycle to ensure the replacement is successful and the issue is resolved.
Interesting:


Readers' comments
Headings
Washing machine repair


For buyers


For users


Dishwasher


Add a comment