Error E4 on a Gorenje dishwasher
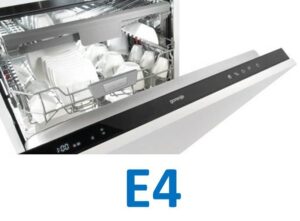 It's difficult to remember every dishwasher error, as some users encounter only a few times in their lives. The E4 error code in a Gorenje dishwasher fits this description perfectly, as it indicates a faulty temperature sensor. However, the sensor is often functional, so it's difficult to pinpoint the problem. Let's explore what might be wrong with your appliance.
The real E4 transcript
The E4 error code in the Gorenje "home assistant" indicates a damaged temperature sensor. However, the machine itself often displays the E3 error code instead of the E4 error code, which completely contradicts the information described in the official user manual. Due to the imperfect self-diagnosis system, the user is often misled, so in reality, when the machine gives an error E4, and sometimes E1 – this means that you need to check the Avkastop system, which could have reported water in the dishwasher tray.
It's important to remember that this could be a false alarm from the sensor, or it could be genuine, which would require checking the drain pan anyway. Most often, this occurs because of a leak at the joint between the pump and the dishwasher's volute.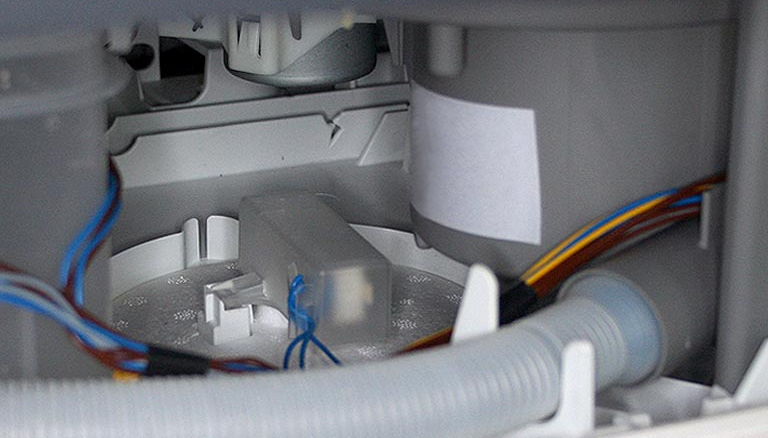
This happens because the pump in most Gorenje dishwashers isn't secured to the impeller with additional fasteners, but hangs on just one latch, causing a slight amount of play. A small rubber gasket is installed between the pump and the impeller, which moves actively during the impeller's rotation. Due to this play, it quickly loses its seal, beginning to leak liquid.
This is what causes a leak: water seeps into the tray, activating the Aquastop sensor. The Gorenje dishwasher detects this, stops the cycle, and displays an E4 error to the puzzled user. This situation typically involves a very small leak, but even this is enough to trigger the protective system.
Troubleshooting
Resetting the E4 error and fixing pump problems isn't very difficult, but you first need to access the damaged component. Here's what you can do to gain easy access to the pump.
- Disconnect the equipment from all communications.
- Remove all dish baskets from the wash chamber.
- Take your "home assistant" out of its niche to make it easier to work with.
- Drain all the waste liquid from it.
- Turn the technique over.
- Remove all screws and latches securing the tray in its seat.
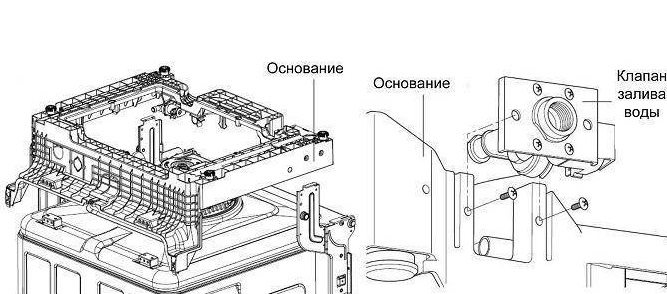
- First, disconnect the connector with the wiring that is attached to the pan and goes to the Avkastop sensor.
- Find the pump in the housing and disconnect all wires from it.
Be sure to take a couple of photos of the wiring so that you have an example of the correct connection at hand during reassembly.
- Take the pump body and turn it counterclockwise half a turn to remove the part.
- Take a close look at the rubber gasket - it may look intact, but it's best to check it further.
After disassembling the equipment, all that's left is to decide on a solution to fix the problem. You can simply replace the rubber seal and enjoy several years of trouble-free use of your Gorenje dishwasher, until the E4 error reoccurs due to a damaged seal. Or you can do everything described, but additionally secure the pump to eliminate play and deformation of the rubber element. This will allow you to overcome not only the consequence, but also the very cause of the rubber failure.
To do this, you need to buy a new rubber gasket, which will cost you about $0.50 or less at any plumbing supply store. Then, install it in the mounting location, discarding the old element. Next, use a screwdriver and a thin drill bit, at least 1.5 mm deep, to drill holes in the pump body lugs and the corresponding lugs on the volute. Next, install the pump and secure it securely with screws, inserted into the new holes just made with the screwdriver.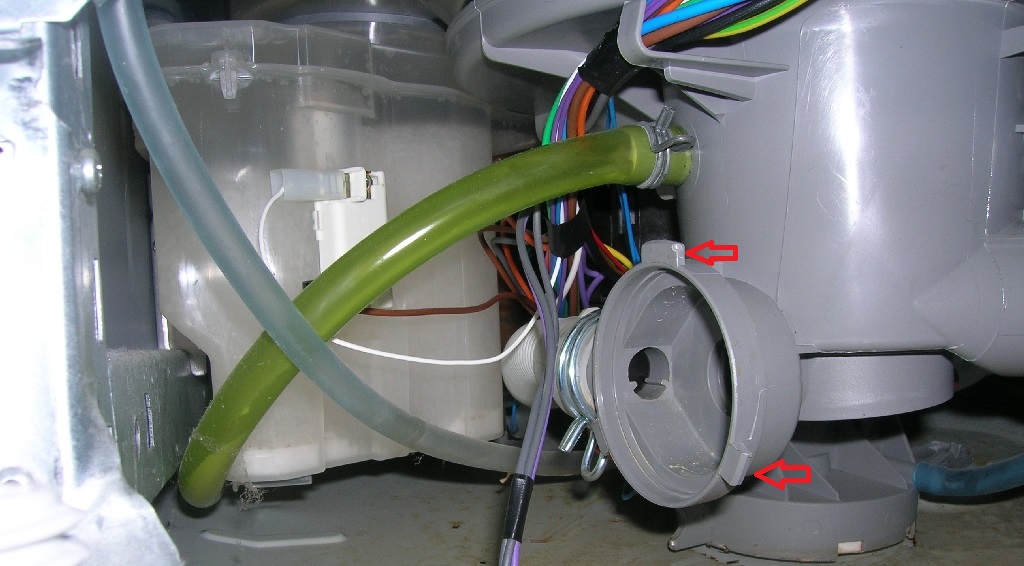
It's worth noting that manufacturers supply Gorenje dishwashers with pumps and volutes that already have eyelets, but lack through-holes for additional screw fixing. This dubious cost-saving approach forces users to either regularly replace the rubber element or resort to DIY modifications to their "home helper."
After replacing the gasket and installing the screws, complete the assembly by following our instructions in reverse order. Don't forget to test your Gorenje dishwasher by running a test cycle without dishes to ensure its functionality has been restored.
Interesting:


Readers' comments
Headings
Washing machine repair


For buyers


For users


Dishwasher


Add a comment