How to open the drain cover at the bottom of a washing machine
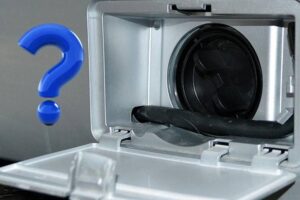 Before each automatic wash, it's crucial to empty the pockets of your clothes. Otherwise, coins, paper clips, buttons, and other items can end up in the special waste filter, often called the drain cover. This is where foreign objects, often forgotten among dirty clothes, are usually found and must be removed from the element. Let's learn how to properly open the drain cover at the bottom of your washing machine to remove small items, drain excess water, and rinse the filter.
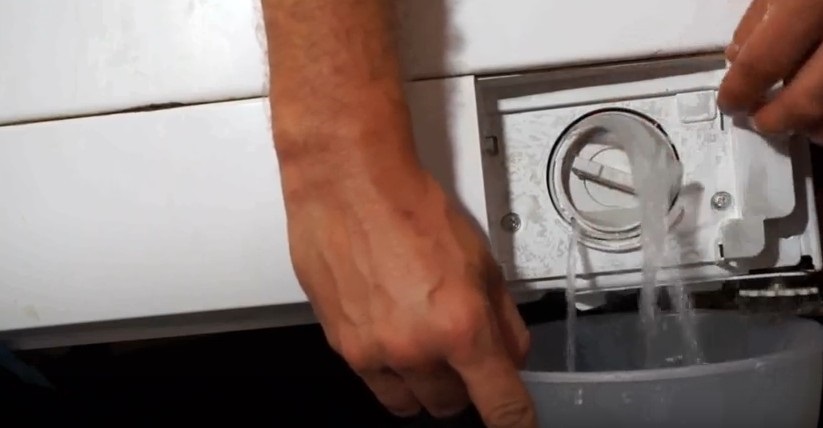
It's time to unscrew the filter.
The first stages of cleaning will take just a few minutes, so you can easily do them yourself. All you need to do is carefully pry up the drain hatch, which is located below the front panel of the washing machine housing, and then unscrew the plastic part with a round top. Be sure to place an empty basin or place rags underneath the appliance beforehand, as this action will trigger the discharge of any waste liquid remaining after the last cycle. Otherwise, you risk flooding your downstairs neighbors or damaging your flooring.
Experts recommend cleaning the drain trap at least once every few months.
Unfortunately, washing machine users don't always follow the proper care and maintenance instructions for their appliances. This is why they sometimes find the dust filter blocked after opening the door. This can manifest itself in a variety of ways.
- The lid handle stops turning, so it seems as if it is welded to the body of the machine.
- The handle can be turned, but not all the way, because it stops in the middle or a quarter of a turn.
- The handle turns without any problems, but the filter still cannot be removed from its seat.
This usually occurs because the part becomes blocked by foreign objects such as wool, hair, lint, children's socks, and so on. Long hair is especially dangerous, as it can become tangled around the walls of the part and block the pump impeller.
The element can also become blocked due to heavy scale buildup on the trap threads, which acts like a strong adhesive. This most often occurs when a housewife hasn't cleaned this part of the washing machine for more than six months, so it's important to take preventative measures.
Search for a part
Now we'll cover the details of finding the drain cap. This section will be especially useful for those washing machine users who have never worked with this component before, and perhaps don't even know where it is or what it looks like.
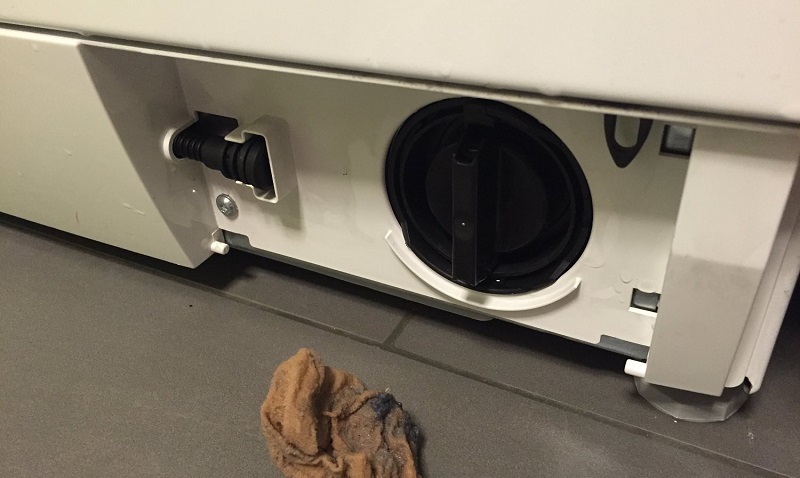
It's best to clean the dust filter monthly, as this will ensure it's easy to remove and accessible. Simply open the bottom panel.
- In LG, Samsung, Zanussi, Candy, and Atlant appliances, the drain cover can be found behind a small door under the loading hatch. You'll need to gently press the door down with your hand or pry it open with a screwdriver to access the filter.
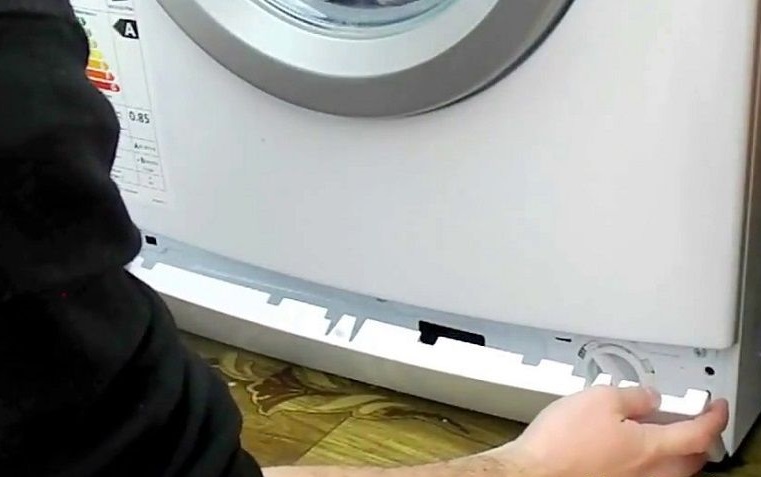
- In Bosch appliances, this unit is hidden behind a long decorative panel at the bottom of the washing machine. If it's an older model, the lid is secured with hooks that need to be pushed into a horizontal position with a screwdriver, and then the panel can be removed. In newer models, the latches need to be pressed in with a slotted screwdriver, and then the door can be slid to the side.
- Finally, in "home assistants" from Hotpoint Ariston and Indesit, the element is also hidden behind a solid panel. In this case, you first need to press the lower latches, then the upper ones, and only then can you remove the dust filter.
As you can see, finding a part is very easy, regardless of the model and brand of household appliance.
Let's try to unscrew the filter.
If the standard method fails to remove the knot, you should try a different approach. However, using other methods requires careful preparation first. Be sure to unplug the washing machine from the power outlet and other utilities, prepare a container for water, and place some old towels or rags in the room where the machine is located to absorb the liquid. Next, just follow our instructions.
- Prepare pliers or round-nose pliers.
- Hook the handle of the debris filter plug.
- Carefully try to unscrew the element.
Do not use brute force under any circumstances, otherwise you may damage the part.
If the filter is difficult to remove, tilt the machine backward at approximately 45 degrees to rest it against the wall. Then, gently tap the filter with your fist. There's a good chance this will dislodge small debris, such as bra underwire, coins, paper clips, hairpins, and other objects, which will clear the blockage.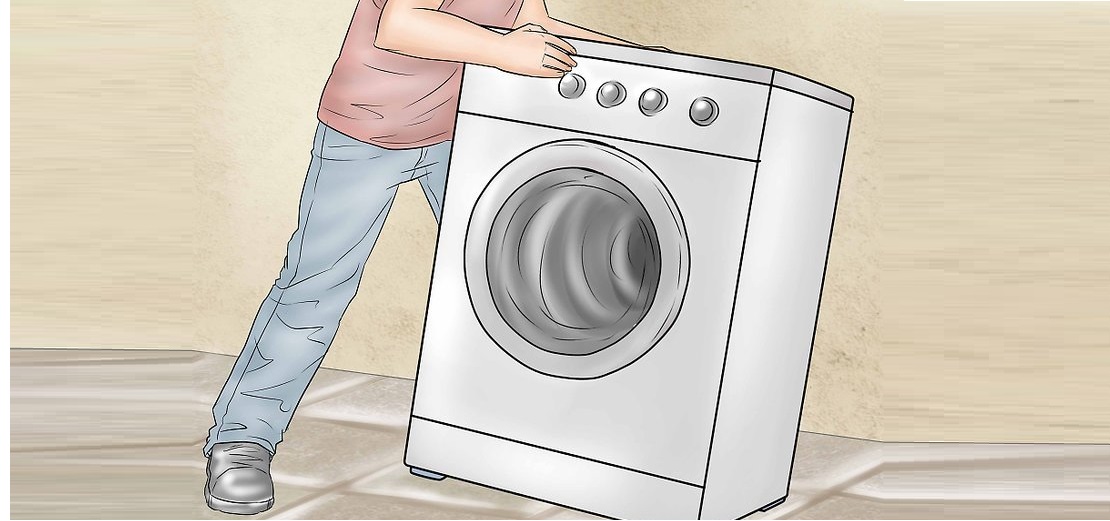
Finally, if all else fails to remove the debris filter, you'll have to take the difficult route and attempt to clean it from the other side—through the pump opening. In this situation, you'll need to gain free access to the scuttle and remove the drain pump. This type of partial disassembly requires knowledge and experience, so if you don't have these skills, it's best to avoid risking it and immediately call a service center technician to perform the work. If you're confident in your abilities, proceed to the next sections of this article.
We take out the lid together with the snail.
First, you need to find the pump in your "home assistant." The difficulty is that its location directly depends on the model and manufacturer, as this component is located in different places in different units. Be sure to read the official user manual, as it always includes a diagram of the appliance with a detailed description of the location of all key components – this will save you time searching for the pump. If you don't have the manufacturer's instructions, the first thing you'll need to do is look for the pump. Front-loading machine owners will need to check the equipment in three different ways.
- First, you can check the bottom of the washing machine, which is often either missing or very easy to remove. You can simply tilt the machine against the wall and look for the pump just behind the filter.
This method is not suitable for Bosch brand products, as they have a metal strip installed on the bottom that secures the dampers, and it also does not work for checking the washing machine with the Aquastop sensor for leak protection.
- Next, you can disassemble the washing machine from the rear, which is helpful if the drain pump is mounted near the rear wall—this is common on Ardo, Indesit, Haier, and BEKO appliances. Simply gain access to the rear panel, remove the four retaining screws, and remove the wall.
- Finally, Bosch and Siemens machine owners will likely have to disassemble the machine from the front. Disassembling through the front panel is the most time-consuming, as you must first remove the top of the machine, removing the retaining bolts at the rear. Next, you'll need to loosen and remove the outer clamp on the seal, and reinsert the rubber seal into the drum. At this point, you'll need to disconnect the powder drawer, control panel, and door lock wiring, close the door tightly, remove four screws, and remove the front panel. Only then will you gain access to the pump, which is located just behind the filter.
The third option is especially difficult for people without experience disassembling household appliances, so it's safe to say that owners of top-loading washing machines are in luck, as it will be much easier for them to access the pump. In such equipment, the pump is located in the same place where the filter is installed, so the pump will be located on the side of the washing machine closest to the filter. Loosen the retaining screws, remove the left or right side panel to access the pump, and then get started.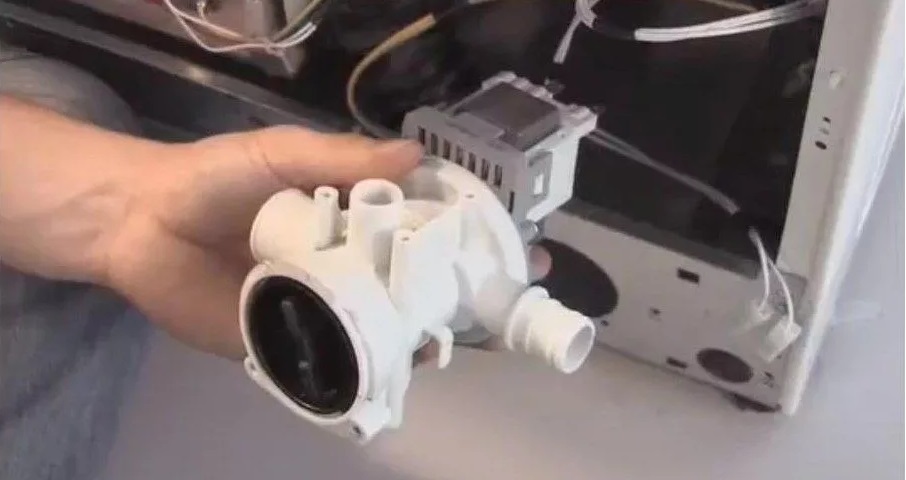
- It's best to take a few photos of the pump and wiring first—this will make reassembly easier and give you examples of proper connections.
- Disconnect all wires.
- Place a bucket or basin under the pump to prevent water from flooding the floors.
- Next, use pliers or needle-nose pliers to remove the clamp from the drain pipe so that you can then disconnect the tube.
- Remove any foreign objects from the hole that appears that might be preventing you from removing the filter.
- At this stage, it is necessary to check the catcher, because if it simply unscrewed, then you need to stop disassembling the "home assistant", install the part in its seat and reassemble the equipment.
- If everything is in order with the trap, then you need to continue disassembling the equipment and the next step is to unhook the drain hose from the snail, having first removed the retaining clamp.
- Now we remove the screws securing the pump and carefully remove it with the snail.
- The final step is to carefully examine the pump and then detach the cup, either by releasing the latches by turning the housing counterclockwise, or by removing all the fasteners.
Typically, you just need to clean the glass of all dirt and foreign objects. Also, pay close attention to threads, fur, and hair. If the drain filter can be easily unscrewed after cleaning, the procedure is complete. All that remains is to remove scale from the trap, as well as any other debris that might impede its proper operation.
If the cork and the snail have grown together
Unfortunately, there are sometimes cases where the drain filter cannot be removed even after the user has pulled out the pump. This is usually caused by sodium deposits that form from using hard tap water. Dealing with such stains is much more difficult than simply cleaning hair, fur, and foreign objects from the washing machine's components. However, even this can be dealt with at home without calling a repair service.
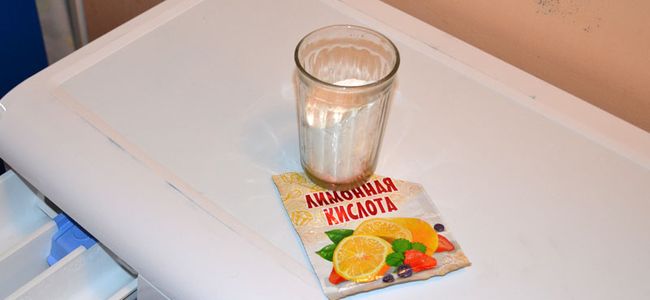
- To begin, you can try dissolving limescale with standard citric acid. You'll need a few spoons of acid, which you should add to the washing machine drum before running a short cycle with water heated to 40-60 degrees Celsius. If you've already disassembled the pump, you can soak the cup and filter in a solution of 1 tablespoon per 6 liters of water. Avoid using water hotter than 60 degrees Celsius to avoid damaging the rubber seal. Also, be sure to keep the plastic parts from floating on the surface for several hours, which can be done by weighing them down. Once the parts have soaked sufficiently in the citric acid, remove them, rinse thoroughly with water, and try to remove the trap from the snail.
- If citric acid doesn't help, you'll have to resort to a more radical method: breaking off the filter with pliers or wire cutters. You'll need to carefully break off the fragile plastic housing of the part, then unscrew the remaining parts and remove the entire element. It's crucial not to break the snail itself during this procedure, as any damage, even the slightest, will cause leaks while the "home helper" is in operation.
- You can also try to remove the filter and its housing. The downside of this method is that it will require costly replacement of two important system components. The main advantage, however, is that new parts guarantee long-term prevention of leaks and severe clogs.
Try to find original spare parts so that they serve you for a long time and with high quality.
It's always best to try to solve a drain plug problem without damaging any parts, as this will save you money. Only remove faulty components when absolutely necessary, after other methods have been tried and failed.
Interesting:


Readers' comments
Headings
Washing machine repair


For buyers


For users


Dishwasher


Add a comment