How do I open the door of a Candy washing machine if the handle is broken?
The handle of Candy front-loading washing machines is made of low-quality plastic. This often causes the part to break. To repair it, you must first open the door without scratching the surface of the machine. Let's figure out how to open a Candy washing machine with a broken handle and how to replace it.
Options for "opening" the machine
If a door handle breaks, removing it is quite simple. Avoid drastic methods like prying it out with a screwdriver, awl, or other sharp objects. Let's look at effective and safe solutions.
The first method involves using fishing line or thin nylon rope. Use a flat-head screwdriver and carefully thread the rope through the gap between the door and the device body. Then, grasp the ends of the rope and pull the line under the hatch. Pull firmly on the ends of the rope, and the mechanism will open.
There's another option, and it's the simplest. Just carefully read the instructions for your appliance. Some front-loading models have a special lever for an emergency door release. This part is usually located near the dust filter. Pull this lever, and the door will open immediately.
If you don't have any fishing line at home and your washing machine doesn't have a special release lever, you can open the door through the top plastic panel. Unplug the machine. Then remove the top cover. A small gap should be visible in the front of the machine between the front panel and the upper counterweight. Reach through this gap to access the door closing mechanism.
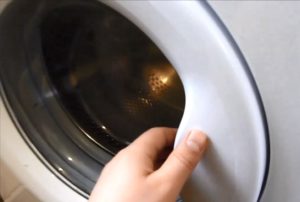
Important! If the handle hasn't come completely loose, you can carefully pry up the intact plastic section with pliers and carefully open the hatch.
Let's remove the broken handle
Once the Candy washing machine door is successfully opened, you need to address the immediate problem. Repairing a broken piece of plastic is unlikely. In most cases, this is impossible, so the only reliable solution is a complete replacement.
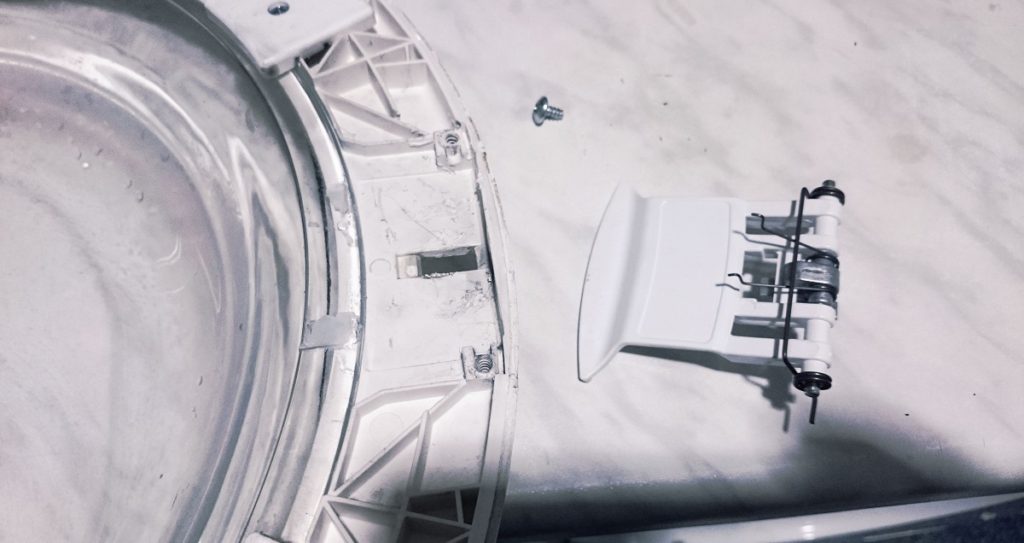
First, you need to remove the broken element using a few simple steps. It's recommended to use a screwdriver, open the door wide, and remove the two screws that hold the entire mechanism in place. Place the hatch face down on the floor, then remove all the screws located around the perimeter. It is better to immediately take a photo of the door glass in its unassembled state in order to remember how the parts were arranged. Otherwise, additional difficulties may arise later.
The hatch is disassembled into two parts. The glass is set aside, and it's important to take a photo of the inside of the door; otherwise, you'll have to memorize the locations of all the components. Carefully remove the hook, spring, and pin from the broken handle and discard them. These parts will no longer be needed.
The machine owner may have difficulty removing the pin. To remove it, pry the element with a sharp, hard object (such as a screw or awl). If the pin is very difficult to remove, apply a small amount of WD-40 solution to it.
We install a new part
New plastic handles are sold with a pin, spring, and hook. For proper installation, refer to the instructions and pre-taken photographs. The hardest part is installing the pin, as it has to be threaded into all the right slots. The task is simplified if you use pliers to help you.
After installation, check that the handle is functioning properly. It should be springy but pressed without significant effort. If the mechanism is difficult to return to its original position or doesn't work at all, reinstall the handle, repeating all the steps above. Once everything is working correctly, you can reattach the door.
 The handle of Candy front-loading washing machines is made of low-quality plastic. This often causes the part to break. To repair it, you must first open the door without scratching the surface of the machine. Let's figure out how to open a Candy washing machine with a broken handle and how to replace it.
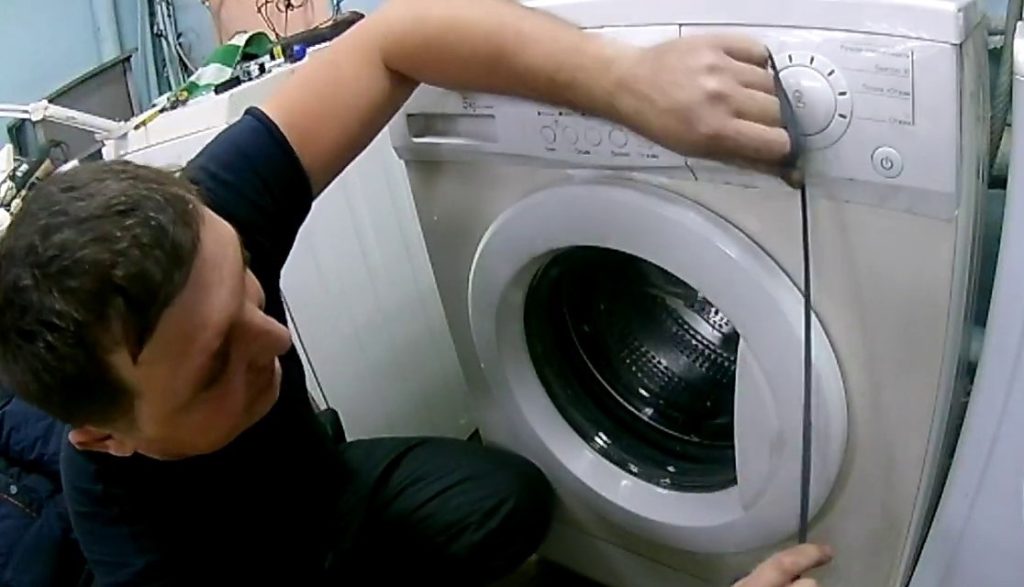


Add a comment