How to reverse rubber bands in a washing machine
 Progress never stands still, but even modern washing machines aren't immune to breakdowns. The seal in the washing machine often fails, tearing at the bottom and making washing impossible. Few people know that you can flip the seal inside the washing machine and continue using it as if nothing happened. Today, we'll tell you about this simple repair that will save you time and money.
How to move the cuff?
Some people try to use force in this operation, but this will not turn the cuff over. The rubber seal is attached to the machine using internal and external clamps, so unless you first disconnect them, the rubber seal will not move. It will take time, but there is no other way.
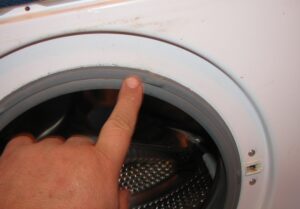
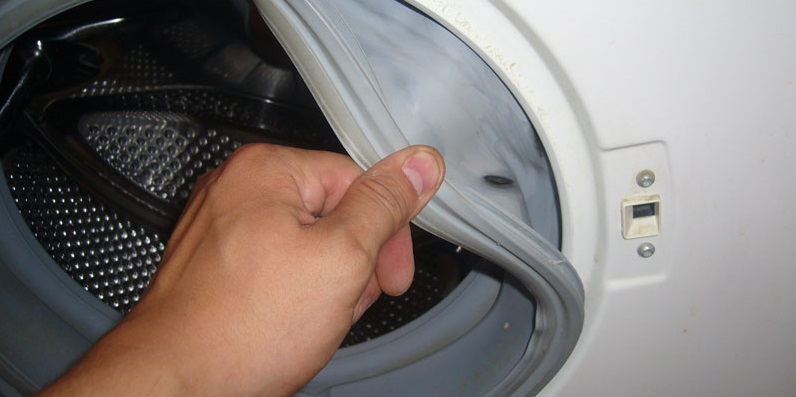
- We bend back the edge of the rubber seal at the wall of the hatch, where we look for a clamp made of plastic or metal.
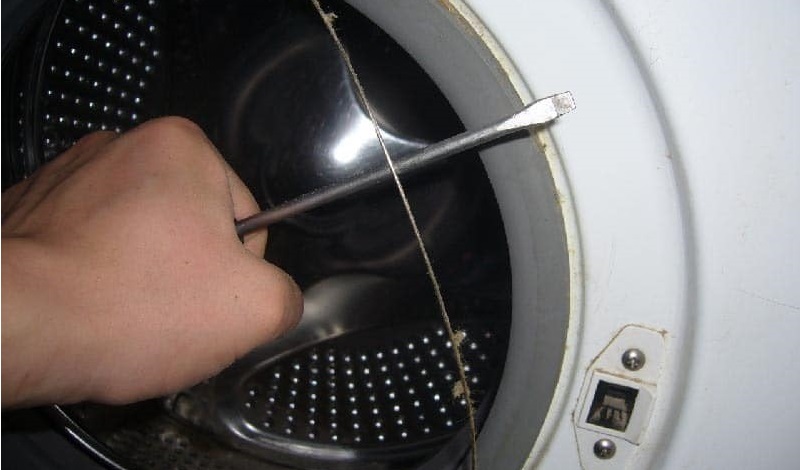
- We pry up the clamp with a screwdriver, then move along it until we find the fastening.
- The fastener must be loosened and the clamp removed.
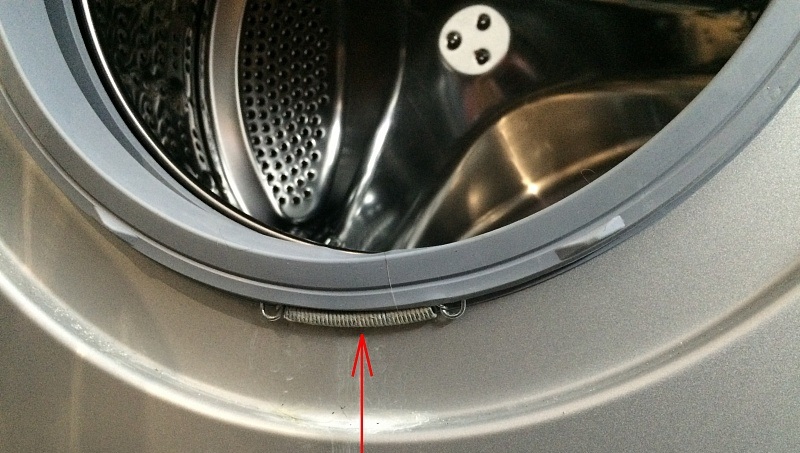
- We return the rubber band to its normal state and look for the inner clamp.
- We pry it up with a screwdriver and loosen it, but in this case it is not necessary to remove it.
- We turn the cuff 180 degrees so that the hole is on top.
- We install the inner clamp in its place, unscrew the seal, and install the outer clamp.
- Now all that's left to do is check that the seal fits snugly into the groove, then close the washer door. If it closes properly, the job is done successfully.
Removing the clamps takes quite a long time, but do not try to force the rubber band secured with clamps, otherwise you can completely damage the part and you will have to buy a new one.
Choose your repair tools carefully. Never use small, sharp screwdrivers, stationery knives, table knives, or any other knives, as this can cause further damage to the seal.
Is it possible to patch up the hole?
While this kind of budget repair is possible, it doesn't always fix the problem 100 percent. In some cases, the rubber seal continues to leak, requiring a new part or a patch.
Of course, simply gluing the rubber seal won't work. Neither Moment Glue, nor Super Glue, nor any other adhesive will ensure the machine's long-term functionality. After this procedure, the washing machine will only be able to wash properly once, and even then, it's not guaranteed. Hot water, detergents, fabric softeners, and other detergents destroy almost any adhesive. Only silicone sealant can withstand the damage, and we'll use it to restore the seal.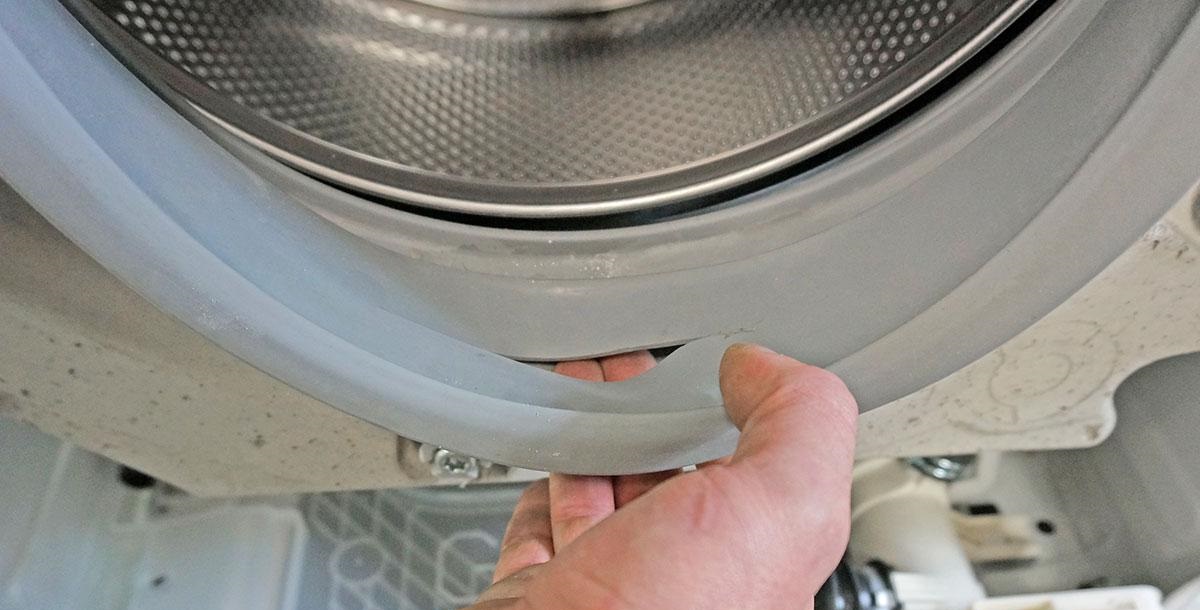
- For the procedure you will need a thin curved needle, nylon thread and sealant.
- We sew up the tear end to end using a football stitch.
- We generously coat the resulting seam with sealant.
- We leave the washing machine with the hatch open for the whole day so that the silicone has time to dry completely.
- Now you can start the test wash.
If the machine washes normally and does not leak, then the cuff is repaired. This type of repair lasts for about six months, so if you don't want to buy a new rubber seal, you'll need to renew the silicone sealant after six months, otherwise it will begin to deteriorate over time.
If you're repairing a seal with sealant, avoid washing programs that use very hot water; stick to settings that don't exceed 60 degrees.
The main drawback of this kind of budget repair is the difficulty in accessing the damaged part. If the part breaks at the bottom, you're lucky, but it could also break in the center groove, which is difficult to access. In this case, you have to remove the entire rubber seal, repair it, and then reinstall it from scratch. And if you have to perform such complex manipulations and completely remove the seal, maybe it's better to buy a new one instead of reinstalling the damaged part?
Interesting:


Readers' comments
Headings
Washing machine repair


For buyers


For users


Dishwasher


Add a comment