Resetting a Beko washing machine
 For users, resetting their washing machine is often the key to solving a variety of problems. Forgot to add an item to the drum? Reset the machine and continue. Confused the program? Same thing. Remembered you left your ID card in your jeans pocket? Even then, the first thing that comes to mind is to turn off the machine, remove the item, then turn it back on and resume washing. Let's look at when it might be necessary to reset a Beko washing machine, whether it's even possible, and how.
Stopping and restarting the program
Before resetting, you must safely shut down the washing machine. An emergency shutdown is far from harmless and can lead to serious malfunctions in the control module, leading to costly repairs. A safe program reset is performed as follows:
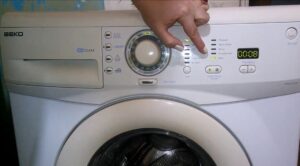
- press the "Start" button and hold it for 4 seconds;
- all the lights on the front panel should simultaneously light up green and then go out;
- the program will stop working;
- If the car has a program selector, you need to set it to the neutral position.
A successful stop is indicated by the machine becoming silent and the control panel lights flashing regularly. If none of this happens, something went wrong, and the machine needs to be reset. Here's how: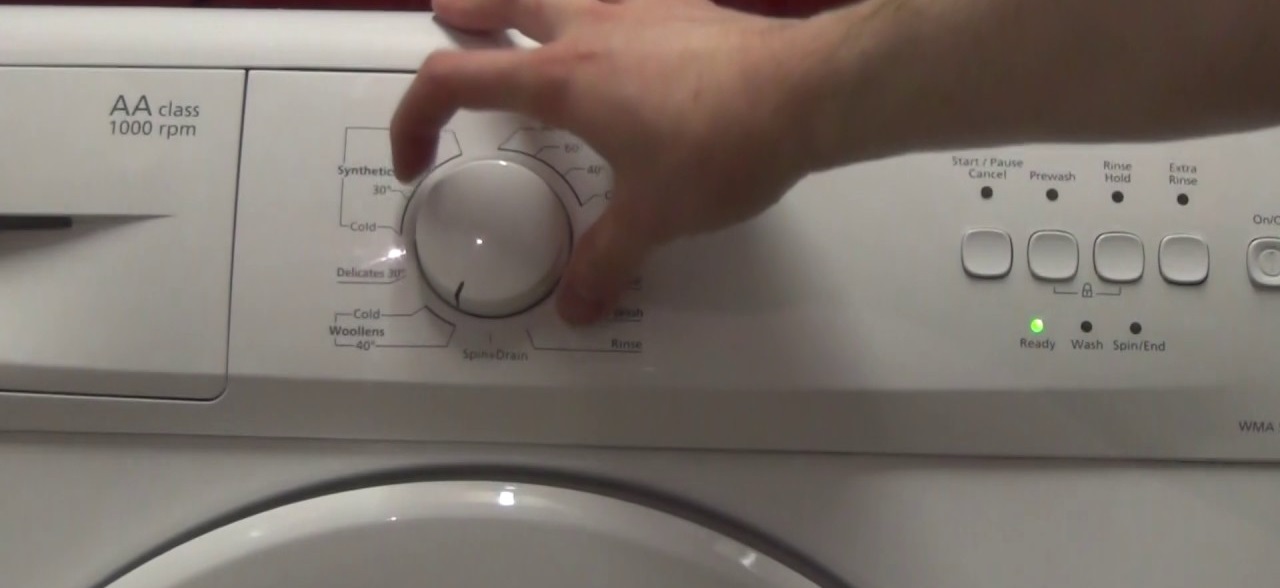
- set the program selector to the first position;
- press the “Start/Pause” button and hold it for about 5 seconds;
- remove the power plug from the socket;
- Insert the plug back into the socket after a few seconds;
- Run the desired program again.
Important! If, even after all these steps, the machine still doesn't respond to the wash cycle, unplug it immediately!
Remove the plug from the socket without making any sudden movements, carefully, so as not to damage the electronic components of the unit.
A restart is required due to an error code.
We're talking about a Beko washing machine, so below we'll provide a list of error codes specific to this manufacturer's washing machines. So, if you see the following sets of symbols on the display, your washing machine may need a reset and repair.
- H1. The temperature sensor is faulty. This is often caused by a disconnected connection between the sensor and the thermostat. Set the multimeter to measure resistance and test the thermistor. At room temperature, the reference value is 4700 ohms. If a problem is detected, the sensor must be replaced.
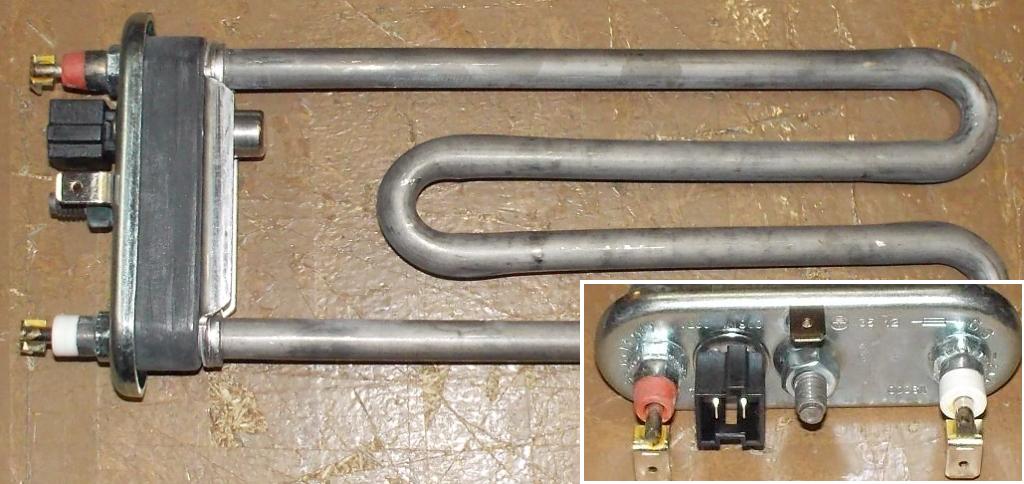
- H2. The heating element has failed. Carefully inspect the element itself, especially its contacts. If the contacts are normal, replacing the electric heater will suffice.
- H3. This code indicates that the water in the drum is overheating due to the heating element being constantly on. However, the problem could still lie in the temperature sensor itself, the resistance of which should be checked with a multimeter. If the thermistor is OK, the problem could lie in the control board.
- H4. The fill valve triac has shorted. First, you need to check the wiring. If the contacts are OK, then the problem lies with the control board. You'll need to call a technician to either repair or replace the element with a new one.
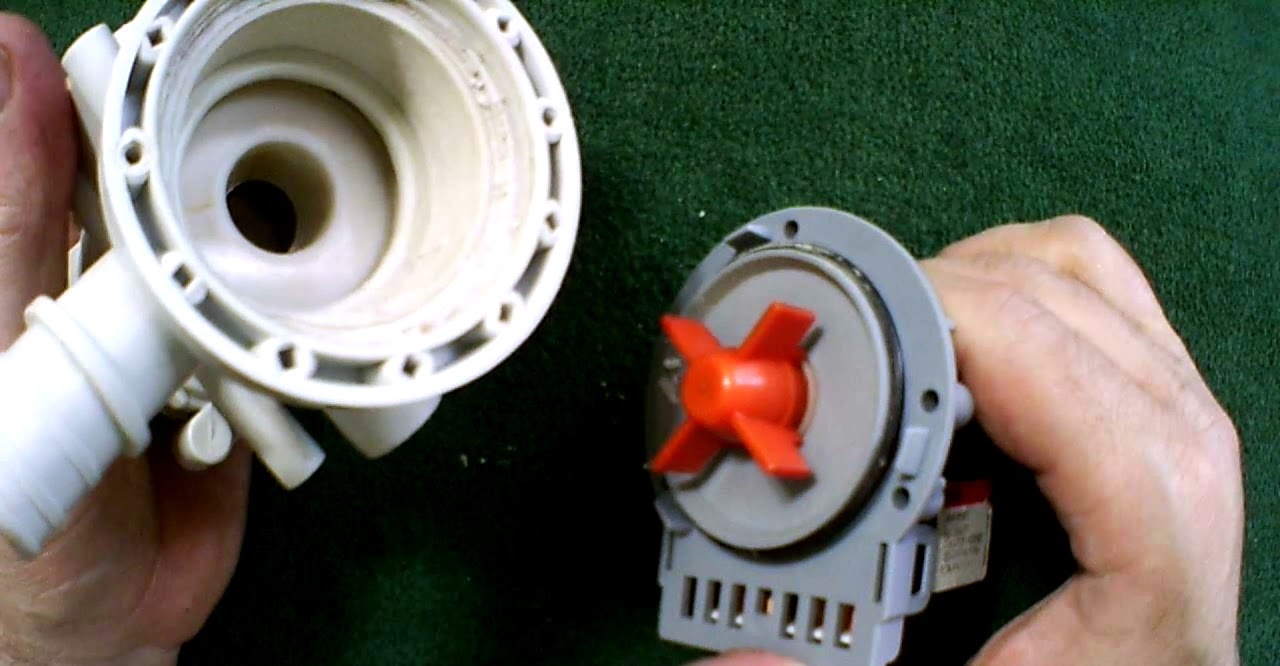
- H5. This code indicates something is wrong with the pump. Typically, the suction power is very low. A simple cleaning can solve the problem: clean the drain filter, remove accumulated debris from the hose, and straighten the hoses to avoid kinks and bends. If none of this helps, the pump will need to be replaced.
- H6. Indicates that a short circuit has occurred in the motor's thyristor. However, experience shows that the code may also indicate other problems with the engine's thyristor: its failure, broken contacts, or a general failure in the control board.
- H7. Water level sensor failure. Pressure switch malfunctions may be related to the following factors: broken contacts between the sensor and the unit's central control module, failure of the element itself, or a malfunction in the corresponding section of the control board.
Attention! Sometimes even a faulty locking device can be accompanied by error code H7!
- H11. Engine circuit break. It is necessary to check all engine contacts, the tachogenerator wiring, and inspect the wires from the electronic controller to the engine for integrity and damage. If all is well, inspect the engine and tachogenerator themselves.
Sometimes, when error codes appear, your washing machine truly needs repair, even if it's a simple DIY repair. Sometimes, a simple reboot can solve the problem. The main thing is to follow the safety instructions.
Interesting:


Readers' comments
Headings
Washing machine repair


For buyers


For users


Dishwasher


Add a comment