Cleaning the filter in a Haier washing machine
 Haier automatic washing machines have long earned the acclaim of users. They rarely break down, wash clothes well, and are relatively inexpensive. The price-quality ratio for this Chinese manufacturer is quite high. To extend the life of your "home helper," it's essential to maintain it regularly and properly: remove blockages, flush the insides of the washing machine to remove scale, and ventilate the machine. Let's look at how to clean the filter in a Haier washing machine, as this is an essential procedure that should be performed every three months.
Search for a filter unit
According to a social survey conducted by Haier managers, one in twenty people don't even know what a dust filter is, what it does, or where it's located in a washing machine. Of course, they're unaware of the need to clean it.
The waste filter is located at the bottom, in the right corner of the Haier washing machine body, behind a separate opening door.
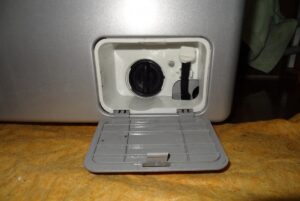
Upon examining the lower part of the front panel, it's easy to spot a small access hatch—the trash bin is hidden behind it. To open the lid, pry it open with a thin screwdriver or your finger and pull it toward you.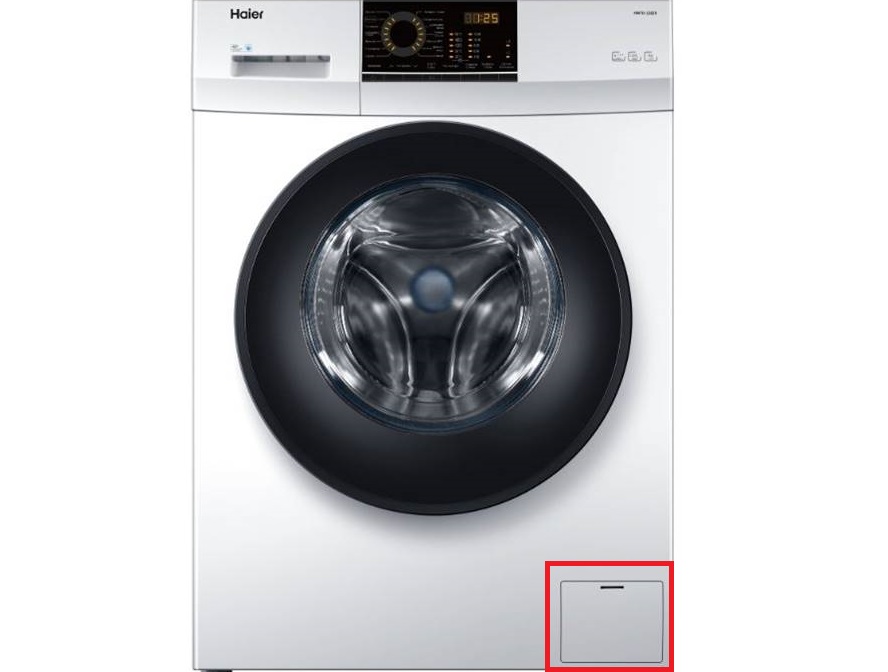
Just behind the door is a round black "plug" for the waste filter and a separate hose for emergency water drainage. The hose is covered with a plug that can be removed if you need to quickly drain the tank, for example, if the washing machine breaks down. The "dust filter" is easy to remove for cleaning. The drain filter is removed from the machine by unscrewing it – its visible part has a convenient protrusion that you can grab onto.
Be prepared for the unexpected
Don't just unscrew the filter plug. Water always remains in the drain system, so it's important to be prepared. Otherwise, liquid gushing out of the hole can seriously damage the flooring, stain the carpet, and so on. The procedure is as follows:
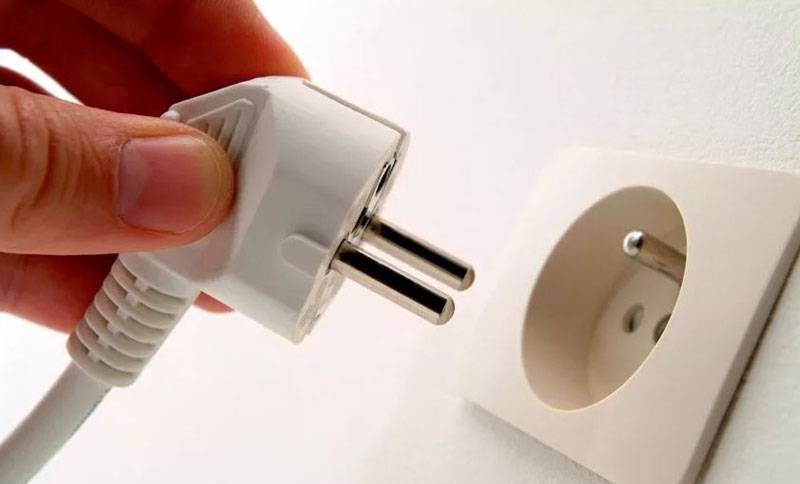
- de-energize the washing machine by unplugging the power cord from the outlet;
- turn off the water supply tap;
- Remove any mats near your washing machine. Water remaining in the system is dirty, and if it gets on your items, they will need to be washed.
- Prepare a container to collect the water. A regular frying pan or a shallow basin will do;
- If the room has a floor covering that is sensitive to moisture, cover the area around the washing machine with plastic and then cover it with old rags;
- tilt the machine back slightly and place a basin under the body, in the area where the debris filter is located;
- Place a couple of dry napkins near the basin to quickly wipe up water if necessary.
Now you can begin cleaning the filter element. If you neglect the preparatory steps, you could flood the floor around the washing machine. Let's figure out what to do next and how to clean the drainage system element.
Let's start removing junk from the system.
Now you need to remove the dustbin to clean it. Unscrewing the filter element is very simple. Grasp the plug's protrusion and turn the handle half a turn, from right to left. Wait until most of the water drains into the container. Then, pull the dustbin out, and it will be in your hands. If water spills around the basin after removing the plug, use dry rags to wipe the floor. Sometimes the filter may not come out right away. In this case, you can spray the plug with WD-40, wait 15-20 minutes, and then try again.
Now you can begin cleaning. Inspect the element—remove any tangled hair, dirt, threads, and other debris. Then rinse the part in warm water. Plastic should not be subjected to high temperature treatment as it may become deformed.
If limescale has accumulated on the filter, a more thorough cleaning will be required. Take a packet of citric acid, dissolve 50 grams of the solution in a small basin, and immerse the filter basket in the solution. Wait 6-7 hours for the limescale to dislodge. It's best not to use household chemicals to remove the deposits, as harsh chemicals can corrode the plastic, damaging the filter element.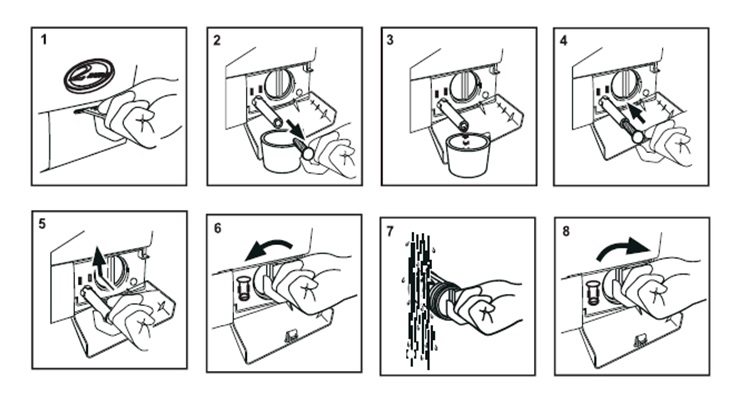
While the drain filter is soaking, it's time to clean the hole where it's inserted. Use a flashlight to shine into the interior, remove any debris that has accumulated over the machine's life, and wipe away any dirt from the walls with a damp cloth. Look into the hole where the filter used to be and inspect the impeller of the drain pump. Lint and hair often get caught on its blades. Use a long, thin stick to remove any debris from the "wings." This completes the cleaning of the drain system components.
Now you can replace the clean drain filter, remove the basin of water from under the unit, and gather up all the rags. It's important to ensure the system is sealed by running a short cycle on the washing machine, such as "Rinse." While the machine is running, check for leaks in the waste bin area.
Consequences of neglecting prevention
Many people are surprised and confused by the need to clean the drain filter in a Haier washing machine. In fact, it's not uncommon for people to leave the filter untouched for years, and the machine works perfectly throughout this time. But it's best to avoid this.
If you don't clean the debris filter, it will become very clogged and it will be very difficult to unscrew it.
If the filter element is severely clogged, the machine will stop functioning completely. Wastewater will not be able to drain into the drain, and the wash cycle will stop. The Haier will display an error code. Cleaning the filter element is the only solution.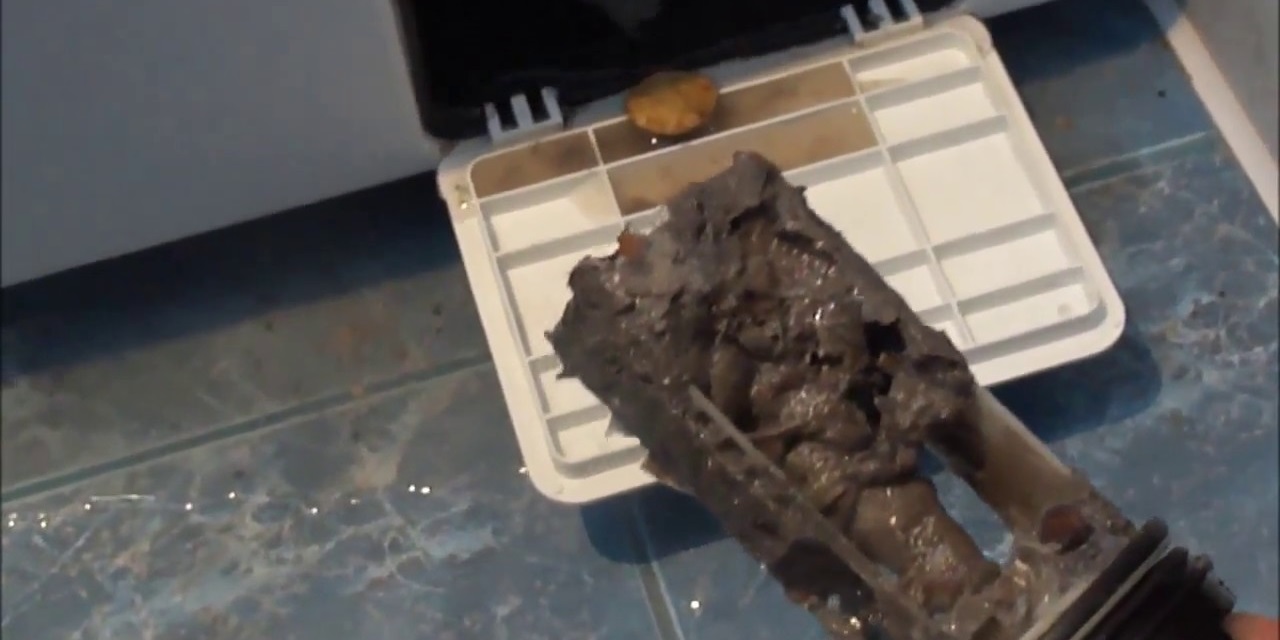
It's important to understand that water from the tank first enters the drain pipe, then passes through the debris filter and pump, and is finally discharged into the sewer pipe. If the filter element is clogged, this "dirt" plug blocks the flow of water. The pump begins to work at full capacity, which can lead to component failure. This is why it's so important to clean the debris filter regularly, approximately every 3-6 months. This will ensure smooth operation of the washing machine and prevent the drain pump from overworking. You can remove the filter element in just a couple of minutes, rinse it under water, and wipe the walls of the filter hole in another 5 minutes. As a result, with just a little time, you'll ensure the smooth operation of your washing machine.
Interesting:


Readers' comments
Headings
Washing machine repair


For buyers


For users


Dishwasher


Add a comment