How to connect an Ardo washing machine?
 Connecting an Ardo washing machine yourself isn't as difficult as it might seem. Even a novice can handle the job; the key is to follow all the instructions and have a minimum set of tools. Let's look at how to properly install the machine and connect it to the home's utilities.
Organizing the connection point
First, you need to decide where the washing machine will be installed. It's best to do this before purchasing the equipment, so you can choose a machine with the appropriate dimensions. For example, a full-size front-loading washer will fit in a spacious bathroom, a compact vertical washer will fit in a narrow bathroom, and only a built-in model is suitable for a kitchen unit.
Washing machines are typically installed in the bathroom. Depending on the owner's preference, the machine is placed near the toilet, sink, or directly under the vanity. This is highly individualized and depends on the available square footage and the room's design. The disadvantage of living here is the high humidity. An undoubted advantage is the location in close proximity to utilities.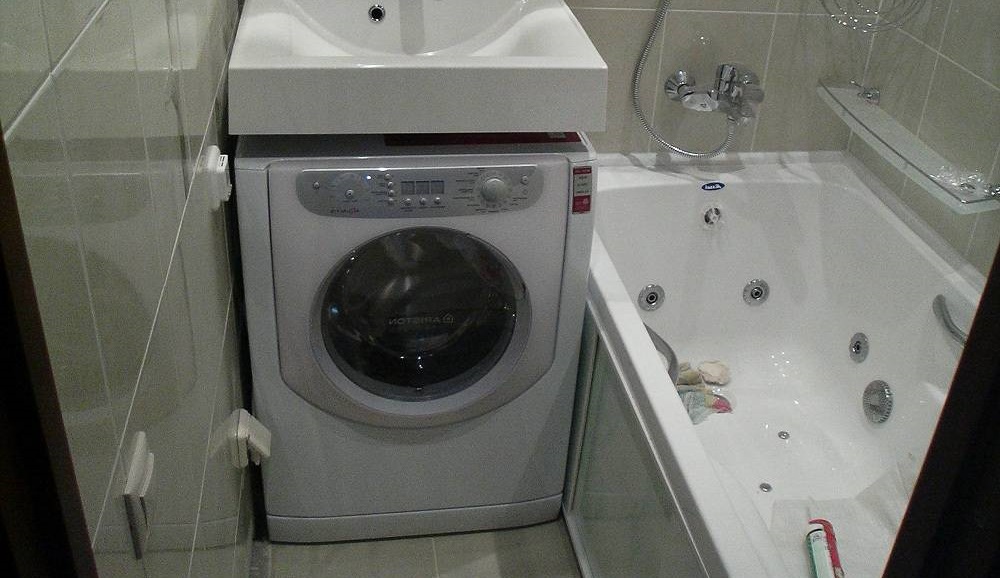
The next most popular location is the kitchen area. Here, washing machines are either built into the cabinetry or simply placed next to a cabinet. The kitchen has better ventilation, and the room has lower humidity. There are some downsides, too: clean clothes can become saturated with food odors. Also, while dining, it's not exactly pleasant to watch laundry being sorted or dirty items being loaded into the drum.
The third placement option is a hallway or storage room. A significant drawback of installing a washing machine here is the considerable distance from utilities. Sometimes washing machines are installed in both the living room and the veranda. Generally, the location of the room isn't that important. What's important is that the room has:
- A level and durable floor. The surface under the washing machine must be level, rigid, and stable. Concrete or tile are ideal. Plank floors should be reinforced beforehand, and it's best to avoid installing over laminate flooring, as the material may blister if a leak occurs.
- Utilities. The power outlet, sewer outlet, and water supply must all be located in close proximity to the unit's installation site—no more than a meter away.
Before connecting the washing machine, it is important to ensure that the area prepared for its placement complies with all standards and regulations.
It's not always necessary to connect a washing machine to a centralized utility system. For example, in a home without bathrooms, it may be sufficient to drain the waste water into a deep container or outdoors, and collect the water from a cistern or canister. The user's primary responsibility is to ensure the appliance operates properly.
Reactivation of the machine
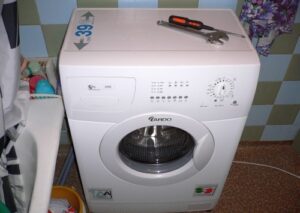
You won't be able to connect the washing machine to the water supply and sewer immediately after delivery. First, you need to let it sit at room temperature for a couple of hours. Be sure to read the instructions for your washing machine—it describes all the nuances, conditions, and operating requirements. Unpack the washing machine carefully to avoid damaging the casing. Be sure to remove any film, zip ties, foam, and other protective materials from the machine's walls.
Be sure to remove the transport bolts from the machine - it is prohibited to start the washing machine with the fasteners not removed.
Forgetting to remove the shipping bolts and running a wash cycle can damage your new machine. This type of damage will be considered out of warranty, meaning you'll have to pay for the repairs out of pocket.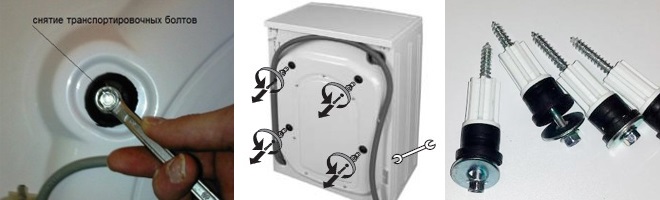
To remove the fasteners, you'll need a wrench or pliers. The transport bolts are located on the rear of the machine. Unscrew the screws and seal the resulting holes with plugs. You don't need to purchase these plugs separately; they're included with all Ardo machines. Now you can connect the machine to the power supply. Move the machine to the prepared location, but make sure you have easy access to the rear panel. First, connect the washing machine to the sewer line, then to the water supply, and then level the machine. It's important to ensure you have a separate power outlet for the machine.
Discharge of sewage
The easiest way to drain wastewater from the system is to direct the drain hose into a bathtub, sink, or toilet. The soapy liquid will flow into the fixture and then down the drain. However, this method is unsightly and unhygienic. A dirty film will constantly form on the walls of the snow-white ceramic faucet, requiring cleaning. The ideal option is to connect the washing machine via a trap.
The instructions include a separate chapter describing the process of connecting the washing machine to the sewer system.
Therefore, it's important to read the user manual. It specifies the bending height requirements for the drain hose. The manufacturer of Ardo washing machines recommends arranging the outlet point to the sewer at a distance of 50-60 cm from the floor. After reading all the connection instructions, install the trap under the sink or bathtub, attach the drain hose to the branch (nipple), and secure the connection with a clamp. Direct connection of the hose to the sewer pipe is also possible. In this case, purchase a special rubber gasket, place it over the joint, and connect the corrugated pipe. It's important to secure all components securely to prevent leaks.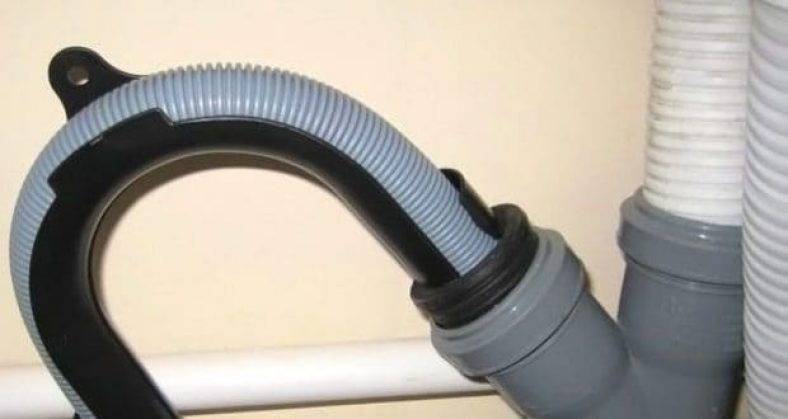
Water supply of the machine
The next step is connecting the machine to the cold water supply. If there was another washing machine in the room before, then a connection point is already installed in the pipe. If not, you'll need to make a connection. The procedure is as follows:
- take the inlet hose that comes with the Ardo machine;
- connect the curved end to the special pipe located on the rear panel of the case;
- Cut a hole in the water pipe. Using a special tee, create a connection point for the machine;
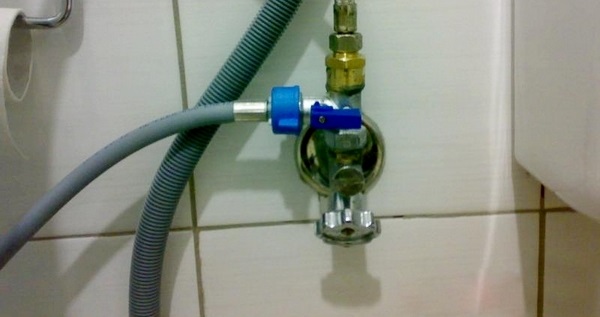
- connect the inlet hose to the water supply;
- Tighten the mounting clamps securely. The plastic retaining nuts should be tightened lightly, without using tools.
When installing water sockets or special tees, it is important to use silicone waterproof sealants.
After finishing the work, be sure to inspect the connection point. Even a single drop leaking at the joint indicates a leak. The design will need to be adjusted.
Aligning the machine
The connected machine can be moved against a wall or placed in a cabinet or niche. It's too early to start the machine yet—it's important to level the machine. Otherwise, the machine will vibrate excessively, bounce, and hum when running at high speeds. To level the machine, use a spirit level. Place the level on the lid of the machine. Follow these steps:
- looking at the level, tighten the feet of the washing machine;
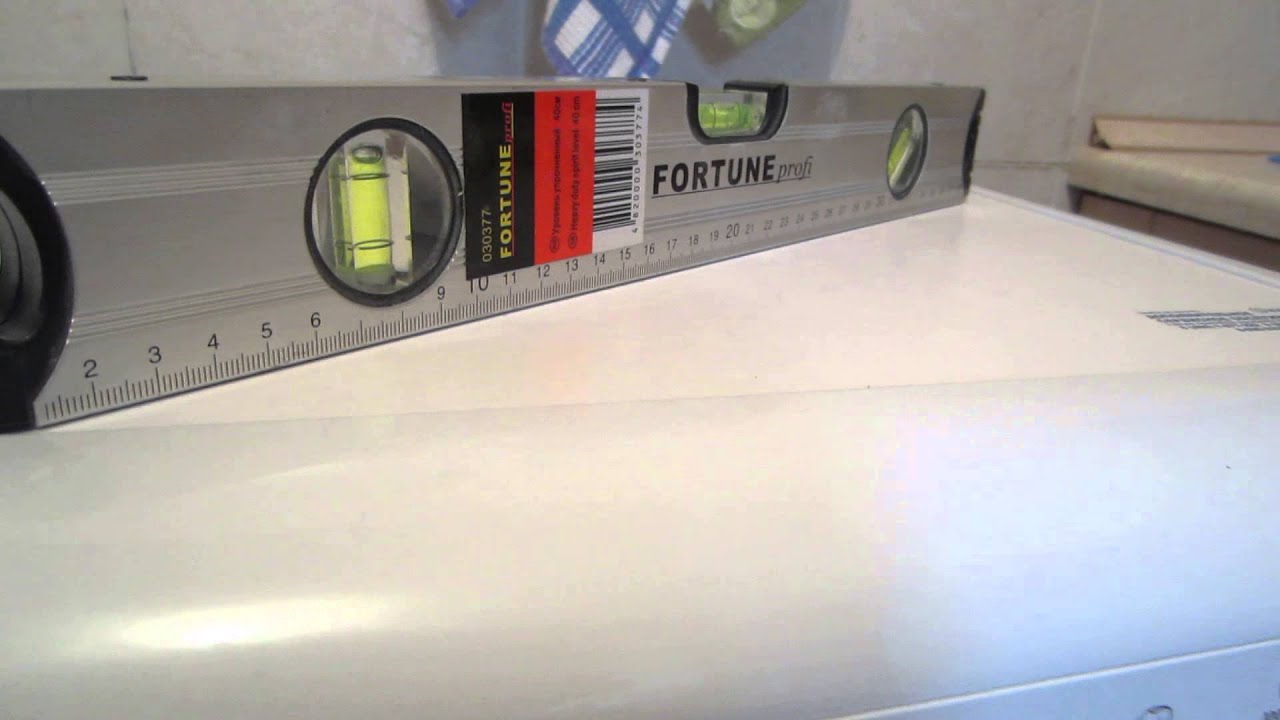
- Once finished, check the stability of the frame. If the machine rocks when pressing on the corners, further adjustments are needed;
- tighten the nuts.
Using an unleveled washing machine is not recommended. It will vibrate excessively, which can quickly damage the casing and some internal components. It's recommended to place a special anti-vibration mat under the Ardo washing machine. This will reduce not only the risk of damage but also the noise level of the machine during operation.
Power supply of the machine
Manufacturers do not recommend connecting the washing machine through an extension cord – this is not in compliance with safety regulations. An automatic washing machine requires a separate grounded outlet with protection against moisture. Additionally, a residual-current device (RCD) should be included in the circuit (for bathrooms, with a cutoff current of 10 mA; for kitchens and other dry areas, 30 mA). This will protect the machine from sudden voltage surges.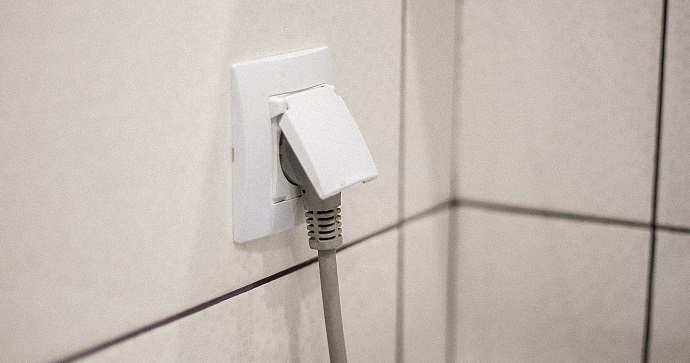
Once the washing machine is installed, run a test wash with the drum empty. Monitor the machine closely throughout the cycle to detect any leaks or other malfunctions.
Interesting:


Readers' comments
Headings
Washing machine repair


For buyers


For users


Dishwasher


Add a comment