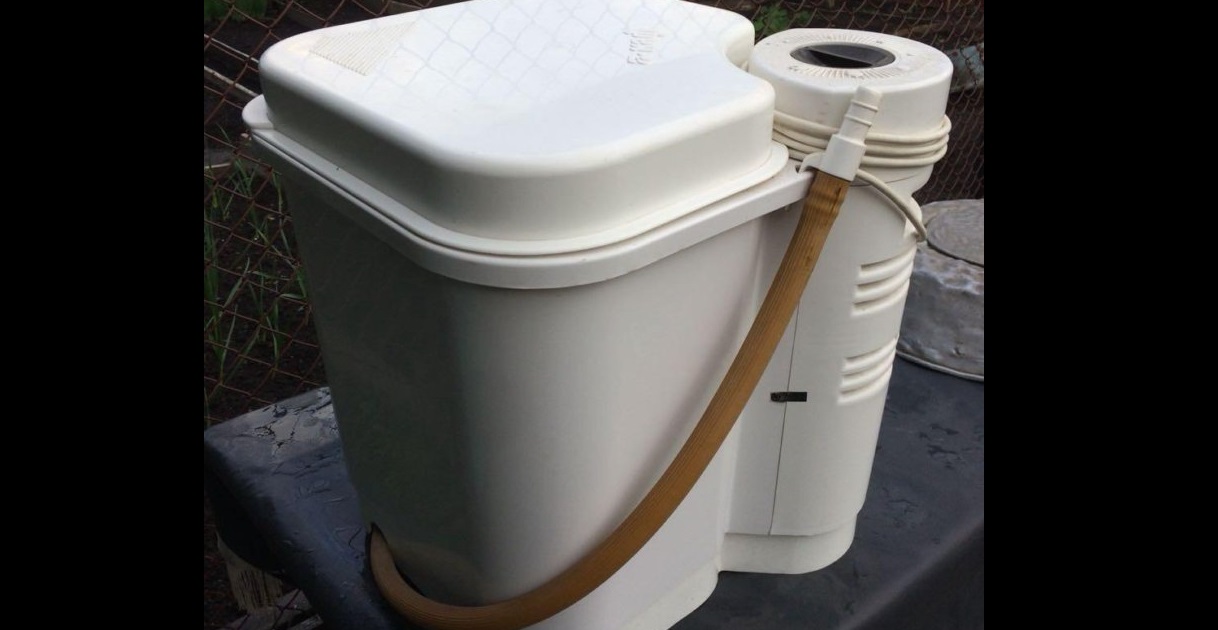
How to use the Fairy washing machine?
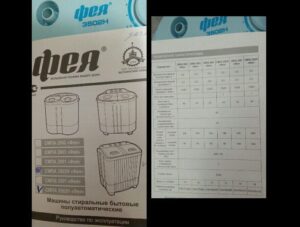 Before the advent of modern fully automatic washing machines, every housewife successfully used semi-automatic devices without any problems. Today, however, such equipment is much harder to find readily available, and not everyone can quickly figure out how to use a Fairy washing machine. While there's nothing complicated about it, operating it is quite different from using a modern washing machine. To make it easier for you to use this type of equipment, we'll take a detailed look at the washing process in a semi-automatic machine.
Before using the machine
Immediately after purchasing your new Fairy car, you should remove it from its original packaging and ensure that none of the components are missing, which you can check against the instructions. Next, the equipment needs to be installed in a convenient location on a stable, solid stand with a supporting surface size of at least 44 by 44 centimeters. Housewives often place the machine next to the bathtub on a stool, cabinet, or other flat surface that can accommodate household appliances.
It is very convenient to use a special plastic stand for the bathtub, which will significantly facilitate washing and storing the unit.
Be especially careful with the special stand, as improper assembly can cause the machine to become unstable and could even tip over during operation. Follow our instructions and carefully install the brackets into the frame guides, then ensure that one of the bracket's semicircular cutouts engages securely with the frame stop. Each clamp should be angled so that its downward-facing cutout fits into the rectangular frame opening and then is moved to a horizontal position. Then, place the stand on the bathtub and adjust the brackets, aligning the bracket cutouts with the frame stops, ensuring a tight fit with the sides and walls of the bathtub. Position the stand so that the cutouts on the sides are closest to the opposite wall of the bathtub.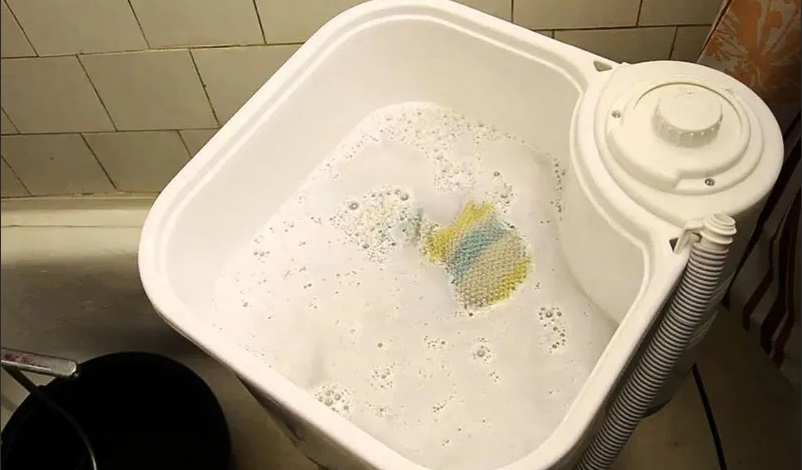
After this, all that's left to do is install your "home assistant" in the designated place. Make sure the motor housing fits into the cutouts on the sides of the stand. Before washing, be sure to check that the machine is installed correctly.
- The stand must be installed horizontally in the bathtub.
- It is necessary that the brackets are in contact with the sides and walls of the bathtub.
- The bottom of the washing machine body must be located between special sides of the stand on each side.
If you're not satisfied with the machine's performance, or simply need to move it to a different location, the manufacturer has provided a convenient handle in the recessed drive housing for easy handling. Simply grasp this handle with one hand and the edge of the tank on the other side of the unit with the other. For convenience, you can also reposition the hose, for example, if you're moving the washer from its stand to a stool near the bathtub. To do this, squeeze the clamp tabs that hold the hose in the tank's drain spout, then slide the clamp along the hose. Then, simply remove the hose from the spout and mark it in the desired position so it fits into one of the two side cutouts in the tray. Wet the hose with soap or another detergent, then install it on the drain spout and secure it with the clamp.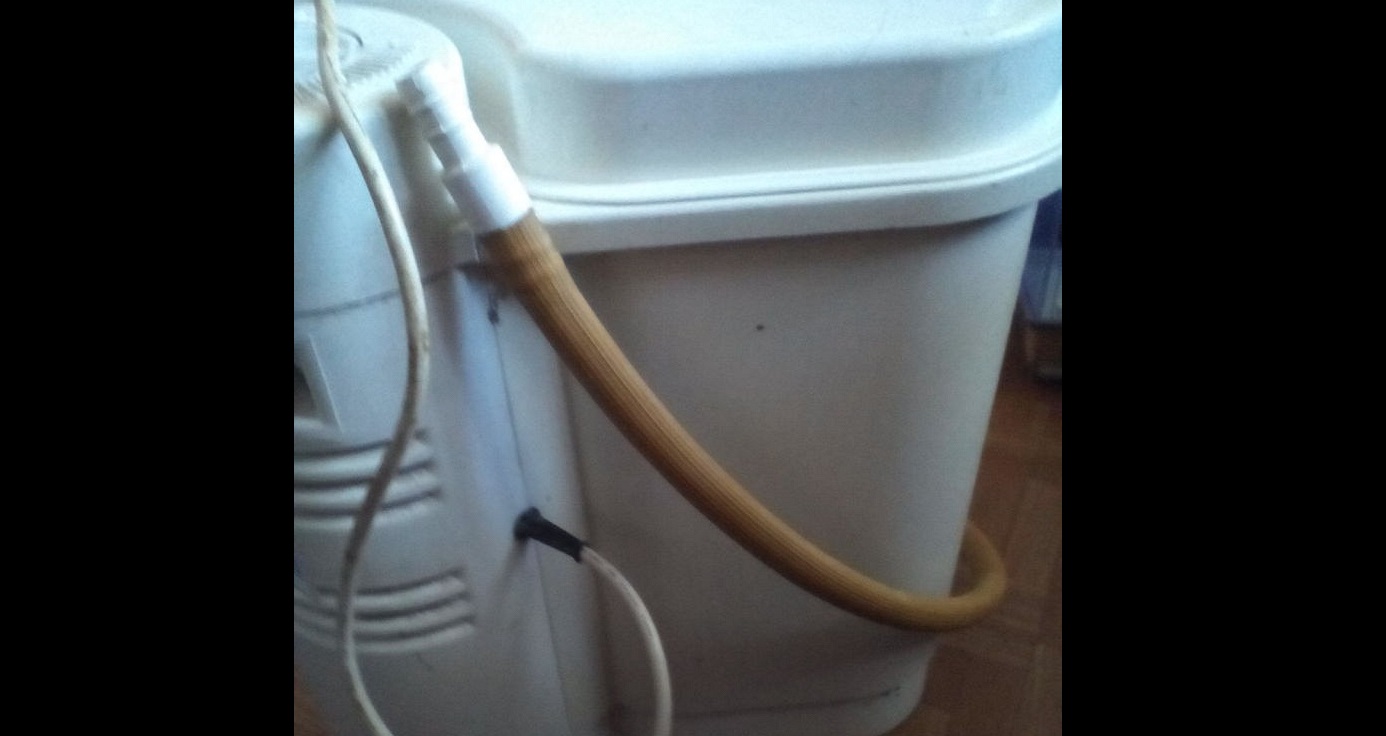
Before starting a wash cycle, experts recommend thoroughly rinsing the inside of the Fairy washing machine's drum and then wiping it dry with a cloth. It's also a good idea to run an empty cycle without laundry to ensure the appliance is working properly. To perform this test, add tap water to the drum, plug in the machine, and set the timer knob to two minutes or less until the actuator begins to rotate.
Never run the washing machine without water in the tank!
If the test shows the unit is working properly, you can begin a full wash cycle. Be sure to separate dirty clothes according to the following parameters to avoid accidentally damaging them during the cycle.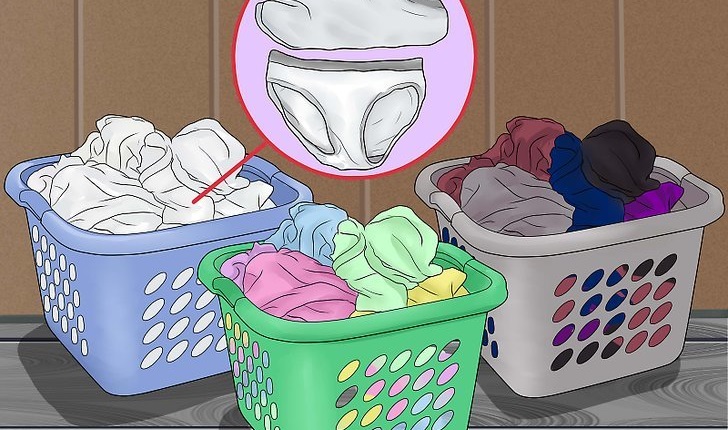
- Type of fiber.
- Cotton, linen, wool, silk, viscose, etc.
- The color of the clothes, for example, black with black, yellow with yellow.
- White and colored linen.
- Dye fastness.
- The degree of color fastness of colored products.
- The degree of contamination of things.
It's also worth remembering that it's best to soak cotton and linen items briefly before washing. Additionally, pre-soak the dirtiest areas of the garment with soap. Finally, if colored clothing is colorfast, it's best to wash it in small batches sorted by color. This also applies to silk and wool clothing.
Using the machine correctly
Now that we've covered how to properly prepare the device, it's time to learn how to wash with this "home helper." First, you need to understand that this household appliance does not work like a full-fledged automatic washing machine, so most of the work will have to be done manually. For example, you should start by filling the water with water of the required temperature to the level specified by the manufacturer.
You cannot pour water hotter than 80 degrees Celsius into the tank, and you also cannot heat the water with a kettle installed in the tank.
Next, you need to remember the time of one work cycle. Here's a handy list you can save for yourself.
- Pre-wash lasts 4 minutes.
- The main stage lasts 6 minutes.
- The first part of the rinse takes 2 minutes.
- The second part of the rinse lasts only 1.5 minutes.
- Finally, the final part of the rinse also lasts 1.5 minutes.
It's important to consider not only the washing duration but also the water temperature, which should vary depending on the type of fabric. Here are instructions for the main materials.
- Cotton and linen with fast coloring should be treated with a prewash at 35 to 45 degrees Celsius, a main wash at 75 to 80 degrees Celsius, and three rinses at 45 to 55 degrees Celsius, 15 to 25 degrees Celsius, and then 15 to 25 degrees Celsius again.
- Colored cotton and linen with fragile colors. Care should be taken with these items, so the temperature should be 35-45 degrees Celsius for the pre-wash, 40-50 degrees Celsius for the main wash, and only 15-25 degrees Celsius for all three rinse cycles.
- Wool and silk. In these cases, care should be even more gentle – only 35-40 degrees Celsius during the main wash and 15-25 degrees Celsius during the rinse cycle. Pre-washing is not necessary for items made from these materials.
Next, start the wash cycle. First, add laundry detergent to the drum, using a suitable amount for 2 kilograms of dry laundry. If you need to clean white and colorfast colored clothes, use a low-sudsing household detergent. If you don't have laundry detergent, you can use 20 grams of washing soda with 80 grams of finely ground laundry soap. If you need to wash colorfast colored items, silk, or wool, add 30-35 grams of detergent per wash.
After loading the laundry, the drum should be tightly closed with a lid, and then the household appliance should be connected to the power supply. To turn on the machine, simply turn the timer knob clockwise and select the desired time – the maximum duration is 6 minutes, just right for the main washing cycle. The interval between two adjacent inserts corresponds to one minute of machine operation. Once you activate the device, the wash cycle begins in reverse mode, with the duration of the cycles interspersed with pauses. Once the timer expires, the relay cuts off the power to the motor. To turn off your "home helper" early, simply turn the knob counterclockwise to zero.
Avoid turning the relay knob beyond the extreme values indicated by the round inserts on the control panel—the largest diameter when turning the machine on and the smallest diameter when turning it off. It's also best not to extend the cycle time to avoid damaging clothes, which will wear out faster. However, you can shorten the cycle if the items are lightly soiled, and you can also run the wash cycle again if the soiling is particularly heavy.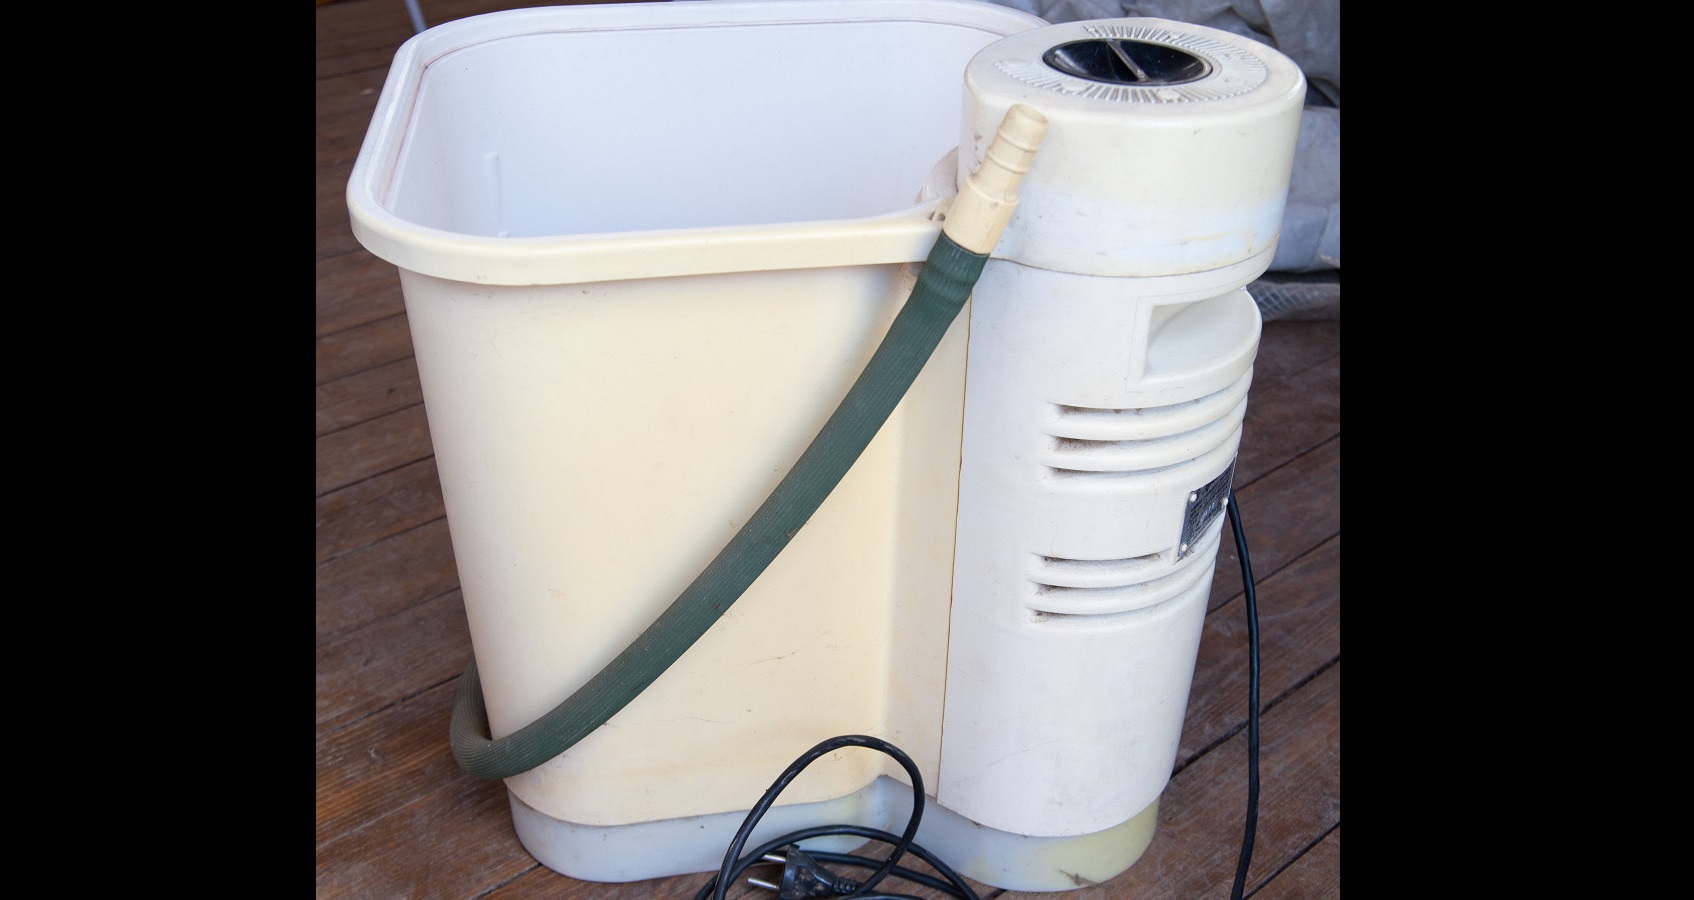
Once the cycle is complete and the motor is turned off, you'll need to remove the lid and remove the garment using the special handle. If you cleaned cotton and linen at 80 degrees Celsius, you'll need to cool the garment in cold water or simply let it cool. The drum lid, which can be used as a container, works well for this purpose.
You can use the convenient ribs located on the tank lid to manually wash problem areas on clothing.
Because the Fairy washing machine has three rinse cycles, you should thoroughly spin the items after each one. Once the cycle is complete, unplug the machine and carefully drain the waste liquid by tilting the machine toward the drain. After each rinse, be sure to wipe the machine with a dry cloth, both inside and out. To prevent damage, it's recommended to run no more than four cycles in a row, after which the machine should cool for at least half an hour.
Interesting:


Readers' comments
Headings
Washing machine repair


For buyers


For users


Dishwasher


Add a comment