Replacing the seal on a Bosch Maxx 5 washing machine
 Clearly, replacing the rubber seal in a washing machine is a procedure some users may never have to deal with, while others replace the part once a year. This is because the seal on a Bosch Maxx 5 washing machine typically needs to be replaced either due to natural wear and tear from heavy use or due to simple user inattention, such as leaving a sharp object in the drum.
Regardless of the cause of the damage, it's essential to replace the element without delay. A damaged seal will compromise the system's watertight integrity, meaning the homeowner risks damaging the flooring and flooding the neighbors below. We'll explain how to do this correctly at home.
Let's prepare a new part
Replacing the cuff is quick and easy, requiring no special equipment or skills, making it easy for anyone to complete, especially if they follow our detailed instructions. First of all, you need to find and buy a new rubber seal that will perfectly fit your household appliance. The easiest way is to remove the damaged cuff and take it to the store as an example.
Be sure to write down the serial number of your washing machine rubber seal to make it easier to find a replacement part.
If you don't have a cuff handy, you can tell the sales assistant the name of your Bosch washing machine to make the search easier. The exact model name can be found in the user manual and on the sticker located on the top of the washing machine door. It's a good idea to take a photo of the manufacturer's plate so you have all the necessary information at hand.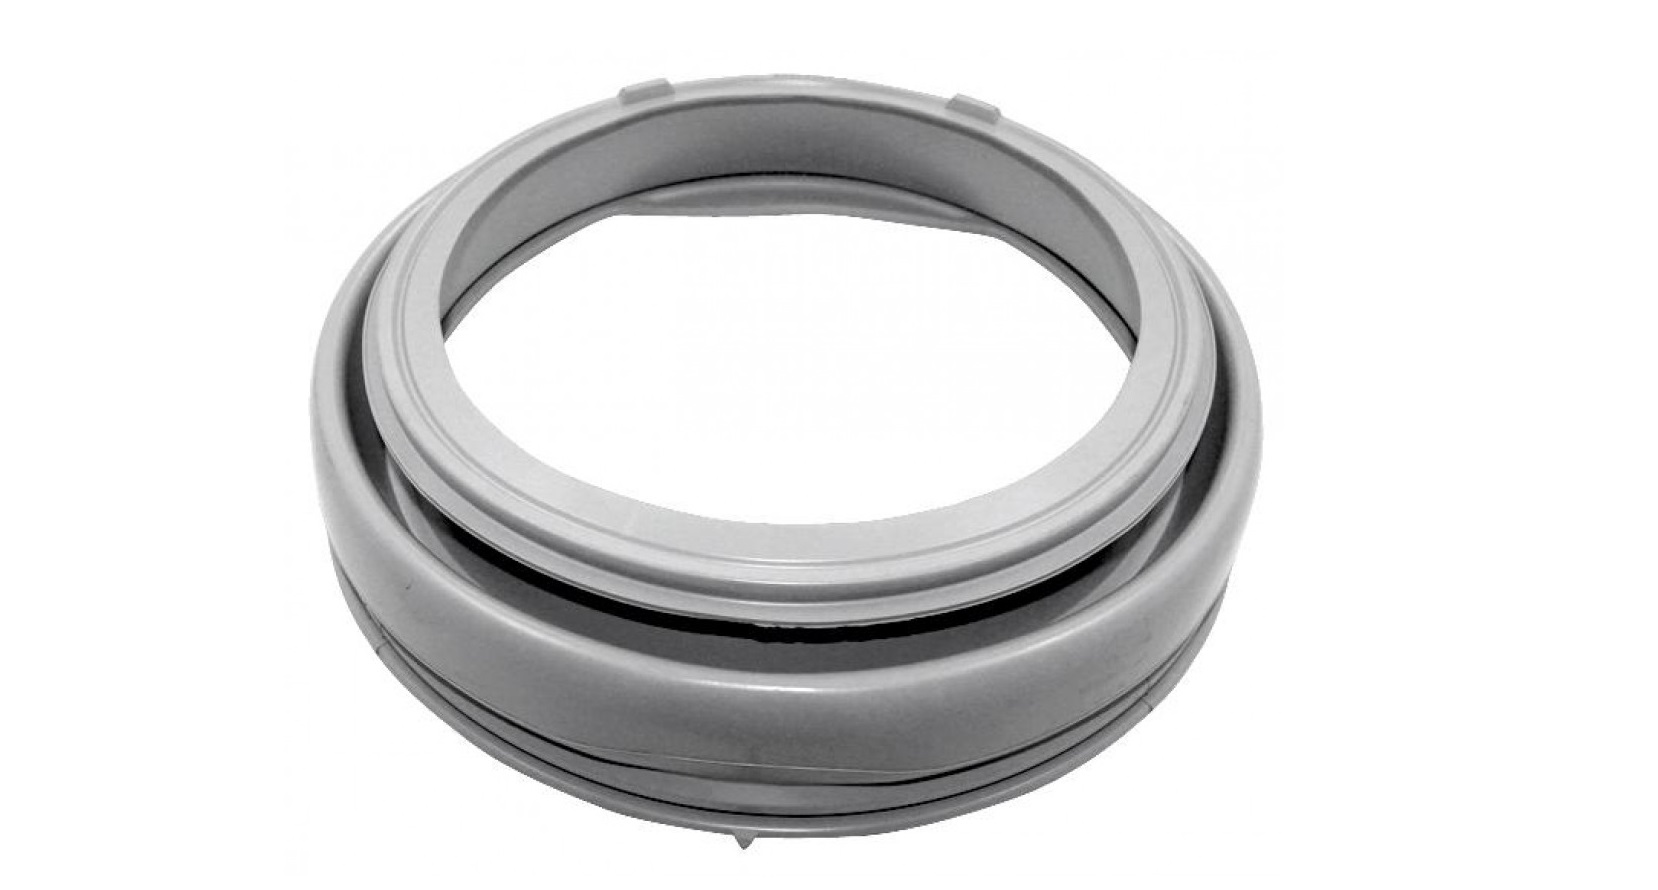
After purchasing the spare part, you need to prepare a basic tool kit, which can be found in any home. This includes only a standard screwdriver, pliers, and soap and a sponge. Once you have all this ready, begin disassembling.
Correct removal of a damaged part
A damaged element is very easy to remove if you understand the process. The cuff is secured to the housing with two plastic rings, so to remove it, you need to remove the outer and inner clamps, which are secured with latches. How do you do this?
- Disconnect the appliance from the power supply.
- Open the door.
- Locate the outer clamp, which on some washing machines is made of plastic.
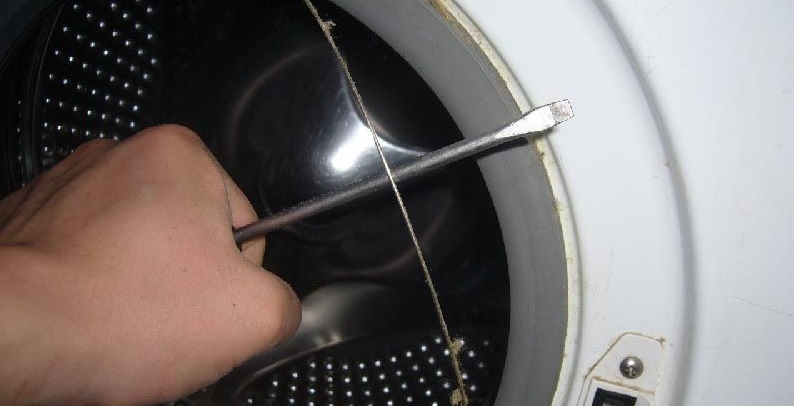
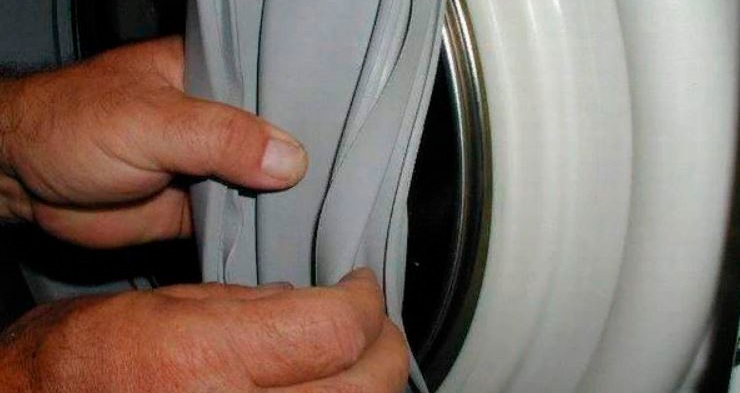
- Use a screwdriver to loosen its latch by hooking the spring and then pulling the ring to the side.
- Remove the outer clamp from the washing machine.
- Disconnect the lower decorative panel CM.
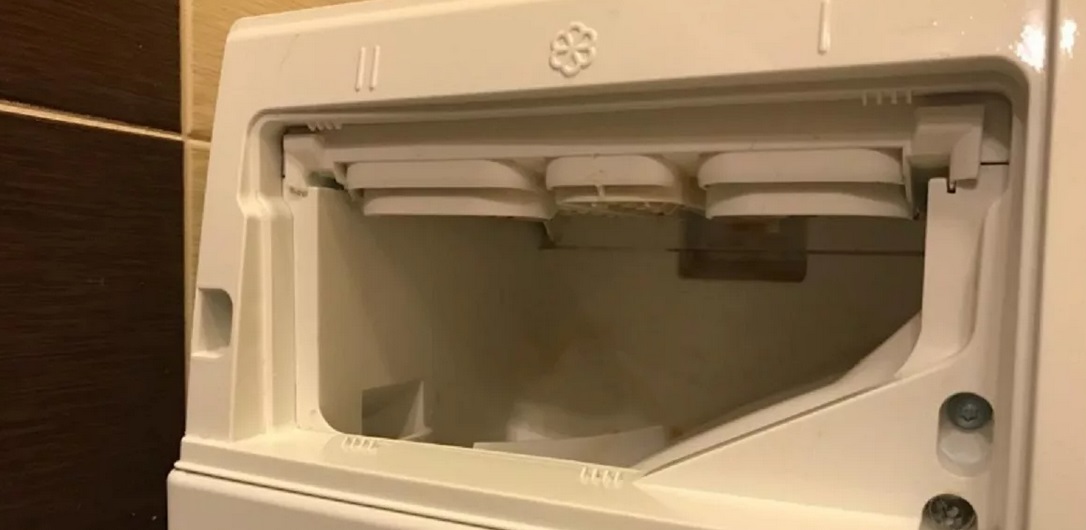
- Remove the powder drawer.
- Remove the screws that secure the control panel.
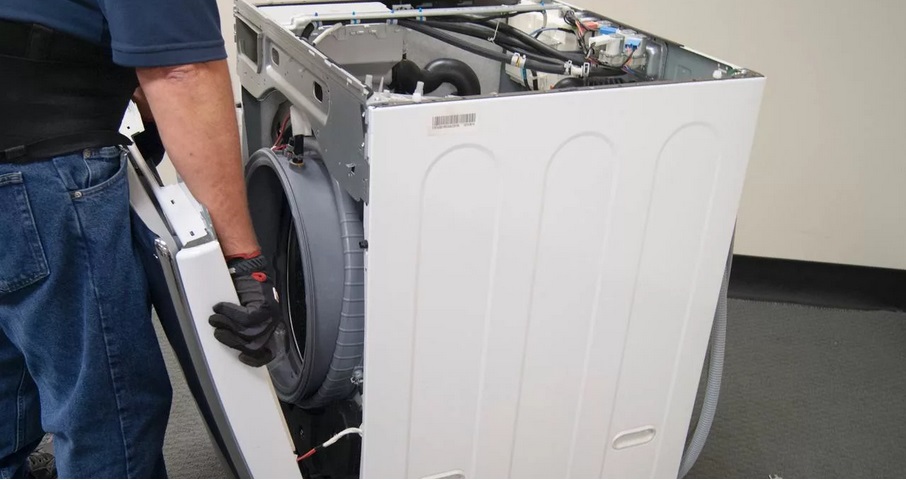
- Remove the panel carefully to avoid accidentally disconnecting or damaging the wiring.

- Remove the bolts that secure the front panel of the machine body.
- Carefully remove the panel so as not to tear out the wires from the hatch locking device.
- Using the same screwdriver, you need to loosen the latch of the inner clamp and remove the ring.
- Finally, remove the rubber seal from the housing.
Once you have the part in hand, examine it carefully. This will help you understand the cause of the damage and prevent it from happening again. After analyzing it, you should begin replacing the seal.
We stretch a new elastic band
Unlike the previous disassembly step, this one may present some challenges for beginners. This is because installing a new seal is much more difficult than removing a damaged one. Firstly, you need to be careful not to accidentally damage the part, and secondly, it takes much more force to place the rubber seal in its seat. What to do for this?
- First, thoroughly wash the groove with a sponge and soap. This will remove any dirt or foreign objects that may have gotten in. Don't remove the soapy solution afterwards, as the foam will make installing the rubber element easier.
- Locate the mounting mark on the new spare part.
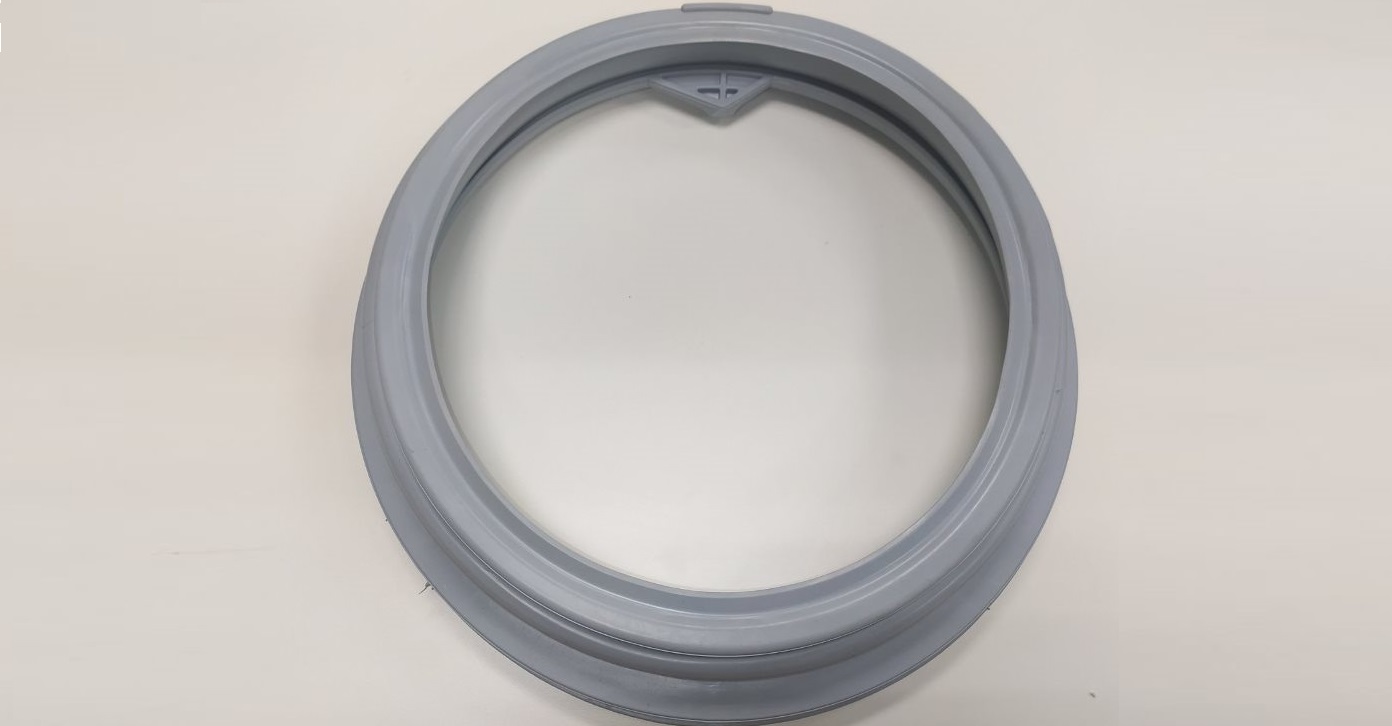
- Connect this icon on the rubber band with the pictogram on the body of the washing machine.
- Place the cuff into the recess prepared for it.
- Pull the rubber seal around the circumference of the seat.
- Install the inner clamp in place to secure the part.
- Return the front wall of the washing machine, the dashboard, the drawer for household chemicals, and the lower decorative panel.
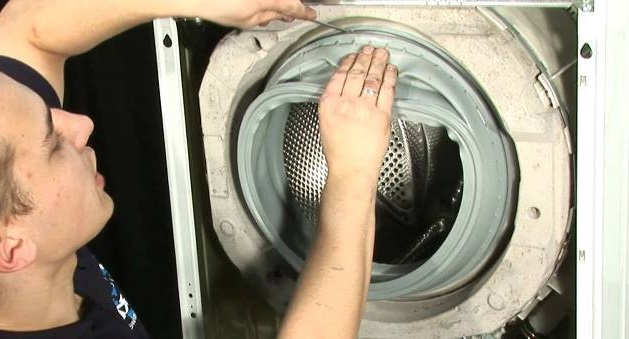
- Place the outer edge of the rubber band onto the protrusion of the drum.
- Finally, position the outer retaining clamp so that the spring of the ring is facing downwards.
After this, your "home assistant" will be restored and ready for productive use. Run a test cycle and monitor it carefully to ensure the system is leak-proof. Any short program, such as "Rinse," works well for this. If the cycle runs without any issues, the repair is complete.
What causes the sunroof rubber to deteriorate?
Of course, replacing the cuff takes no more than an hour, even taking into account the time spent going to get a spare part. However, it is better to avoid frequent disassembly of the equipment, especially since the rubber seal can last as long as the washing machine itself – about 10-15 years. Therefore, it's best to take care of this element, just like any other component in your home appliance. To do this, it's important to know the main causes of seal damage.
- Excessive friction. If you regularly exceed the drum's maximum load capacity, the laundry packed into the drum will begin to rub against the padding more intensely. Studded buttons on clothing will also have a detrimental effect, as they will scratch the elastic.
- Cheap household chemicals. Using low-quality detergents with aggressive ingredients will not only wear out the seal much faster, but also damage other rubber parts of the washing machine.
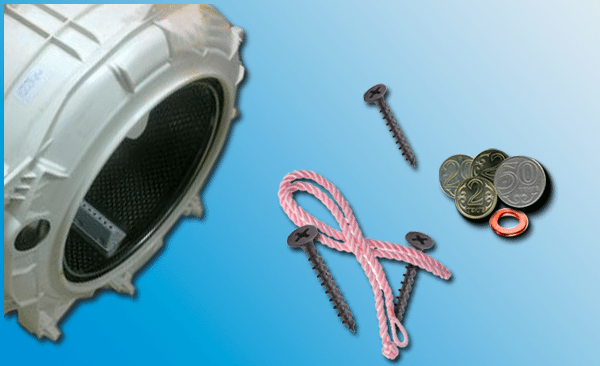
- Sharp foreign objects. Housewives often forget objects in their pockets that could injure their "housekeeper." These could include coins, keys, hairpins, paper clips, and much more.
It is better to wash underwear in special laundry bags so that the bra underwires do not damage the rubber seal.
- Errors during seal replacement. The element is also often damaged during replacement; for example, the user may accidentally scratch the part with a screwdriver. Therefore, it's important to be very careful when installing the replacement part into its housing.
- Pets. Since the machine must be left open for several hours after each use, it can become a target for cats or dogs, who can easily scratch or chew the rubber parts.
- Mistakes when loading clothes. If you load and unload clothes too roughly, you can accidentally damage the fragile elastic band.
- Mold. Finally, cuff failure can be caused by mold and mildew growth. This can occur due to failure to follow ventilation recommendations. cleaning the machine after each wash.
As you can see, the rubber part can deteriorate for a variety of reasons, so it's important to handle your "home helper" with extreme care to prevent premature failure. Following standard precautions will extend the life of the seal and the washing machine itself by not just months, but years. Therefore, if you notice the first signs of damage to the rubber seal, it's important to begin repairs as soon as possible to prevent more serious consequences and costly expenses.
Interesting:


Readers' comments
Headings
Washing machine repair


For buyers


For users


Dishwasher


Add a comment