How to disassemble a glued washing machine drum?
 Bearings currently produced are not of perfect quality, which, if they are not regularly used, results in constant bearing assembly repairs. Every 2-3 years, the bearing rings must be replaced, the old ones removed, and new ones installed. The second and subsequent times, the washing machine's glued tub must be disassembled. We'll explain in detail the differences between repeated disassembly and how it's performed.
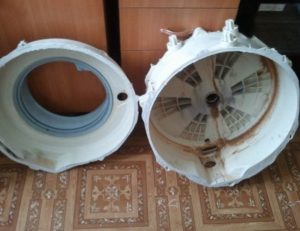
Let's split the glued tank in half
Disassembling a glued tank will differ from working with a "new" one. This primarily affects the fixation, as after repair, it will be secured not only with screws but also with sealant. The former are easy to remove, but the latter will require some fiddling—the dried glue holds well and is difficult to remove.
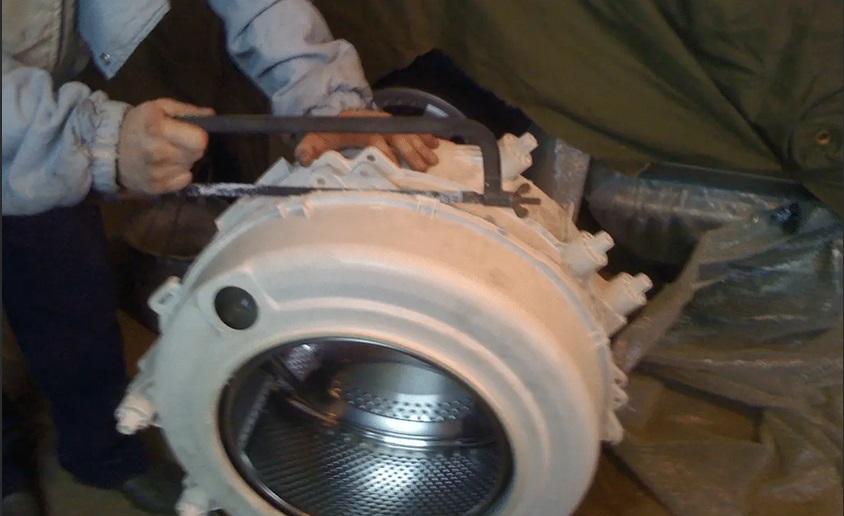
Some "experts" suggest removing the sealant with a sharp knife, scraping and cutting it away. However, experienced technicians advise against this for two reasons. First, it's too time-consuming and ineffective. Second, the blade could slip off the intended path and puncture the tank, creating a new problem. It is much safer and more effective to take a different approach: cut the tank with a hacksaw with small cuts, going in a circle along the seam. Re-cutting will be easier, as the only resistance will be the layer of dried glue. The key is to proceed with extreme caution, following the old "track" as a guide. Even the slightest misalignment will ruin the tank, making it extremely difficult to glue.
The sealant remaining after the initial gluing must be removed from the seam.
Simply cutting the tank in half isn't enough—it's important to remove any remaining sealant. A layer of dried adhesive will prevent the tank from bonding, so it's necessary to remove it from the seam. To do this, take fine-grit sandpaper and sand the cut surface, avoiding the plastic. Then, brush off any remaining adhesive with a rag and begin repairing the bearing assembly.
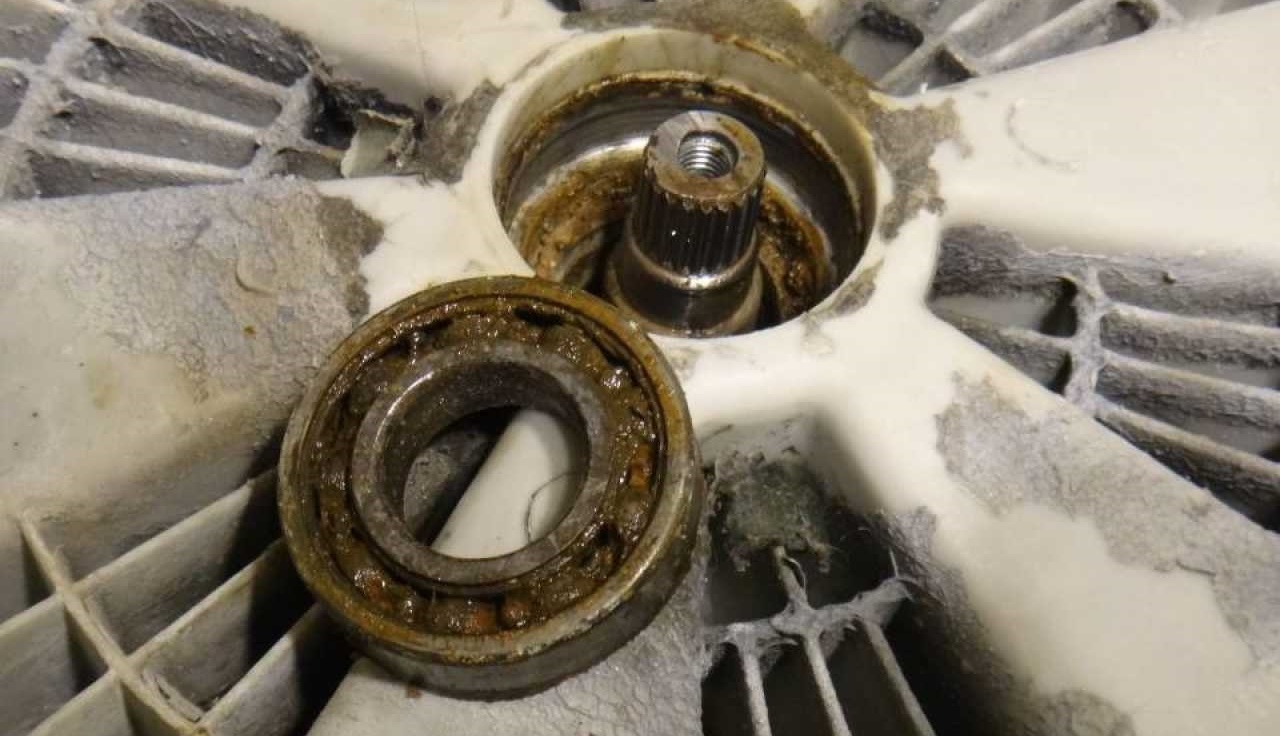
We are replacing a broken bearing.
To replace the bearings, you need the bearing rings themselves. To ensure the correct size, you should check the washing machine's serial number in the manufacturer's instructions or on the label located on the rear panel of the machine. Then, provide the combination to a consultant or order online from the manufacturer's website. Another option is to remove the old parts, bring them with you, and ask the salesperson to select similar ones.
Having received the new components, we begin repairing the unit:
- We install a smaller bearing on the outside of the drum, entering from the back wall;
- We fix the ring using a hammer and a punch (when driving in the bearing, it is necessary to direct the hammer strictly along the outer part of the race, since “internal” blows will damage the part);
The bearing assembly consists of two races: the first, smaller one, is installed at the bottom, and the second, larger one, is placed on top.
- we attach the second bearing to the seat;
- we fix the clip with one blow of a hammer;
- we drive in the ring using the standard pattern;
- We install the oil seal on top of the rings.
The replacement process is completed with sealant treatment. The seal, joint, and shaft are generously lubricated with a water-repellent compound, which will increase wear resistance and durability, extending the life of the bearing assembly. Without this protective layer, the rubber gasket will quickly deteriorate: when washed, water will seep into the mechanism and damage it.
Gluing the halves of the tank together
Having dealt with the bearings and seal, we begin assembling the tank and the automatic transmission. The first step is to attach the drum to the crosspiece so that the piston rod is secured in place. Then, tighten the pulley ring with the provided screw and begin gluing the tank together.
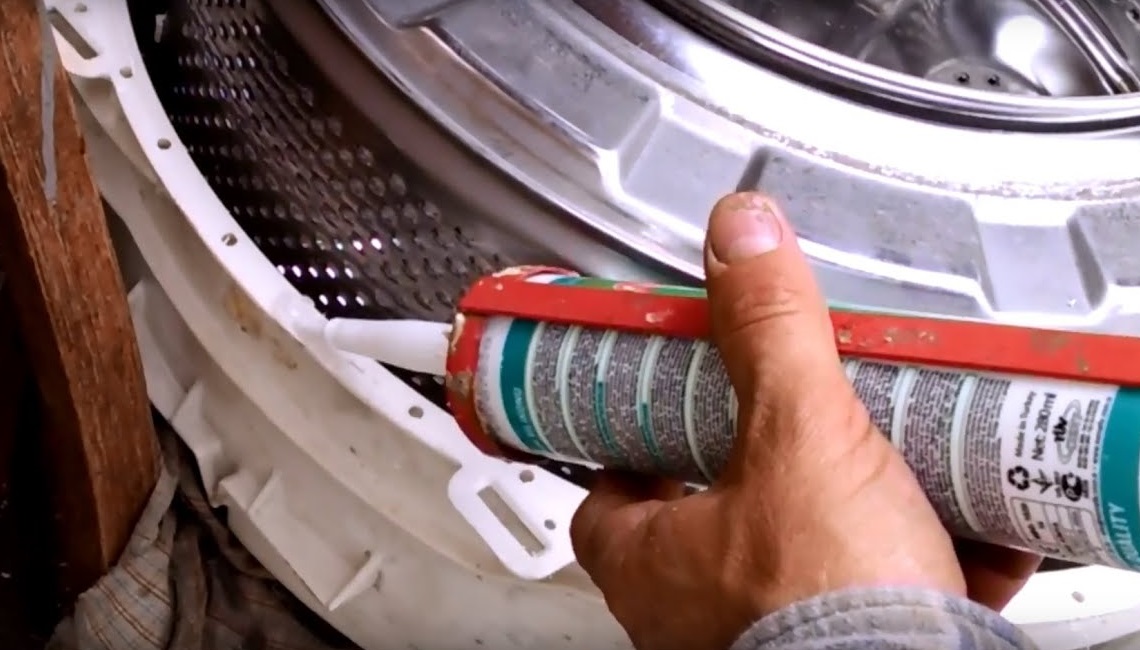
The edges of both tank halves must be cleaned again and degreased with a special compound. Then, apply a water-repellent and heat-resistant sealant along the edge. It's important to measure the correct amount of adhesive: no less and no more. Then, join the two halves together and tighten the structure with fasteners. There's no need to skimp on holders - it's better not to limit yourself to self-tapping screws, but to use a screw with a nut, lock nut and washers.
After bonding, the sealant must be allowed to dry completely. The curing time depends on the texture and type of sealant and is always specified on the sealant's packaging. Professionals recommend waiting an additional 1-3 hours beyond the specified curing time to be on the safe side. Any adhesive that has come out of the joint should not be cut off—it will serve as additional protection.
Don't use the drum right away; it's best to test it for leaks first. Plug all openings with rags and fill with water. If the sealant doesn't show any drips or streaks, you're ready to start washing.
Interesting:


Readers' comments
Headings
Washing machine repair


For buyers


For users


Dishwasher


Add a comment