Disassembling a Siemens washing machine
 Often, a broken Siemens washing machine forces consumers to buy a new one. But in some cases, the problem can be fixed on your own. To do this, you need to know how to properly disassemble a Siemens washing machine and what tools are needed for the repair. The disassembly method depends on the type of load in the machine, as well as the design features of the specific model.
How many tools are needed?
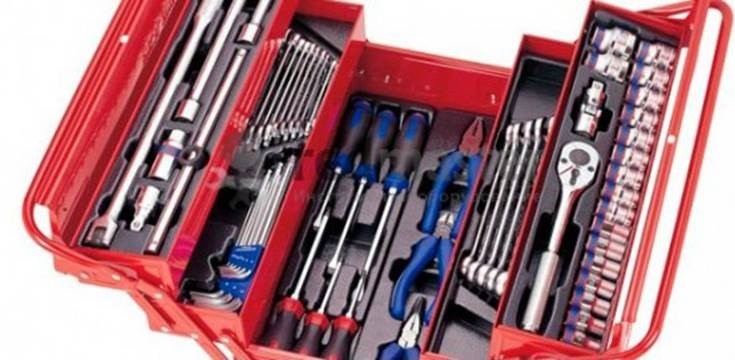
At first glance, the procedure doesn't seem particularly complicated. It doesn't require a lot of tools. A single screwdriver is enough to get started. To completely disassemble the device, you'll need a few more items:
- screwdriver;
- slotted and Phillips screwdrivers;
- a small hammer, preferably a mallet;
- pliers;
- hexagons.
Sometimes the joints and fasteners may become stuck. To loosen a stubborn screw, it needs to be treated with a universal anti-corrosion penetrating lubricant. WD-40, often used by motorists. You'll need a large container to drain the dirty water from the hose. A smartphone with a camera will also come in handy for disassembling the appliance yourself. During the repair, take step-by-step photos; this will be very helpful during reassembly. This will help you avoid any confusion and get the machine up and running again without any problems after the repair is complete.
Let's get to the "main" node
First, unplug the washing machine. Turn off the water supply. Disconnect the supply and drain hoses, placing the latter in a basin prepared earlier. This will ensure safety and prevent any spills.
Remove the hatch door by unscrewing two screws and lifting it off along with the metal hinge. Remove the top housing. The cover is usually secured with various screws, which are removed with a Phillips-head screwdriver. The fasteners are located on the back side under the top of the panel, on lugs. Unscrew them and press firmly on the front end of the cover, then lift it up.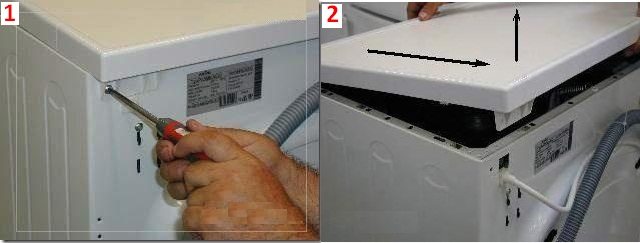
How do you remove the detergent dispenser yourself? Locate the separate plastic button in the center of the pull-out drawer. Press it and pull the drawer toward you.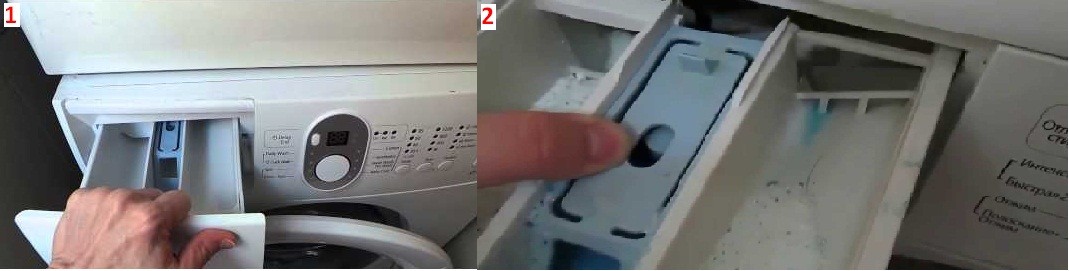
The next step is to remove the control panel. It is secured to the washing machine body with two screws. The first is located under the detergent dispenser drawer. The second is on the opposite side. Be careful when removing the panel, as it is quite fragile.
Life hack: after removing the panel, hang it on a hook or place it separately on a table/window sill to avoid accidentally damaging it.
Step four: Disassemble the service panel. To do this, simultaneously press the two locking latches, then the latch located in the middle. Remove the panel.
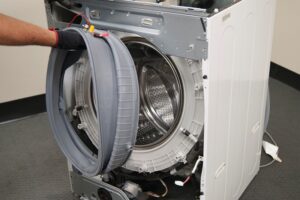
To remove the front panel, remove the metal clamp holding the washer door seal in place. It's easy to pry it off with a screwdriver, but be careful not to puncture the seal. The rubber seal is located inside the loading door. The clamp itself is secured with a small spring; simply push it slightly to release the clamp. Now place the seal inside the drum. Do not try to pull or yank out the seal - it is held in place by an additional internal retainer. 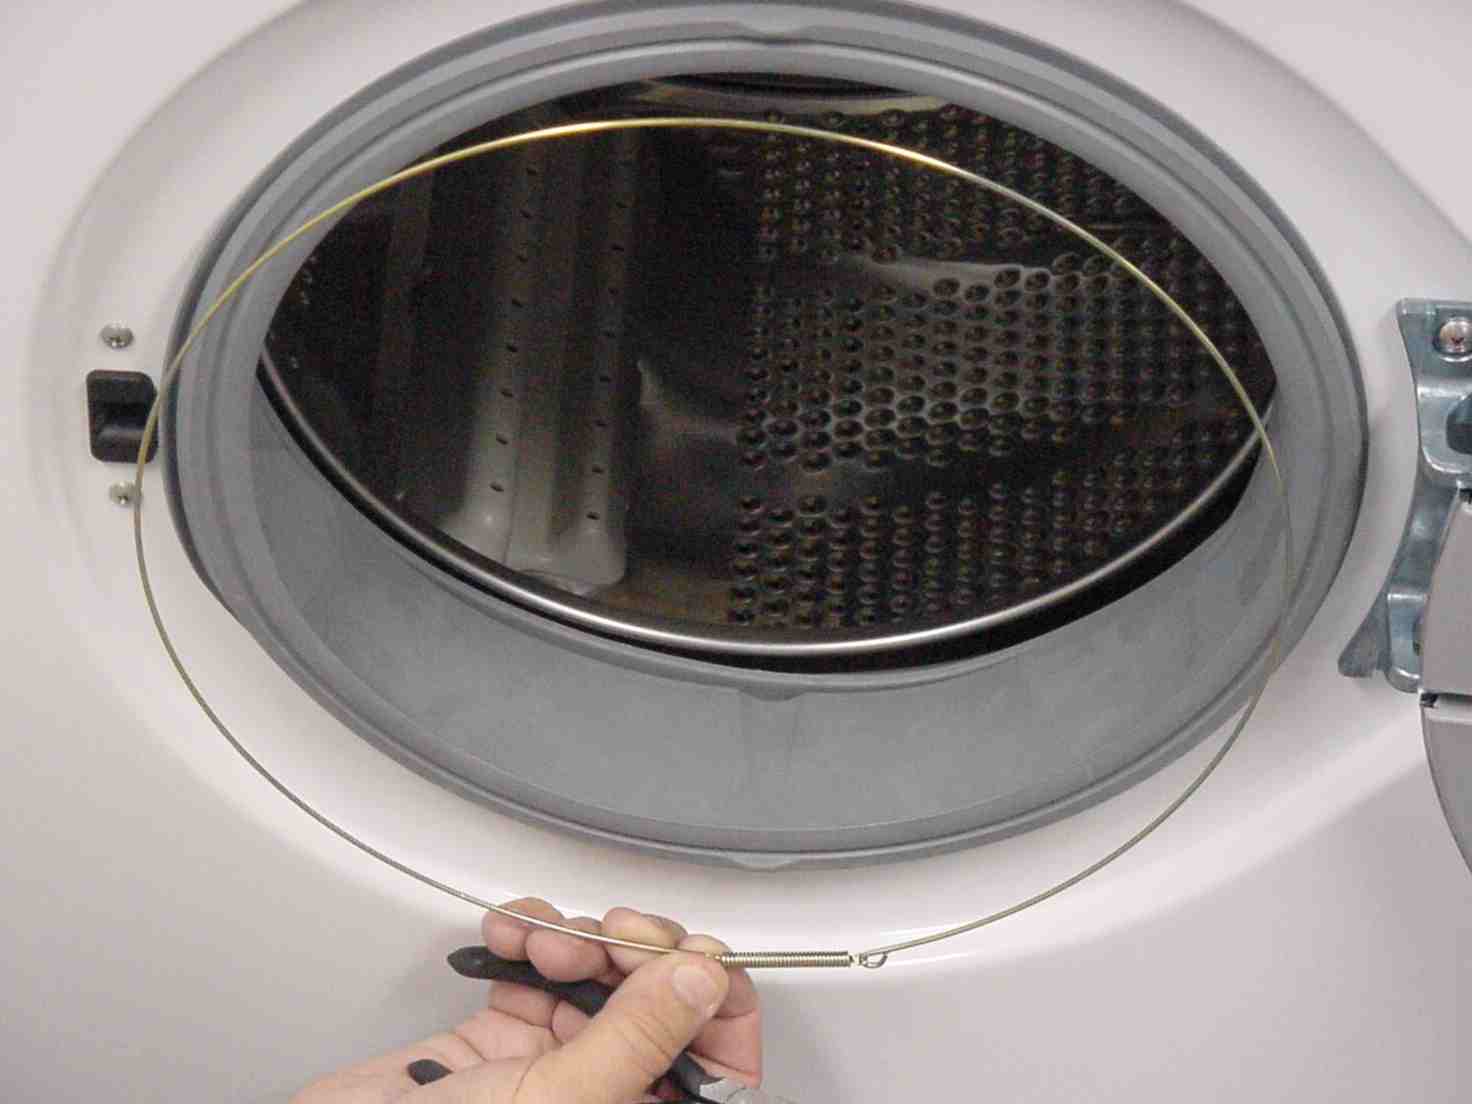
Now it's time to remove the front panel, but this can be a bit tricky. You'll need to follow these steps (be especially careful with the panel, as it contains microchips):
- remove the front panel;
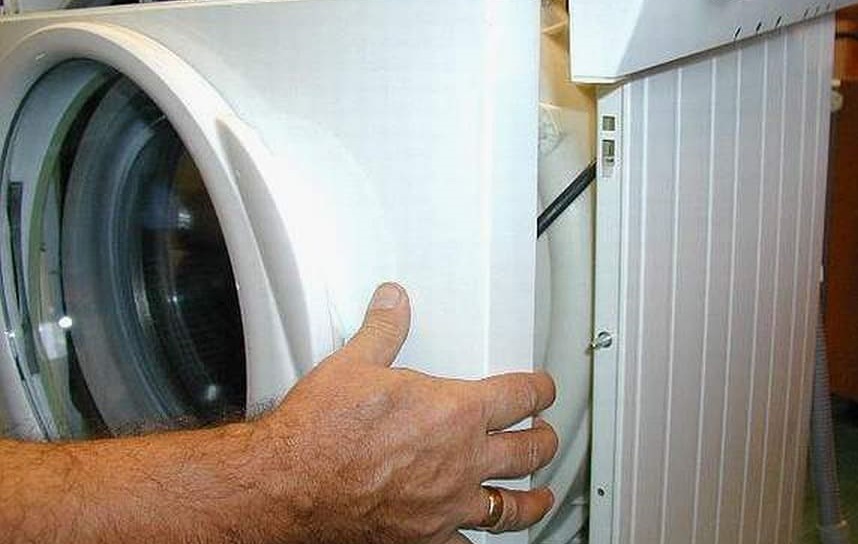
- unclip the fasteners that secure the protective cover;
- lift the panel and remove the hooks holding it.
To remove the back cover, use a screwdriver to loosen the screws. These are typically located around the entire perimeter of the machine's rear panel. The manufacturer's design allows this screw to be securely fastened to the housing element, which essentially protects the drive mechanism.
We remove the drum from the tank body
A washing machine's drum weighs up to 10 kilograms. However, removing it alone is a dubious undertaking, so we recommend asking a friend or neighbor for help. Together, lift the drum off the springs and pull it out. Unscrew the front counterweight (this part usually looks like a massive half-ring) and remove it. Turn the drum over so the open side is facing down, allowing access to the pulley.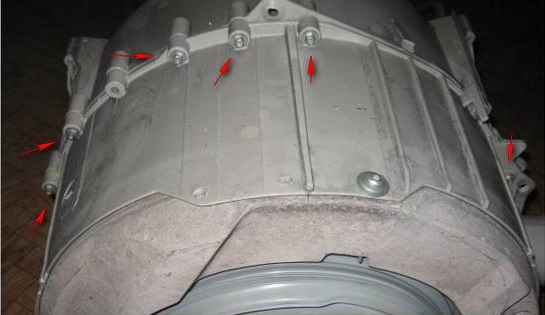
To prevent the drum pulley from turning, block it with a block. Loosen the bolt in the center of the pulley with a hex screwdriver. If the bolt is stubborn, lubricate it with WD-40. Wait a bit, and then try again. Be careful not to strip the hex screw while doing this.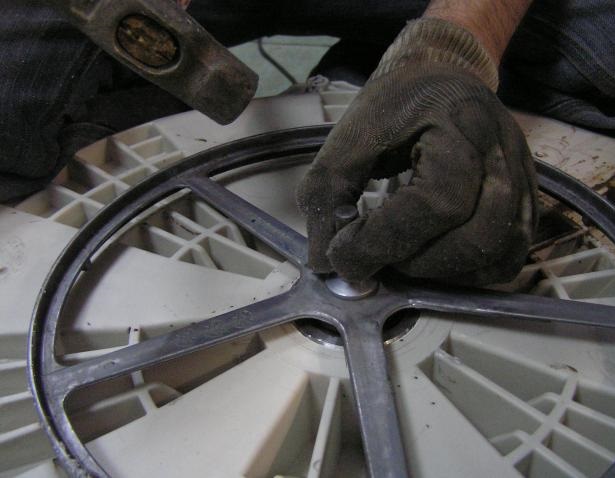
Loosen the bolt counterclockwise. This process is difficult because the fastener is filled with a special compound that provides extra strength to prevent vibration from loosening it. Some technicians recommend heating the bolt with a blowtorch to make the job easier. We still recommend using WD-40 lubricant, as using a blowtorch can damage other parts of the machine. Grasp the pulley with both hands. Pull the part upward, rocking it from side to side. After removing the part, disassemble the tank body into two halves.
Important! Siemens washing machine drums are detachable, consisting of two parts held together with long screws.
Now take a socket wrench with an 8mm socket and unscrew all the screws holding the tank together. This will separate the tank into two halves. The rear section remains, attached to the drum by bearings mounted on the shaft.
They'll have to be removed along with the drum itself. Find any old bolt that fits the shaft thread (where we removed the pulley retaining screw) and screw it in. Then place a small block of wood underneath and lightly tap it with a hammer until the back wall of the drum pops off the bearing. Now that we've removed the wall, we're left with the drum section with the crosspiece and shaft mounted on it. The seal and bearing are now attached to the shaft. Now for the most difficult step.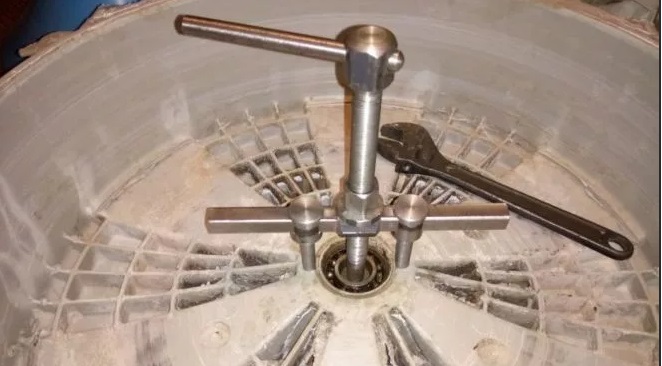
- We drive the puller jaws under the bearing.
- By slowly tightening the thread of the puller, we create a certain tension.
- Lubricate the bearing thoroughly with WD-40.
- We wait for about half an hour.
- After this, we continue to unscrew the thread and as a result we remove the bearing, and then the oil seal.
Now you know all the intricacies of disassembling a Siemens washing machine yourself. By removing each part one by one, you'll easily access the components and elements that need repair. When reassembling, follow the instructions carefully, without skipping any steps.
Interesting:


1 reader comment
Add a comment
Headings
Washing machine repair


For buyers


For users


Dishwasher


What kind of Torx screwdriver should I use here? And what size?