Disassembling a Bosch tumble dryer
 When might disassembling a dryer be necessary? For example, if the heating element breaks, the electric motor malfunctions, the belt stretches, or the control module fails. Sometimes, removing just the back panel of the appliance is sufficient, while other times, removing most of the components is necessary.
How do you disassemble a Bosch dryer? What tools are needed? What could possibly break in this "home helper"? What malfunctions are common with dryers from this brand?
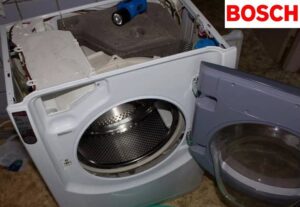
We remove the contents from the dryer body
When disassembling a dryer, you'll need standard tools found in every home. These include Phillips and flat-head screwdrivers, a screwdriver, a ratchet wrench, and a socket set. It is also necessary to have a phone on hand to take photographs of the dismantling process. The pictures will help you avoid mistakes when reassembling the dryer.
First, turn off the power to the dryer and disconnect the appliance from the sewer.
Bosch dryers can be connected to a sewer line or installed permanently. It's up to the user. Each machine is equipped with a condensate collection container. If your "home helper" is connected to a sewer line, remove the drain hose.
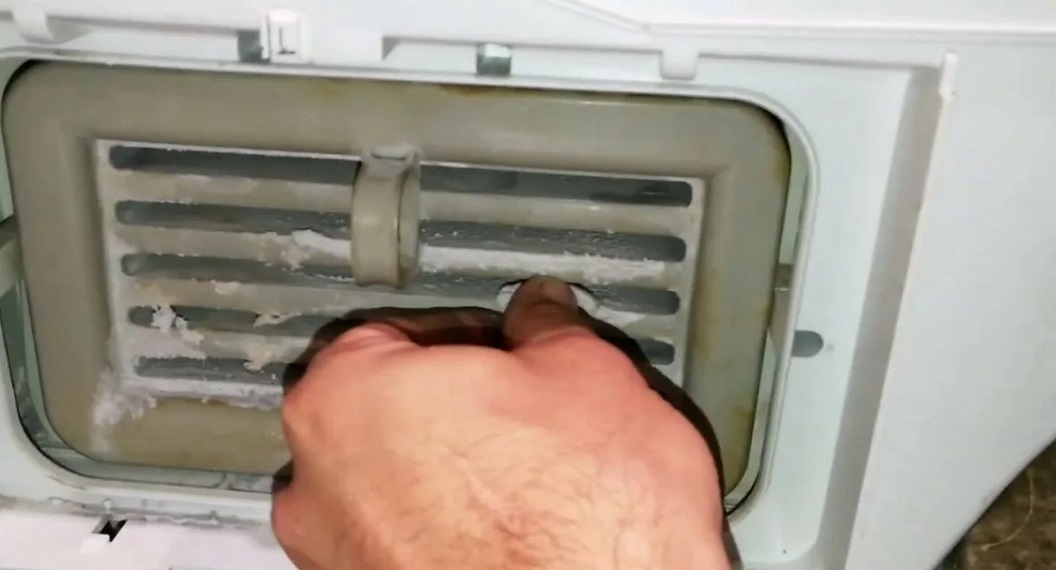
The next step is to remove the lint filter. On most Bosch dryers, it's located in the door area. Pull the container out and set it aside.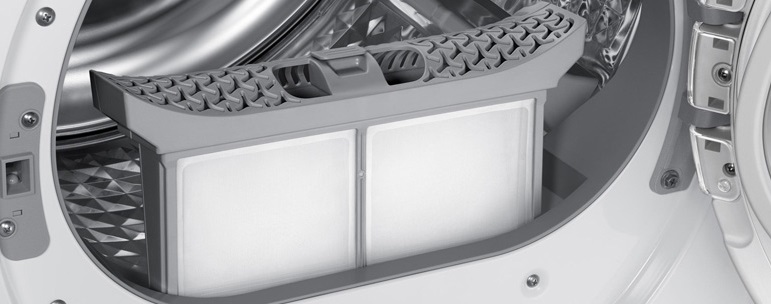
Next up is the condensate collection container. Remove the tray and drain the accumulated water. Once all the preparatory steps are complete, you can begin disassembling the dryer.
Disassembly begins with the top cover. Remove all the screws holding the panel in place. Some fasteners may be covered with special caps. Remove the fasteners with a screwdriver or drill. Next:
- remove the top cover of the case and set it aside;
- remove the screws holding the side panels of the dryer (those screws that are accessible);
- Unscrew the bolts holding the control panel, carefully so as not to reset the contacts, unhook the instrument panel and leave it hanging on the wires at the front of the housing;

- remove the screws securing the front wall (this panel does not need to be removed completely, it is enough to tilt it forward a little);
- unscrew the remaining bolts of the side panels;
- Remove the right and left walls of the dryer body.
A dryer's design is very different from a washing machine's. Although they look similar on the outside, they're different on the inside. A dryer, in addition to the main body panels, has additional metal walls. These, too, will need to be removed by unscrewing all the screws.
This will give you access to all the internal components of the dryer:
- spiral heating element;
- temperature sensor;
- thermal fuse;
- condensate pump;

- Baku;
- engine;
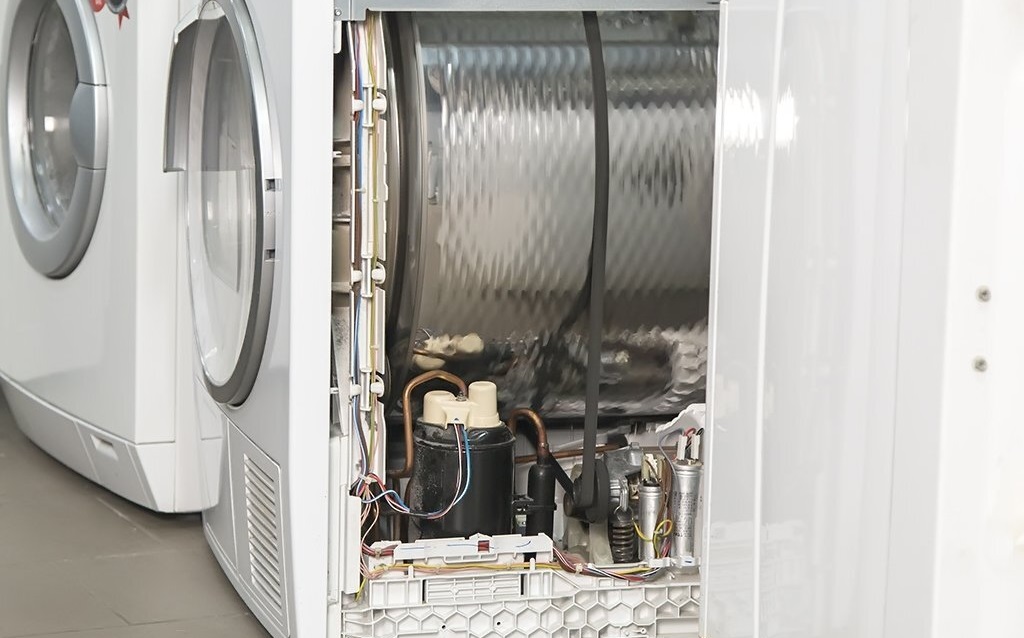
- drive belt;
- wiring going to the dryer hatch;
- rollers;
- felt seal, etc.
In case of certain breakdowns, you will have to remove the drum from the machine. The tank is held at the back by a small shaft with a bearing, and at the front it rests on special rollers. To remove it, you need to loosen the drive belt. Otherwise, you won't be able to pull out the metal container.
To loosen the drive belt, you need to remove the spring from the motor. It is this spring that tensions the rubber band. After this, you can pull the drum out of the housing.
Often, during disassembly, you'll notice that the dryer's internal components are clogged with dust. It's best to clean these components immediately. This will improve the machine's efficiency, as debris interferes with its proper functioning.
It's not always necessary to disassemble the entire dryer. Sometimes, removing the top and one of the side panels is sufficient. Everything will depend on the type of breakdown. For example, replacing the heating element or temperature sensor will require minimal disassembly.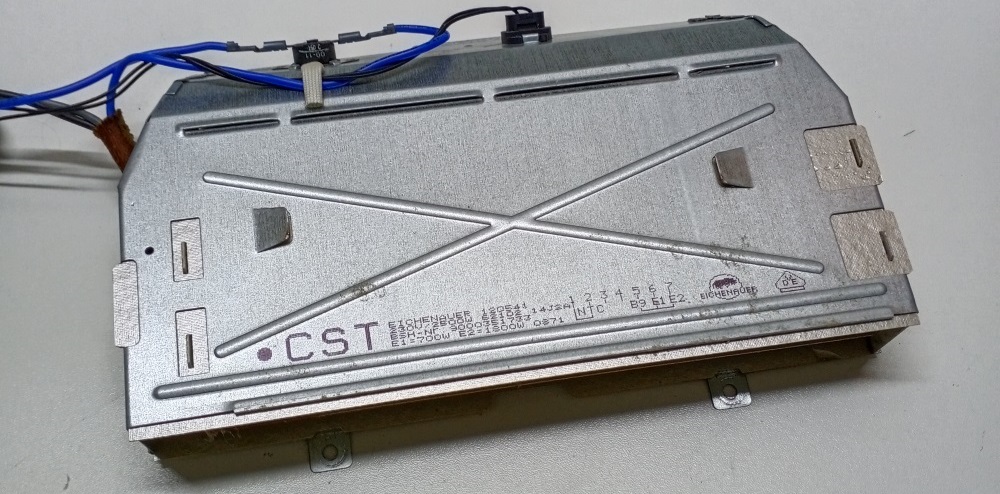
Complete disassembly will be required, for example, if the tank, rollers, felt seal, or drum bearing need to be replaced. You can perform the disassembly yourself; the main thing is to follow the instructions carefully.
And, of course, reassembly. It's done in reverse order. Be sure to refer to the photos taken during disassembly. This will help you avoid mistakes in the placement of parts and wiring connections.
After reassembling the dryer, run a test cycle. Monitor the machine's operation. It should make no unusual noises. If the dryer dries without issue, the repair is complete.
Common Bosch Dryer Problems
Modern dryers don't usually break down silently. In most cases, the display will show an error message indicating the problem. By decoding the error code, you can find out what happened to your dryer.
The error codes are explained in the Bosch dryer manual.
Let's look at typical Bosch dryer malfunctions. An error doesn't always indicate a specific component is faulty. Sometimes, there are multiple possible causes, and they must be eliminated during diagnostics.
- E90. This error indicates a malfunction in the control module. Typically, the cause is a damaged power capacitor on the board or a damaged pressure sensor. If you don't understand electronics, you shouldn't attempt to repair the dryer yourself—you could damage the unit. Therefore, it's best to call a technician to resolve this error code.
- E56. This code indicates damage to the operating unit. The machine will beep three times before freezing. To resolve this issue, it's best to contact a service center. The repair will be complex and will require specific knowledge and skills.
- RN1. Informs about problems with the heating system. The error appears on the display if, after starting the dryer, the "brain" was unable to communicate with the heat pump.
- Care. This code indicates that the cycle did not complete correctly. Usually, the problem is easy to resolve—just reset your Bosch dryer.
- E05-10. This error indicates that the power strip is overloaded. To avoid more serious damage, unplug the machine as soon as possible and let it sit for 20-30 minutes. After this, you can turn it back on.
- E63. Indicates a power module failure. Repair of this type of malfunction is best left to a service center.
- E89. The code indicates an open circuit in the "control module - display unit" circuit. The integrity of the wiring and contacts will need to be checked.
- E23/T23. The error indicates a motor failure. The motor may have burned out. Sometimes the tachometer sensor is damaged.
- E01. A simple error indicating that the lint filter is full. To reset the code, simply clean the container and mesh.
- h66. This code indicates a faulty high-temperature thermostat. The sensor will need to be replaced. This can be easily done yourself.
- R. This error indicates a CPU failure. We recommend calling a technician to resolve the issue.
- E06. Indicates that the heating element is faulty. A new heating element will need to be installed.
- E09. Indicates a break in the circuit connecting the control module and the heating system. Restoring the connection will clear the error.
- E86. This code indicates a faulty temperature sensor. Replacing the element will help.
- E36. This error indicates that the dryer is unable to lock the door. Diagnosis will be required to determine the specific cause. This could include damage to the door lock, a broken lock, or a faulty door sensor.
- F06. Another error indicating a problem with the heating system. All components will need to be diagnosed and any faulty parts replaced.
- F08. This code indicates damage to one of the sensors. Each sensor must be inspected and the contacts must be intact. The broken element will need to be replaced.
- F09. This error usually requires cleaning the condenser. Another possible cause is overfilling the condensate collection tank. In this case, simply draining the accumulated liquid will suffice.
- F10. The code indicates a software error. The dryer's firmware will likely need to be reflashed. Therefore, the repair should be entrusted to a specialist.
- F11, F12. Errors indicate problems with the electronics. It's best not to mess with the dryer's internals yourself. We recommend contacting a service center. F11 will require a powertrain diagnostic. For F12, you can simply try drying the machine.
- F13. Signals the need to check the dryer's flow dryer.
- F14. Error indicates a faulty evaporation level regulator. In this case, you'll also need to troubleshoot the electronics, so it's best to call a technician.
Complex repairs involving the dryer's electronics are best left to service center specialists.
Also, don't attempt to repair a dryer yourself while it's still under warranty. Disassembling the unit will void your free service. Therefore, be sure to check that your warranty card is current.
Some Bosch dryer problems can be easily resolved at home. For example, replacing the heating element or temperature sensor, the drive belt, or the drum bearing. Cleaning the lint filter and heat exchanger is a must—it's a regular maintenance task.
Interesting:


Readers' comments
Headings
Washing machine repair


For buyers


For users


Dishwasher


Add a comment