Disassembling a Vestel washing machine
 Completely disassembling a Vestel washing machine can be quite challenging for a novice. Repairing and removing parts requires removing almost all major components, from the detergent drawer to the tank. The final step is even more challenging: the tank must be cut open and the drum and bearing assembly removed. To ensure complete disassembly without damaging the machine's components, it's essential to follow professional instructions. We'll explain step-by-step where to start and what pitfalls to be aware of.
Let's prepare the machine
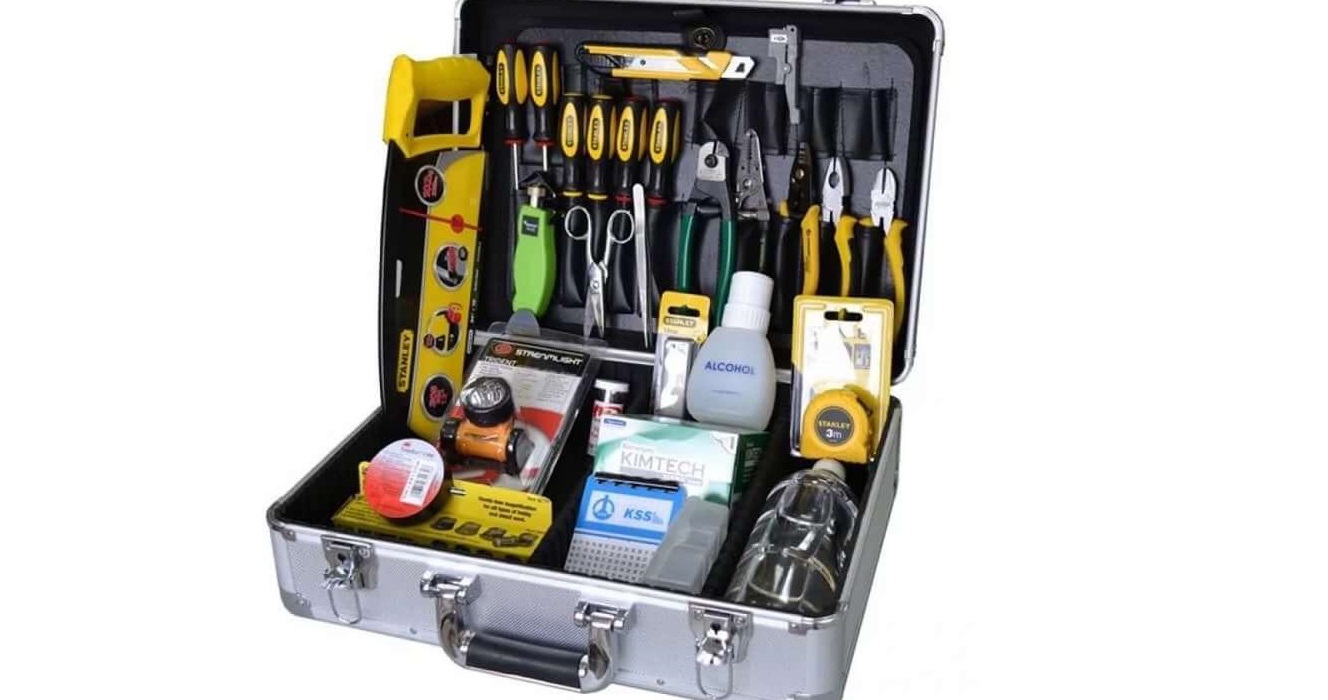
Before disassembling the Vestel, you need to prepare. First, find a suitable space for the renovation—a workshop, garage, or hallway. If a separate room isn't possible, a bathroom will do. We disconnect the washing machine from the electricity, water and sewerage, and then move it to the center of the room. Next, drain the remaining water from the washing machine by unscrewing the drain filter or activating the emergency drain. Next, gather the necessary tools:
- screwdrivers (slotted and Phillips);
- hammer;
- hacksaw for metal (if the washing machine has a cast tank);
- ratchet;
- spanners of appropriate sizes;
- chisel, punch or puller (if you plan to repair the bearing assembly).
It's also recommended to have some WD-40 lubricant on hand. It'll help remove scale and rust from the parts, which is necessary when removing the dust filter, tank, bearings, and heating element. Don't forget to bring some plastic and rags to cover the floor around the machine.
Using WD-40 lubricant, you can quickly remove corrosion and scale from washing machine parts.
Finally, we think about the “storage” of the removed parts. Large spare parts are placed near the machine in the order they were dismantled. Small items, fasteners, clamps, and hooks are sorted into prepared containers. Another option is to place the small items on the top panel of the washing machine.
Washing machine repair technicians recommend stocking up on a piece of wire bent into an "S" shape. It attaches to the top of the side panel and serves as a hook for the dashboard. This way, you won't have to completely remove the dashboard and disconnect the wiring. Reconnecting the circuit board to the wires is very difficult.
We remove walls, panels and covers
Once we've prepared the area, the washing machine, and the tools, we begin disassembling. First, remove the Vestel's external components: the dispenser, door, top cover, and front and rear panels. The procedure is as follows:
- find two bolts on the lugs of the back wall that hold the top cover;
- unscrew the found bolts;
- push the cover away from you, lift it up, press the latches and remove it from the body;
- pull the dispenser all the way out, press the “tongue” in the central part of the tray and pull it out;
 unscrew the screws that were “hidden” in the tray niche;
- detach the dashboard from the washing machine and, without disconnecting the wiring, hang it on the prepared hook;

- loosen the bolts on the door hinges and detach the door from the washing machine;
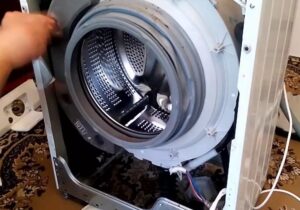
- find the outer clamp on the cuff, loosen it and remove it;
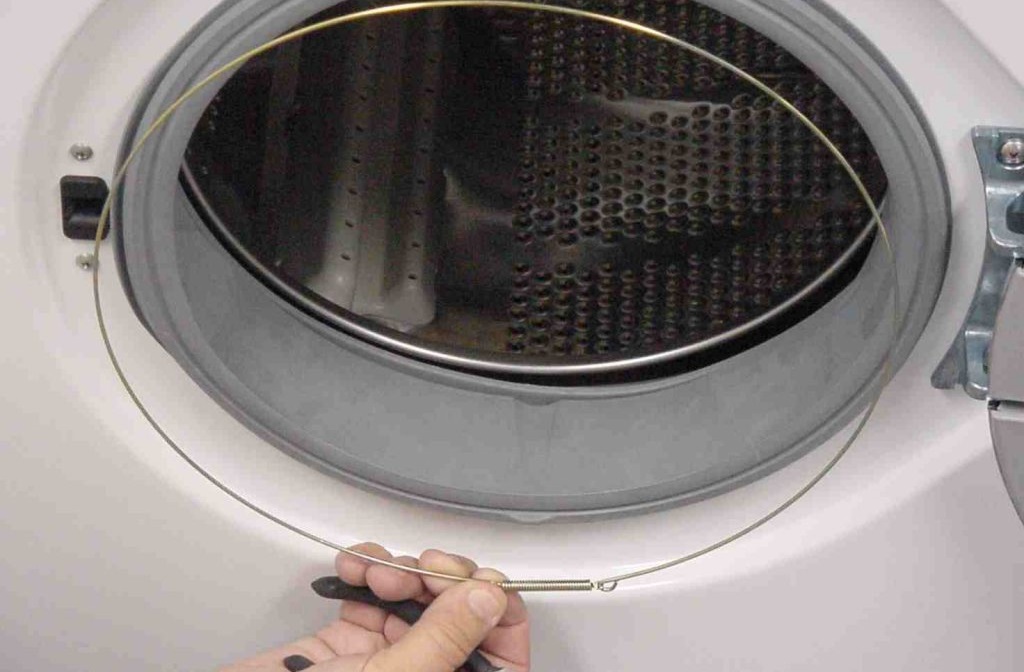
- Insert the rubber into the drum (there is no need to remove the seal completely, as it is quite difficult to pull it back).
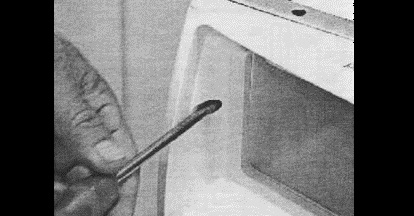
The second step is to remove the front panel from the machine. To do this, unscrew all the screws holding it in place: near the dashboard, next to the drain filter, and near the locking mechanism. Next, use a knife blade to pry the panel up, press the plastic retaining clips, and pull it toward you. The removed end panel is set aside.
Record the repair process with a camera – this will make it easier to avoid mistakes during reassembly.
Next, we move to the back panel. Here, simply unscrew the screws around the panel's perimeter and detach the panel from the body. The number of screws depends on the Vestel model. Most washing machines have about 4-6.
Once the washing machine's exterior components are removed, we have access to the insides. But that's not all: to fully disassemble it, we need to remove the tub, divide it into two halves, and remove the drum. Detailed instructions are below.
We release the main container
Disassembling the Vestel continues with removing the plastic tank. Simply put, you need to disconnect all connected wires, pipes, sensors, and components—more than 10 items—from the tank. To avoid confusion, it's recommended to follow a specific sequence, starting from the back wall:
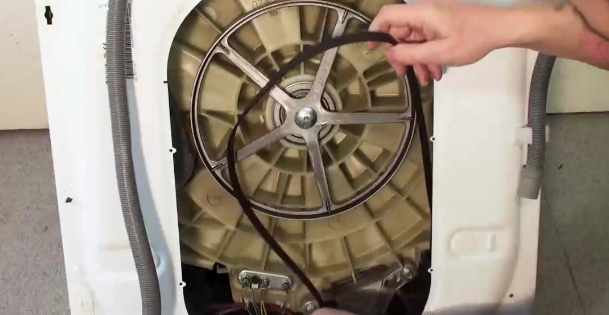
- tighten the drive belt (while simultaneously rotating the drum pulley);
- find the electric motor under the tank, free it from the wires and fasteners;

- press on the motor and, after rocking it, remove it from the “nest”;
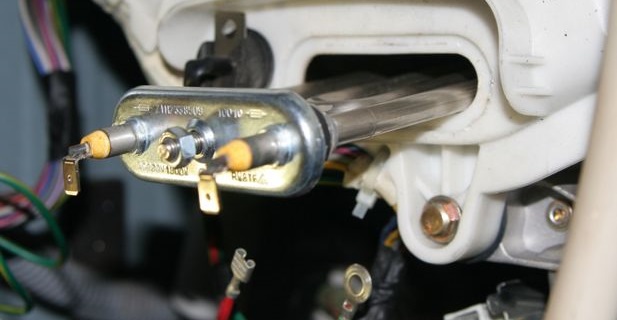
- remove the heating element (disconnect the wiring, loosen the central nut, press on the rod and remove the heater).
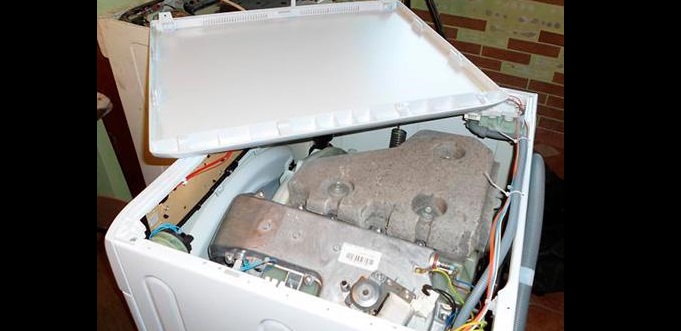
Next, we move on to the "top." We unscrew the bolts holding the counterweights and, with help, remove the blocks from the housing one by one. Then we locate the fill valve and water level sensor, disconnect the wiring from them, and remove them from the machine. Then we loosen the clamps on the powder receptacle hoses, unhooking the pipes from the tray.
Before dismantling the tank, disconnect the adjacent wires, pipes, sensors and instruments from it.
Next, we'll tackle the drainage system. Here's how:
- we look through the bottom;
- we find the pump;
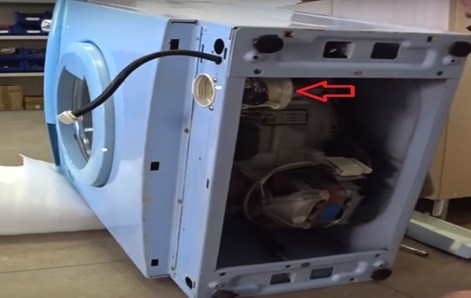
- disconnect the wires from the pump;
- loosen the bolts holding the pump;
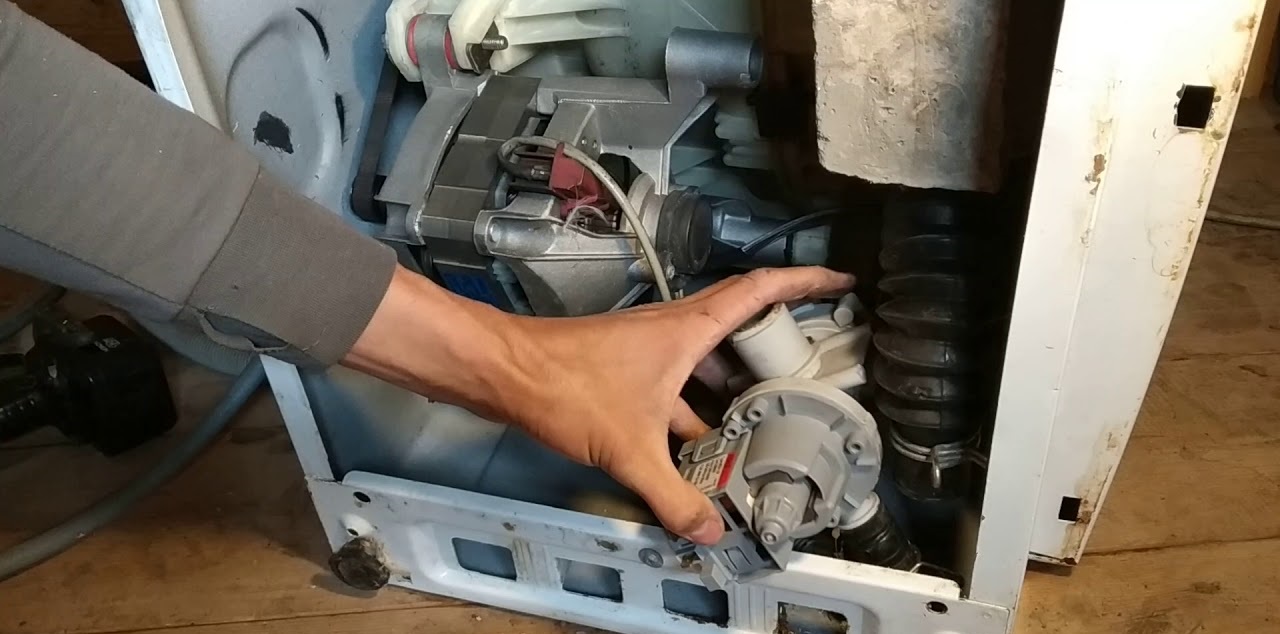
- move the pump clockwise;
- We press on the pump and, having removed it from the grooves, we take it out.
Lastly, we'll leave the shock absorbers. Disconnect the shock absorbers from the wash tub and remove the supports. Next, unhook the upper springs from the tank. This will leave the tank secured only by the side hooks. All that's left to do is lift the tank, release it from its grooves, and pull it out. Be careful, though—the tank is quite heavy. To avoid dropping it, it's best to have an assistant.
Let's take care of the plastic container
The removed tank must be placed on a flat, dry surface—the floor or a workbench. Vestel equipment typically uses a one-piece tank, the two halves of which are welded together using a special process. In this case, cutting the tank in half is more difficult: you'll have to cut it in half with a hacksaw, then reattach it, secure it with bolts, and seal it with sealant.
Vestel washing machines are equipped with welded plastic tanks, which are cut by hand and then glued together.
It's easier if the Vestel tank is detachable. Then you just need to unscrew the bolts along the seam and press the plastic latches. After that, the halves separate.
The general procedure for dismantling the tank is as follows:
- loosen the bolt located in the center of the pulley;
- disconnect the crosspiece from the tank (one of the blades will need to be clamped with the handle of a hammer);
- let's half the tank;

- we leave the half on which the shaft is fixed;
- we turn the tank upside down;
- Using a flat-head screwdriver, pry up the seal and pull it out of the recess;
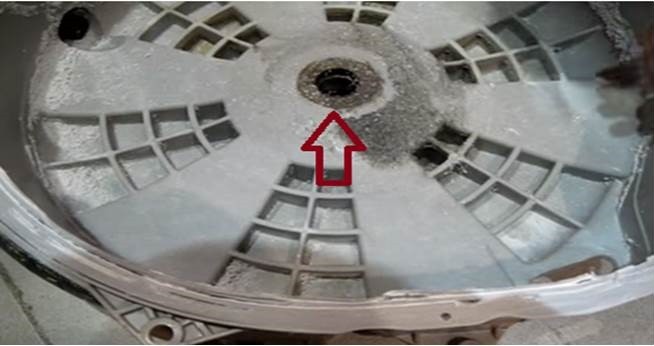
- We treat the area with WD-40 to remove scale and rust;
- We remove the bearings using a punch, puller, or chisel and hammer.
When disassembling the Vestel, it's a good idea to take the time to clean the parts. Immediately wash all contaminated areas with soapy water, including the drain filter housing, the pump housing, and the bearing shaft. Clean the components separately, especially the inlet and drain hoses, as well as the detergent drawer. If the layer of rust or limescale is too thick and does not give in, then it needs to be treated WD-40 and leave for 15-20 minutes. Minor scale can be removed using baking soda, salt or a special cleaner.
Bearing assembly removal is the final step in disassembling the washing machine. Next, the washing machine is diagnosed or the parts removed are disposed of. To reassemble the machine, repeat all steps in reverse order, replacing any broken parts and sealing the seal and the tub seam with sealant. Finally, run a test wash to assess the quality of the repair.
Interesting:


Readers' comments
Headings
Washing machine repair


For buyers


For users


Dishwasher


Add a comment