In some cases, you can repair your washing machine yourself without calling a technician. For example, repairing the shock absorbers on a Samsung washing machine is easy. The shock absorbers are fairly simple in design, so the shock absorbers can often be repaired.
Let's explore how Samsung washing machine shock absorbers work. We'll explain how to remove the shock absorbers from your washing machine. We'll also explain how to repair damaged shock absorbers at home.
How does a washing machine damper work?
Before attempting to repair vibration dampers, it's important to understand how they work. Samsung washing machines are equipped with shock absorbers, not standard shock absorbers. The rack consists of a plastic cylinder, a metal rod, a pair of bushings and a rubber gasket that functions as a piston.
Typically, to repair a washing machine's damper, it's enough to replace the gasket—it's the one that wears out the most during the washing machine's operation.
As a result of natural wear, the gasket partially or completely loses its properties and can no longer perform its intended function. This can occur even if the cylinder still contains lubricant, which creates additional friction.
Once the rubber seal deforms, the washing machine's damper operates without a piston. This means the piston rod begins to move freely within the cylinder, with nothing holding it in place. Under severe vibration, the metal rod can even fly out of the strut.
Assuming the problem is indeed a deformed gasket, repairing the damper will require:
remove the shock absorber;
carefully disassemble the rack, remove the rod (pulling out the metal rod is very easy, since in such a situation it usually loses resistance);
remove the damaged gasket;
install a new rubber band;
assemble the vibration damper;
put the damper back into the washing machine body.
Sometimes the piston rod won't budge and can't be pulled out. In this case, wrap the rod in a rag, clamp it in a vice, and pull the piston rod out in that position. It's important to be careful not to damage the plastic cylinder.
Before repairing, the CM damper must be removed.
Overall, restoring washing machine shock absorbers seems simple and quick. Repairing the shock absorber can actually be done in just a few minutes. The main difficulty is removing the damaged shock absorbers.
What symptoms indicate faulty dampers? The washing machine begins to vibrate heavily during operation. It often even "jumps," especially during the spin cycle. Don't delay diagnostics and repairs—constant "shaking" can lead to other, more serious problems.
Before disassembling the washing machine, it's best to perform a simple test. This will help determine whether the shock absorbers are actually the problem. To check if the shock absorbers are working properly:
de-energize the machine;
remove the top cover of the case;
Press down firmly on the tank, lowering it by 3-5 cm;
remove your hands quickly, stopping the pressure;
look at the tank's "behavior".
If the shock absorbers are working properly, the reservoir will bounce and stop immediately. Damaged shock absorbers won't be able to adjust the reservoir's position quickly, so it will continue bobbing up and down for some time. Once you've determined that the shock absorbers are indeed failing, you can begin disassembling the washing machine.
To remove the dampers, you need to:
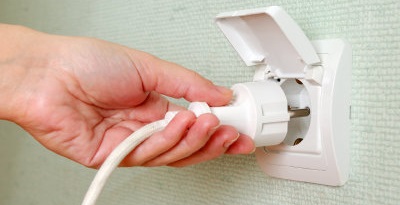
de-energize the washing machine by pulling the power cord out of the socket;
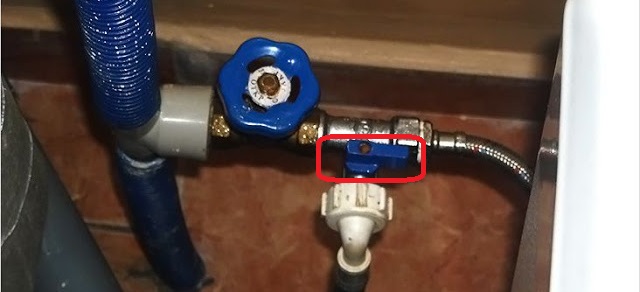
turn off the tap that supplies water to the washing machine;
disconnect the drain and inlet hoses from the machine;
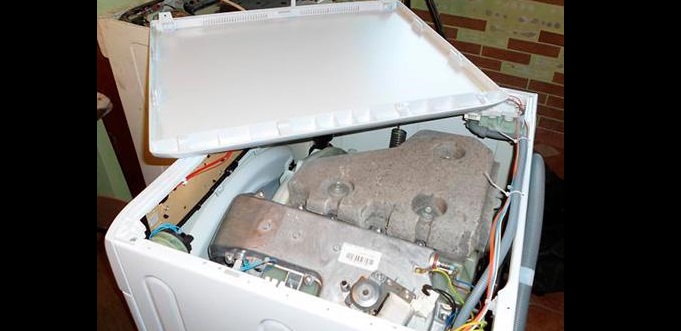
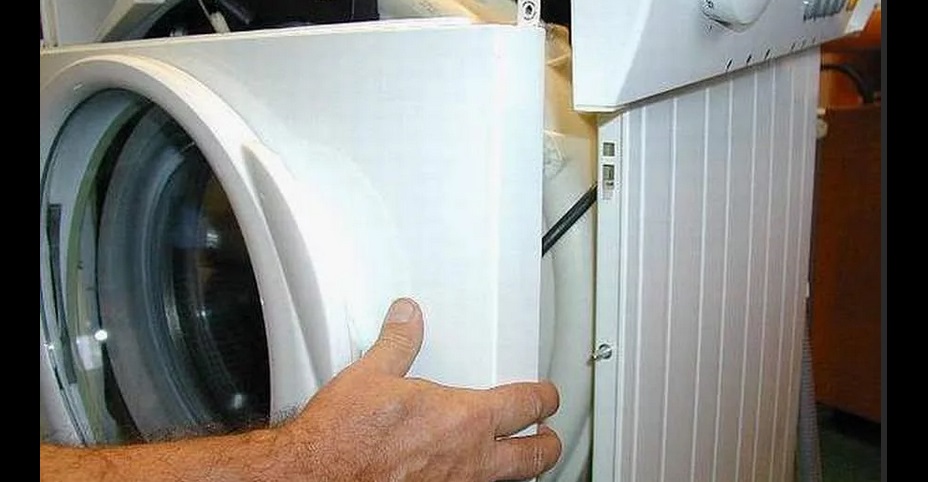
Move the washing machine away from the wall or remove it from the furniture to have free access to all sides of the body;
remove the top cover (by unscrewing the screws holding it);
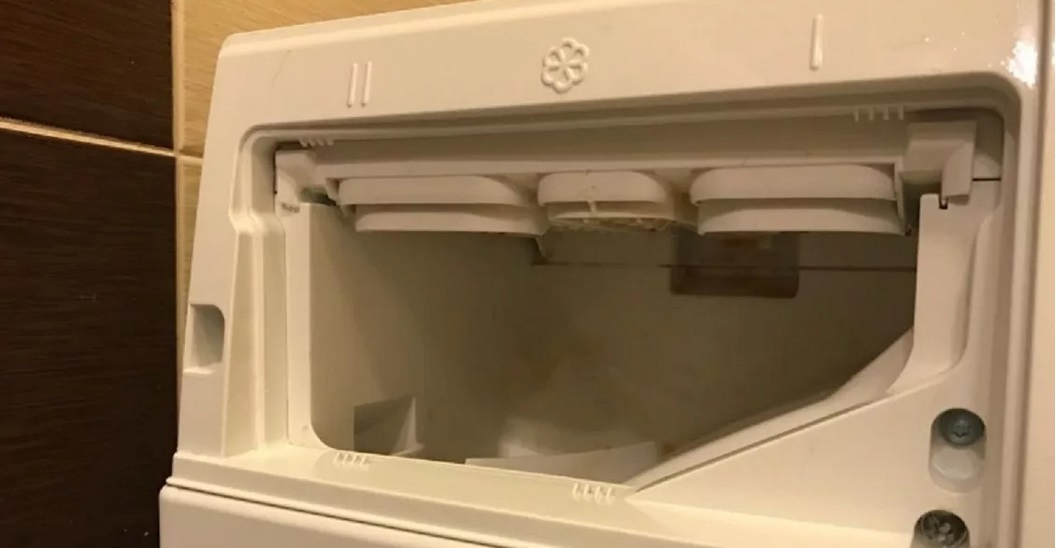
pull out the powder receptacle;
remove the bolts holding the instrument panel;
carefully detach the control panel from the body and place it on the washing machine;
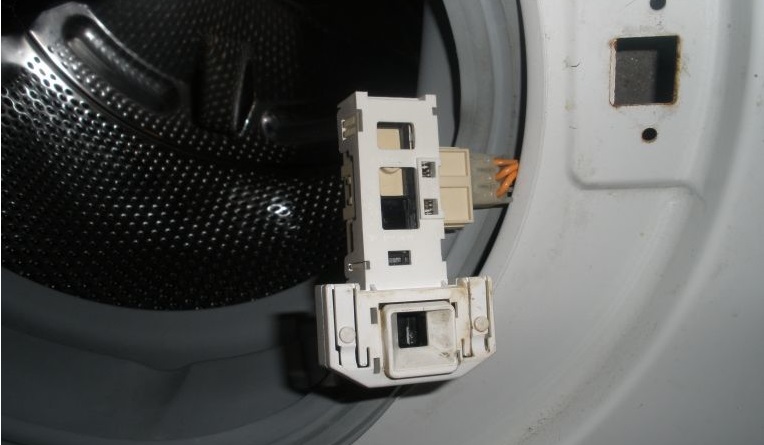
disconnect the UBL contacts, dismantle the locking device;
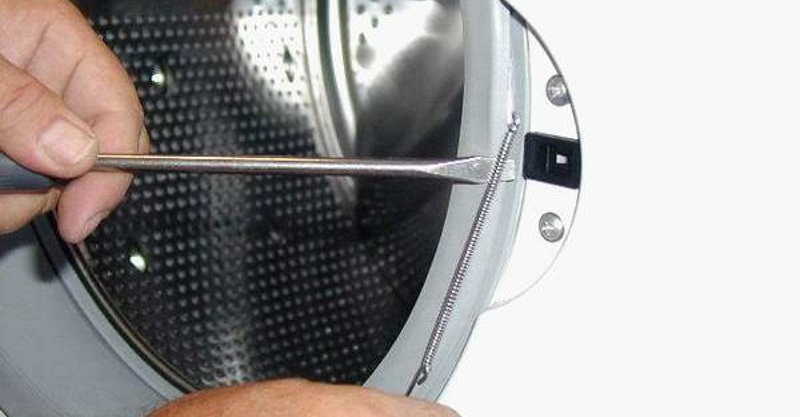
loosen the metal clamp on the hatch cuff;
insert the sealing rubber into the drum;
remove the screws around the perimeter of the front wall;
remove the front panel of the case to the side;
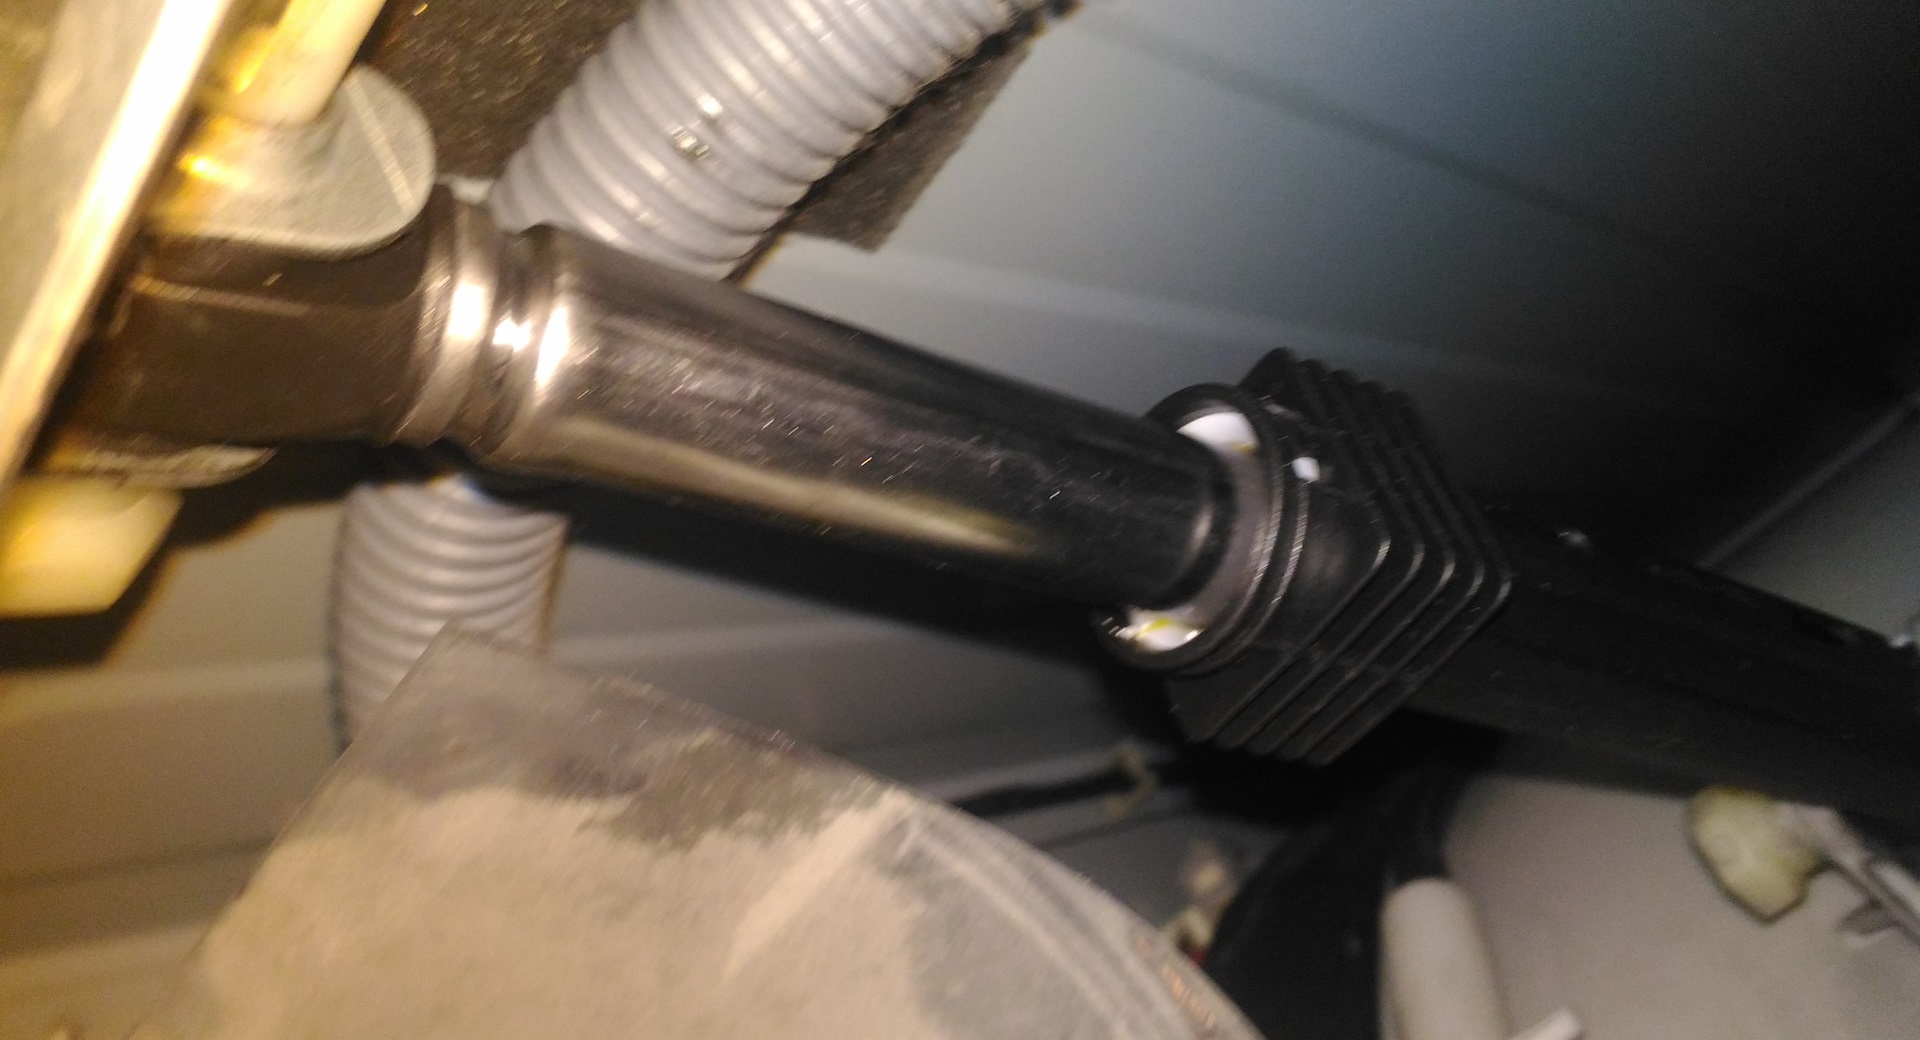
Unhook the dampers and remove them from the washing machine.
After this, you can begin disassembling the damper. Pull out the piston rod and inspect the gasket. If it has truly crumbled and no longer creates resistance, replace the part.
You can make a new gasket for the damper yourself from textolite, leather or rubber.
After cutting the element to the appropriate size, insert it into the damper in the designated location. Then, reinsert the rod into the cylinder. Test the second vibration damper on your Samsung washing machine in the same manner.
If the problem isn't the gasket, but another malfunction, the shock absorbers may not be repairable. In that case, you'll have to buy and install new components. The dampers must be replaced in pairs – this is necessary so that they subsequently dampen the machine’s vibration evenly. Otherwise, one component will wear out much faster than the other, and the repair will soon have to be repeated. Parts are selected for a specific Samsung model. Some Samsung models have shock absorbers permanently attached to the tank, making them impossible to access without removing the plastic container. In this case, you'll need to not only remove the front panel of the washing machine but also disconnect all hoses, wires, sensors, and components from the tank. Then, the tank is removed from the housing, and only then are the damaged shock absorbers removed.
We restore a broken damper
It's worth going into more detail about the damper restoration process itself. Once the shock absorbers are removed, the car can be left alone. The rest of the process is performed on a table. You'll need to have the following on hand:
slotted screwdriver;
scissors;
calipers or ruler;
a piece of textolite or rubber (an old leather belt will also work).
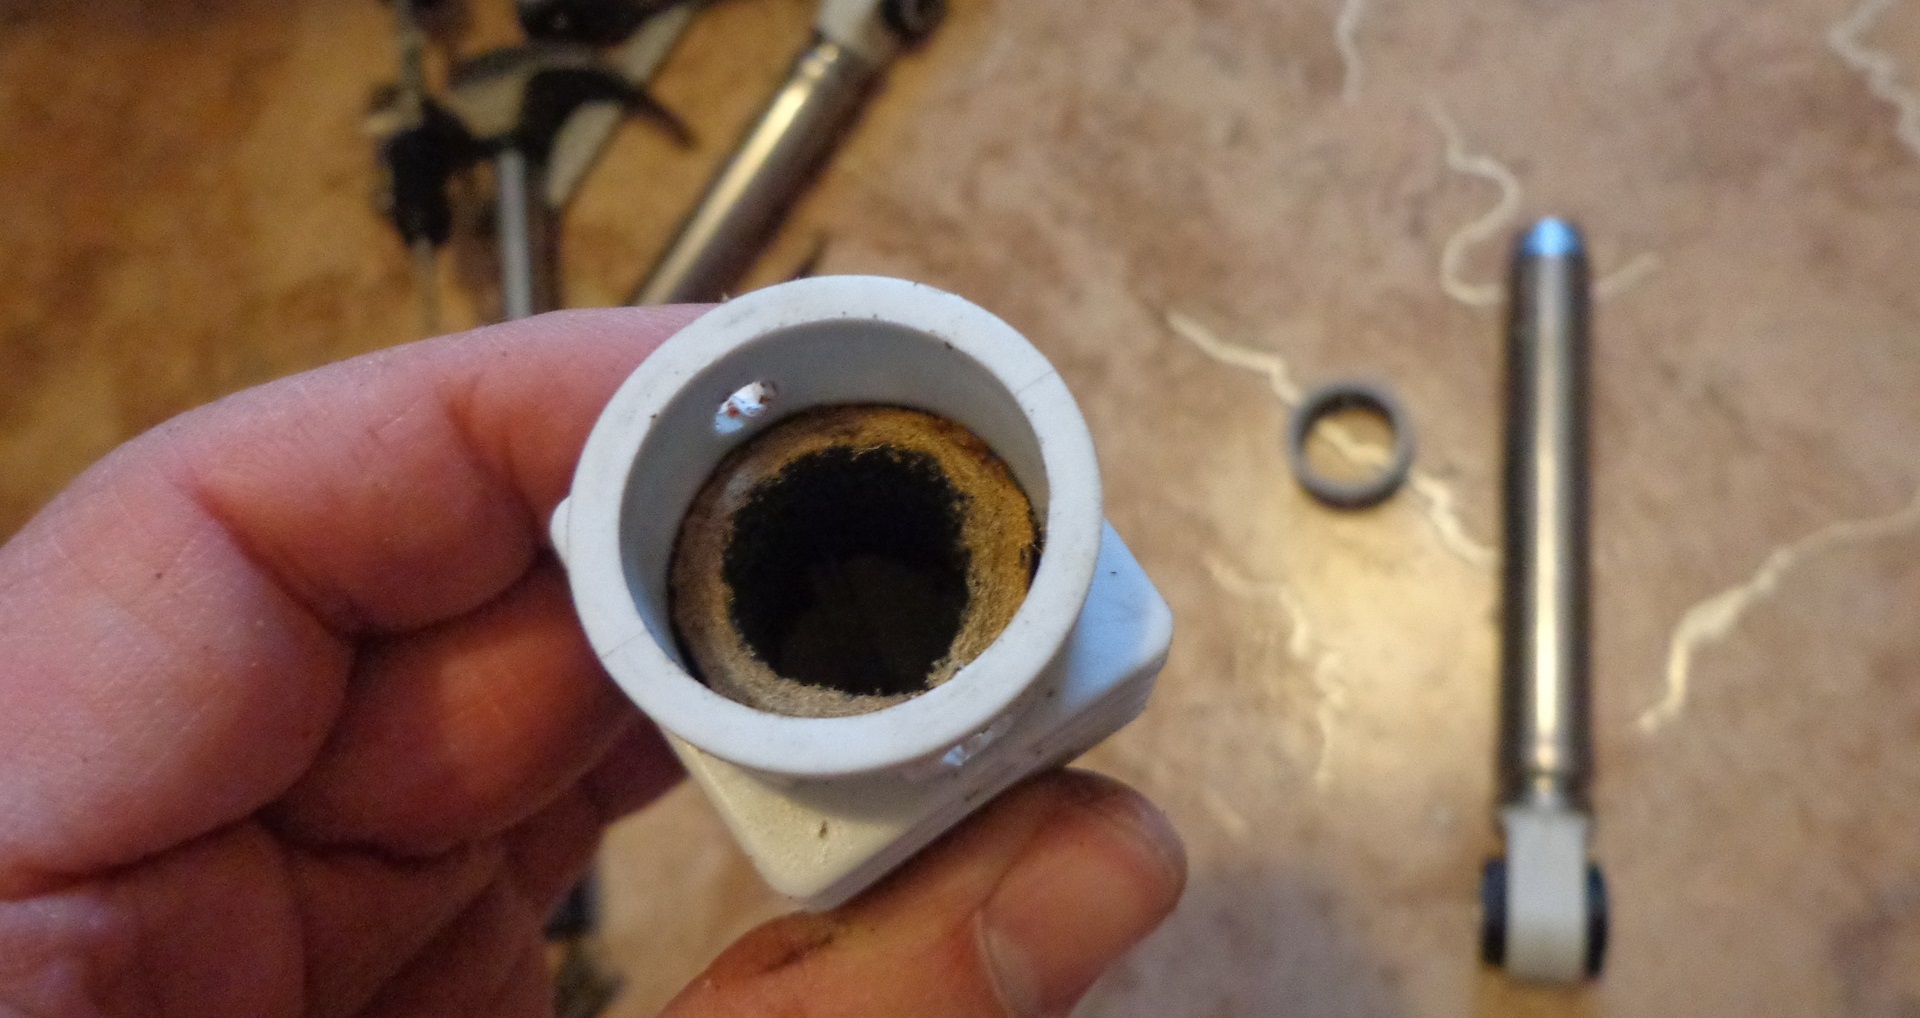
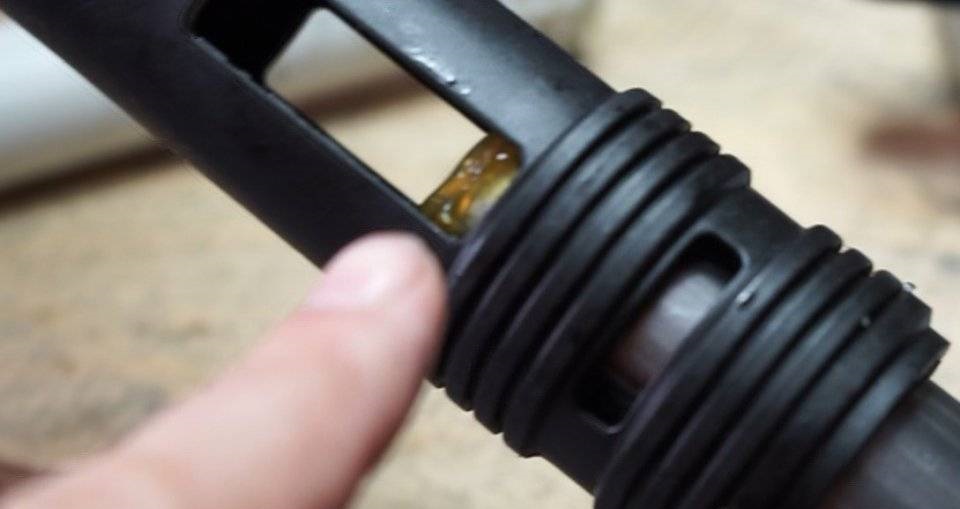
The factory gasket, which creates resistance to piston movement, is secured inside the cylinder with a retaining ring. To remove the worn rubber seal, pry the plastic rim with a flat-head screwdriver and remove it from the strut. You can then remove the remaining bushing.
Now you need to figure out how to replace the worn gasket. There are two options. The first is to go to an auto parts store and find a bushing of the right size (or a similar one, and then trim the rubber). The second is to make a replacement part from scrap materials.
The second option is less time-consuming. An old leather belt will do as a starting material. Cut two strips from it, the same size as the worn belt. Ideally, the new gasket should be at least 3.5 mm thick. Larger is possible, but this will increase the shock absorber stiffness.
Some experts recommend gluing the strip to form a ring. However, this is not necessary; simply overlapping the leather strip within the cylinder is sufficient. The gasket won't open outward anyway, as the damper body will prevent it from doing so, and the metal rod will prevent it from collapsing inside.
After placing the homemade gasket into the housing, insert the piston rod. Check for resistance. The rod should move with visible force.
To complete the repair, apply a small amount of thick washing machine grease to the damper cavity. This will slightly reduce friction and improve the shock absorber's vibration damping ability. It also provides additional corrosion protection.
The assembled shock absorbers can be placed back into the washing machine. Next, reinstall all previously disconnected parts, sensors, wires, and housing walls. Before reattaching the top cover, perform another test: press firmly on the drum, lowering it, then quickly remove your hands. The repaired shock absorbers should immediately return the drum to its original position.
 In some cases, you can repair your washing machine yourself without calling a technician. For example, repairing the shock absorbers on a Samsung washing machine is easy. The shock absorbers are fairly simple in design, so the shock absorbers can often be repaired.
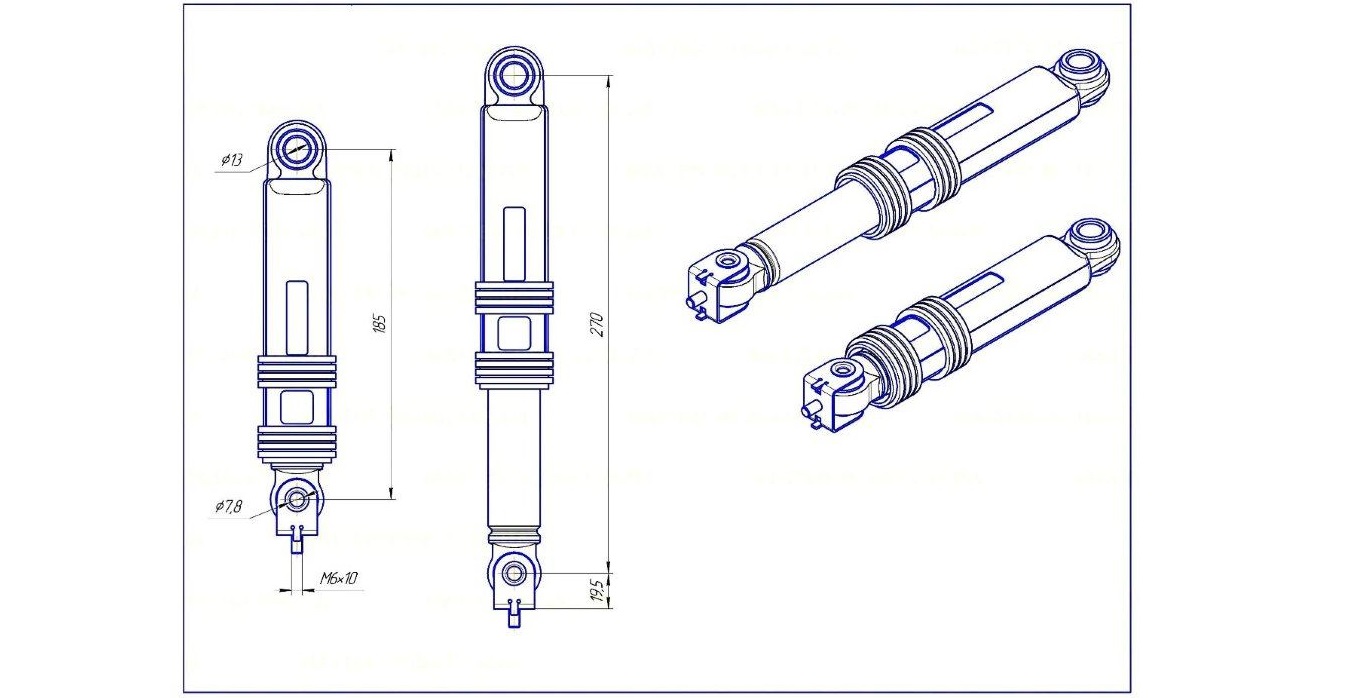


Add a comment