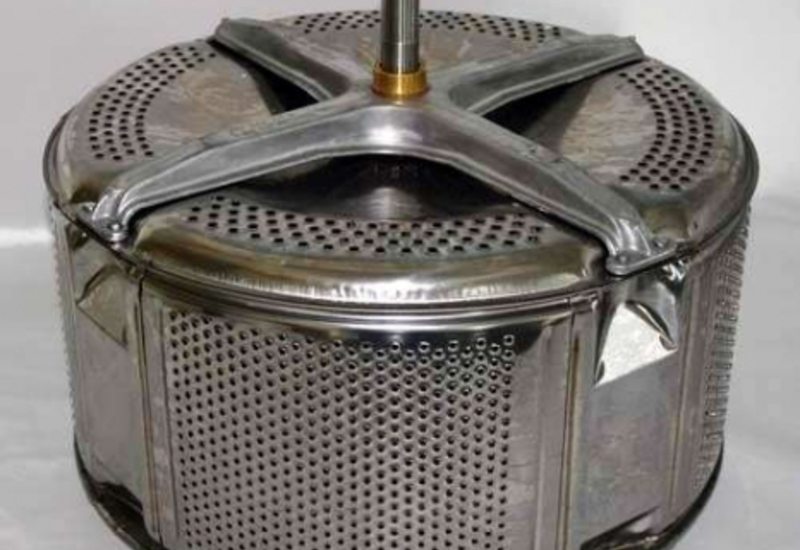
In a washing machine, the tub and drum are connected by a special element called a spider. Its blades and base fitting securely hold the unit together and provide the necessary torque. However, due to heavy loads, the soft metal of this element can become deformed over time and require repair. Let's explore whether repairing the spider on an LG washing machine's drum is possible and what it requires. We'll outline the procedure and some recommendations.
In what cases is the crosspiece not hopeless?
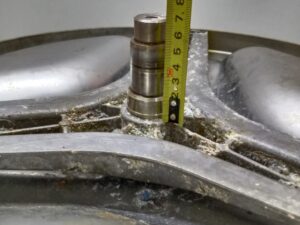
Crosspiece repair refers to the restoration of the shaft surface. This refers to the axle near the bearings and the bushing, which is hidden by the seal. With prolonged use, traces of wear appear here: “grooves” – linear holes in the metal. They can be eliminated by returning the part to its working condition.
Play during drum rotation, imbalance, increased vibration, and knocking noises during washing may indicate problems with the washing machine's spider.
The presence of grooves seriously impacts the operation of a washing machine. An uneven shaft causes the washing tub to become misaligned, leading to imbalance and subsequent mechanical damage to the structure. Wear marks appear on the metal for a number of reasons.
The bearing assembly is faulty. When bearings fail, play occurs: the shaft rotates too freely. As a result, the seal wears out faster, and instead of the rubber seal, the metal retainer insert rubs against the surface of the bushing. The friction against the metal causes the axle to deform, causing deep grooves and scratches.
The bushing under the oil seal is damaged. This type of damage has virtually no effect on shaft operation, as it appears as surface grooves. However, if left untreated, the situation worsens, leading to permanent failure of the part.
The main bearing is worn out. This refers to the ring located closest to the seal on the universal joint shaft itself. If the rim is severely worn, the bearing will periodically "seize," which can lead to pitting and chipping.
Not all universal joints can be restored by hand—only grooves and small chips on the shaft can be repaired. If the blades are cracked, bent, or broken, repairs won't help. Localized repairs won't ensure the structure's proper strength and will only delay the solution. To prevent a recurrence, the entire part must be replaced.
Description of the repair part
Not everyone can completely repair a universal joint at home. While anyone can disassemble a washing machine and remove the component, only a few can handle removing wear marks from the shaft. Restoring the blades with the axis requires experience in working with metal and a lathe.
It's always better to stop halfway: remove the universal joint from the washing machine and take it to a turner for further repair. This way, you can save on labor costs and be confident in the quality of the restoration.
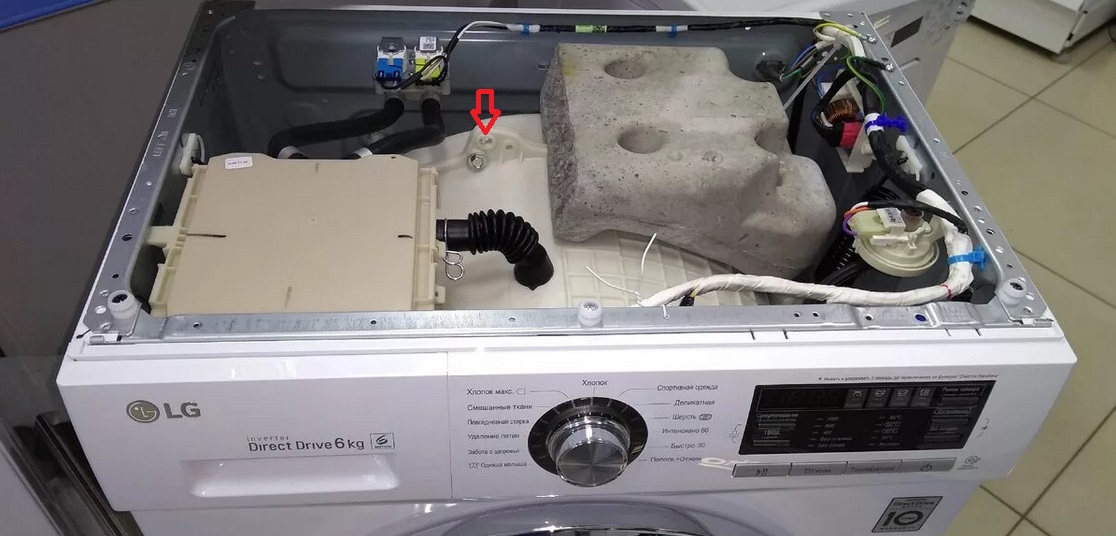
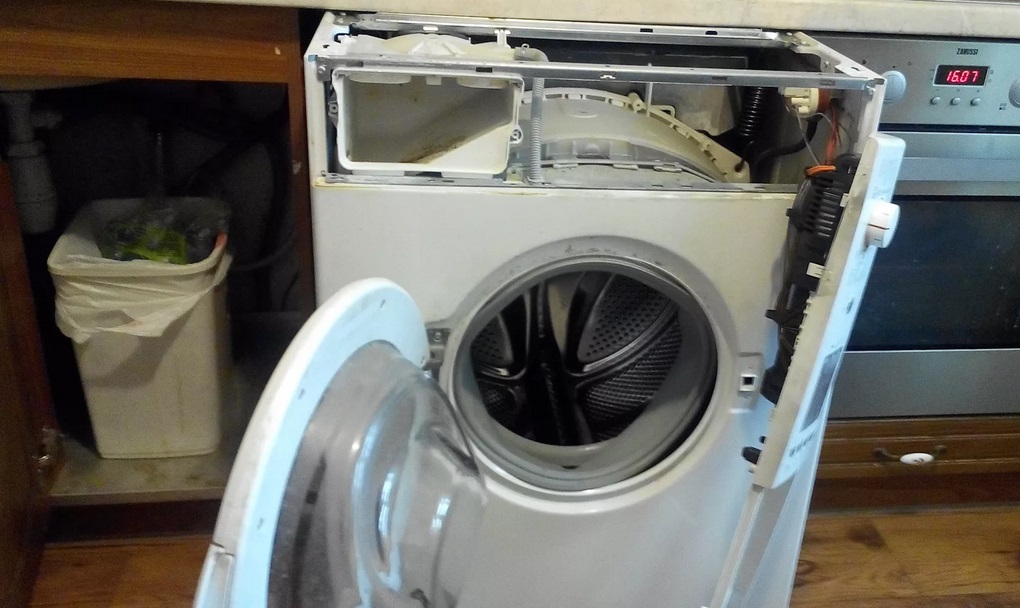
To remove the spider, you'll have to almost completely disassemble the washing machine. Follow these instructions:
disconnect the washing machine from the power supply and water supply;
detach the technical hatch door from the body;
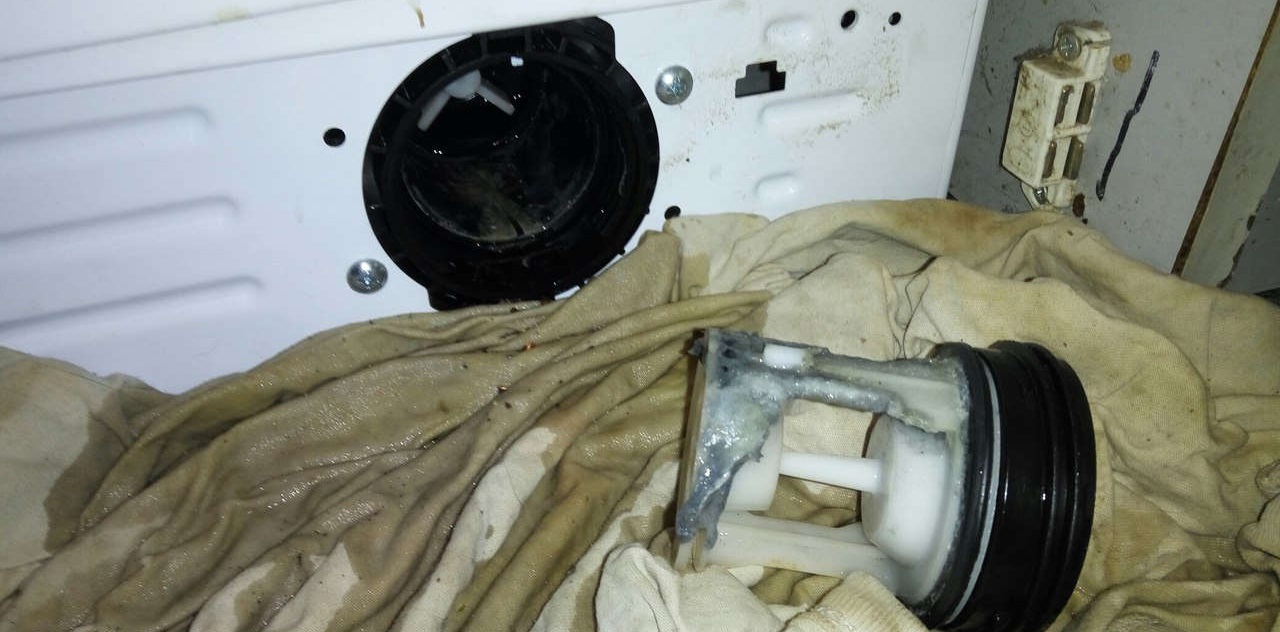
drain the remaining water from the tank by unscrewing the debris filter (or using the emergency drain hose);
move the machine to the center of the room, providing free access to any side of the case;
remove the top cover (unscrew the fasteners and push it away from you, lifting it up);
remove the detergent drawer;
remove the instrument panel from the body (loosen the bolts and unfasten the latches);
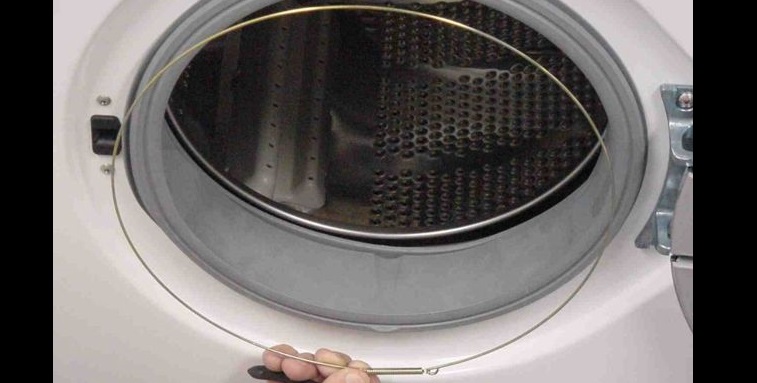
loosen the outer clamp on the hatch cuff and insert the rubber band into the drum;
detach the front panel from the case;
disconnect all connected elements from the washing tank (drain pipe, level sensor, motor, heating element);
remove counterweights, springs and shock absorbers from LG;
remove the tank by removing it from the side hooks;
“cut the tank in half” (by unscrewing the screws or sawing the container with a hacksaw);
get the drum;
remove the crosspiece (it is enough to unscrew the screws or drill out the fasteners).
The dismantled universal joint should be taken to a lathe operator. It's crucial that the specialist have a suitable machine designed for working with small washing machine parts. This should be clarified in advance.
Before disassembling the washing machine, you must de-energize the machine and disconnect it from the water supply!
The scope of the work depends on the nature of the damage. To eliminate the grooves under the bearings, the grooves will need to be welded in place, followed by the removal of excess metal on a machine. The shaft surface is then leveled to ensure the alignment of all structural elements. Specifically, crosspiece restoration involves the following steps:
welding the shaft in damaged areas (welding is used);
sharpening the surface, smoothing protruding parts;
pressing a new bushing;
groove in the bushing (to align the axles).
When restoring a universal joint, it's important to use high-quality materials. This especially applies to the bushing—it should be machined from non-ferrous metal or stainless steel. Otherwise, the aggressive environment in the washing machine, high temperatures, and high humidity will damage the hardware. After just 2-5 washes, the part will begin to rust and cause play.
The restored crosspiece is returned to the drumIt's best to take your time assembling the car, and instead check the condition of the bearings and seals. If the assembly is loose and the seal is damaged, it is better to immediately replace the parts with new ones.
 In a washing machine, the tub and drum are connected by a special element called a spider. Its blades and base fitting securely hold the unit together and provide the necessary torque. However, due to heavy loads, the soft metal of this element can become deformed over time and require repair. Let's explore whether repairing the spider on an LG washing machine's drum is possible and what it requires. We'll outline the procedure and some recommendations.
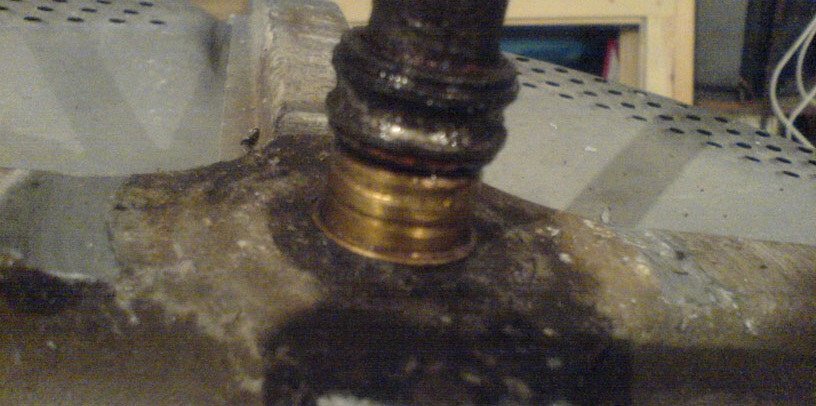


Add a comment