Grinding machine from a washing machine motor
 Old household appliances are a great source for DIY projects, especially if the motors are still in good working order—even asynchronous ones. Despite their low power and speed, their decent torque allows you to create a useful disc sander.
Making a grinder from a washing machine motor is quite simple, requiring minimal components and tools. Let's take a detailed look at the assembly instructions and the nuances of using the device.
What do you need for this DIY project?
Building a grinder from a single washing machine motor won't work. In addition to the motor itself, you'll need additional materials and tools. To avoid wasting money, it is recommended to first look at the items you have on hand. Perhaps among them you will find something suitable for the frame: an old cabinet, a pallet or a box.
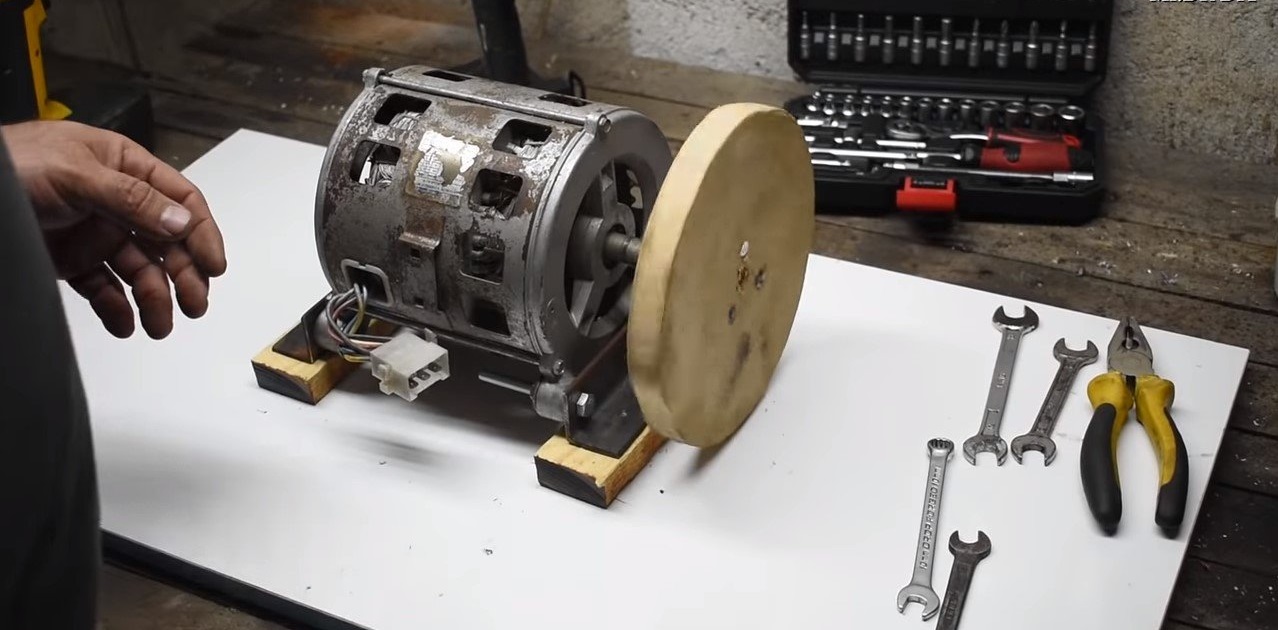
A washing machine motor can be used to make a mobile grinding machine.
You can use the approximate list of materials as a guide. For the base, you'll need boards and beams at least 2.5 cm thick to ensure a sturdy frame. To connect the machine to the power supply, you'll need a switch and a power cord with a plug. The motor is secured to the tabletop using metal brackets. Sandpaper of any grit is essential for sanding the finished product. You'll also need consumables: screws, bolts, nuts, and wood glue.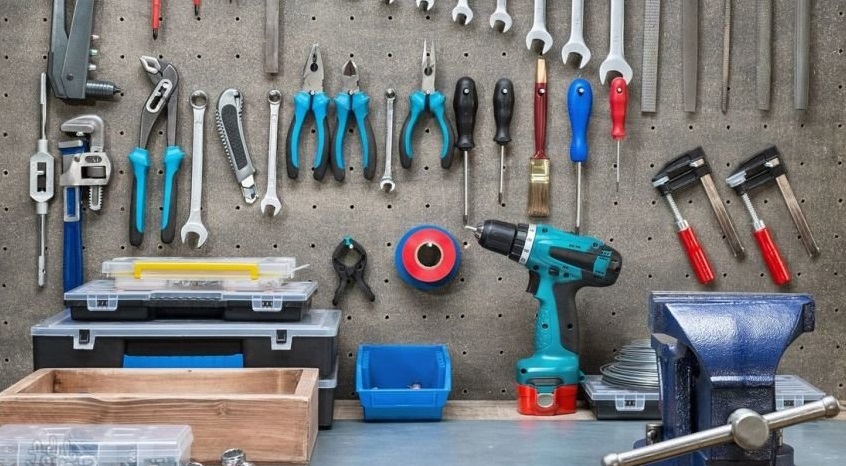
The following tools need to be prepared:
- drill;
- screwdriver;
- jigsaw;
- iron;
- grinder with a petal disc;
- ruler or meter;
- building level;
- marker.
The first step is to check the motor for your homemade lathe. If the motor is working and all the materials and tools are available, you can begin assembly.
How is the machine made?
The process of making a grinder from an old washing machine motor can be roughly divided into four stages. In the first stage, a wooden "foundation" is assembled; in the second, a grinding wheel is cut and secured to the shaft; in the third, the entire structure is assembled; and in the final stage, the sandpaper is installed and the unit is tested. Let's look at each step in more detail.
First, you need to assemble the base—the machine's fixed foundation. You don't have to build a table from scratch; you can repurpose an old cabinet, drawer, or shelf. The main thing is that the support is strong, stable, and easy to use.
An old cabinet or box can be used as a base.
If you don't have an old table, you can build a new one yourself. Here are the instructions:
- cut two identical bars (for the “legs”) and a table top from a 2.5 cm thick board;
- fold the resulting planks into a “U”-shaped structure;
- fasten the table with screws;
- strengthen the structure with braces or a crossbar;
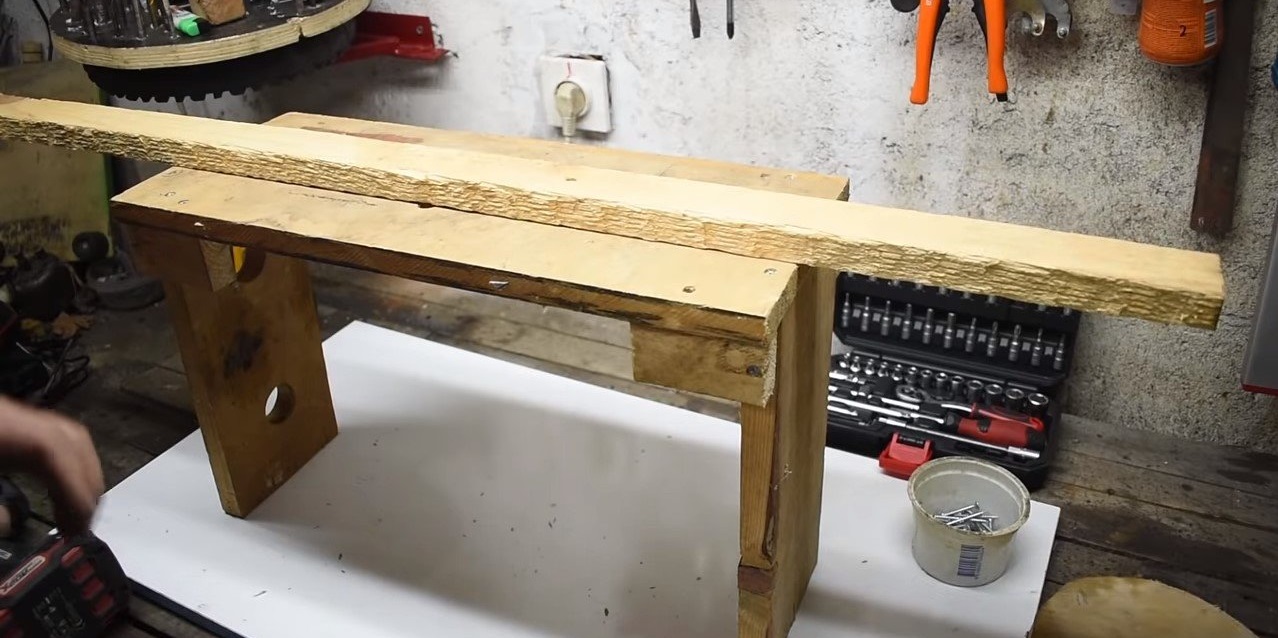
- add stability to the support by screwing a block perpendicularly to each leg.
The result should be a very simple wooden table. If desired, the structure can be sanded, varnished, or painted to enhance its aesthetic appeal and extend its lifespan.
The second step is to make and install the grinding disc. The sequence of actions is as follows:
- take a wide board;
- draw a circle of the required diameter on the board and cut it out with a jigsaw;
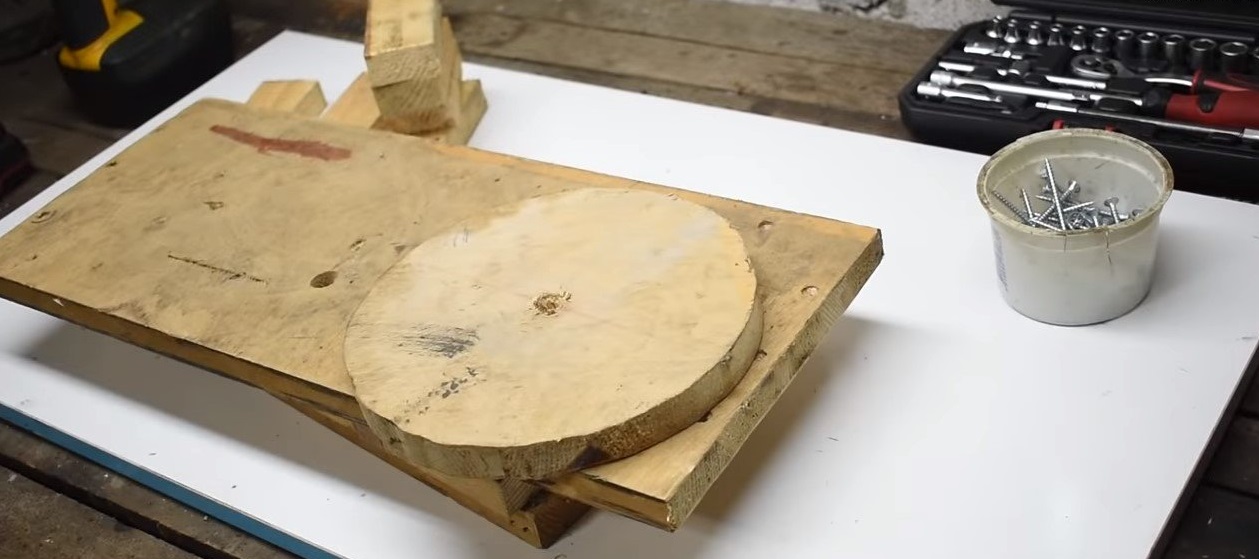
- sand the edge of the disc;
- Use a drill to drill holes for the bolts on the motor pulley (be sure to cover the rest of the engine surface with a cloth to protect it from dust and chips);
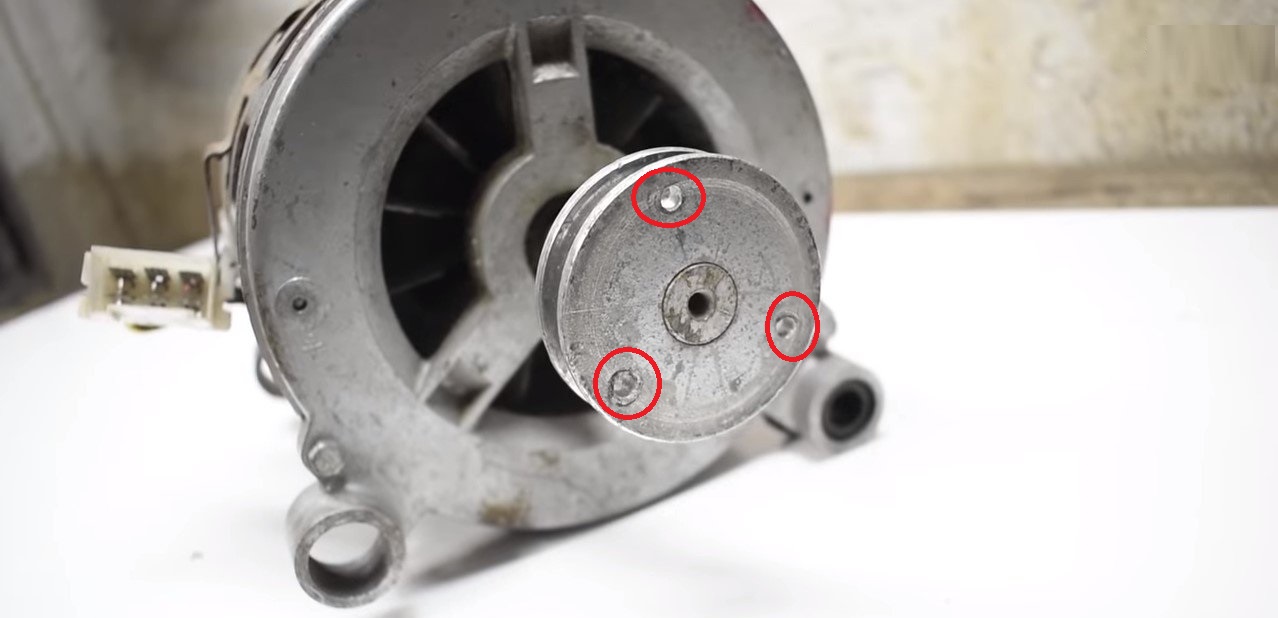
- drill the appropriate holes on the wooden disk;
- secure the disk to the pulley with bolts and nuts.
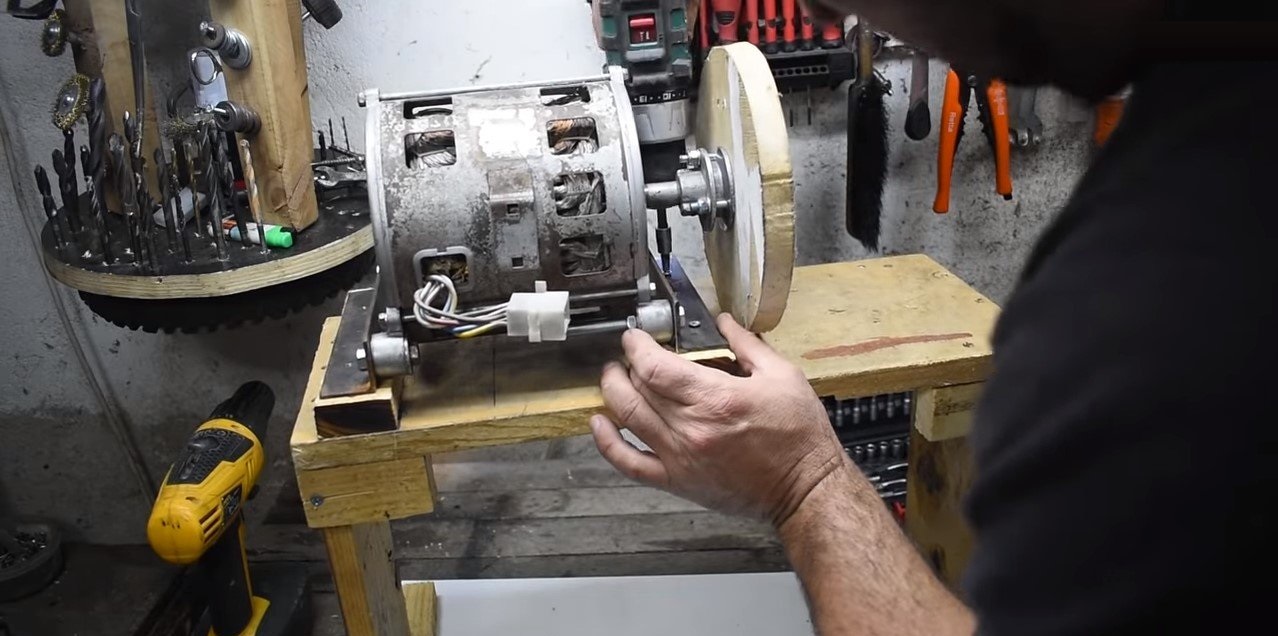
Next, the engine is secured to the table. Wooden strips and steel angles are used to connect the components together. If the motor is taken from an activator washing machine, it is recommended to keep the factory motor housing. This design will protect not only the motor from dust, but also the user, ensuring safe operation of the grinding machine.
The next step is to connect the power cord with the switch to the motor. Immediately run it at full power to ensure the structure is stable. If you're experienced, you can set the grinder to two speeds: high and low.
If desired, the engine can be set to two speeds - fast and slow.
Then you should do:
- sand the disc perfectly using a grinder with a flap wheel or a chisel;
- center the motor so that the disk is positioned strictly vertically;
- cut a circle out of sandpaper the same size as the disk;
- coat the circle with wood glue and spread it evenly over the surface of the board;
- glue the sandpaper (to speed up the process, you can apply a heated iron to the sandpaper);
- leave everything under the press for a while (it is enough to tightly fix a board with a vice on the circle);
- screw on a wooden stop (table top);
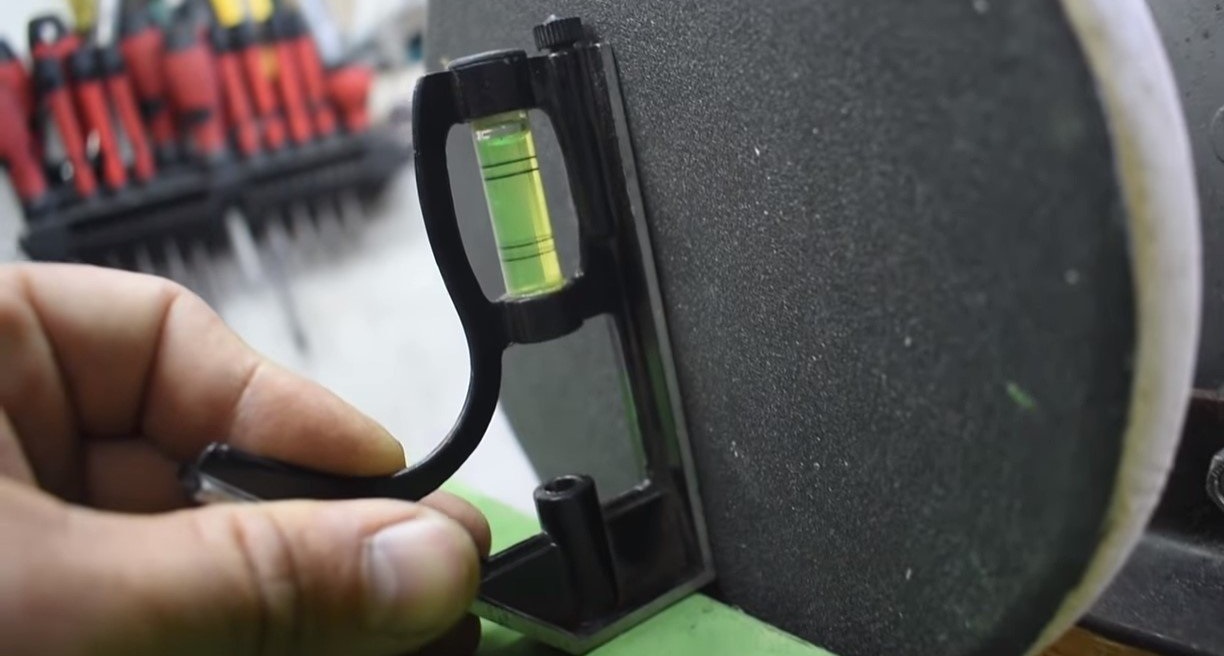
- Make sure the grinding surface is level using a building level.
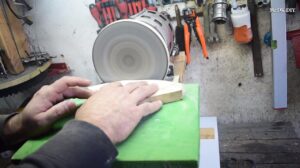
That's it! All that's left is to start up the homemade machine and test it out. It is perfect for sanding any wooden products – from boards to finished toys. The grinder can also be used as a sharpener.
Changing worn-out sandpaper yourself is easy. Simply tear off the old one, remove any remaining adhesive from the disc, and apply a new one. Choose any grit size that's most suitable for the job.
Interesting:


Readers' comments
Headings
Washing machine repair


For buyers


For users


Dishwasher


Add a comment