Draining water from a Haier washing machine
 When a washing machine breaks down during a wash cycle, the first step is to drain the used water. This is crucial, as without draining the water from your "home helper," it will be impossible to diagnose the problem and begin repairs. Removing excess moisture from the system will also help prevent damage to the flooring from possible flooding and prevent short circuits, which can be dangerous not only for the machine but also for your family. Today, we'll discuss this topic and share how to drain a Haier washing machine.
Options for “draining” a Hyer machine
The easiest and safest way to drain the water from your washing machine is to use the dedicated "Drain/Spin" mode. To do this, select the appropriate program. Then, deactivate the spin function and start the cycle by pressing the "Start/Pause" button.
If your appliance has suffered a one-time malfunction and is no longer responding to commands, you won't be able to simply empty the container. To do this, you'll need to use a forced drain. This can be accomplished: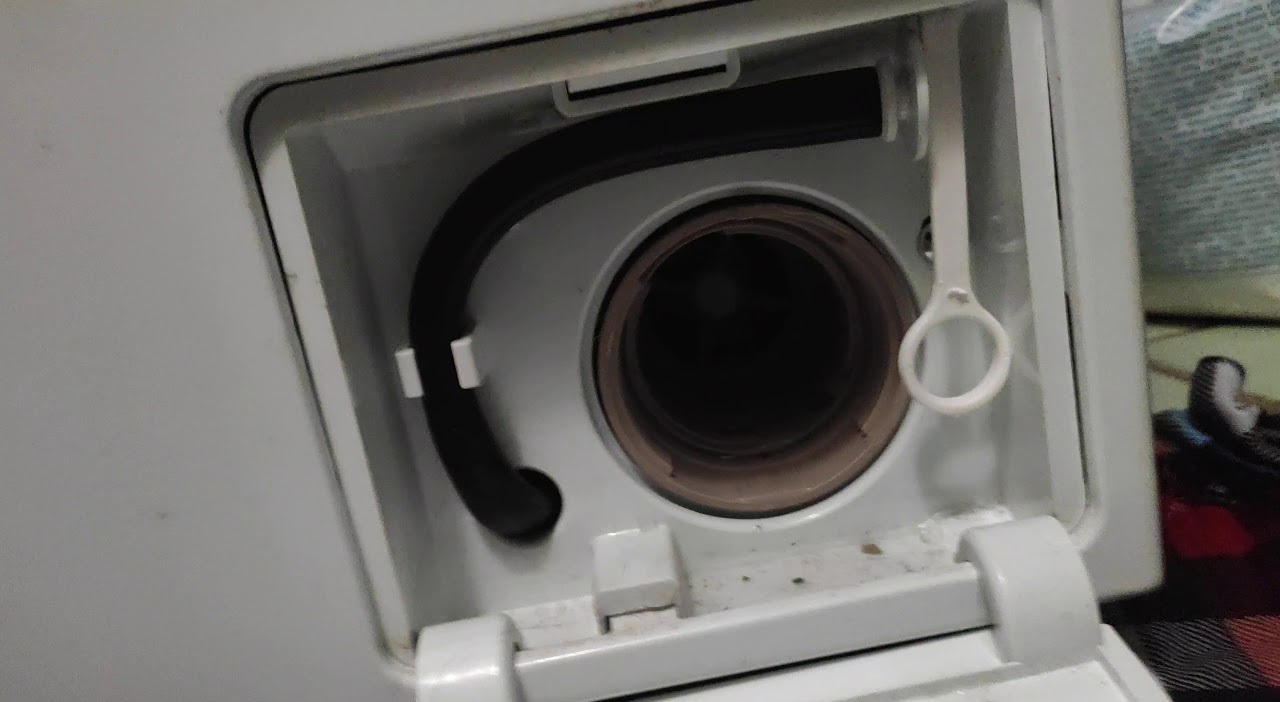
- using a hose to let the water come out on its own;
- through the drainage filter, which will need to be unscrewed beforehand;
- through the pipe connecting the tank and the snail;
- simply by opening the hatch door of the unit.
Before forcibly removing liquid from the washing machine, be sure to disconnect the equipment from the power supply and water supply!
All the methods described have their advantages and disadvantages. Choosing the right method depends on your specific situation, as some may only require opening the drum. Regardless of the cause, be sure to disconnect the appliance from all power supplies, analyze the situation, and carefully follow the instructions for removing the liquid.
Through the main filter
If you are unable to start draining water using the drain function, try to get rid of it manually through the drain filter. This method can be used even if the washing machine freezes during the working cycle. The main thing is to remember to take safety precautions.
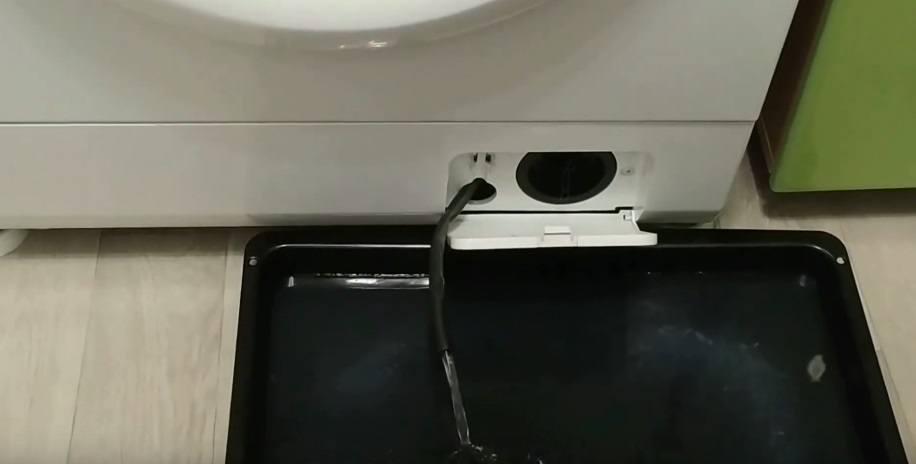
The drain filter is a small, spiral-shaped plastic attachment installed in the drain system, hidden behind a decorative panel at the bottom of the front wall of the washing machine. It's called a waste filter because it allows all waste liquid to drain smoothly, while debris and other objects are trapped on the plastic and prevented from entering the pump, thereby preventing clogs. If you need to initiate an emergency drain through this filter, follow these steps:
- Use a screwdriver to pry up the service hatch;
- if it is not there, detach the decorative panel using the latches;
- Locate the trash filter plug;
- place a large container for water (for example, a baking sheet) under it;
- Additionally, lay down some rags or unnecessary towels to avoid damaging the floor covering;
- take the plug with your hands and carefully turn the filter clockwise;
- do not open it completely while there is waste liquid in the system, because in this case the water flow may be too strong;
- Wait until all the liquid has left the tank.
This method is the most effective, but it does have its drawbacks. First, it's not suitable for use when the machine has been operating at high temperatures: there's a high risk of scalding from boiling water. Second, the debris filter can be overwhelmed by debris left over from the last cleaning. Finally, a third drawback is that users may not be able to install the debris filter evenly and tightly, which can cause the machine to leak during operation.
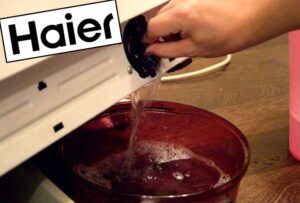
Let's use a drain hose
You can also drain the water manually using a drain hose. This can be done at any stage of the work cycle, as long as you have clear access to the sewer pipe and a suitable drainage area, such as a sink or toilet. We'll show you how to perform this procedure correctly. You'll need:
- find the place where the hose is connected to the sewer;
- loosen the clamp securing the corrugated pipe;
- detach the sleeve;
- remove the hose from the rear wall of the housing and the hook holder;
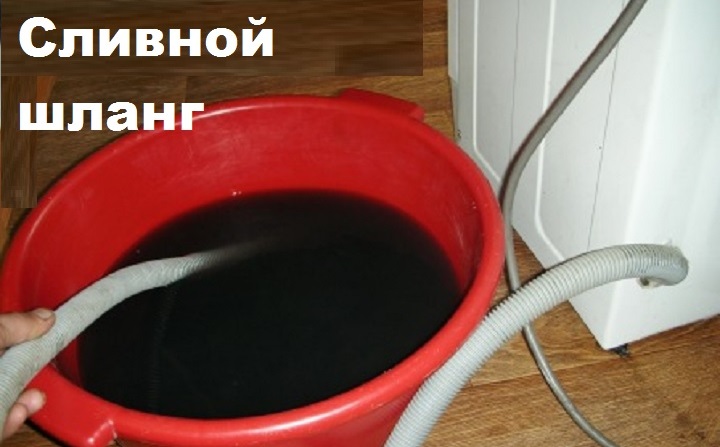
- place the corrugated pipe below the washing machine tank;
- lower the end of the hose into a prepared container such as a sink or toilet;
- Make sure that all the water has drained from the unit.
Please note: this draining method cannot be used if your machine has a non-return valve!
It's generally accepted that using a drain hose is the easiest way to empty a washing machine. However, this method isn't suitable for all homeowners. The reason lies in the check valve found in modern Samsung washing machines. This valve is necessary to prevent the "siphon effect." Therefore, if your machine is equipped with one, you won't be able to simply lower the hose and drain the water.
Dangerous option through the door
Perhaps one of the riskiest methods is cleaning the tank through the hatch door. To do this, you must first determine how much water is in the system, and then carefully tilt the machine back, leaning it against the wall. This will reduce the amount of liquid that spills onto the floor after the machine depressurizes. Here's how to proceed:
- carefully move the device away;
- lean it against the wall;
- Place a large basin or bucket under the machine;
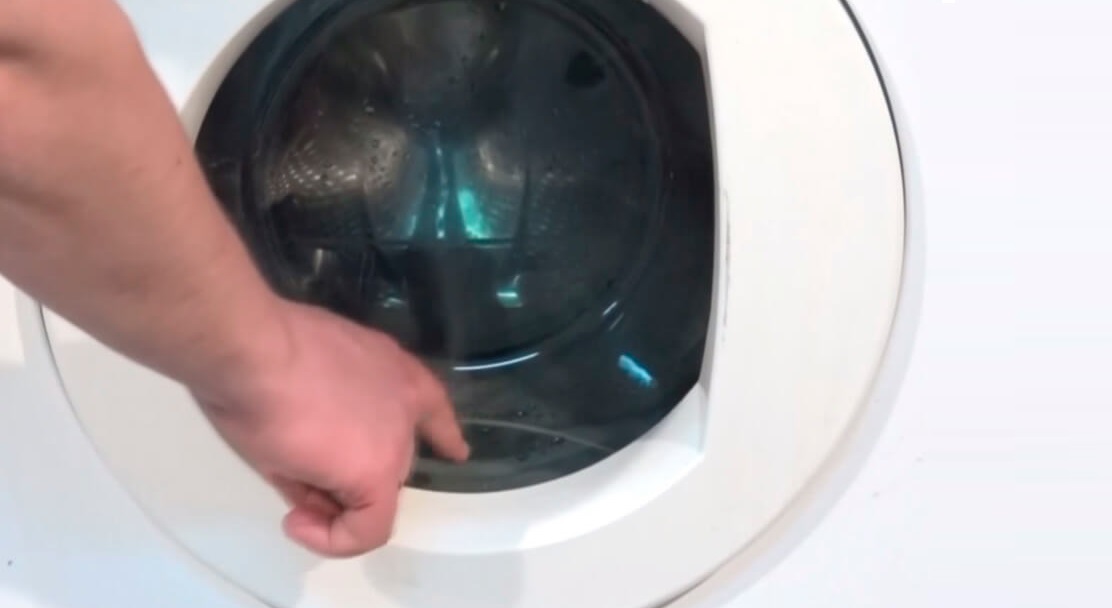
- open the hatch door;
- Collect all the spilled water and scoop out any remaining water in the tank using available tools.
The most difficult part of this entire operation is opening the machine, especially if it's frozen mid-cycle. In this case, the door mechanism will remain locked. You'll need to find a way to bypass this blockage. But don't worry, we'll tell you what to do in this situation. You should:
- find a long rope or fishing line;
- pass it under the door near the lock mechanism;
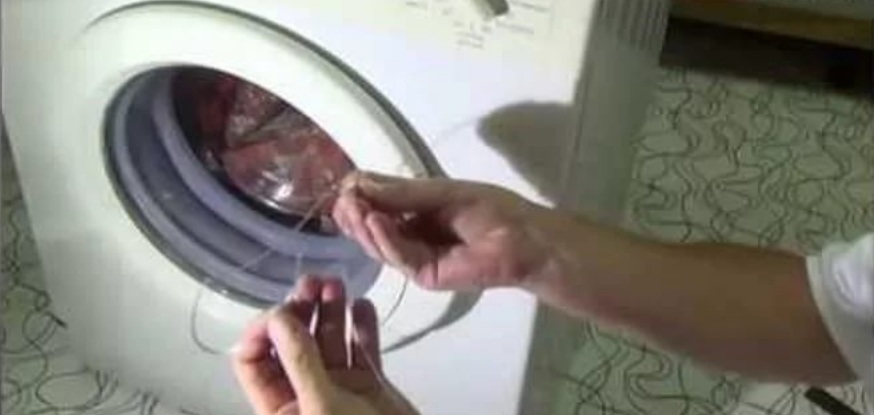
- pull the line so that it touches the lock;
- press on it and wait until you hear a characteristic click (after which the hatch will open)
Opening the machine while it is running can be quite a difficult task, especially due to the door locking mechanism. This process requires a lot of effort, so it is usually used as a last resort. Furthermore, after opening the system, you'll have to manually drain the water and then thoroughly clean the floors to remove dirt and soapy water, which is quite time-consuming. This method also doesn't guarantee a complete cleanout, as residual water may settle not only to the bottom of the tank but also into the drain system.
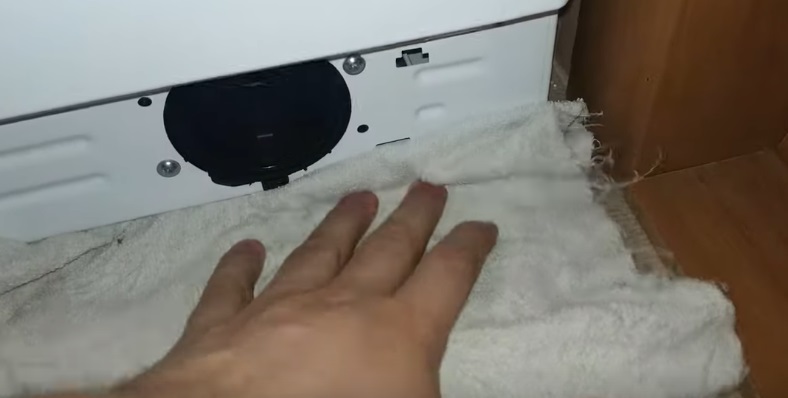
Let's drain the water from the machine through the drain pipe.
If you still haven't been able to remove the fluid, you'll have to resort to the final method. Forced drainage through the drum hose is difficult to achieve, but it's extremely effective because it will completely empty the tank. In this case, you can clean the hose yourself. Follow these instructions:
- remove the back panel, first disconnecting all the fasteners;
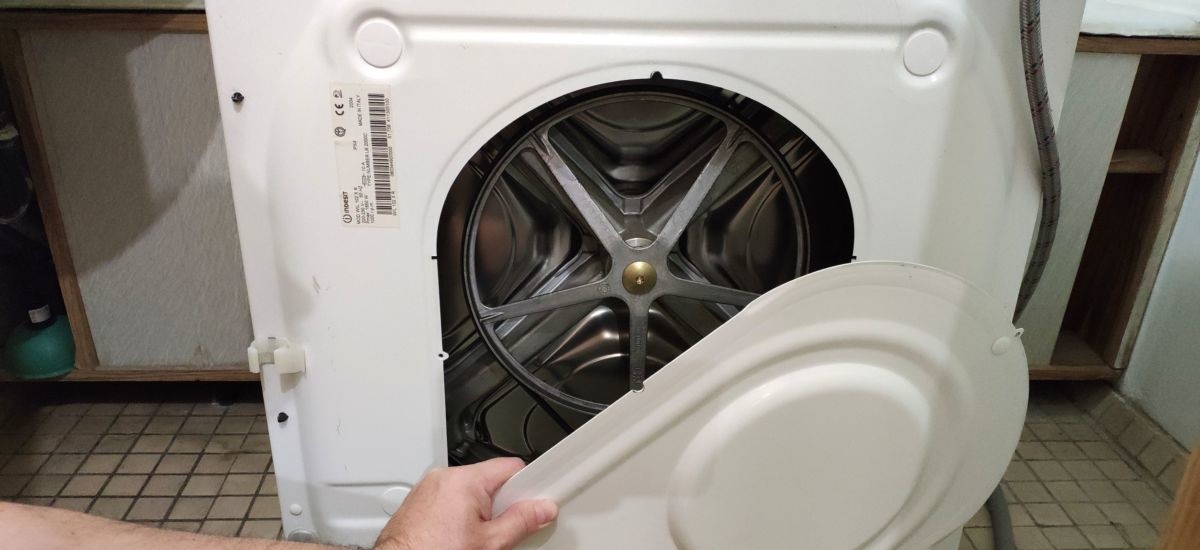
- find the pipe connecting the tank to the pump;
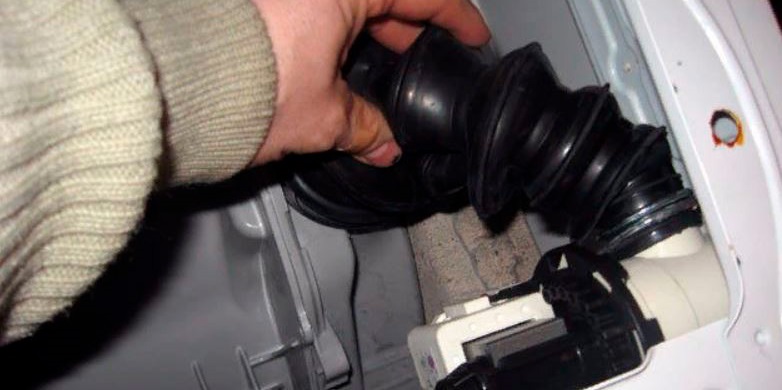
- place a large basin or bucket underneath and lay several rags on the floor;
- loosen the clamp holding the pipe;
- Remove the hose from the pump nipple and then place it in a pre-prepared water container.
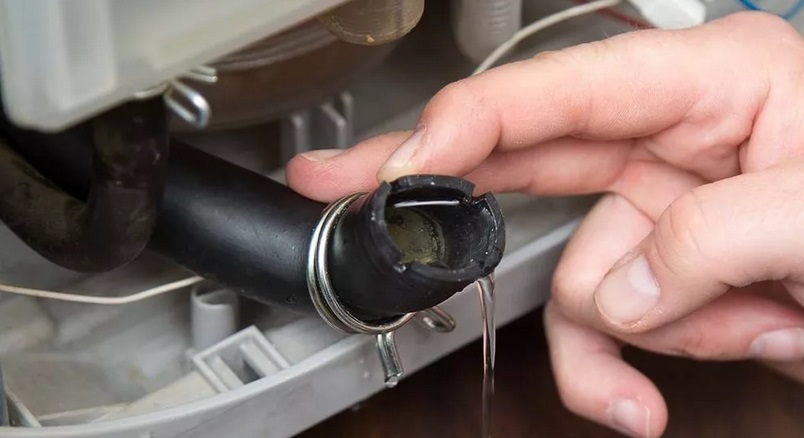
If water still isn't draining, a blockage is to blame. You'll need to loosen the second clamp and disconnect the hose. Afterward, thoroughly clean it of any dirt or other debris.
The latter method is quite effective, but it can be impractical for homeowners due to the need to move and partially disassemble the appliance to access the drum through its bottom, and then locate the drain hose by touch. It's important to remember that simply lowering the machine isn't enough. A thorough analysis of the system is required to identify and fix the problem. Therefore, it's sometimes easier to call a service technician to perform all the necessary procedures and then begin the repair.
Interesting:


Readers' comments
Headings
Washing machine repair


For buyers


For users


Dishwasher


Add a comment