Indesit washing machine does not heat water
 If your Indesit washing machine isn't heating the water, the washing quality will be significantly reduced. The machine won't be able to run a high-temperature program or will spin the laundry at 20-30 degrees Celsius. The result will be cold and poorly washed clothes, and without repair, the situation will only worsen. To restore the machine's ability to heat water, you need to properly diagnose the problem. This is what this article will discuss.
What could have happened?
It's wrong to immediately blame the heating element for the lack of heat. Firstly, it's not the only thing that can cause temperature problems. Secondly, a malfunction isn't always the cause. Therefore, it's recommended to conduct a little investigation before rushing to disassemble the machine.
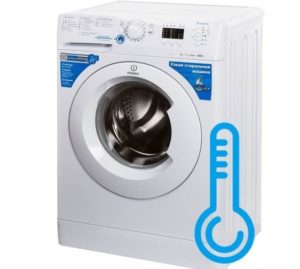
Some washing machine programs from Indesit do not require heating of water.
First of all, we pay attention to the control panel, or more precisely, to the selected washing program. It is possible that the “Delicate”, “Sports Shoes” or “Silk/Curtains” mode was turned on, which do not involve heating the water. It is better to select “Cotton 60” and check the machine’s functionality according to the instructions below.
If the heating program is enabled, check the set temperature. Modern models allow you to change the preset parameters, but mechanical controls don't always work. To check the quality of the settings, try turning the selector to a slightly different value and restarting the machine. Most likely, a simple system glitch has occurred.
In any case, it's important to check whether the Indesit is heating up to the set temperature. Many people think that if the laundry in the drum is cold at the end of the wash, the heating element is broken. But this isn't true – the clothes are cool because the final rinse occurs without heating. There's a more reliable and 100% surefire way to diagnose the heating element.
- Start the wash at 60 degrees (this is the most indicative temperature, but you can also choose 45 degrees).
- Wait 20-30 minutes.
- Touch the door glass with your palm. The key is to detect the door heating before the machine enters the rinse phase.
- Assess the heating level: if the door is warm, everything is fine. Cold glass indicates otherwise.
If the glass remains cold when washing on a hot setting, there's a problem with the water heating. Then, you need to determine the nature and location of the problem. We'll explain how to proceed and in what order below.
Potential problems
With modern Indesit models, it's easier: they automatically detect insufficient heat, display a corresponding error, and refuse to start the cycle. Other machines, however, don't indicate their status and continue spinning the drum, using cold water instead of hot. The problem needs to be solved in any case, since it is not recommended to use a faulty machine.Otherwise, there is a high probability that the situation will worsen, leading to the equipment being fatally damaged.
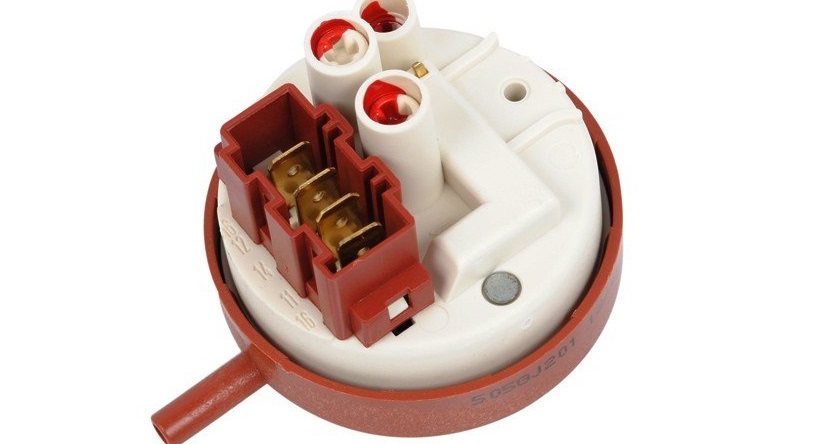
Indesit washing machines do not heat water due to a faulty heating element, pressure switch, thermostat, or problems with the wiring or circuit board.
So don't delay in finding the cause of the lack of heating. There are several.
- A faulty pressure switch. When the level sensor is broken, the control board doesn't receive a signal that the tank is full enough, and therefore, the module doesn't issue a command to heat the water.
- The wiring connecting the heating element to the circuit board is damaged. Without a complete circuit, the component cannot operate.
- Heater failure. This can occur due to scale buildup, mechanical damage, overheating, or a short circuit.
- Thermistor failure. If the sensor that monitors the temperature in the tank fails, the water will not heat.
- Control board failure. The resistor responsible for communication with the heater has burned out, or the contacts have come loose.
To fix the problem, you need to locate the damaged area and make the appropriate repairs. Most of the problems described above can be resolved by the washing machine owner themselves. The main thing is to remember safety precautions and follow the instructions below.
Let's check the heater
First, let's look at the heater. It's located at the bottom of the unit, directly under the tank. To access it, use a Phillips-head screwdriver to remove all the screws holding it in place on the rear panel and remove it. For convenience, it is recommended to move the washing machine away from the wall or remove it from the unit.
Before any disassembly of the machine, it is necessary to disconnect the unit from the power supply and turn off the water supply.
Once the panel is folded aside, you'll see the heating element, the thermistor, and all the wiring connected to them. It's a good idea to stop here and take a photo of all the connections to avoid misplacing the phases during reassembly. Next, proceed as follows.
- We release the wiring.
- We turn on the multimeter to measure in Ohms, set it to 200 Ohms and connect the probes to the terminals.
- We evaluate the readings on the display. A functioning heater will display a reading of 26-28 ohms. A reading of "1" indicates an internal open circuit, while "0" indicates a short circuit. In the latter two cases, the heating element will have to be replaced, as it cannot be repaired.
Next, we check for a breakdown to the housing. Set the multimeter to buzzer mode and adjust the contact. If you hear a beeping sound when you touch the probe to the terminal, you need to replace it.
To replace a faulty heating element, you'll need to remove it. This can sometimes be difficult because the protective gasket expands and prevents the element from being removed. To accomplish this, we recommend the following:
- thoroughly treat the rubber with WD-40 or other technical lubricant;
- wait 10-15 minutes;
- disconnect the thermistor;
- unscrew the bolt holding the heater;
- swing the heating element and remove it from its seat.
A replacement part is purchased using the serial number stamped on the housing. Ideally, bring the broken element to the store and ask the sales associates to select an alternative. Before installing the new heater, it is recommended to thoroughly clean the mounting area and reach into the tank through the cleared hole, removing any accumulated debris. Then, using the photographs taken earlier as a guide, reassemble the machine.
Pressure switch test
The pressure switch is easier to figure out. Unscrew the two screws holding the cover on the back of the housing, slide it forward, remove it, and look for the level sensor. It's located on the right side and looks like a black and white plastic "washer" with a long hose running down into the tank. Then, proceed as follows.
- We find a tube with a diameter equal to the sensor fitting.
- We disconnect the hose by releasing the clamp.
- We insert a tube into the hose and blow gently.
- Listen carefully: if you hear 1-3 clicks, then the device contacts are working properly.
The inspection doesn't end there. The second step is to inspect all pressure switch components for damage, chips, burn marks, and cracks. Next, check the hose for clogs and, if necessary, flush it under the tap. In the third step, we recommend using a multimeter, following the instructions below.
- We find the electrical diagram of the unit and find out which contacts to connect to for diagnostics.
- Select the “Resistance” mode on the tester.
- We connect the probes to the pressure switch contacts.
- We evaluate the display indicators: if the values change, then everything is fine. Otherwise, replacement is required.
Repairing a pressure switch is difficult and pointless – it’s easier and cheaper to buy a new one. The process of removing the old sensor is simple: loosen the clamps, remove the connector with the wiring and disconnect the "washer". A working device is installed in the reverse order. If the heating element and pressure switch pass the test, the problem lies with the control board. There's no need to experiment here—consult a professional immediately for a thorough diagnosis.
Interesting:


Readers' comments
Headings
Washing machine repair


For buyers


For users


Dishwasher


Add a comment