My Samsung washing machine is making a lot of noise when spinning.
Modern washing machines are designed to be quiet during the spin cycle. Therefore, if your Samsung washing machine is making more noise than usual during the spin cycle, there's likely an issue that needs to be addressed as quickly as possible.
What to do if excessive noise occurs?
Despite advances, completely silent "home helpers" simply don't exist yet. Therefore, if your washing machine hums during the spin cycle, it's perfectly normal, as this is the stage of the wash cycle when the drum rotates at its maximum speed.
During the spin cycle, there should be no unusual sounds, such as knocking, grinding, rumbling, or clanking. If such sounds suddenly appear during operation, follow these recommendations to determine the cause:
If the noise exceeds 75 decibels, which is the average noise level for a washing machine, then you should first check for metal, plastic or other parts on the clothes that could touch the walls of the drum during the working cycle and thus cause loud noise.
You should also check that no foreign objects, such as coins or paper clips, have fallen into the washing machine drum.
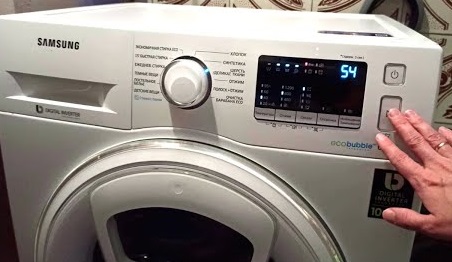
You can always find out the maximum noise level that the machine should produce during operation - this information is indicated in the user manual.
Another cause of noise could be an imbalance in the laundry, which could have become lumped together if there was too much of it in the drum. The problem could also be caused by the presence of large items in the machine, such as a warm blanket.
For spinning large bed linen, it is better to set the spin speed to 800 rpm or less.
If you hear noise while your washing machine is running, turn it off and unplug it. Try spinning the drum in several directions by hand and listen carefully:
If there are no extraneous sounds, for example, quiet clicks during a full rotation of the drum, then you can proceed to the next stage of testing.
If there is a sound, say, a rumble, knock, or crackle, then you need to contact a repair service for a detailed diagnosis.
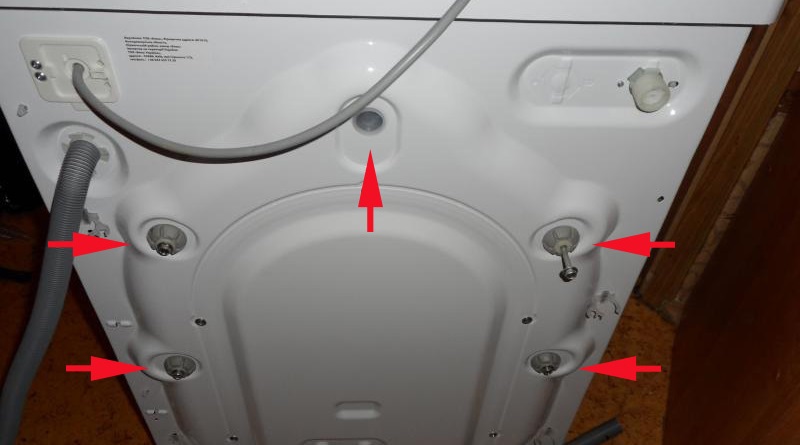
But before calling a service center, you should check the shipping bolts, which are installed on your appliance at the factory. These bolts secure the machine's drum during transport, protecting it from any potential damage. These bolts must be removed before use; there are three to five of them located on the rear panel of the appliance.
It's also important to inspect the floor surface where the appliance is installed. The washing machine must be placed not only on a level surface but also on a hard surface, such as concrete or tile. Therefore, linoleum, carpet, parquet, or laminate flooring are poor choices for installing appliances.
Another common cause of noise is improper installation of the washing machine, which should be level. This can be checked using a spirit level, first on the side of the machine and then directly on the machine. If the level is uneven, the machine's feet will need to be adjusted. Additionally, it's worth making sure the machine's feet are securely fastened with the nut.
The final step in checking the machine is cleaning the drain filter and impeller. Once all components have been checked, all that's left to do is run a test cycle in "Spin" mode, but with no clothes in the drum. If the noise disappears, you can continue using the machine without restrictions. If the noise persists, you'll need to call a service technician for repairs.
The shock absorber broke
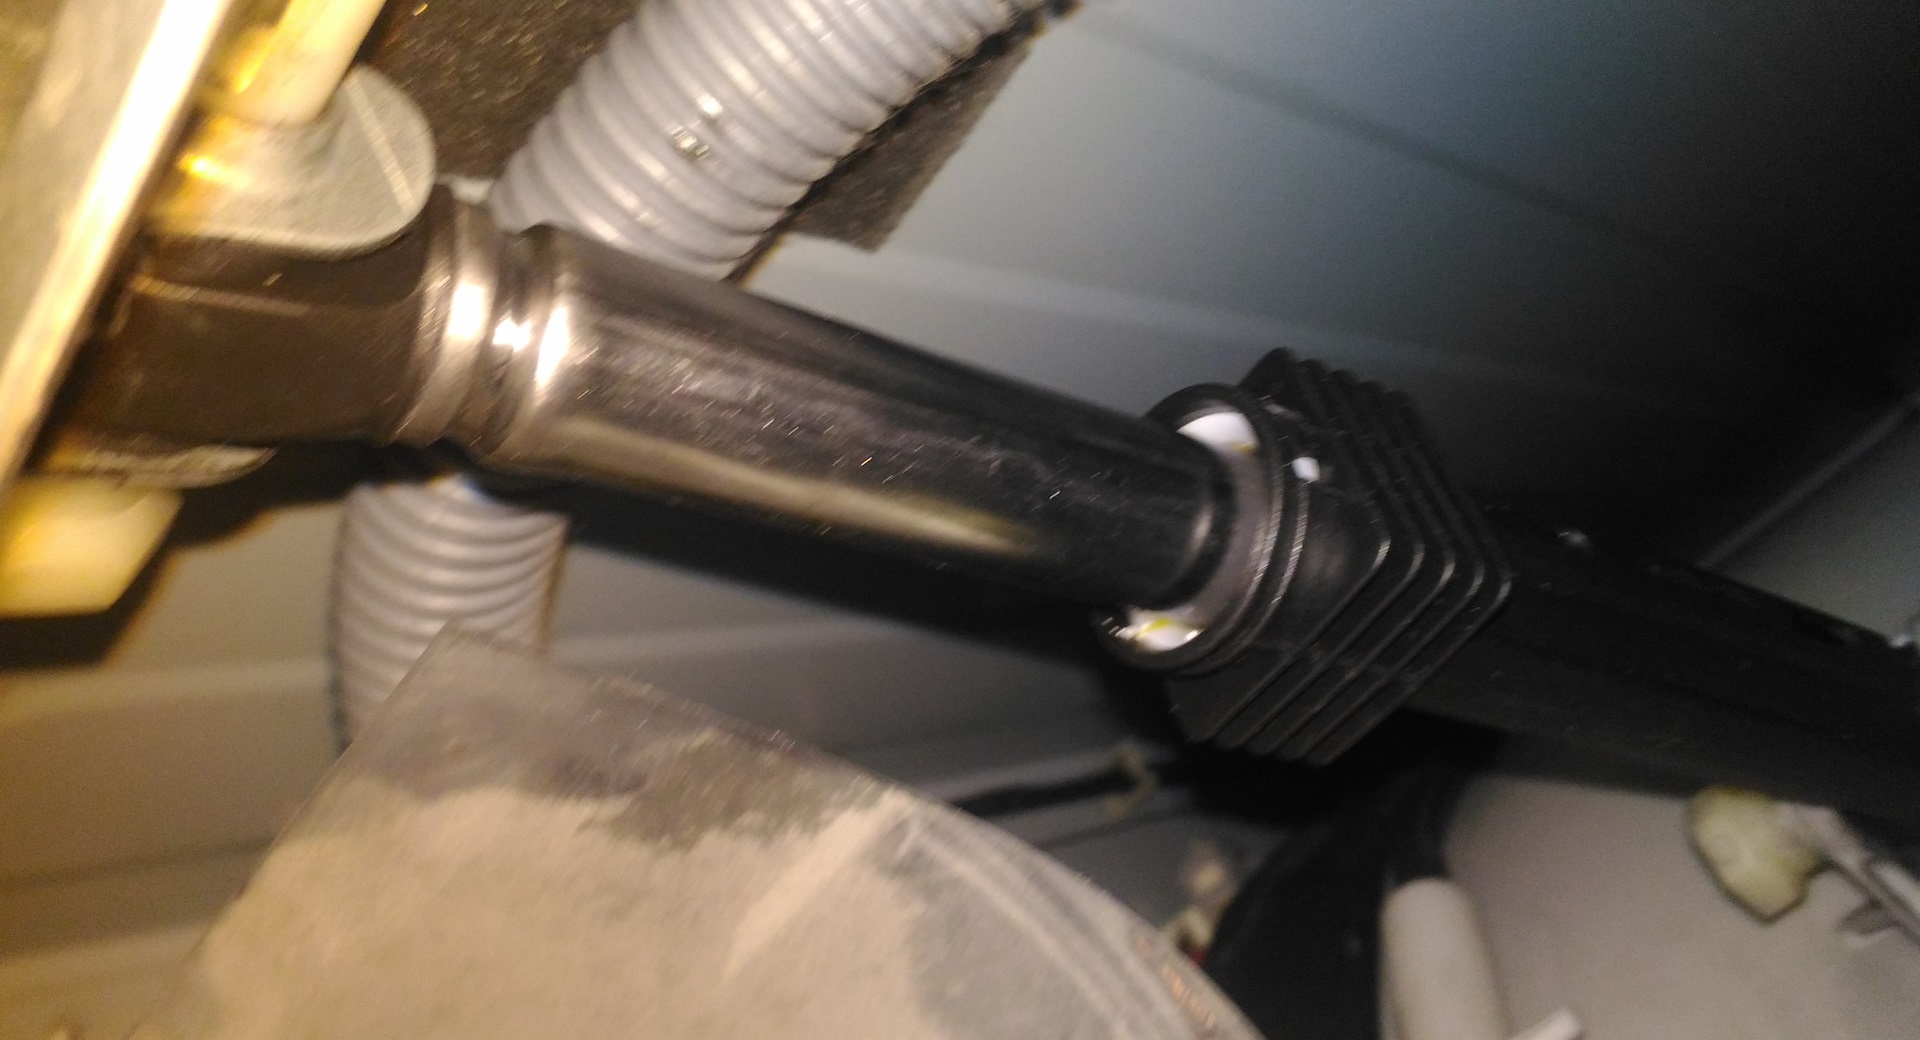
If you experience an unpleasant noise, don't immediately replace the shock absorbers, as they may not be the problem. Visually identifying the problem isn't possible, so you'll need to remove the shock absorbers and inspect them first. These shock absorbers are located at the bottom of the washing machine, directly under the drum, so they can't be accessed without disassembling the machine, which varies across different brands and models.
There's no need to be intimidated by this process, as it involves disassembling the machine partially, not completely. On most washing machines, you only need to remove the rear panel. For example, on Bosch products, the dampers have a classic design, attached to the machine body with a single bolt from below and secured with a latch from above. In this case, disassembly would look like this:
Disconnect the washing machine from all utilities.
Unscrew the fasteners holding the back wall.
Using a long 13mm drill bit, remove the bolt that holds the piece in place from below.
Remove the latch and take out the damper.
For LG and some other washing machines, the housing doesn't need to be disassembled at all. In this case, the shock absorbers can be accessed through the bottom of the machine. Simply disconnect the machine from the power and water supply and lay it on its left side. After that, simply remove the fasteners from each end of the uprights and pull out the shock absorbers.
If the latches are difficult to open, you can generously lubricate them with WD-40 to simplify the process.
The type of fastening depends on the appliance manufacturer. Samsung, Miele, and AEG appliances have shock absorbers secured with M8 and M10 bolts. In this case, removing them from the body and tank requires either open-end wrenches or 12mm and 13mm socket heads. Whirlpool appliances are particularly convenient, as their shock absorbers are secured with special latches that require no additional tools.
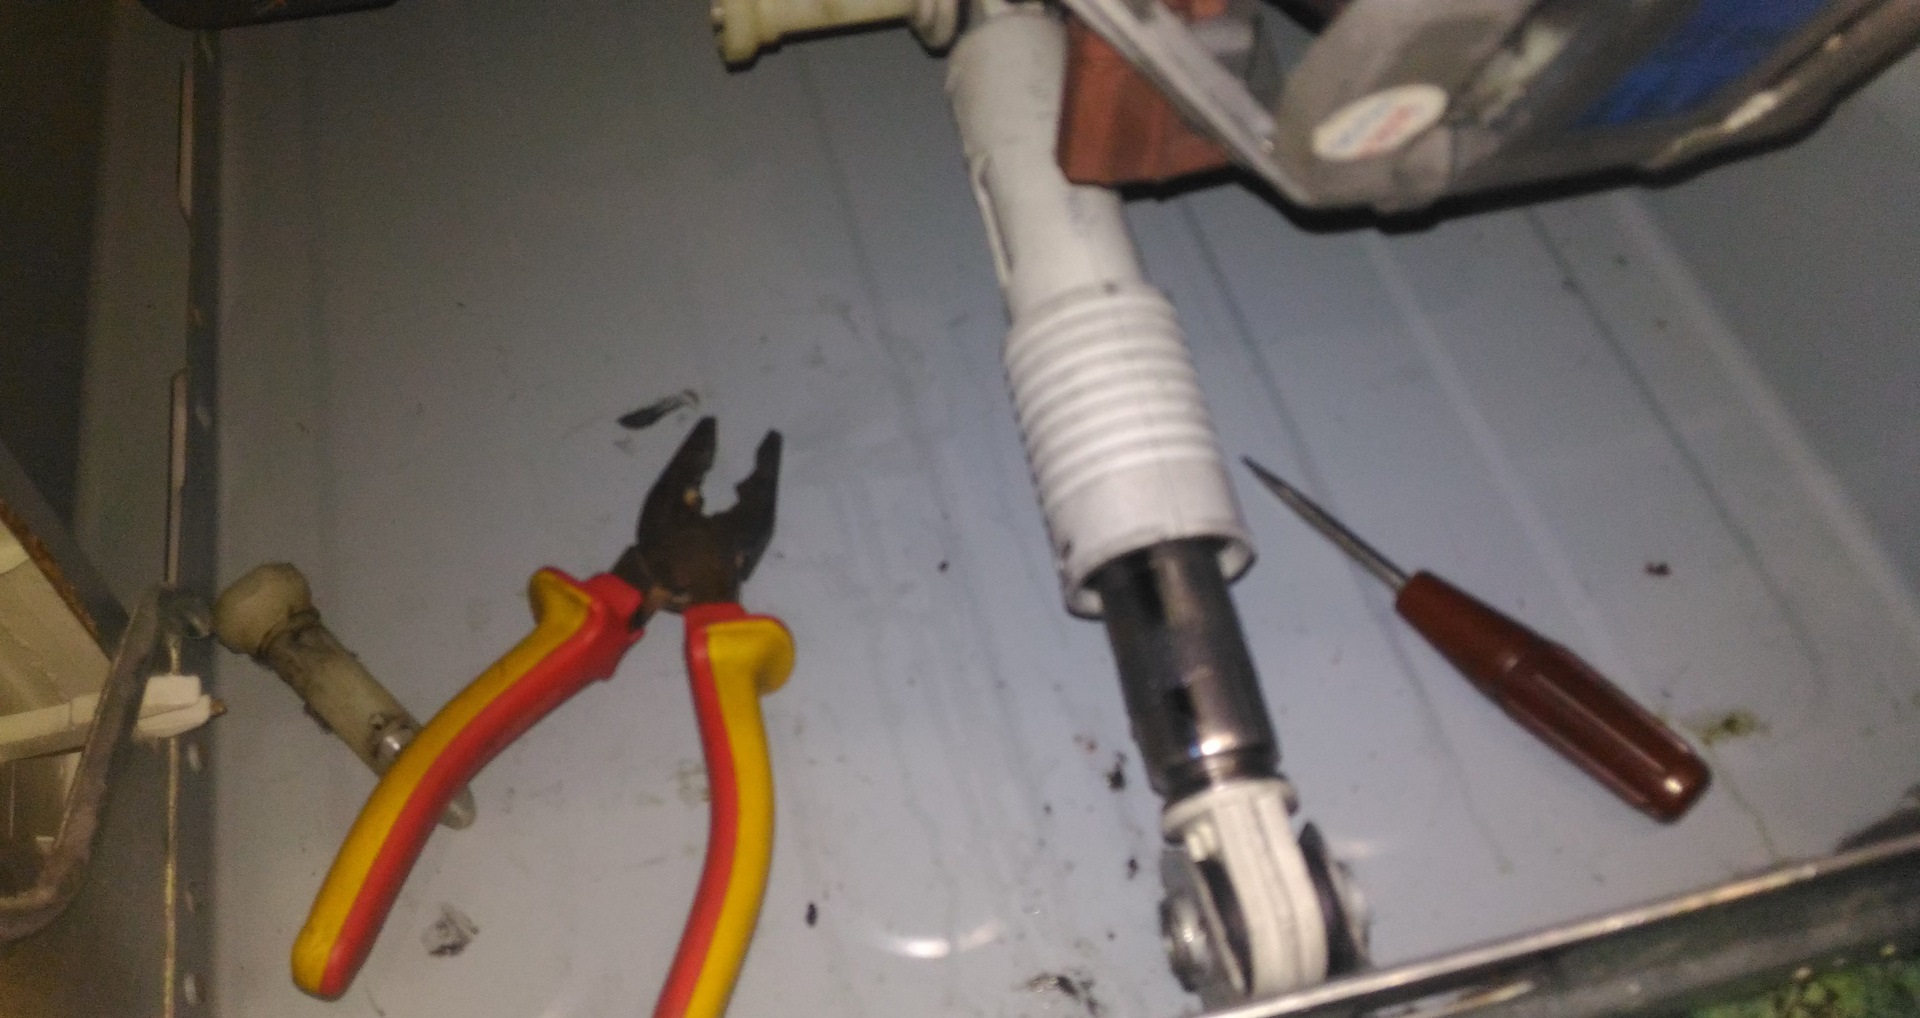
When disassembling a washing machine, proceed with extreme caution to avoid damaging parts. Avoid applying excessive pressure to fasteners and avoid using heavy tools for disassembly. Pay close attention to the integrity of the racks, plastic tank and other key components. Once you have removed the racks, you need to check them according to the following instructions:
press the rod;
pull it out of the body of the part;
evaluate the stress exerted by the rack.
If the piston rod easily comes out of the housing, it's obviously damaged, meaning it can no longer dampen the washing machine's vibrations. Additionally, on some racks, you can check for the presence of sealing grease in the piston; if it's missing, this is another sign of wear.
 Modern washing machines are designed to be quiet during the spin cycle. Therefore, if your Samsung washing machine is making more noise than usual during the spin cycle, there's likely an issue that needs to be addressed as quickly as possible.
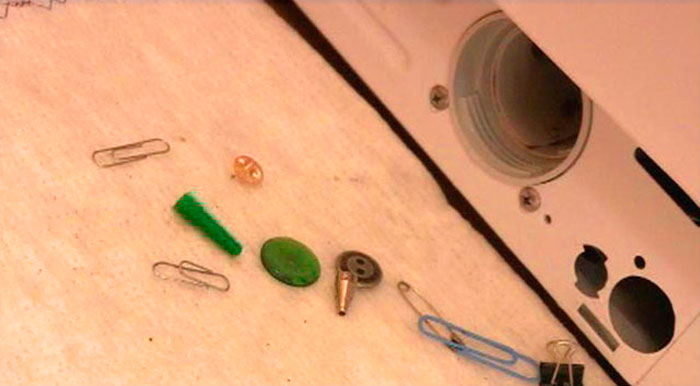


Add a comment