The washing machine is stuck on the drain.
 If your washing machine is stuck in the drain mode, you'll have to intervene. It can sit indefinitely with a full tank and a humming pump, unable to complete a running program. Until you unplug the machine, it will continue to "run." It's impossible to wash with the machine stuck in the drain mode. It's best not to risk your clothes or appliance; instead, call a technician or attempt diagnostics yourself.
What happened to the car?
If the machine freezes while attempting to pump out water, it means the system is unable to perform its intended function. The process starts, the control board sends a signal to the pump, and drainage is activated, but for some reason, the "chain" breaks. Identifying the problem isn't easy—similar "symptoms" can manifest themselves as several faults, from blockages to electronic failures. Control module failure is rare. More often, a drain glitch occurs due to the following malfunctions:
- the pipe connecting the tank to the pump is clogged;
- the pump is dirty or broken;
- the drainage filter is clogged;
- there were problems with the external sewerage system (siphon or riser);
- the drain hose is clogged.
The machine stops draining when the drainage system is clogged.
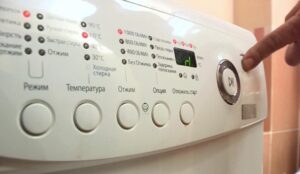
Modern washing machines often help users troubleshoot problems. Smart appliances can detect malfunctions thanks to an advanced self-diagnostic system and report the issue via the display—a corresponding error code will appear. To understand why the machine has stopped working and what to do, simply open the manual and find the explanation.
Let's start with the "trash can"
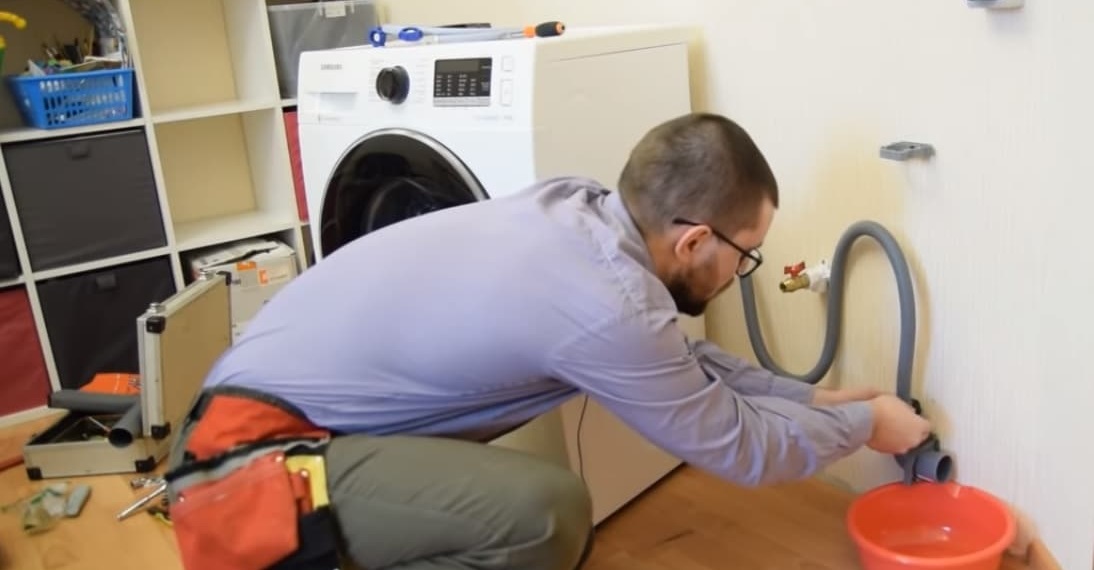
If you suspect a drainage problem, it's recommended to first check the waste filter. All wastewater passes through it, and the soap particles, dirt, and debris it contains settle on the plastic. If you don't regularly clean the nozzle of accumulated debris, a clog will form – the drain will become clogged, and liquid will remain in the drum. You can inspect the drainage system and clear the clog yourself. First, disconnect the appliance from the power supply and water supply, then move it away from the wall. Then, proceed as follows:
- we unfasten the door of the technical hatch by prying it from the edge with a flat screwdriver;
- we put the panel aside;
- tilt the machine gun back, raising the front by 3-6 cm;
- place a container of the same capacity as the drum under the filter plug;
- we cover the surrounding space with rags;
- carefully twist the spiral halfway;
- We wait until the tank is completely empty.
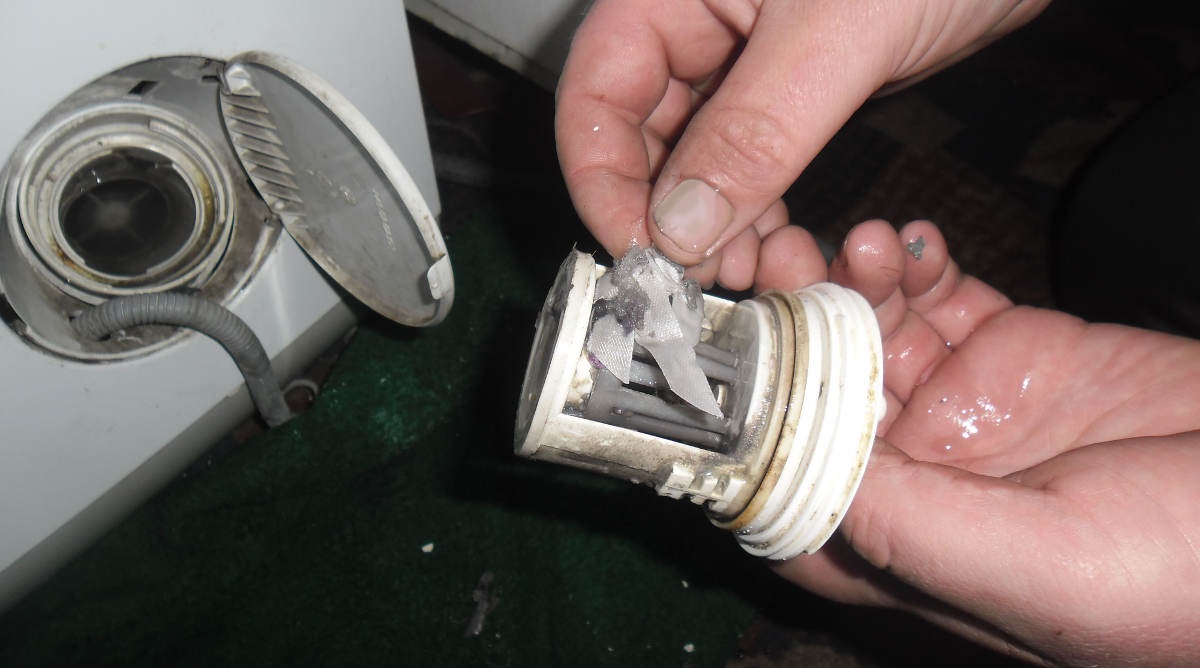
Once the flow has subsided, you can unscrew the filter completely. The removed "dustbin" is thoroughly cleaned of accumulated scale and dirt. Large deposits can be broken off by hand, while medium-sized deposits can be washed away with soap and a dish sponge. For stubborn dirt, you may need to scrub the spiral with a toothbrush. If the deposits are stubborn, soak the nozzle in a warm lemon solution. Avoid using boiling water, as the plastic will warp at high temperatures.
Cleaning is not limited to just one filter. At the same time, the seat itself is inspected and washed of dirt. Now you can finish the repair: screw the waste container back in, install the false panel, connect the machine to the utilities, and run a test wash. Has the machine started draining? Then the problem is fixed.
Let's inspect the pump
If cleaning the drain filter does not help and the test wash again stops at the drain, then you will have to continue the diagnostics. It is necessary to check the pump for cleanliness and serviceability. Disconnect the circuit breaker from the utilities, unlatch the access door, and remove the waste container from its mounting location. Next, proceed as follows:
- We illuminate the cleared hole with a flashlight;
- we find the impeller and check it for jamming (the blades should rotate freely and not be blocked by tangled hair and other debris);
- We inspect the pump itself.
If you notice a large piece of debris or a clump of hair, you should remove it immediately. Be sure to spin the impeller: it should fit snugly on the shaft, but not jam. If the screw comes off the rod or remains motionless, you've found the cause of the drain stoppage. Is the impeller working properly? Then, move on to checking the electronics. Without screwing the filter back in, plug the machine in and start the spin cycle. A working pump will begin spinning simultaneously with the washing machine's motor.
If the machine works, but the pump is “silent”, then the breakdown of the latter is obvious.
Repairing the pump is pointless – it's cheaper and quicker to replace it completely. There's no need to call a service center; you can handle the procedure yourself. The key is to choose the right replacement, based on the serial number of your existing washing machine. Ideally, remove the old unit and find a new one using a clear reference. Removing the pump is easy: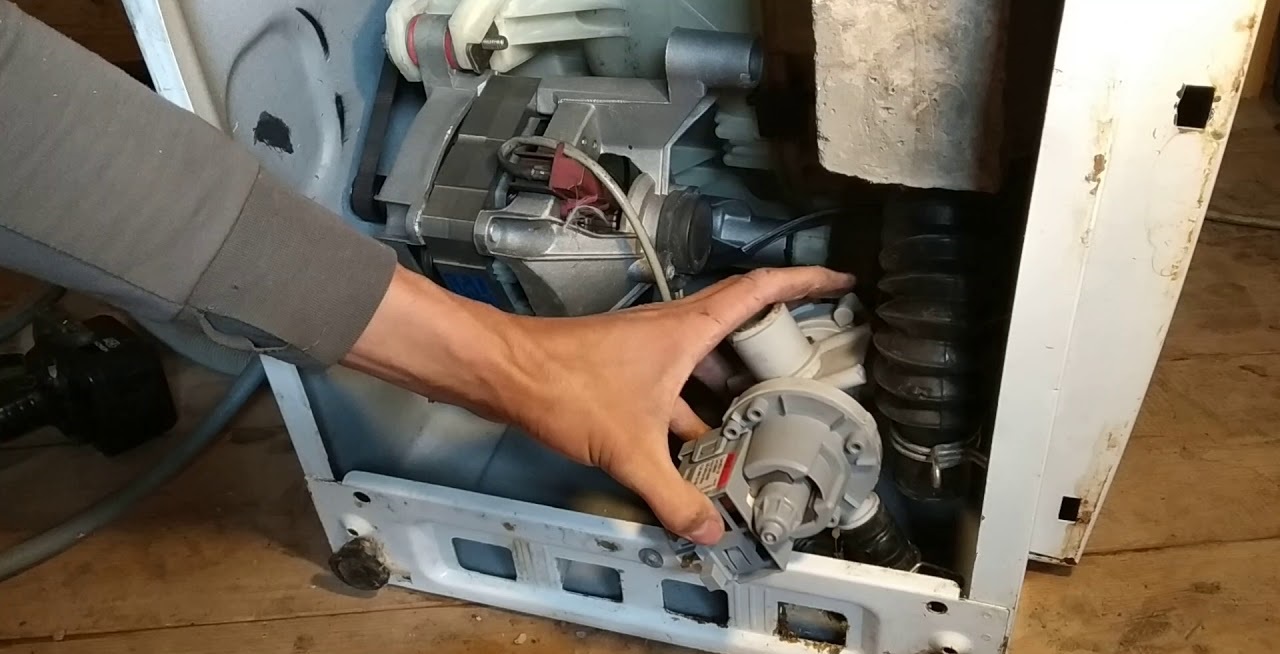
- disconnect the washing machine from the power supply, sewerage system and water supply;
- lower the machine onto its left side (the detergent tray should be at the bottom);
- detach the tray from the body;
- find the pump attached to the snail;
- free the pump from the connected wires and hoses;
- loosen the fixing screws;
- Take hold of the pump body and, after twisting it, remove it from the grooves.
After removing the pump, be sure to clean its mounting area: rinse the volute to remove any accumulated dirt. Install the new pump in the reverse order: secure the unit in the grooves, tighten the screws, connect to the wiring, and attach the hoses. Then, replace the drain pan, turn the machine upright, and run an idle cycle. If drainage is not restored, you'll need to contact a service center—the control board is likely faulty.
Interesting:


1 reader comment
Add a comment
Headings
Washing machine repair


For buyers


For users


Dishwasher


Hello. I have a Willmark washing machine. After loading it, after 5 minutes, E3 appears on the screen and starts beeping. What's wrong?