How to lubricate the bearing of an LG washing machine?
A sudden noise from a washing machine most often indicates a problem with the bearing assembly. If the drum is making a very loud noise, the rings and seals will likely need replacing. If the noise is barely noticeable, it may be possible to eliminate it by lubricating the bearings. Don't put off servicing these components for too long. It's best to lubricate the bearings on your LG direct-drive washing machine immediately upon detecting the problem. Let's figure out how.
Features of lubrication of the part
If you notice your washing machine making a rattling noise when the drum rotates, check its bearings. Inspect the rings for damage. If there are no defects, you can simply lubricate the components rather than replace them. New parts purchased to replace broken ones should also be treated.
Before lubricating the bearings installed in the machine, be sure to clean them with WD-40.
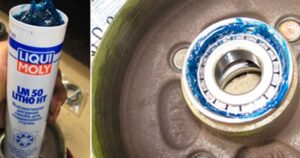
If the bearing is disassemblable, before processing, it is necessary to remove its top "cover" and apply grease inside. The product is applied to the inner ring, which contacts the bushing. The seal must also be lubricated.
A bit of fiddling around with the non-separable bearing is required. Its cover is not removable, so introducing grease inside requires a more involved approach. First, clean the ring with WD-40 aerosol cleaner. Then:
fill the inner bearing race with a regular bag;
cut the tube of grease so that the hole is the right size for the ring being processed;
place the tube with the product on the inside of the bearing;
press on the packaging until the lubricant “comes out” from the back side;
twist the polyethylene so that the substance is evenly distributed inside;
wipe off excess product with a cloth.
It is also important to treat the sealing rubber. The oil seal is always lubricated at the same time as the bearings. This is done with a regular syringe - the composition is filled into the inner recess of the gasket, then the seal is installed in place.
What characteristics should a lubricant have?
You can find a variety of lubricants for automatic washing machine components on the shelves. Each formulation has its own characteristics. The following product is suitable for working with bearings:
Moisture-resistant. It's crucial to prevent moisture from getting to the drum bearings. Therefore, the lubricant must be water-resistant. This will prevent it from washing out over time;
Resistant to high and low temperatures. The lubricant must be able to withstand temperature fluctuations. A washing machine can heat water up to 95°C during operation. Furthermore, the shaft becomes extremely hot as the drum rotates. Therefore, only a heat-resistant lubricant will retain its properties under such conditions and protect the bearings from moisture.
Suitable for processing rubber parts. A seal lubricated with an inappropriate compound may harden or, conversely, soften. This will result in the seal failing to perform its protective function;
Thick. This will prevent the product from leaking out during further use of the washing machine.
Do not use automotive lubricants to repair washing machines; they are ineffective when treating bearing components.
Washing machine repair technicians recommend using the following products to treat bearings:
This is a waterproof lubricant made in Italy. It has excellent protective properties.
A formula developed specifically for LG automatic machines. Available in single-use jars and syringes.
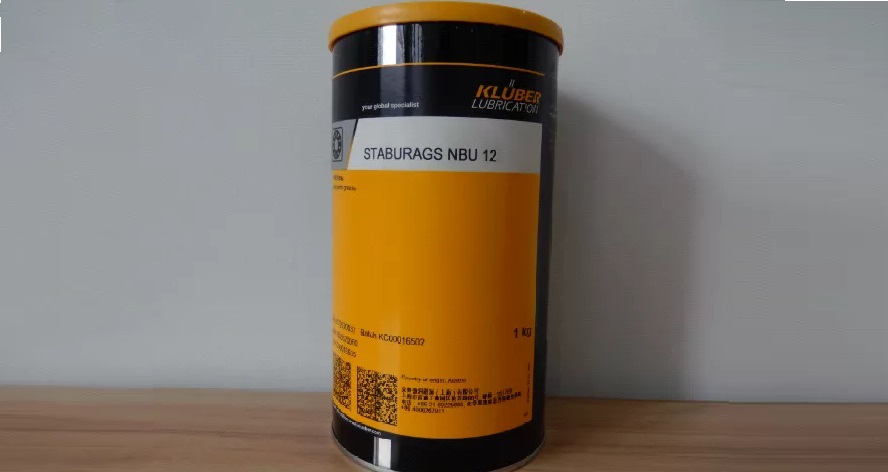
STABURAGS NBU 12. A product that has earned many positive reviews. Its moisture-resistant formula withstands significant temperature fluctuations while maintaining its properties.
Liqui Moly "Silicon-Fett." Silicone grease from a German manufacturer. Available in 50-gram tubes. A high-quality product, ideal for treating bearings in automatic machines.
When purchasing bearing and seal lubricant, always check the product's specifications. It's also a good idea to read reviews from mechanics about the product you've chosen.
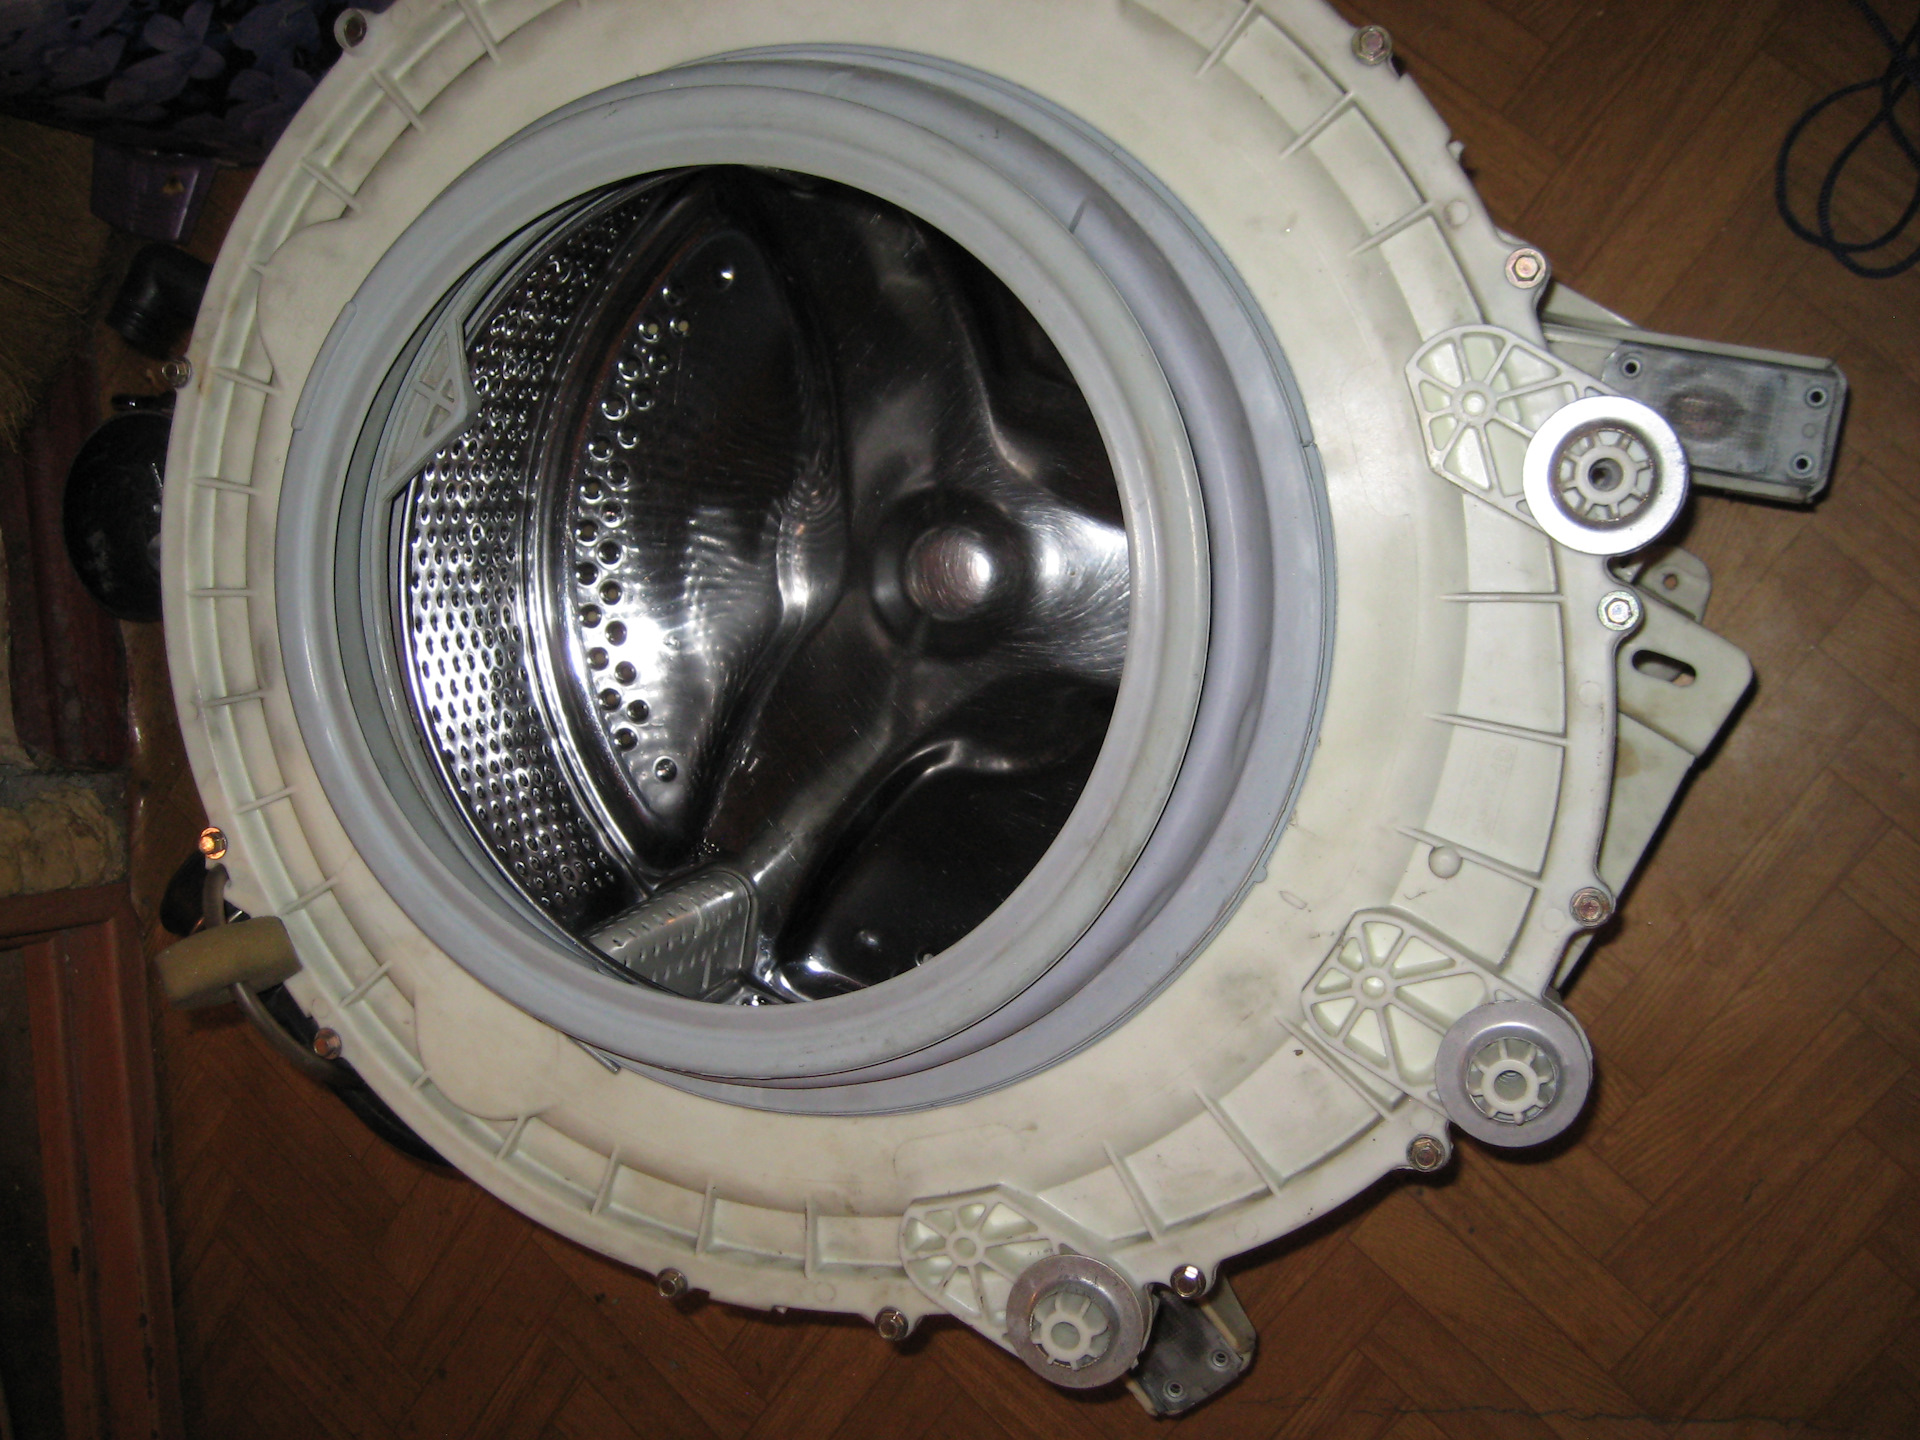
Let's start disassembling the case
It is not possible to lubricate the bearings on LG machines without disassembling the drum. To get to the parts, you will have to remove the drum from the washing machine. Before starting any repairs, be sure to de-energize the equipment.
The work process begins with disassembling the machine's body. The sequence of actions is as follows:
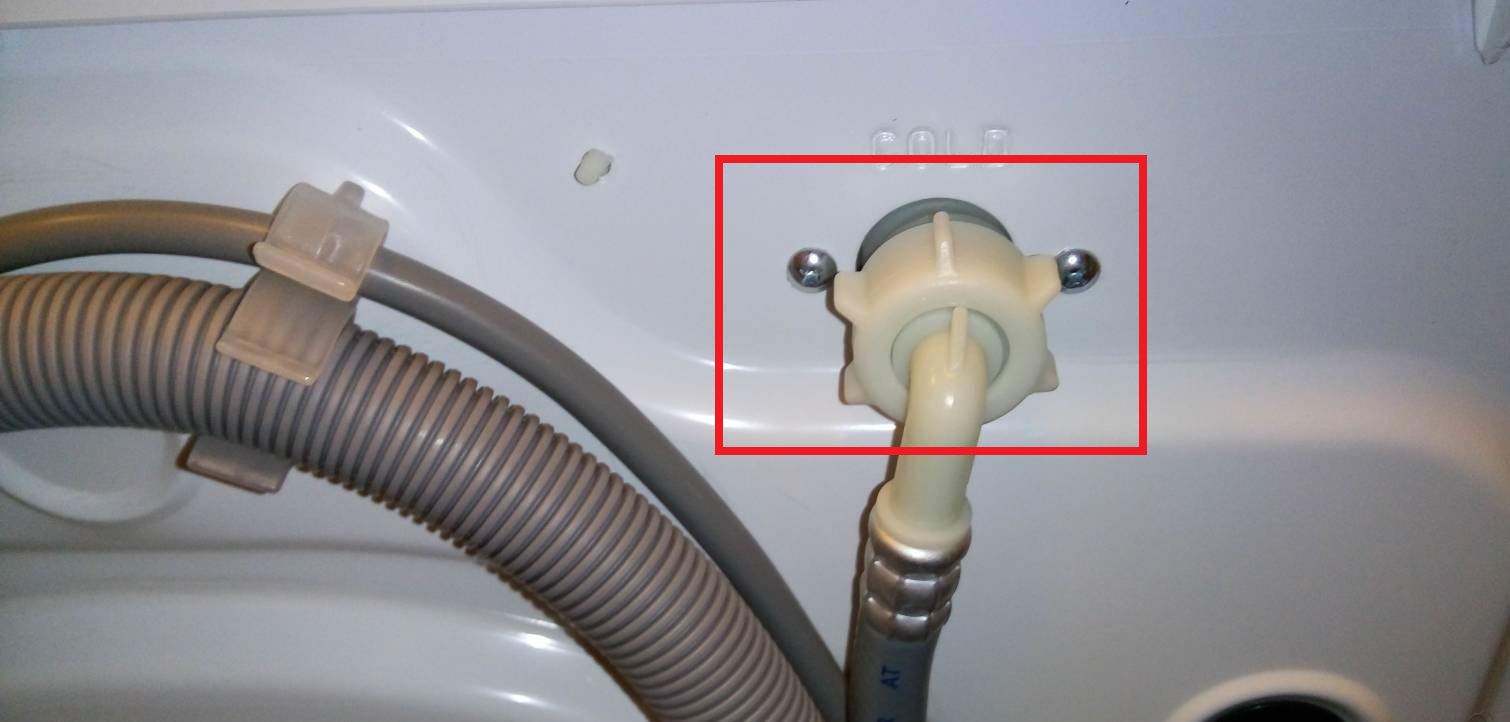
turn off the tap that supplies water;
detach the drain and filler hoses from the body;
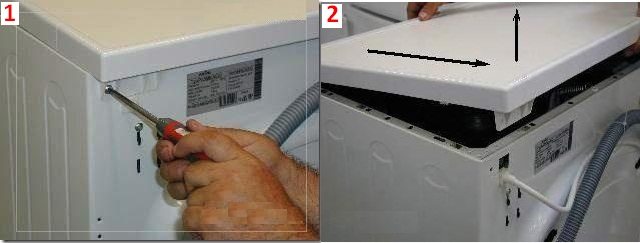
unscrew the screws that secure the housing cover;
remove the top panel and set it aside;
remove the powder tray;
remove the bolts holding the back wall of the case, remove the panel;
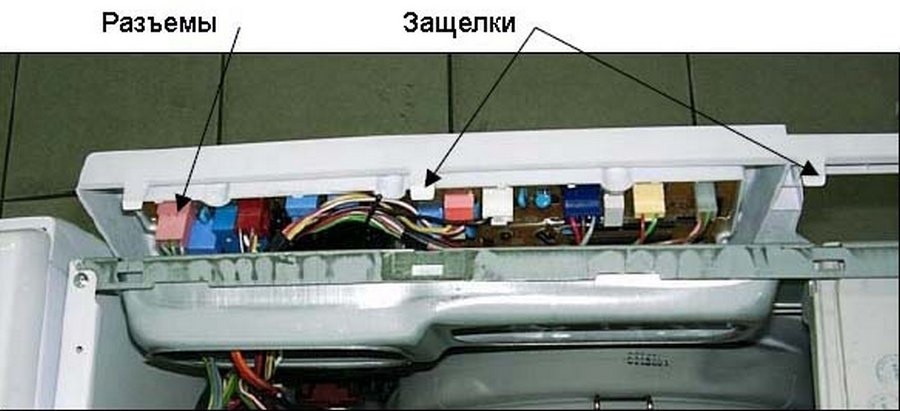
unscrew the screws holding the control panel (they are located behind the cuvette and on the opposite side of the dashboard);
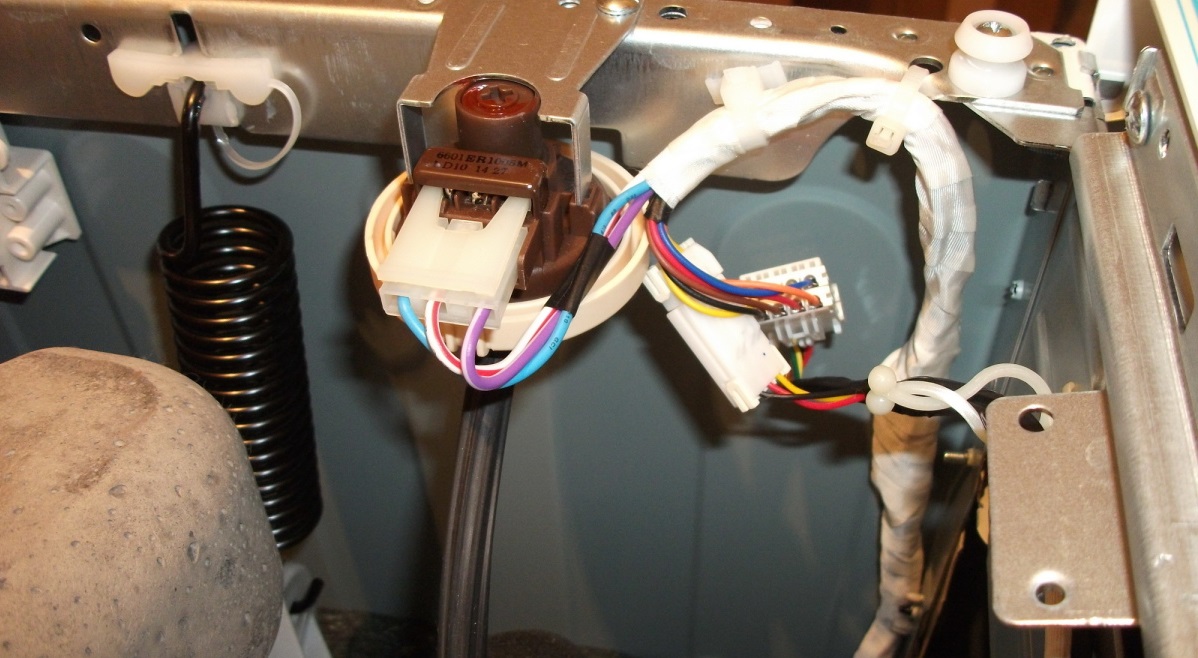
Unclip the plastic clips and remove the control panel from the body. You don't need to disconnect the instrument panel wiring—just carefully place the board on top of the machine. Just in case, it's a good idea to take a photo of the connections;
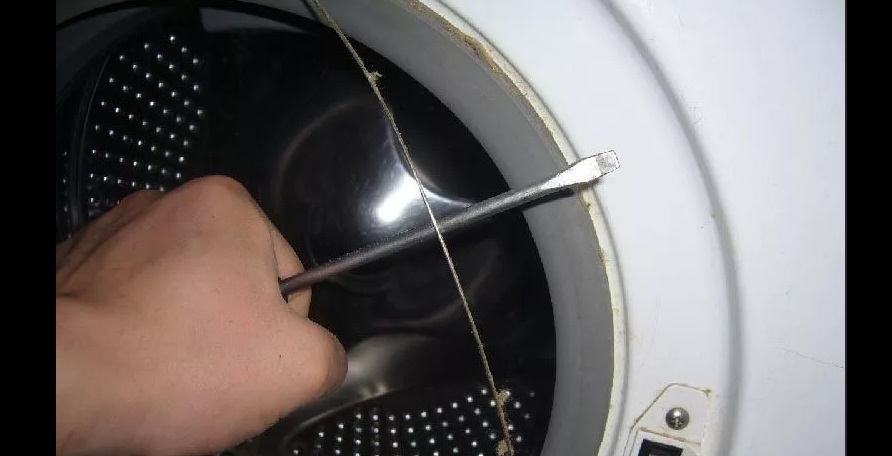
open the washing machine door fully;
remove the outer clamp securing the hatch cuff;
insert the sealing cuff into the drum;
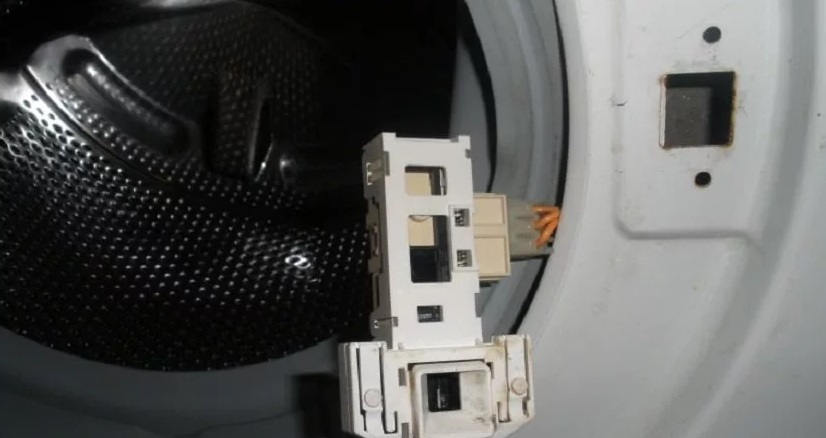
unscrew the bolts securing the UBL, unhook the wires from the blocker;
remove the screws located around the perimeter of the front wall of the case;
remove the front panel.
The housing disassembly is complete. Next, you'll need to remove all components, sensors, and wires from the tank that are preventing its free removal. We'll explain what these components are.
Getting to the bearing unit
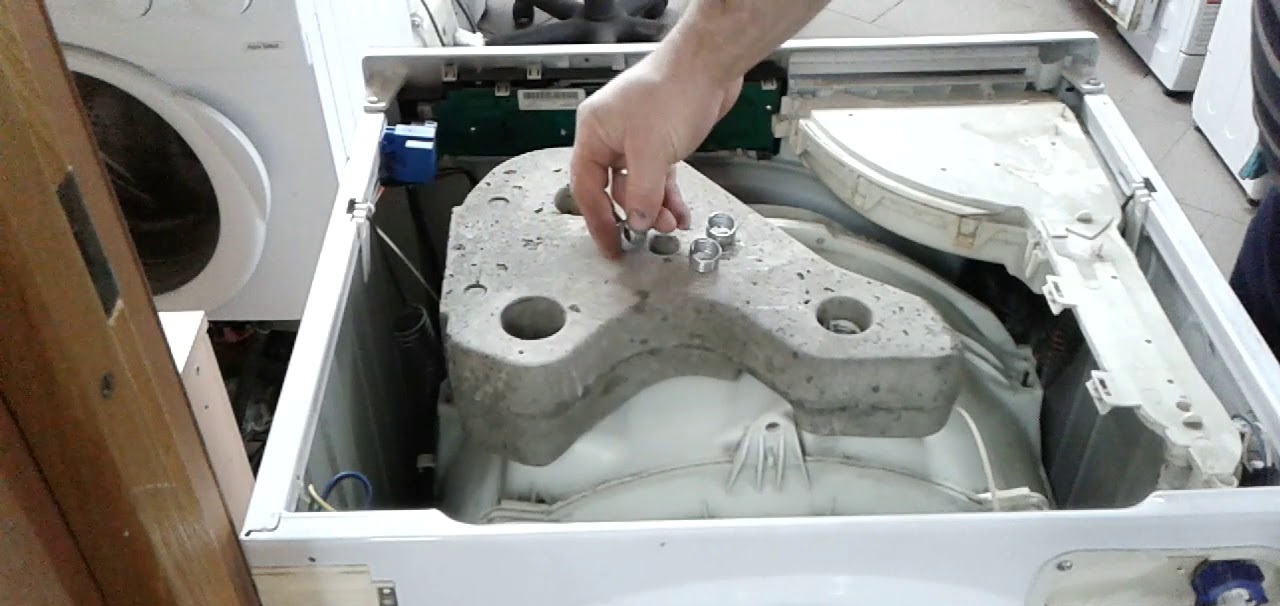
Now you need to remove all parts from the machine that interfere with the tank removal. First, remove the upper counterweight. The concrete block is located just under the housing cover. Unscrew the bolts holding it in place and remove the weight.
The dispenser can then be removed. To do this, you need to loosen the clamp that secures the hose to the tray. The inlet valve tubes are also connected to the "hopper." You can either detach them from the dispenser or pull out the tray along with the solenoid valve.
The subsequent algorithm of actions will be as follows:
unhook the pressure switch from the tank;
remove the counterweights located at the front;
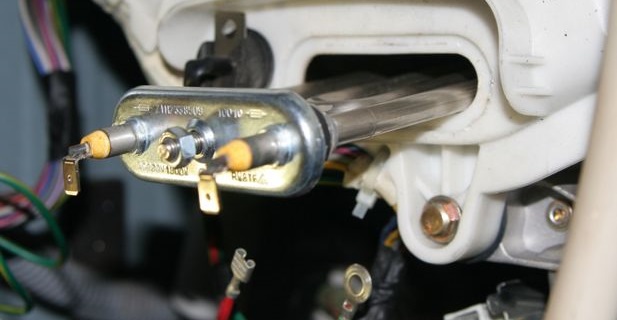
remove the heating element (to do this, reset the heating element contacts and loosen the nut that secures it);
disconnect the drain pipe from the tank, having first loosened its clamp;
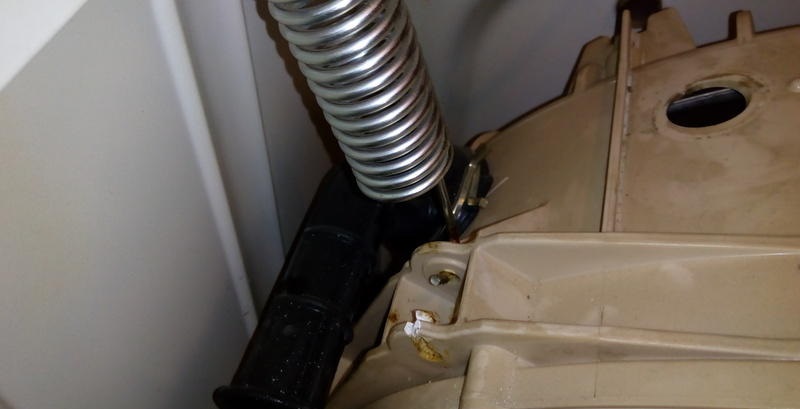
unscrew the shock absorber spring bolts;
carefully lift the tank - this will help remove it from the hooks;
Remove the tank-drum assembly from the machine.
It's impossible to lubricate the bearings without disassembling the drum. Therefore, you'll have to work on the tank to access its internals. Place the unit on a flat, horizontal surface, then remove the hatch seal.
The pulley can then be disconnected from the tank. The drum wheel will come off after removing the central screw. The unit is now ready for disassembly. To separate the tank, remove the bolts located around the perimeter of the connecting seam. The tank will then easily separate into two halves. Next, remove the drum, allowing access to the bearings and seal.
 A sudden noise from a washing machine most often indicates a problem with the bearing assembly. If the drum is making a very loud noise, the rings and seals will likely need replacing. If the noise is barely noticeable, it may be possible to eliminate it by lubricating the bearings. Don't put off servicing these components for too long. It's best to lubricate the bearings on your LG direct-drive washing machine immediately upon detecting the problem. Let's figure out how.
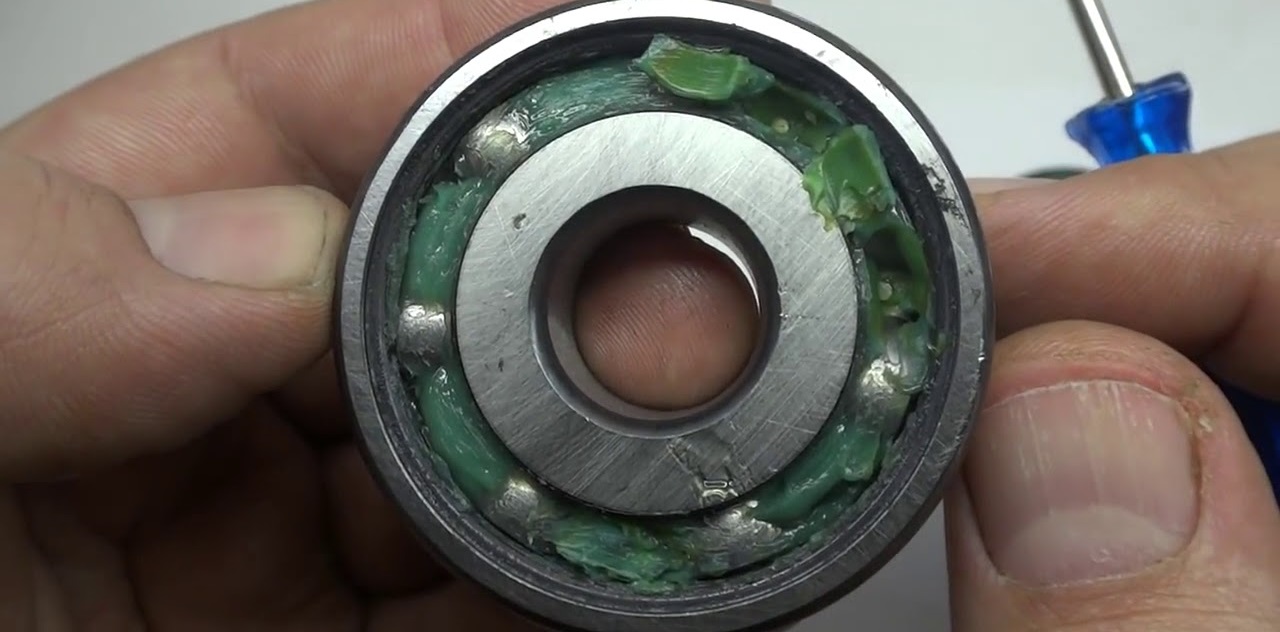


There used to be engineers in Russia. They made grease guns. There were special syringes. But now everything is against the people.