How to remove the drum in an Atlant washing machine?
 Certain repairs sometimes require removing the drum from an Atlant washing machine. This is a labor-intensive process that requires a fair amount of effort. However, if you follow the instructions carefully, even a novice can handle the job. Let's look at how to properly remove the drum from the housing and what tools you need to have on hand.
Let's gather everything we need
You need to prepare for the renovation. First, decide on a location. You'll need enough space to safely disassemble the washing machine. It is best to move the washing machine to a garage, workshop, shed, or at least move the machine from a cramped bathroom to a larger room. The place where the automatic washing machine is being disassembled must be covered with dry rags, and only then the device must be moved there.
As for the set of tools, in the process of removing the drum you will need:
- Phillips and slotted screwdrivers;
- hammer;
- bit;
- set of keys;
- WD-40 aerosol;
- Lubricant for washing machine elements.
Depending on the purpose of removing the drum, an additional repair kit is prepared.
So, if you need to replace the seal and bearings, you should first find out what parts are available in Atlanta and purchase new ones from a specialized store. It's recommended to buy original components. The repair kit will consist of bearings and an oil seal—a rubber seal that prevents water from penetrating the metal ring. Once all the equipment for the upcoming washing machine repair is ready, you can begin disassembling the equipment.
We disassemble the top of the case
Before disassembling, turn off the power to the washing machine and disconnect it from the house utilities. Be sure to drain any remaining water from the system through the waste filter. The next step is as follows: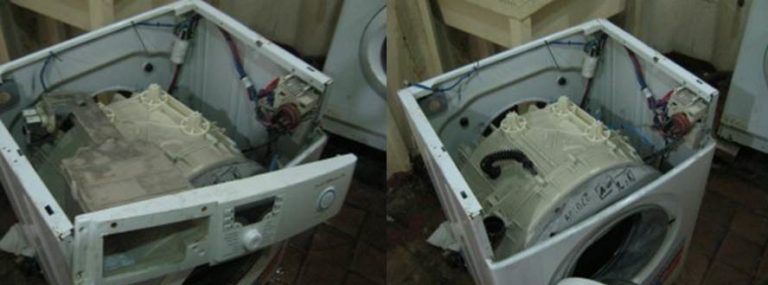
- Press the central latch and remove the powder container from the machine;
- unscrew the bolts securing the unit cover;
- remove the top panel;
- unscrew the four screws on the cross metal strip;
- Using a Torx key, unscrew the counterweight retainer and remove it from the housing;
- unscrew the fasteners of the “hopper” for detergents, unfasten the pipe from it, take out the dispenser;
- Disconnect the hose from the tank, having first loosened the retaining clamp.
So, the top of the tank will be "cleaned" of various parts and components. The next step in disassembly is to free the rear wall of the unit. Let's see what to do next.
Let's open the technical hatch
Now we'll need to work on the rear of the Atlant washing machine. The rear panel of the machine must be removed. This will give you access to the pulley, drive belt, motor, and other components that require removal. Here's the procedure: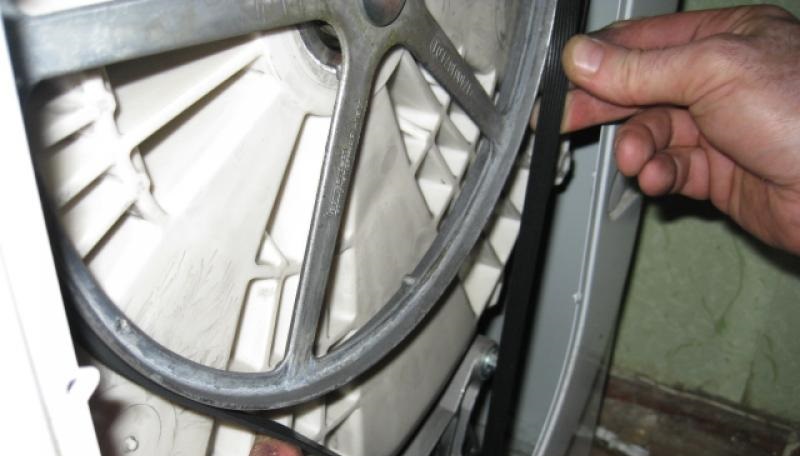
- Unscrew the bolts around the perimeter of the rear panel and remove it;
- remove the belt from the drum wheel;
- disconnect the wires from the heating element;
- disconnect the motor wiring, unscrew the bolts and pull the engine out;
- loosen the drain pipe clamp, disconnect the hose from the tank;
- Disconnect all wires attached to the tank-drum assembly;
- Unscrew the bolt securing the pulley and remove the drum wheel.
If the center pulley bolt is difficult to remove, treat it with WD-40 spray.
Next, all that's left to do is remove the shock-absorbing spring fasteners. This way, nothing will be blocking the drum's removal from the top or back. All that's left to do is remove the front wall of the washing machine.
Front side of the case
The door seal and the front panel of the housing will interfere with removing the drum. You'll have to remove the front panel and perform a few more steps. The procedure is as follows:
- open the machine door;
- fold back the outer edge of the cuff;
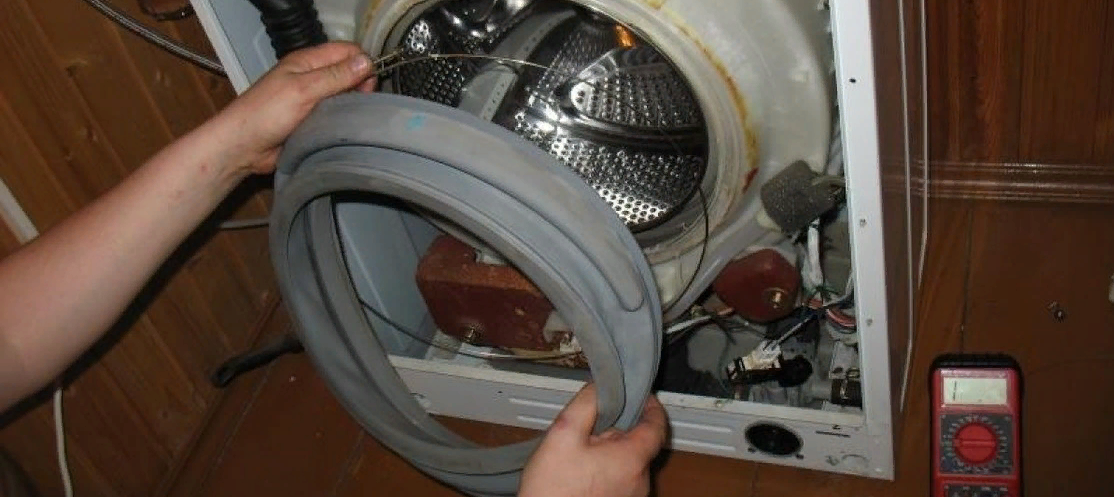
- Use a slotted screwdriver to loosen the metal clamp that secures the rubber band;
- tuck the seal inside the drum;
- remove the bolts located around the perimeter of the front wall of the unit;
- unscrew the screws securing the UBL;
- lift the panel up and carefully set it aside.
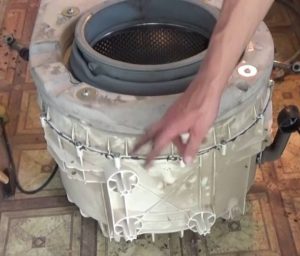
After removing all the "interfering" components, you can remove the unit from the Atlant washing machine housing. Lift the drum (this will help remove it from the hooks) and place it on a flat surface. After this, you can begin repairing the machine itself – disassemble the drum and replace the bearings, or discard the old unit and install a new one. Reassembly is done in reverse order. To avoid confusion when connecting the parts, it is recommended to photograph each disassembly step.
Interesting:


Readers' comments
Headings
Washing machine repair


For buyers


For users


Dishwasher


Add a comment