Removing the control unit on a washing machine?
 Although older washing machines are considered very reliable, they sometimes fail. The older the model, the less likely owners are to repair outdated parts, preferring to buy a newer machine. However, some are unwilling to part with time-tested quality, and for those who do, they need to know how to remove the control unit on their washing machine for repair.
Dismantling the command apparatus
Dismantling requires some preparation. As with any other work on a washing machine, disconnect it from the water supply and power before beginning any repairs. Then, move the machine away from the wall so it's easily accessible from all sides.
Make sure there's no water in the drum, remove and clean the debris filter, and take the detergent drawer out of its slot. Now unscrew the screws securing the top panel of the washing machine and remove it. For most older machines, you'll also need to remove the plastic control panel from the front panel. After that, you can begin removing the control unit itself.
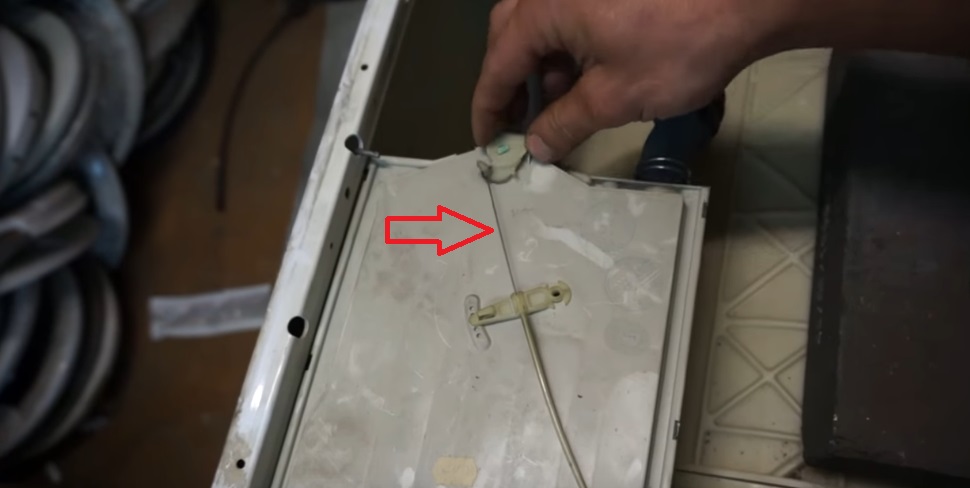
- Inspect the top of the washing machine. Locate the wire that directs the water flow into the different compartments of the dispenser. One end of the wire is secured to the panel above the detergent drawer with two clamps. Unclip them and pull out one end of the wire.
- Now move to the left wall of the washing machine (if you are facing the front panel, then for you this will be on the right) to the mode regulator, to which the second end of the wire is attached to a hook, remove it.

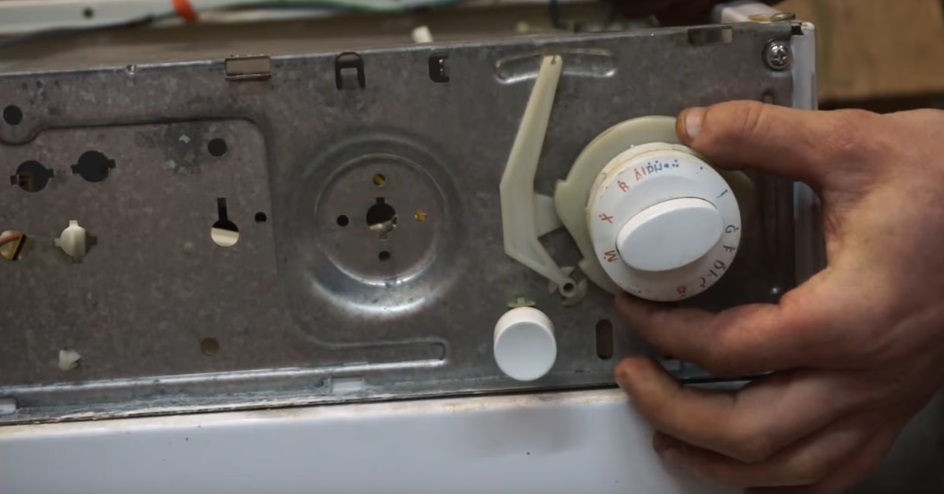
- Remove the plastic cylinder with the washing program markings.
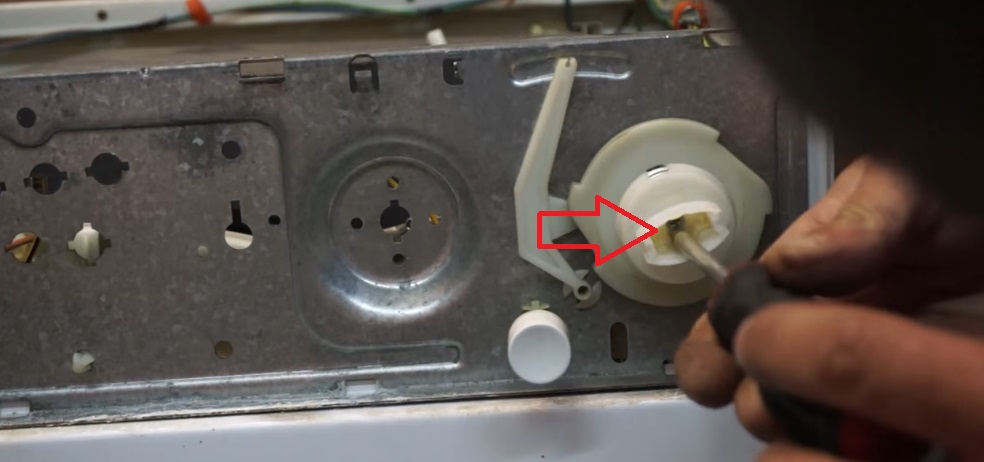
- Underneath it, in a small niche, you'll see a screw. Unscrew it with a screwdriver.
- Remove the plastic piece it holds in place, underneath which you will find two more large bolts that are responsible for securing the control unit itself.
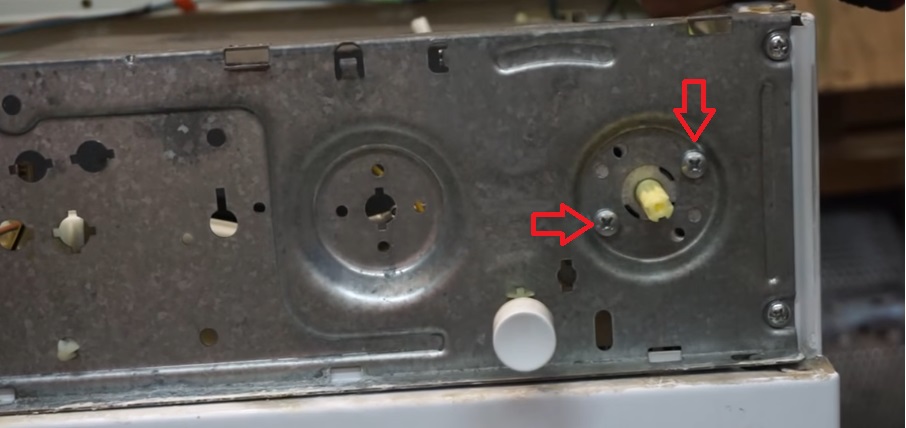
- After removing these screws, the control unit will be held in place only by a multitude of wires. To remove it, you'll need to remove the wiring, first marking which wire goes to which hole, so you can reinstall the unit correctly.
Important! The correct position of the mode selector knob determines whether the machine correctly understands your program selection, so before removing it, remember its exact position.
How are Ariston programmers repaired?
How do I inspect the Ariston control unit for faults and malfunctions? On the side of the unit, you'll find fasteners holding the cover in place, which can be easily removed with a screwdriver. Under the cover, there are numerous springs that could easily fly off, and a circuit board that will need to be removed and stored away temporarily.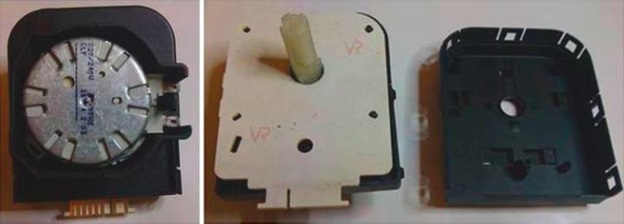
Let's pay attention to the gears; sometimes debris accumulates there. Remove it if there is. Return to the board and examine it carefully. If the board tracks, any small components, or even just areas are burnt, resolder them.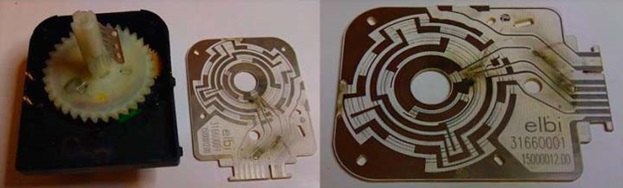
If no obvious damage is found, use a multimeter to check the element contacts for resistance. If everything is fine there, remove the motor core. Inspect the motor winding for damage or signs of burning. If any are present, the element will need to be replaced.
During the inspection, other damage may be discovered.
Program switches on German and Slovenian equipment
As much as you'd love to extend the life of your washing machine by repairing the programmer, this isn't always possible. If it's a German-made washing machine, repairing it yourself is virtually impossible. It requires extensive knowledge and experience with electronics, as the control unit is very complex.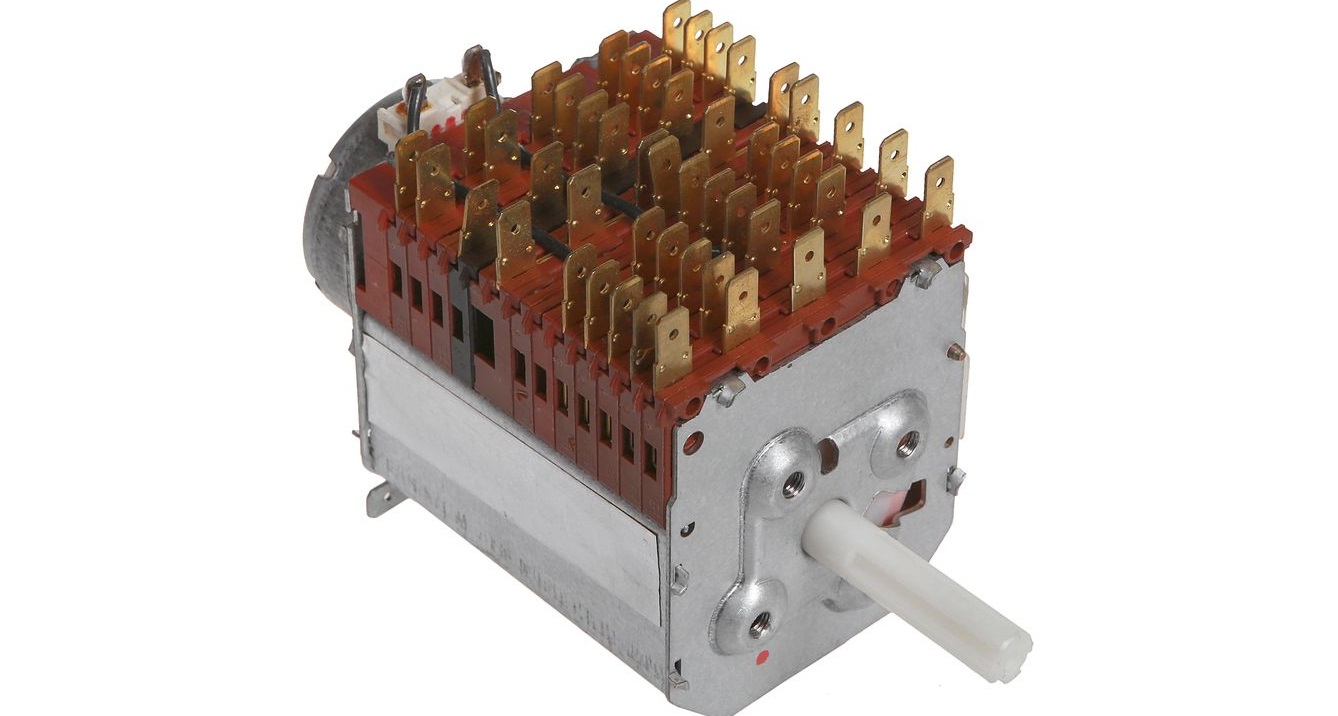
The programmers for Slovenian machines generally have a soldered-in control board, so if it is damaged, the entire control unit will have to be replaced. However, if the fault is superficial, for example, the programmer handle is broken, then it is entirely possible to repair it yourself. To do this, you won't have to work with the element's content.
Interesting:


Readers' comments
Headings
Washing machine repair


For buyers


For users


Dishwasher


Add a comment