How to remove the impeller from an LG washing machine pump?
 The plastic impeller on the pump is quite fragile and often breaks, causing drainage problems. Experts, in this case, recommend replacing the entire pump rather than skimping on repairs. However, many people prefer to "cheat" and extend the life of the appliance by repairing cracked impellers. By properly removing the impeller from the drain pump of an LG washing machine and creating a sturdy base for it, you can improve drainage without any investment. Let's figure out what and how to do it.
Removing the pump
Fixing the impeller isn't easy—it'll take at least an hour of painstaking work. But there are no risks, since the pump will need to be replaced anyway. To get to the screw, you must first remove the pump from the washing machine. It's located at the bottom of the machine and is attached to the volute, drain hose, and fittings. The disassembly procedure is as follows:
Before dismantling the pump, it is necessary to de-energize the machine and disconnect it from the water supply!
- disconnect the washing machine from the utilities;
- drain the water by unscrewing the debris filter;
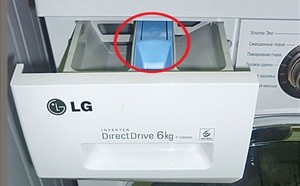
- remove the powder receptacle (pull it until it stops and, holding the central latch, remove it from the recess);
- lower the machine gun onto its left side;
- find the pump;
- disconnect the wires and hoses connected to the pump;
- turn the pump clockwise;
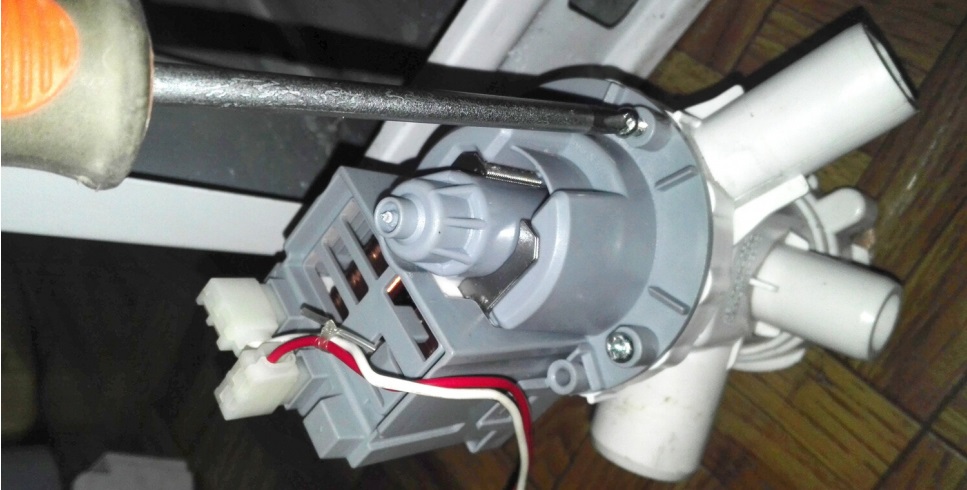
- remove the device from the grooves.
If your LG washing machine has a drip tray, you'll need to first disable the Aquastop system. To do this, disconnect the power supply from the float and unscrew the retaining bolts. Place the removed pump on a flat surface with the impeller facing up.
We pull off the broken impeller
The second step is removing the plastic impeller. To replace the broken one with a new one, you must strictly follow the instructions. The procedure is as follows:
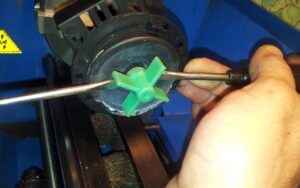
- cut off some of the plastic from the tip of the impeller (use a hacksaw);
- pull the base out of the pump together with the blades;
- fix the dismantled base in a vice;
- take two slotted screwdrivers;
- Place the screwdriver at the bottom of the screw and press on the impeller several times, moving from bottom to top.
Don't apply excessive pressure to the plastic; you need to gradually move the impeller upward. This will eventually cause its base to "fly off" the mounting, exposing the shaft, which then unwinds the entire system. It's important not to overdo it, otherwise you could strip the threads on the axle, rendering any further repairs futile.
To remove stuck and rusted parts, use WD-40 cleaner.
The next step is to remove the shaft from the pump. The vice is unscrewed from the tabletop, turned over, and installed with the clamps facing down. The pump, or more precisely, its shaft, is secured in the vice. The instructions for doing this are as follows: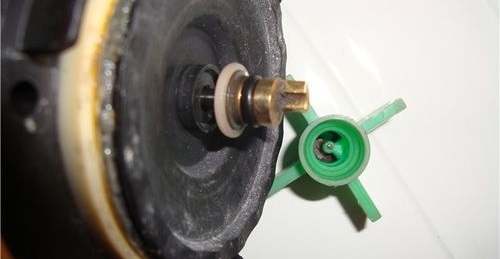
- take a screwdriver proportionate to the diameter of the shaft seat;
- insert a screwdriver into the mentioned hole;
- tap the rod with a hammer (with light but increasing blows).
After tapping, the shaft will remain clamped in the vice, and the rest of the assembly will disassemble easily. However, don't rush into replacing the impeller and reassembling. First, it is recommended to carefully inspect the pump and clean it from debris and scale. Pay close attention to the axial rubber seal. It often wears out significantly due to the rotation of the blades. If the seal is severely damaged, it should be replaced.
Building a solid foundation
Before replacing the impeller, its solid foundation must be restored. Then the entire structure can be reassembled. The general sequence is as follows: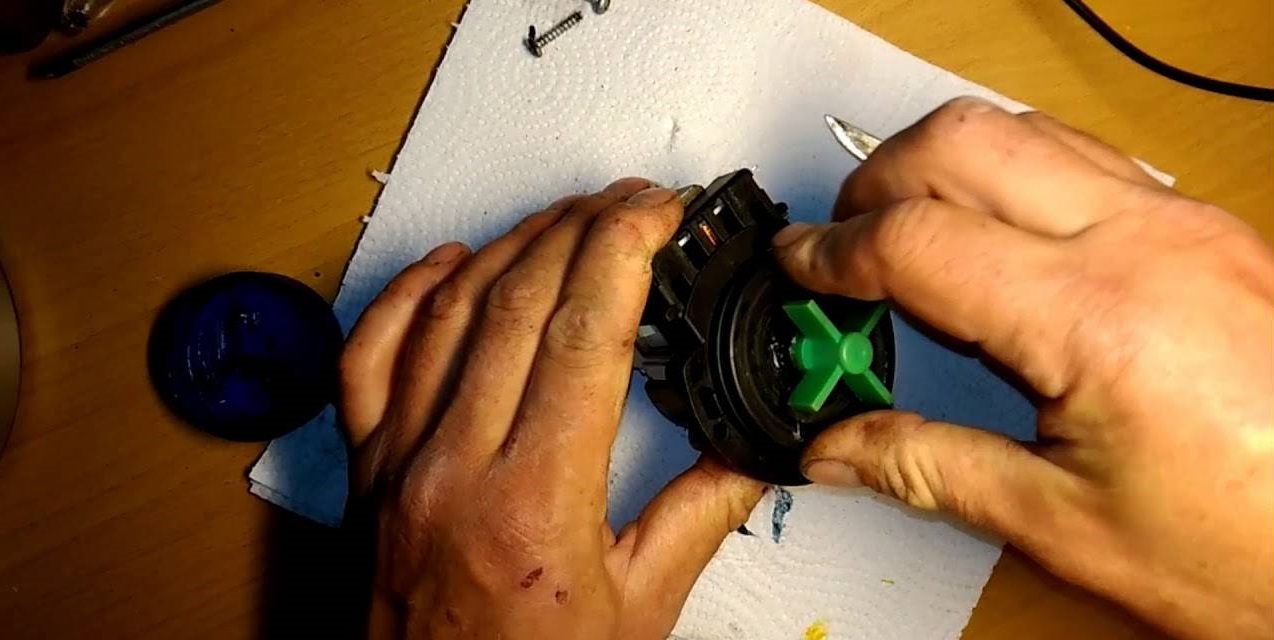
- insert the shaft into the new plastic impeller (to make the part fit more tightly, press it in with a screwdriver);
- treat all rubber seals with lithol;
- insert the shaft with blades into the rubber ring;
- clean the “nest” for installing the impeller;
- install the shaft with blades in the “nest” (they should be magnetically attached to the pump);
- lubricate the top of the impeller (where it was previously cut) with sealant.
When replacing the impeller, be sure to use a sealant, otherwise water will penetrate the pump and cause it to break.
Removing and reinstalling the drainage device takes approximately 60-90 minutes. The job will go faster if you have the necessary tools and equipment ready and familiarize yourself with the pump and its rotating element beforehand.
Is the impeller really damaged?
If you're experiencing drainage problems, it's not advisable to immediately remove the impeller. Damage to the impeller is a rare occurrence; more often, the blades become clogged with debris, or the entire drainage system fails. It is better not to rush into repairs, but first carry out diagnostics of the drainage system. Then it will become clear where the failure occurred and whether the pump needs to be inspected.
If your LG washing machine is not pumping out water, you should pay attention to the following points: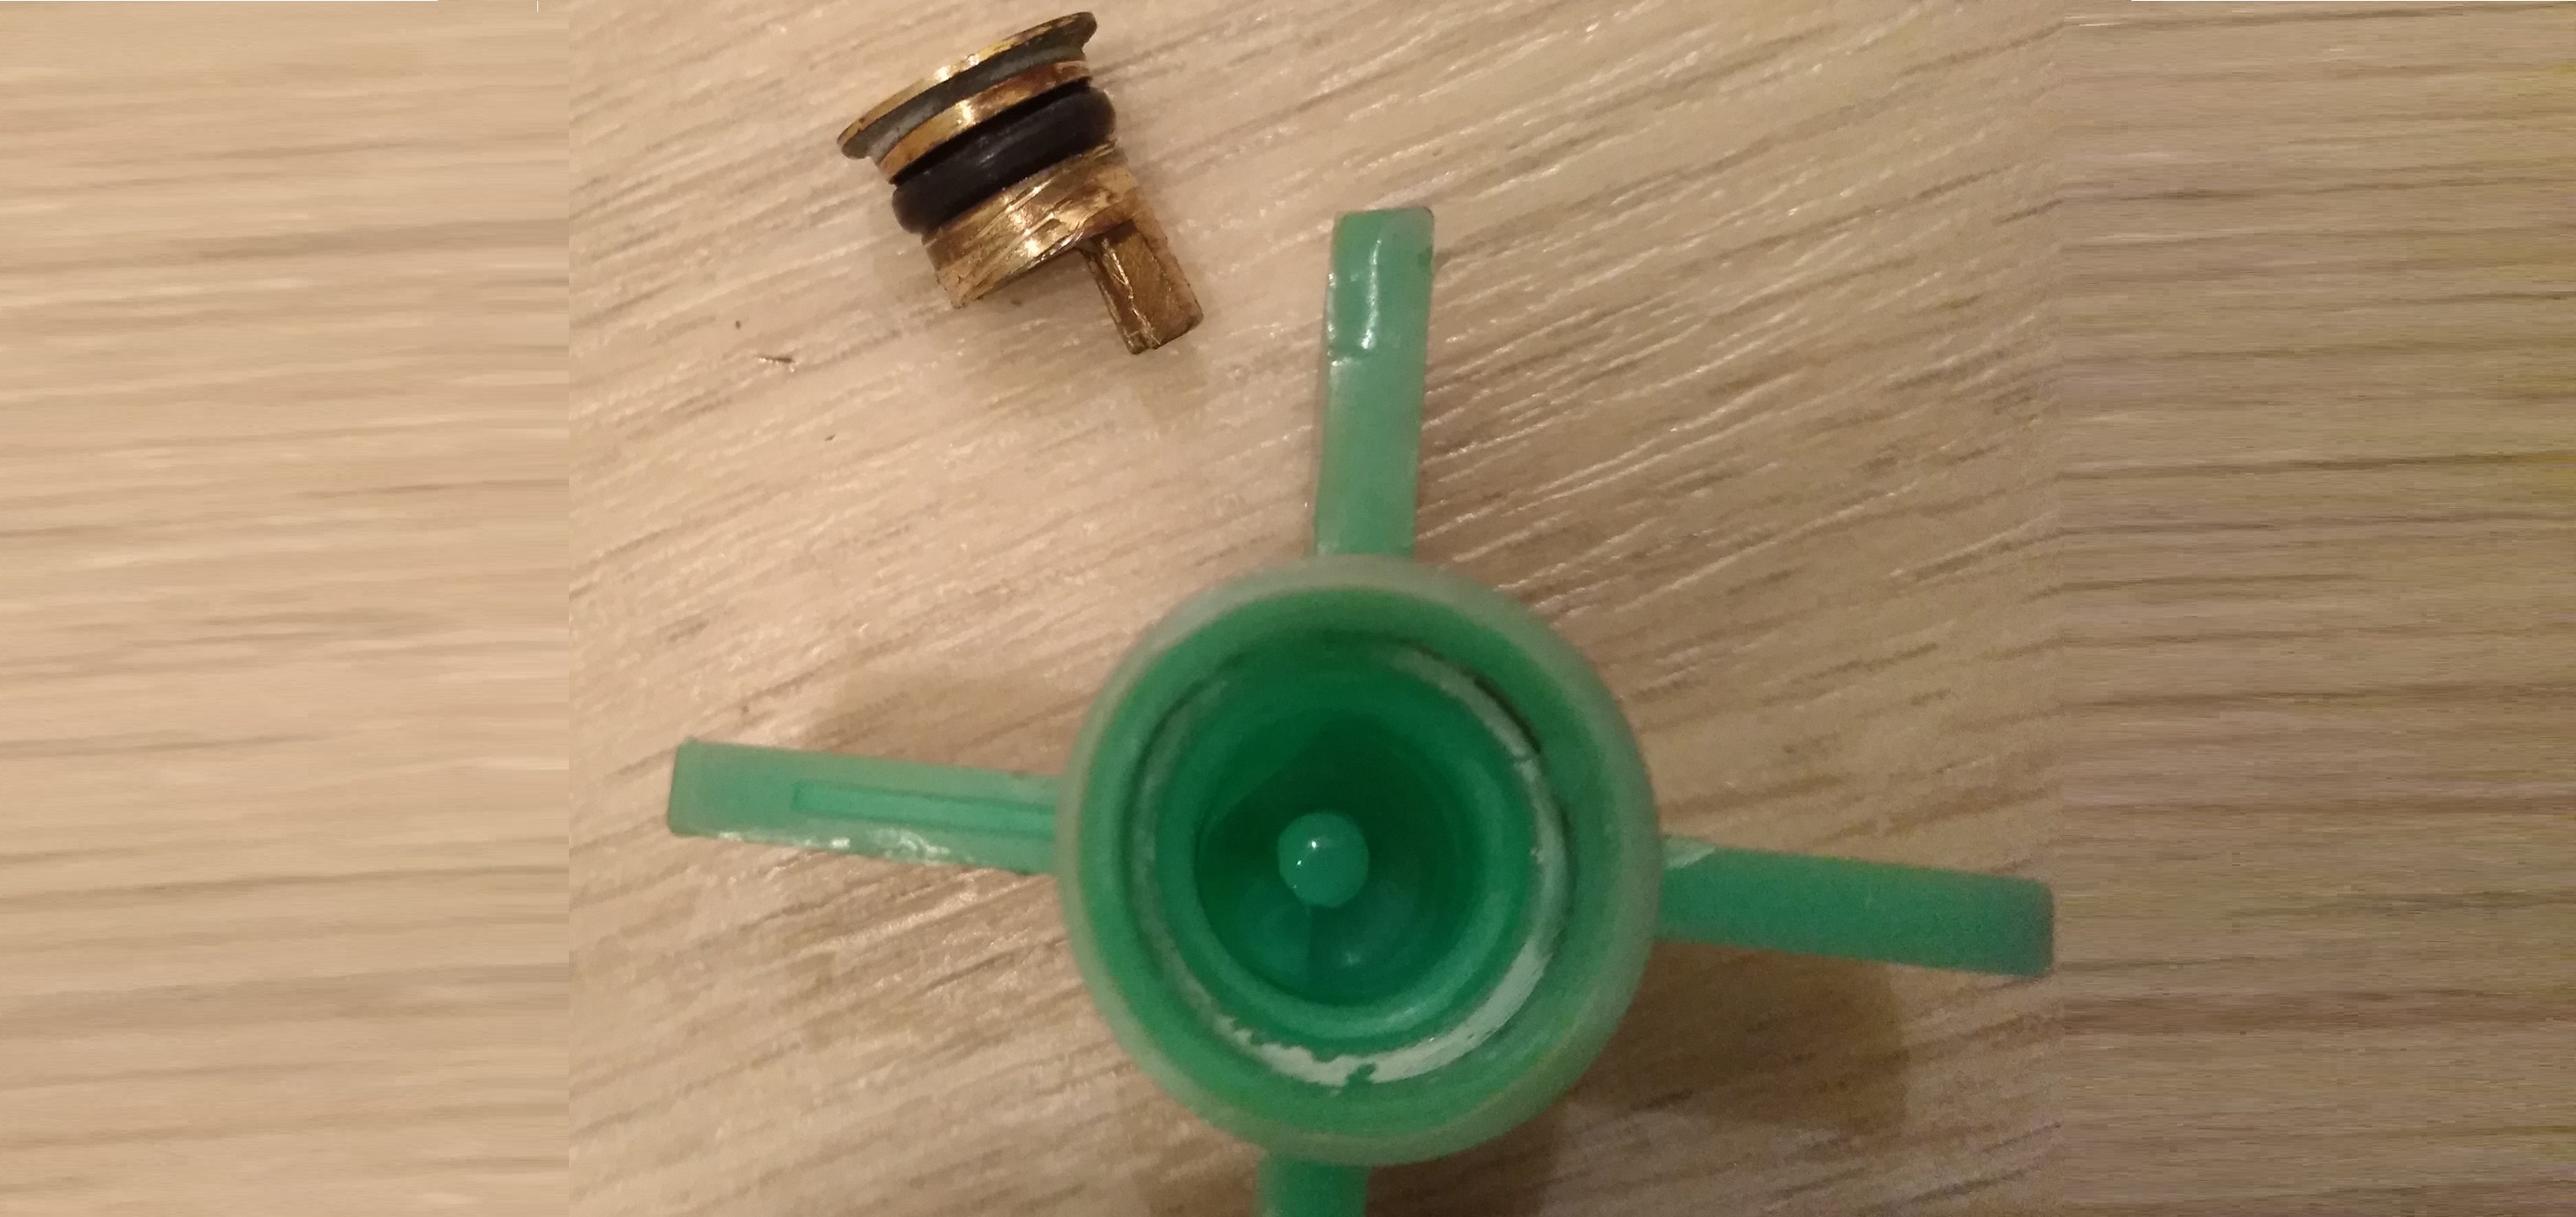
- listen to how the drain works (does it make intermittent noise or hum steadily);
- check the waste filter for blockages (it may be clogged and not allowing water to flow into the sewer);
- feel the drain hose (if it is pinched or clogged, it will need to be cleaned);
- turn the impeller manually (it is important to make sure that it is not slowed down by hair or debris);
- assess the condition of the sensors and wires connected to the pump (check for burnt-out or loose contacts).
A broken impeller isn't a reason to replace the entire pump. You can replace the plastic part separately if desired. The main thing is to verify the damage and follow safety precautions.
Interesting:


Readers' comments
Headings
Washing machine repair


For buyers


For users


Dishwasher


Add a comment