How to remove the drum ribs of a washing machine
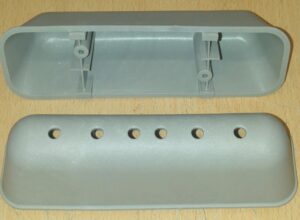 The operation of a washing machine depends largely on its auxiliary parts. For example, special protrusions located in the drum rotate the laundry during the wash cycle, allowing the appliance to keep clothes clean and remove heavy soiling. These are the drum ribs, also known as "bumpers." They can be cast metal, or plastic and removable.
It's the second type of parts that tend to become loose and even come unfastened. In this situation, it's necessary to remove the washing machine drum ribs to securely fasten the components. With the right tools, you can do this yourself, without the help of a specialist.
Removing and securely installing the drum ribs
Before you begin, you should prepare the necessary tools. These are:
- construction hair dryer;
- a small drill with a thin drill bit;
- straight screwdriver;
- construction plastic ties at least 30 cm long.
To remove the rib, it must be moved slightly towards the open hatch door.
To prevent the part from breaking during dismantling and to make it easier to move, its back side should be heated with a hair dryer for 1-2 minutes, and then pulled towards you and upwards. Factory fasteners and debris may remain under the part - these should be removed from the drum.
The next step is to create holes for the new fasteners. Slightly to the left (about 3-5 mm) of the recess for the factory latches, make marks with a marker approximately 0.5 cm long. You need four of these marks: near the middle and far latch on both sides of the rib. Now, using a compact drill, you should drill holes of the intended length.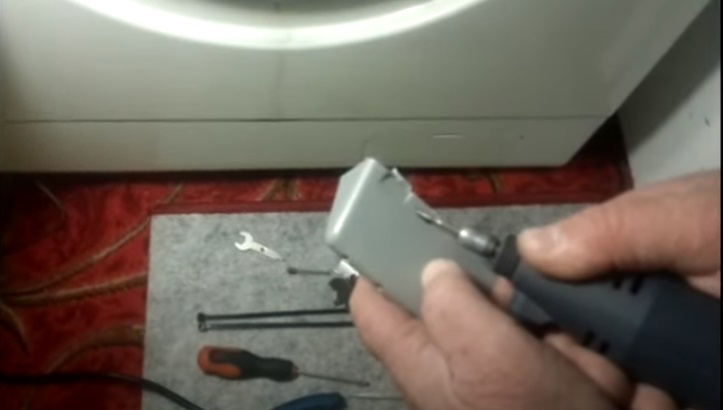
Insert large construction ties into the resulting holes on the left side of the rib so that they hang freely from the center of the bumper. Now you need to adjust the eyelets—the bumper retainers themselves. They are located in the drum itself between the latch holes: their correct position is at a 45-degree angle. This can be done using a slotted screwdriver.
Once the clamps are in place, you can begin installing the rib. Thread the free end of the tie rod through the left mounting hole and pull it out through the right one so that it passes under the drum and returns inside. Then thread the free end through the second hole drilled in the rib on its right side. At this point, the bump stop should move freely back and forth.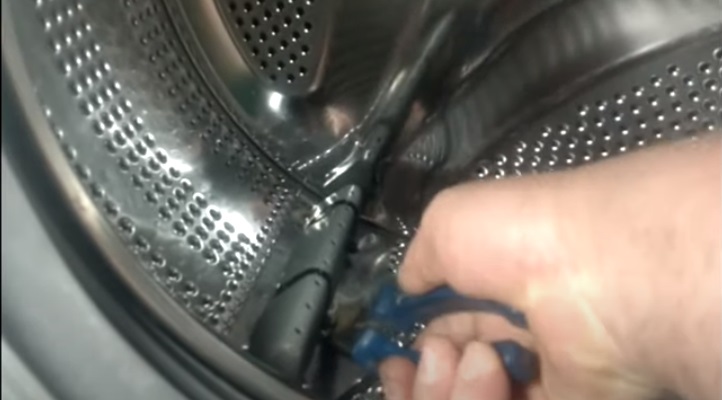
To secure the rib, heat it again with a hair dryer for 1-2 minutes and then secure it to the eyelets with a backwards motion. Now tighten the ties securely, trim off any excess ends with wire cutters, and sandpaper off any sharp edges. This is necessary to prevent sharp corners from tearing the garment during washing.
What happens if you remove one loose rib?
When some washing machine owners notice a loose fin, they hesitate to secure it or replace it. They assume the drum has two more fins that perform their intended function, meaning the absence of a third won't affect the machine's performance. This is a misconception for two reasons.
First, the three ribs distribute laundry evenly throughout the drum during washing, ensuring each item receives the care and cleaning it needs. Without one rib, the drum becomes unbalanced, causing items to bunch up and tumble unevenly. If the shock absorbers in the household appliance are still loose, such a “balance” to one side will lead to the washing machine jumping during intensive operation and spinning.
The second reason is possible damage to items. The eyelets located under the rib are quite sharp. Normally, they are securely covered by the rib, but if the situation changes, clothing can get caught on them, causing holes in items.
Therefore, it's important not to neglect the proper and secure fastening of even such a minor component as the drum rib. Until it's securely fastened, it's best to avoid washing: even if one cycle runs without causing any damage to your clothes or the appliance itself, a second could easily be fatal to your favorite garments.
Interesting:


Readers' comments
Headings
Washing machine repair


For buyers


For users


Dishwasher


Add a comment