How to remove the shaft from the drum of a washing machine?
Removing the drum shaft from a washing machine may be necessary, for example, when replacing bearings and seals. Automatic washing machine service technicians encounter this problem quite often. Let's look at the signs that your machine needs repair and how to fix your "home helper" yourself.
Why does this malfunction occur?
The washing machine drum is driven by a shaft with a spider and bearings. When any part of the mechanism fails, unusual noises occur during operation. This may include a loud grinding or knocking sound during the main wash and spin cycles.
If damaged bearings are not replaced in a timely manner, the shaft crosspiece will soon fail, which will be a more expensive repair.
The most common causes of damage to the crosspiece are:
excessively hard tap water;
wear of the bearing unit;
poor quality repair of the part;
use of aggressive cleaning agents;
manufacturing defect;
bushing corrosion;
low-quality lubricant.
If the universal joint bearings are damaged, service center technicians usually suggest replacing the entire shaft. However, such a repair is quite expensive—one that could almost buy a new washing machine. Therefore, many users try to remove the worn parts and install new ones themselves.
Replacing the universal joint bearings is quite labor-intensive. However, even a novice with little experience in washing machine repair can handle this task. The key is to follow the instructions carefully.
Dismantling the shaft
To remove worn-out elements, you will have to almost completely disassemble the washing machine body. To remove the bearings, you will need to gain access to the drum of the automatic machine. Let's figure out how to access the shaft. To remove the washing machine shaft, you need to:
de-energize the machine, disconnect it from communications;
remove the top panel of the case by unscrewing a couple of bolts holding it;
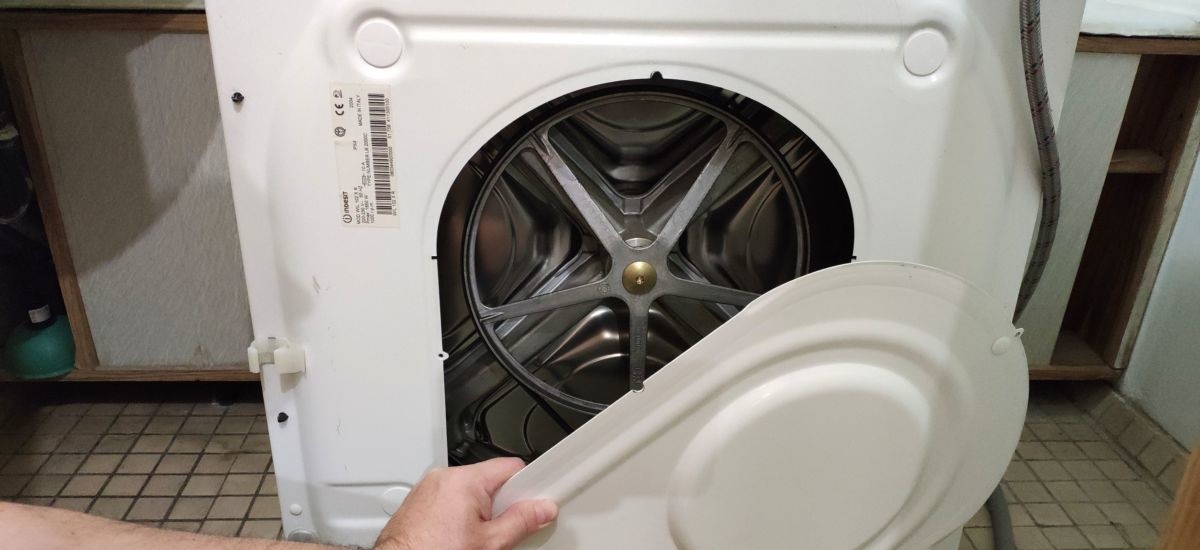
remove the back wall of the case;
remove the drive belt from the drum pulley and motor;
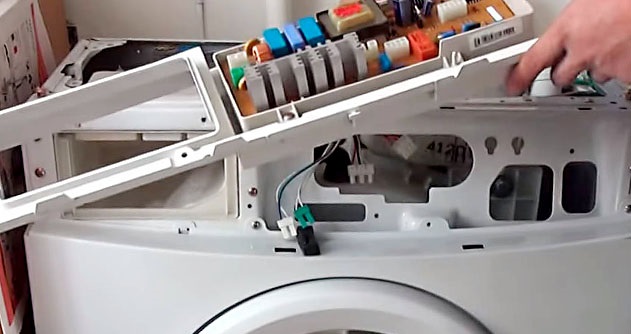
pull out the powder receptacle;
Unscrew the screws around the perimeter of the control panel and carefully hang the dashboard on the side of the machine;
remove the rubber cuff of the hatch by removing the two clamps that secure it;
remove the bolts holding the hatch locking device;
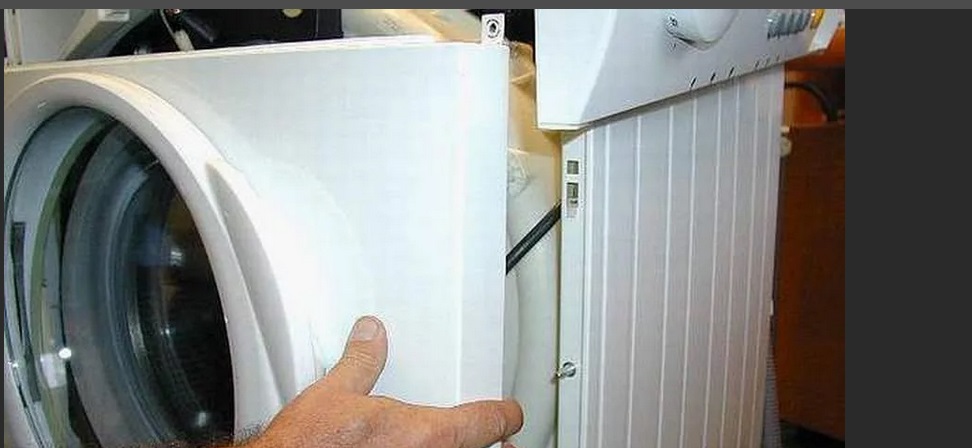
remove the front panel of the case;
Disconnect the drain hose from the tank. There may be water left in the hose; drain it into a prepared container;
disconnect all wiring connected to the tank;
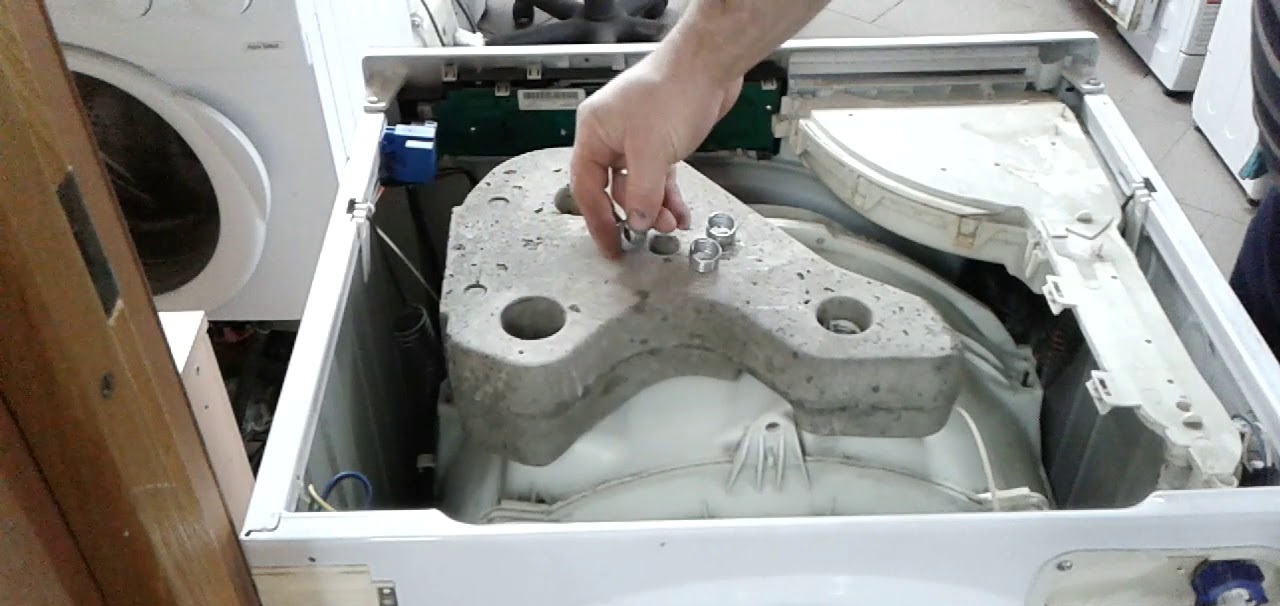
remove the counterweight blocks;
disconnect the electric motor from the tank by unscrewing several screws that secure the motor;
unscrew the shock absorbing elements;
unhook the tank from the spring and pull it out.
Removing the tank alone can be difficult, so it's best to enlist the help of an assistant.
Removing the plastic tank from the housing is much easier with just four hands. To access the crosspiece, the tank will have to be disassembled. We'll show you how.
We divide the tank in half
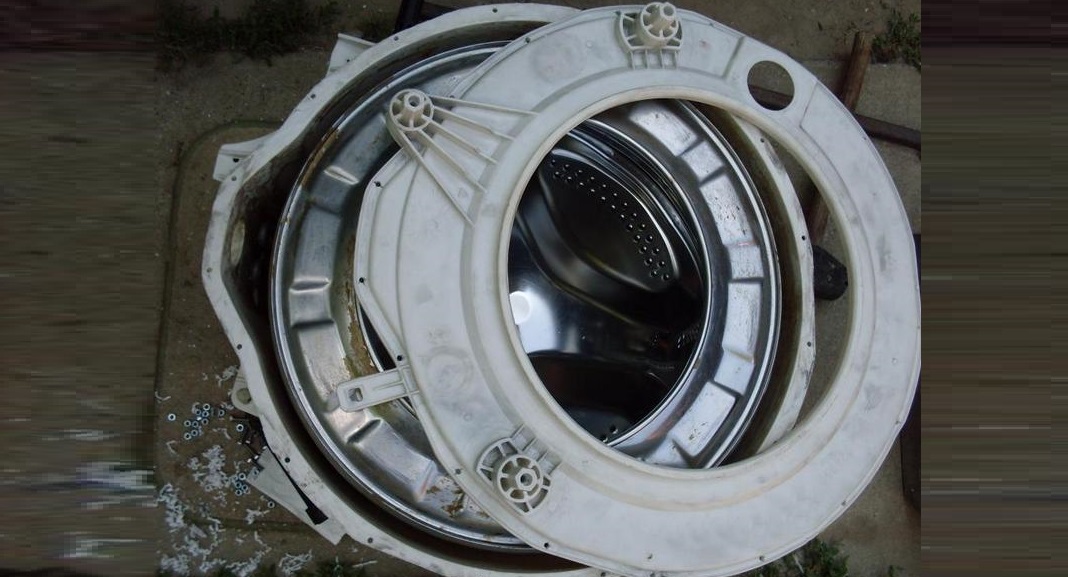
To gain access to the crosspiece and bearing assembly, it is necessary to disassemble the tank. If your washing machine has a detachable drum, simply unscrew the fasteners around the perimeter, release the latches, and separate the drum. There are models with a cast tank - it will have to be carefully cut along the weld seam.
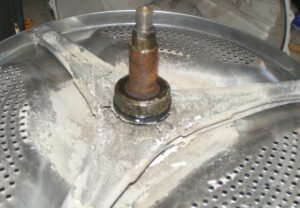
Once the tank is disassembled, all that's left to do is remove the drum. Knock out the metal container from the outside. A hammer can be used, but be very careful.
It is important that the shaft is not damaged during the process of removing the drum from the tank.
Bearing unit repair
It's often difficult to remove worn bearings from their seats. Sometimes they become very firmly stuck to the shaft, requiring considerable force to remove. Don't hit broken bearings with a hammer—the shaft is made of soft metal, so it's easy to damage them if you miss.
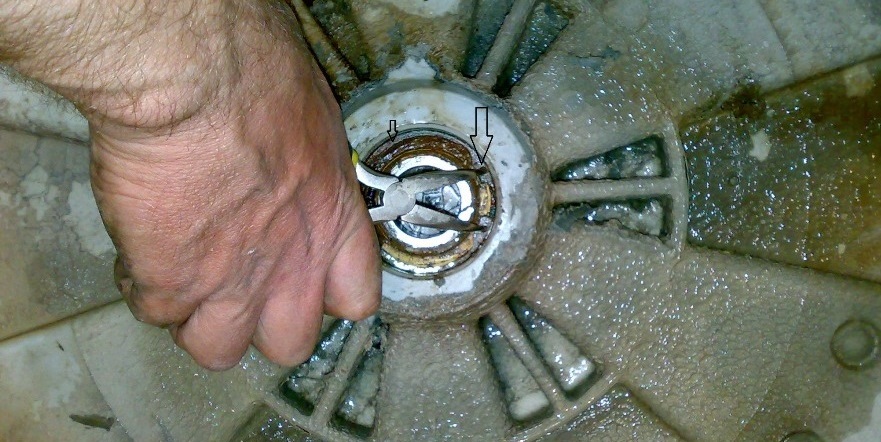
To remove old bearings, you need to:
arm yourself with a grinder;
make slots on the sides of the bearing;
Insert the tip of a chisel into the bearing slot and remove the ring from the shaft.
This bearing removal method minimizes the risk of shaft deformation. Remove both the outer and inner races. The old seal must also be removed, even if it appears intact.
Seals are always replaced along with the bearings. If you install new rings but leave the old seal in place, the bushing may become deformed over time. Repair technicians won't repair this part; you'll have to buy and install a new drum entirely.
Next, you need to clean the bearing surface of any dirt or rust. You can sand it or wipe it with a cloth soaked in a special descaler. Once the area is prepared, you can install the new bearings. It's important to purchase bearings and seals that are exactly the same as the ones you removed. To do this, you can use the model and serial number of your automatic washing machine as a reference, or bring the removed parts to the store. A salesperson will then be able to help you select components based on your sample.
Press the inner and outer bearings into place one by one, then coat them with a special water-repellent lubricant. Place the oil seal on top, and reassemble the tank in reverse order. When joining the halves of the plastic tank together, apply silicone sealant to the joint area, then secure the parts of the tank with mounting bolts.
Repairing the roller of an automatic washing machine is a labor-intensive process. The main difficulty isn't even the installation of new components, but the painstaking disassembly of the washing machine. However, by investing some time, you can save a significant amount on the repairman's fees.
 Removing the drum shaft from a washing machine may be necessary, for example, when replacing bearings and seals. Automatic washing machine service technicians encounter this problem quite often. Let's look at the signs that your machine needs repair and how to fix your "home helper" yourself.
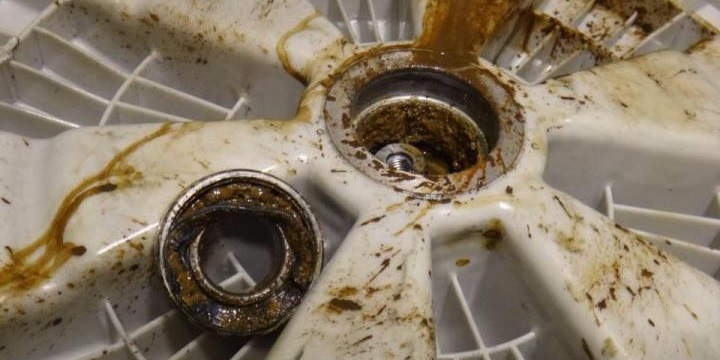


The process is very labor-intensive and requires good tools. So, just buy a new machine; your repair will end up that way anyway.