How to remove the top cover of a Samsung washing machine
 To repair a Samsung washing machine, in the vast majority of cases, you'll need to remove the top cover. This is necessary, firstly, to gain access to some important components located underneath, and secondly, to freely remove other components, such as the front panel. So, let's discuss how to remove the top cover of a Samsung washing machine to gain easy access to the remaining components and perform all necessary diagnostics and repairs.
Opening access to the rear part of the case
The preparatory stage begins with steps to gain access to the rear of the washing machine. This is because the bolts that secure the top cover are located at the rear, and unscrewing them requires easy access to that part of the machine.
If the machine is located stationary, there shouldn't be any problems moving it away from the wall and turning it slightly. It's a different matter when the washing machine is built into the kitchen unit. This situation will complicate the preparatory work somewhat, as you'll need to remove the appliance from the furniture, first disconnecting all hoses from the house utilities. Disconnection is accomplished as follows: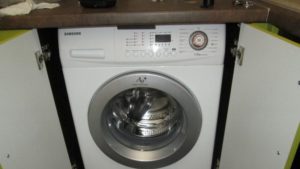
- de-energize the washing machine;
- close the valve that supplies water to the drum;
- disconnect the inlet hose;
- Loosen the clamp slightly and carefully separate the drain hose from the sewer pipe.
Pull the washing machine out slowly and carefully to avoid damaging the frame, furniture, or flooring. It's a good idea to place a few floor mats in the area where you'll be handling your Samsung washing machine to absorb any water that might spill out during movement.
Step-by-step instructions
Removing the top cover of the machine is quite easy. Accessing the back of the appliance is much more challenging, and this is where most of the time is spent. The steps for removing the top of a Samsung washing machine are as follows:
- Prepare a Phillips screwdriver of the appropriate size;
- go around the back of the unit, find the bolts holding the top wall;
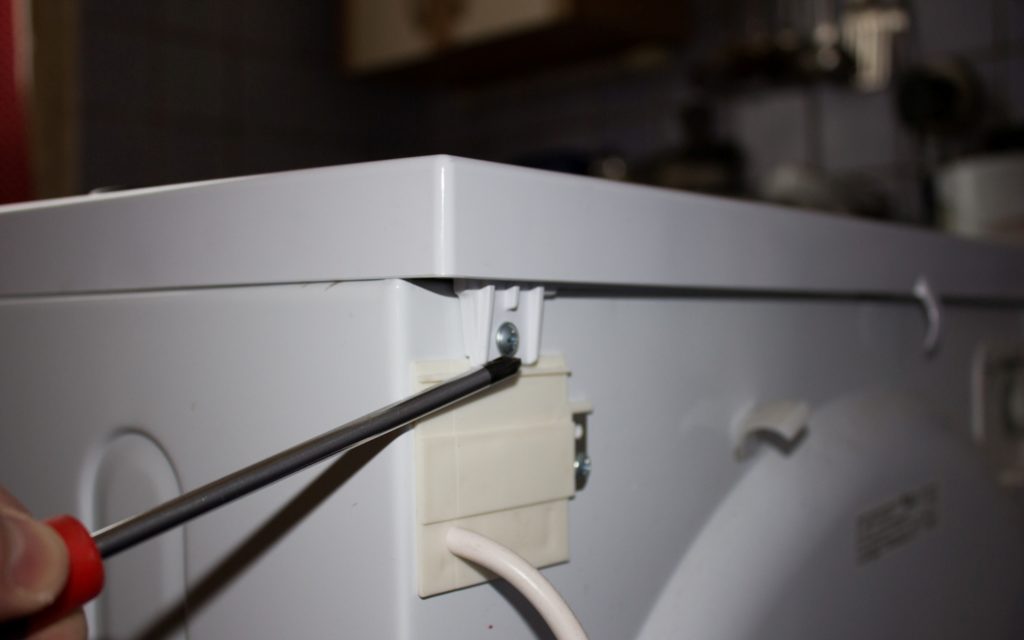
- Unscrew the screws one by one and set them aside. Be careful, there may be small washers under the bolts; make sure they don't get lost;
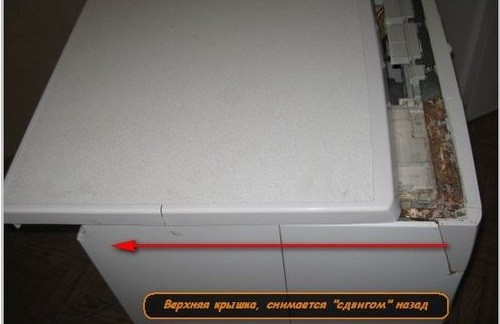
- proceed to detaching the lid, to do this, move it back relative to the washing machine, then carefully lift it up.
As you can see, the step-by-step instructions are quite simple. However, you may encounter a situation where the top cover won't slide back. This can be easily explained: it's slightly stuck to the retaining elements. This problem can be resolved in just a couple of minutes.
First, look at the top of the washing machine and visually divide it in half; the imaginary line should run across the housing. Then, lightly tap the top cover in the middle, then on the right and left sides. Try moving the cover again; if it doesn't budge, repeat the steps above, applying a little more force.
Important! Do not hit the washing machine with heavy objects, as this may damage the casing and impair the appearance of the unit.
To install the top cover back, you need to repeat the same steps in reverse order. Place it in place with a slight offset, about 5 or 7 centimeters. Then, using both palms, begin to push the part forward, toward the control panel. When the housing cover engages the grooves, you'll hear a distinctive click. Then, push it forward a little further until it's firmly in place. All that's left to do is tighten the mounting bolts and connect the device to the utility lines and power supply.
Interesting:


Readers' comments
Headings
Washing machine repair


For buyers


For users


Dishwasher


Add a comment