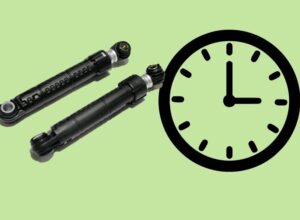
How long do shock absorbers last in a washing machine?
The centrifugal force generated by the washing machine's drum rotation is effectively absorbed by the shock-absorbing system. When the springs and dampers are in good working order, the machine will remain motionless, vibrating only slightly, even when spinning at maximum speed. If these components fail, the washing machine will begin to "jump" and wobble during operation.
What determines the lifespan of a washing machine's shock absorbers? How do you know when it's time to replace them? Is it possible to install new springs and dampers yourself? Let's explore the nuances.
How long are shock absorbers designed to last?
In the vast majority of cases, automatic washing machine shock absorbers are made of metal and plastic. The shock absorbers' design is fairly simple and not entirely reliable. Nevertheless, the average lifespan of automatic washing machines is 10 years. This lifespan directly depends on how carefully the washing machine is maintained.
The lifespan of a washing machine's shock absorbers depends greatly on its operating conditions.
What is meant by operating conditions? It is important how often the washing machine is started, whether the maximum permissible load weight is observed, and at what speed the spin is usually performed. The condition of the shock absorbers is also affected by the floor covering under the machine, whether the device is installed level or not, the humidity in the room, etc.
If operating conditions are not met, the shock absorber gasket wears out faster, causing lubricant to leak from the cylinder. The more carefully the user handles the washing machine, the longer the shock absorbers will last. In most cases, shock absorbers can be repaired, but after repair, they will only function for a couple of years. After that, replacement of components will still be necessary.
How do you know when your shock absorbers need repair?
If you notice your washing machine is excessively noisy, perform a simple shock absorber sensitivity test. Don't immediately disassemble the washing machine and remove the shock absorbers, in case the problem lies elsewhere. Here's how to check the components:
de-energize the washing machine;
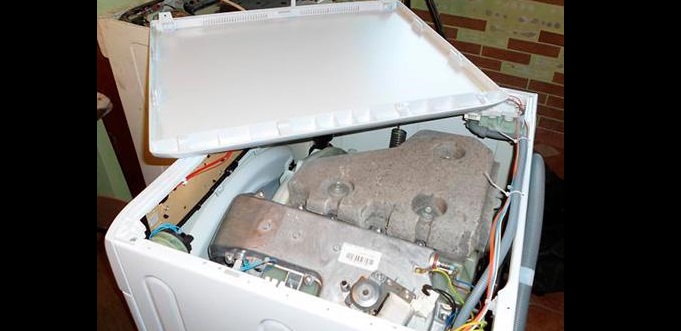
remove the top cover of the housing (by unscrewing the bolts that secure it);
Press down firmly on the tank so that the container drops 3-5 cm;
release your hands abruptly;
Estimate how quickly the tank will return to its original position.
If the shock absorbers are working properly, they should engage immediately. In this case, the plastic tank will rise and stop. If the shock absorbers are broken, the tank will continue to oscillate for some time.
The following symptoms indicate that the shock absorbers are failing:
creaking and humming when the machine is running;
difficult rotation of the drum (due to lack of lubrication in the dampers);
The machine "jumps" around the room during the spin cycle.
The most common causes of failure of the shock-absorbing elements of a washing machine:
natural wear of the struts (after 7-10 years of use, the gaskets wear out and the grease is used up);
deformation due to manufacturing defects, violation of operating conditions, “rough” transportation of the washing machine;
damage to fasteners (first the bolts securing the struts break, and then the dampers themselves).
In some cases, replacing only broken racks makes no sense. If their failure is the result of some other malfunction, such as loosening or damage to the bearing assembly, the problem will recur. Washing machine repairs require a comprehensive approach.
If the cause is worn-out gaskets, you can restore the dampers instead of replacing them. This task can be accomplished at home. We'll show you how to restore your shock absorbers.
Disassembling the shock absorber
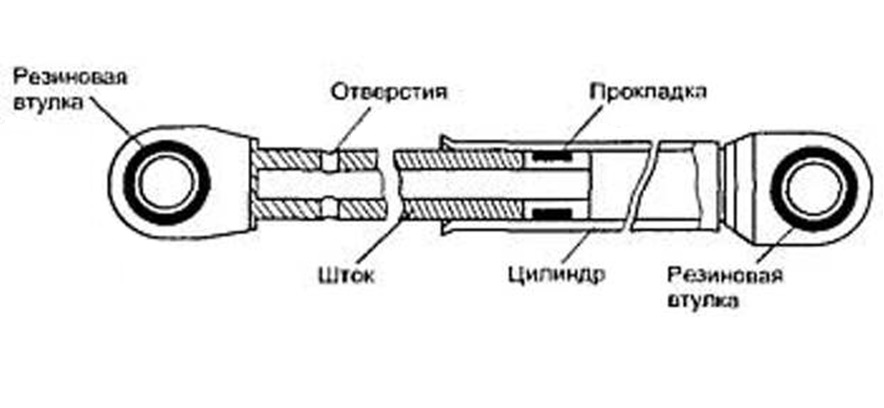
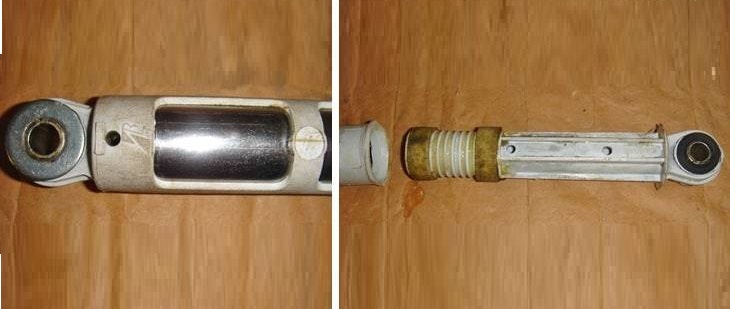
Before starting work, it's important to familiarize yourself with the shock absorber's structure. This will give you an understanding of what needs to be done during repairs. The shock absorber in a modern automatic washing machine consists of:
cylinder;
metal rod;
pairs of bushings;
gasket that acts as a piston.
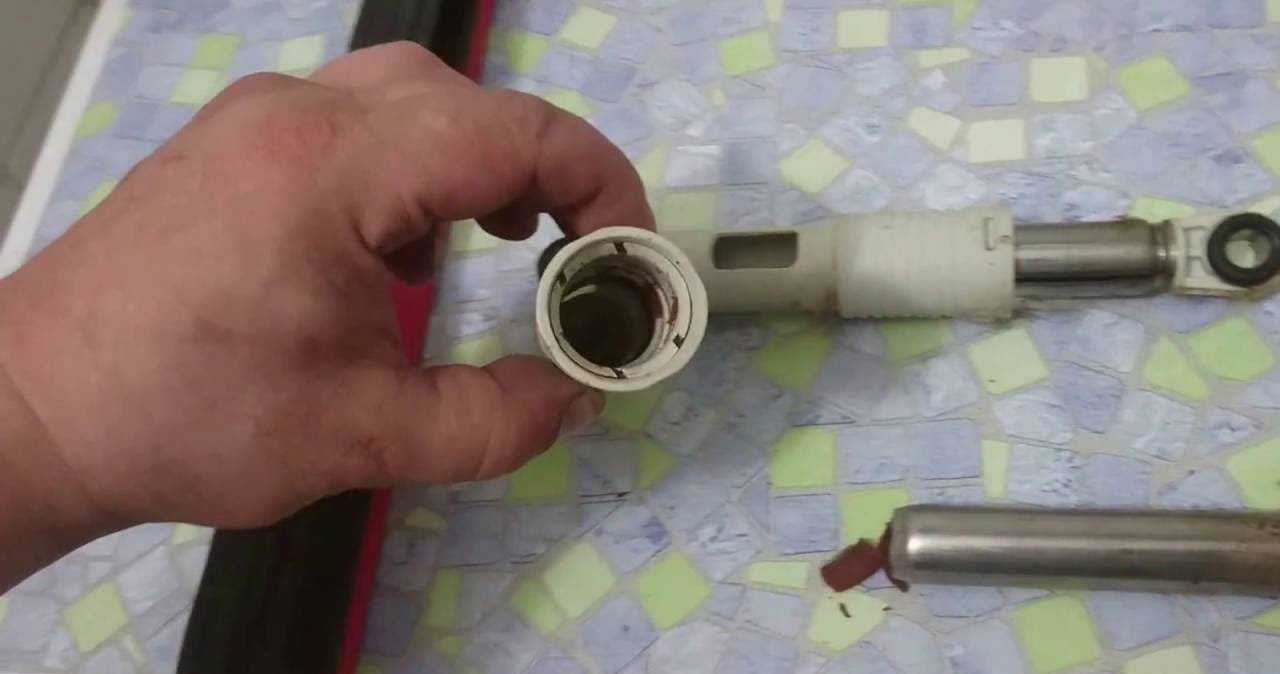
A worn gasket stops functioning as a piston. The piston rod begins to move freely within the cylinder, and sometimes even falls out completely. As an example, let's consider a situation where the rubber seal is partially damaged.
In this case, you'll need to disassemble the damper. Simply put, you need to pull the piston rod out of the cylinder. This must be done very carefully to avoid breaking the plastic component.
First, you can try to pull the piston out using your own strength. This will work 50% of the time, as there's virtually no resistance left inside the part. If you can't remove the metal rod by hand, wrap a napkin around the cylinder, clamp it in a vice (carefully, so as not to crack the plastic), and pull the piston out. This will allow it to come out easily.
After removing the piston rod from the cylinder, the damper will be considered disassembled.
Some washing machine dampers have additional plastic threaded caps. These prevent the piston rod from falling out of the cylinder. If the design includes such elements, you must first unscrew the cap and only then remove the metal rod.
Description of shock absorber removal and repair
It's much more cost-effective to restore old shock absorbers than to replace struts. Therefore, let's take a closer look at how to repair shock absorbers. This will help you avoid the expense of purchasing replacement parts.
Don't delay repairing shock absorbers. Imbalances caused by broken shock absorbers can lead to more serious problems, such as damaged bearings or warped universal joints. Work should be started as soon as possible.
Typically, restoring the strut requires replacing the gasket. This requires partially disassembling the washing machine, removing the damper, and installing a new seal. Here's how:
Unplug the washing machine's power cord from the socket;
remove the top cover of the case;
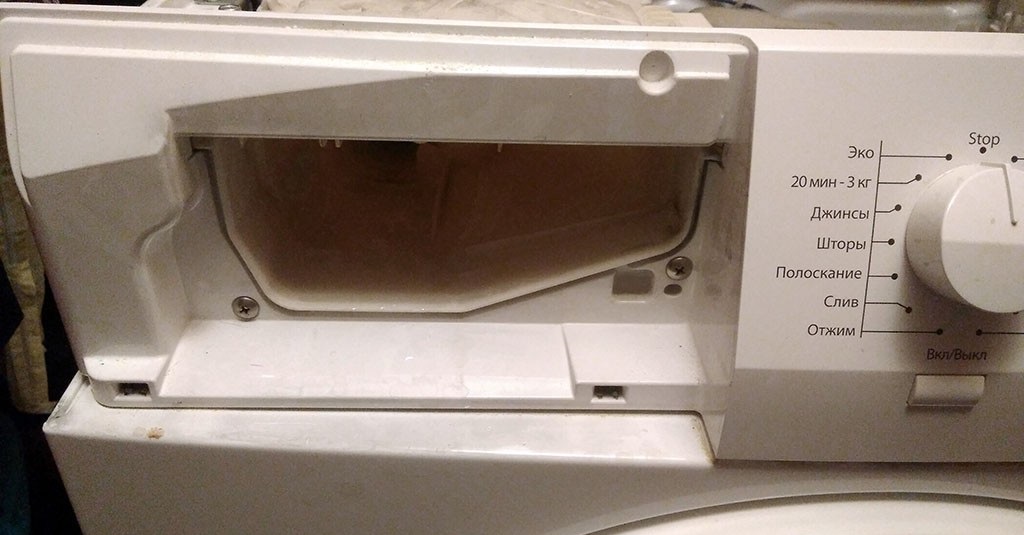
remove the powder receptacle;
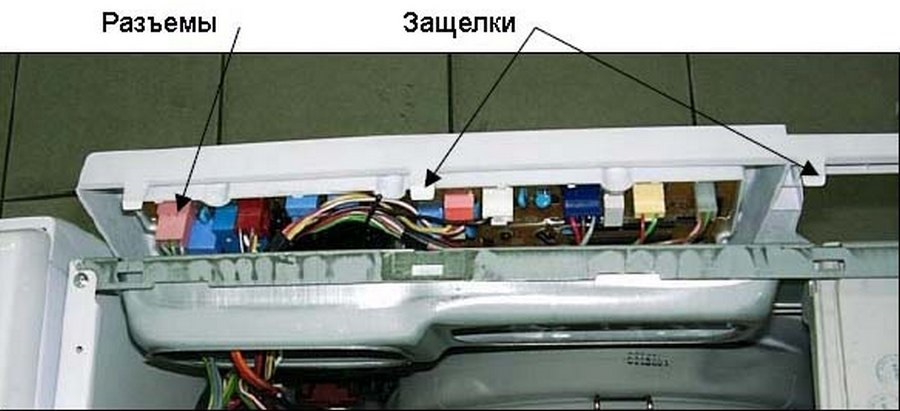
remove the washing machine control panel;
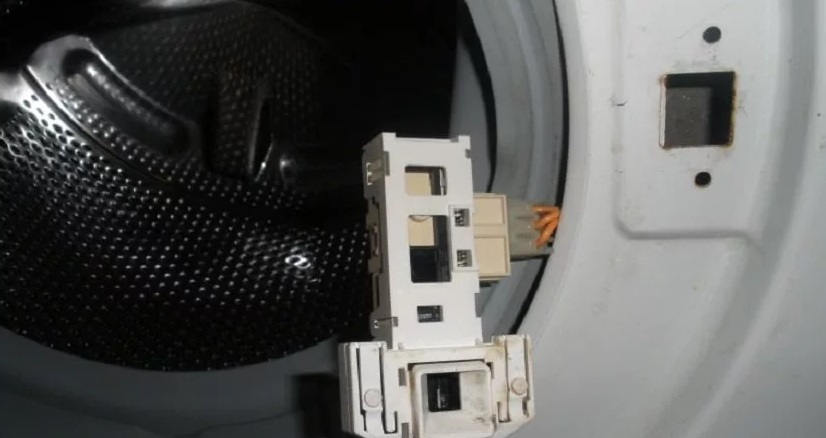
reset the UBL contacts, unhook the blocker;
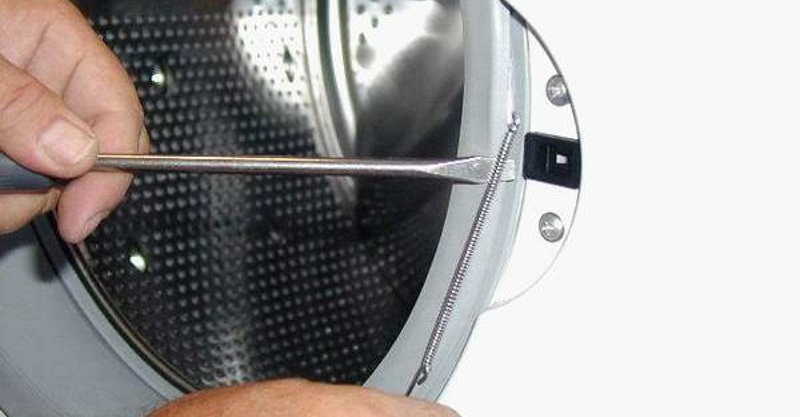
remove the outer clamp securing the drum cuff;
insert the sealing cuff into the drum;
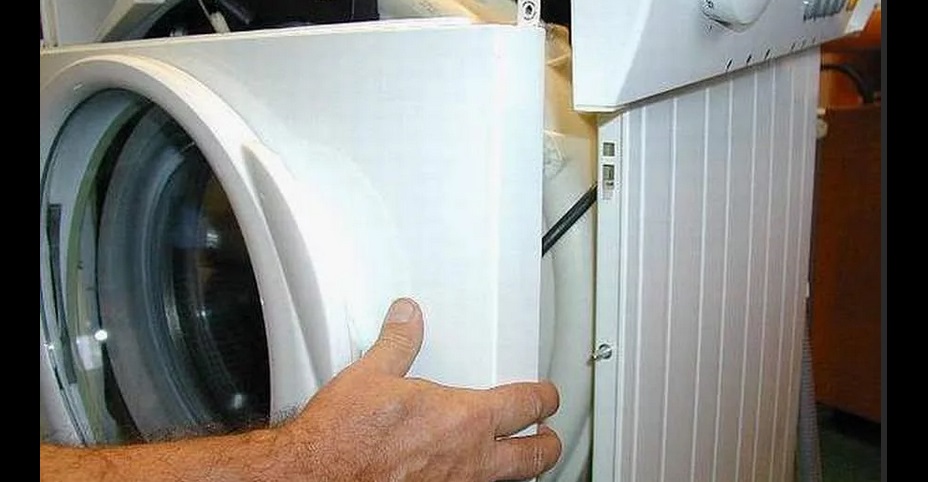
unhook the front wall of the machine;
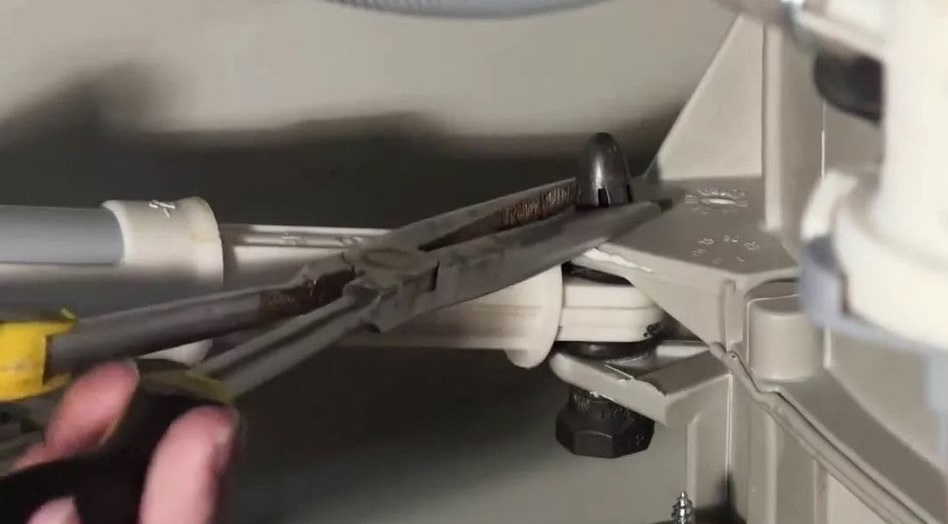
loosen the fasteners that secure the dampers;
remove the shock absorbers;
disassemble the rack, assess the condition of its components;
buy or cut a gasket of the required size from a piece of rubber;
install a new rubber band, assemble the rack.
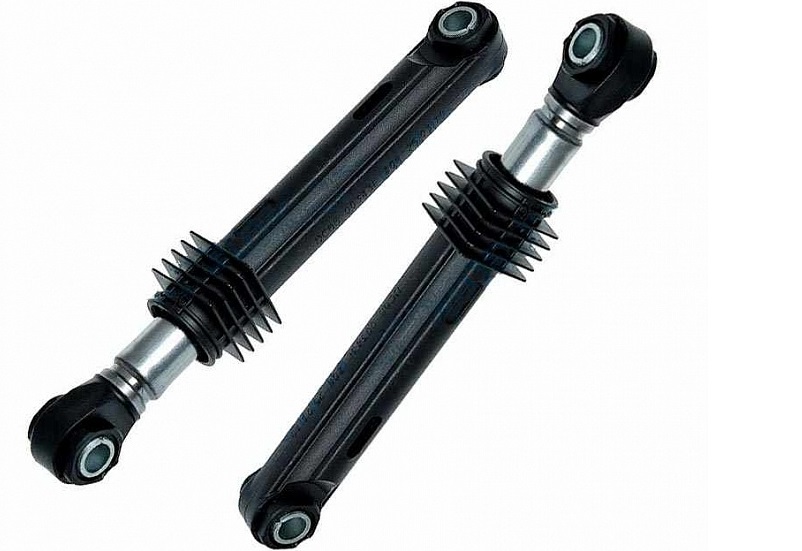
Sometimes it's not possible to repair the damper. A complete replacement will then be necessary. Shock absorbers must be replaced as a set; if even one old strut is left, vibration damping will be uneven. This will reduce the lifespan of the entire system.
Shock absorbers are selected for a specific washing machine model. You can remove the shock absorbers, take them to the store, and ask the salesperson to select similar shock absorbers. When ordering shock absorbers online, carefully check the part markings.
Some washing machines require removing the shock absorbers by pulling the drum out of the machine. In this case, you'll need to almost completely disassemble the machine. In addition to the above process, you'll need to disconnect the motor, all hoses, and the drive belt from the drum, along with any other parts that might interfere with removing the plastic drum.
When completely disassembling the washing machine for repair or replacement of shock absorbers, it's best to immediately inspect other hard-to-reach components: the bearings, shaft, and universal joint. It's also a good idea to clean the pump and the drain pipe connecting the tub and pump. While you're at it, remove any scale and limescale from the heating element and other internal components.
Once all tasks are completed, reassemble the washing machine. All components are reassembled in reverse order. Ensure that all wires and hoses are connected correctly.
Once assembly is complete, test the machine. Run a test cycle with no laundry in the drum. If the wash cycle runs normally, the repair is complete.
 The centrifugal force generated by the washing machine's drum rotation is effectively absorbed by the shock-absorbing system. When the springs and dampers are in good working order, the machine will remain motionless, vibrating only slightly, even when spinning at maximum speed. If these components fail, the washing machine will begin to "jump" and wobble during operation.
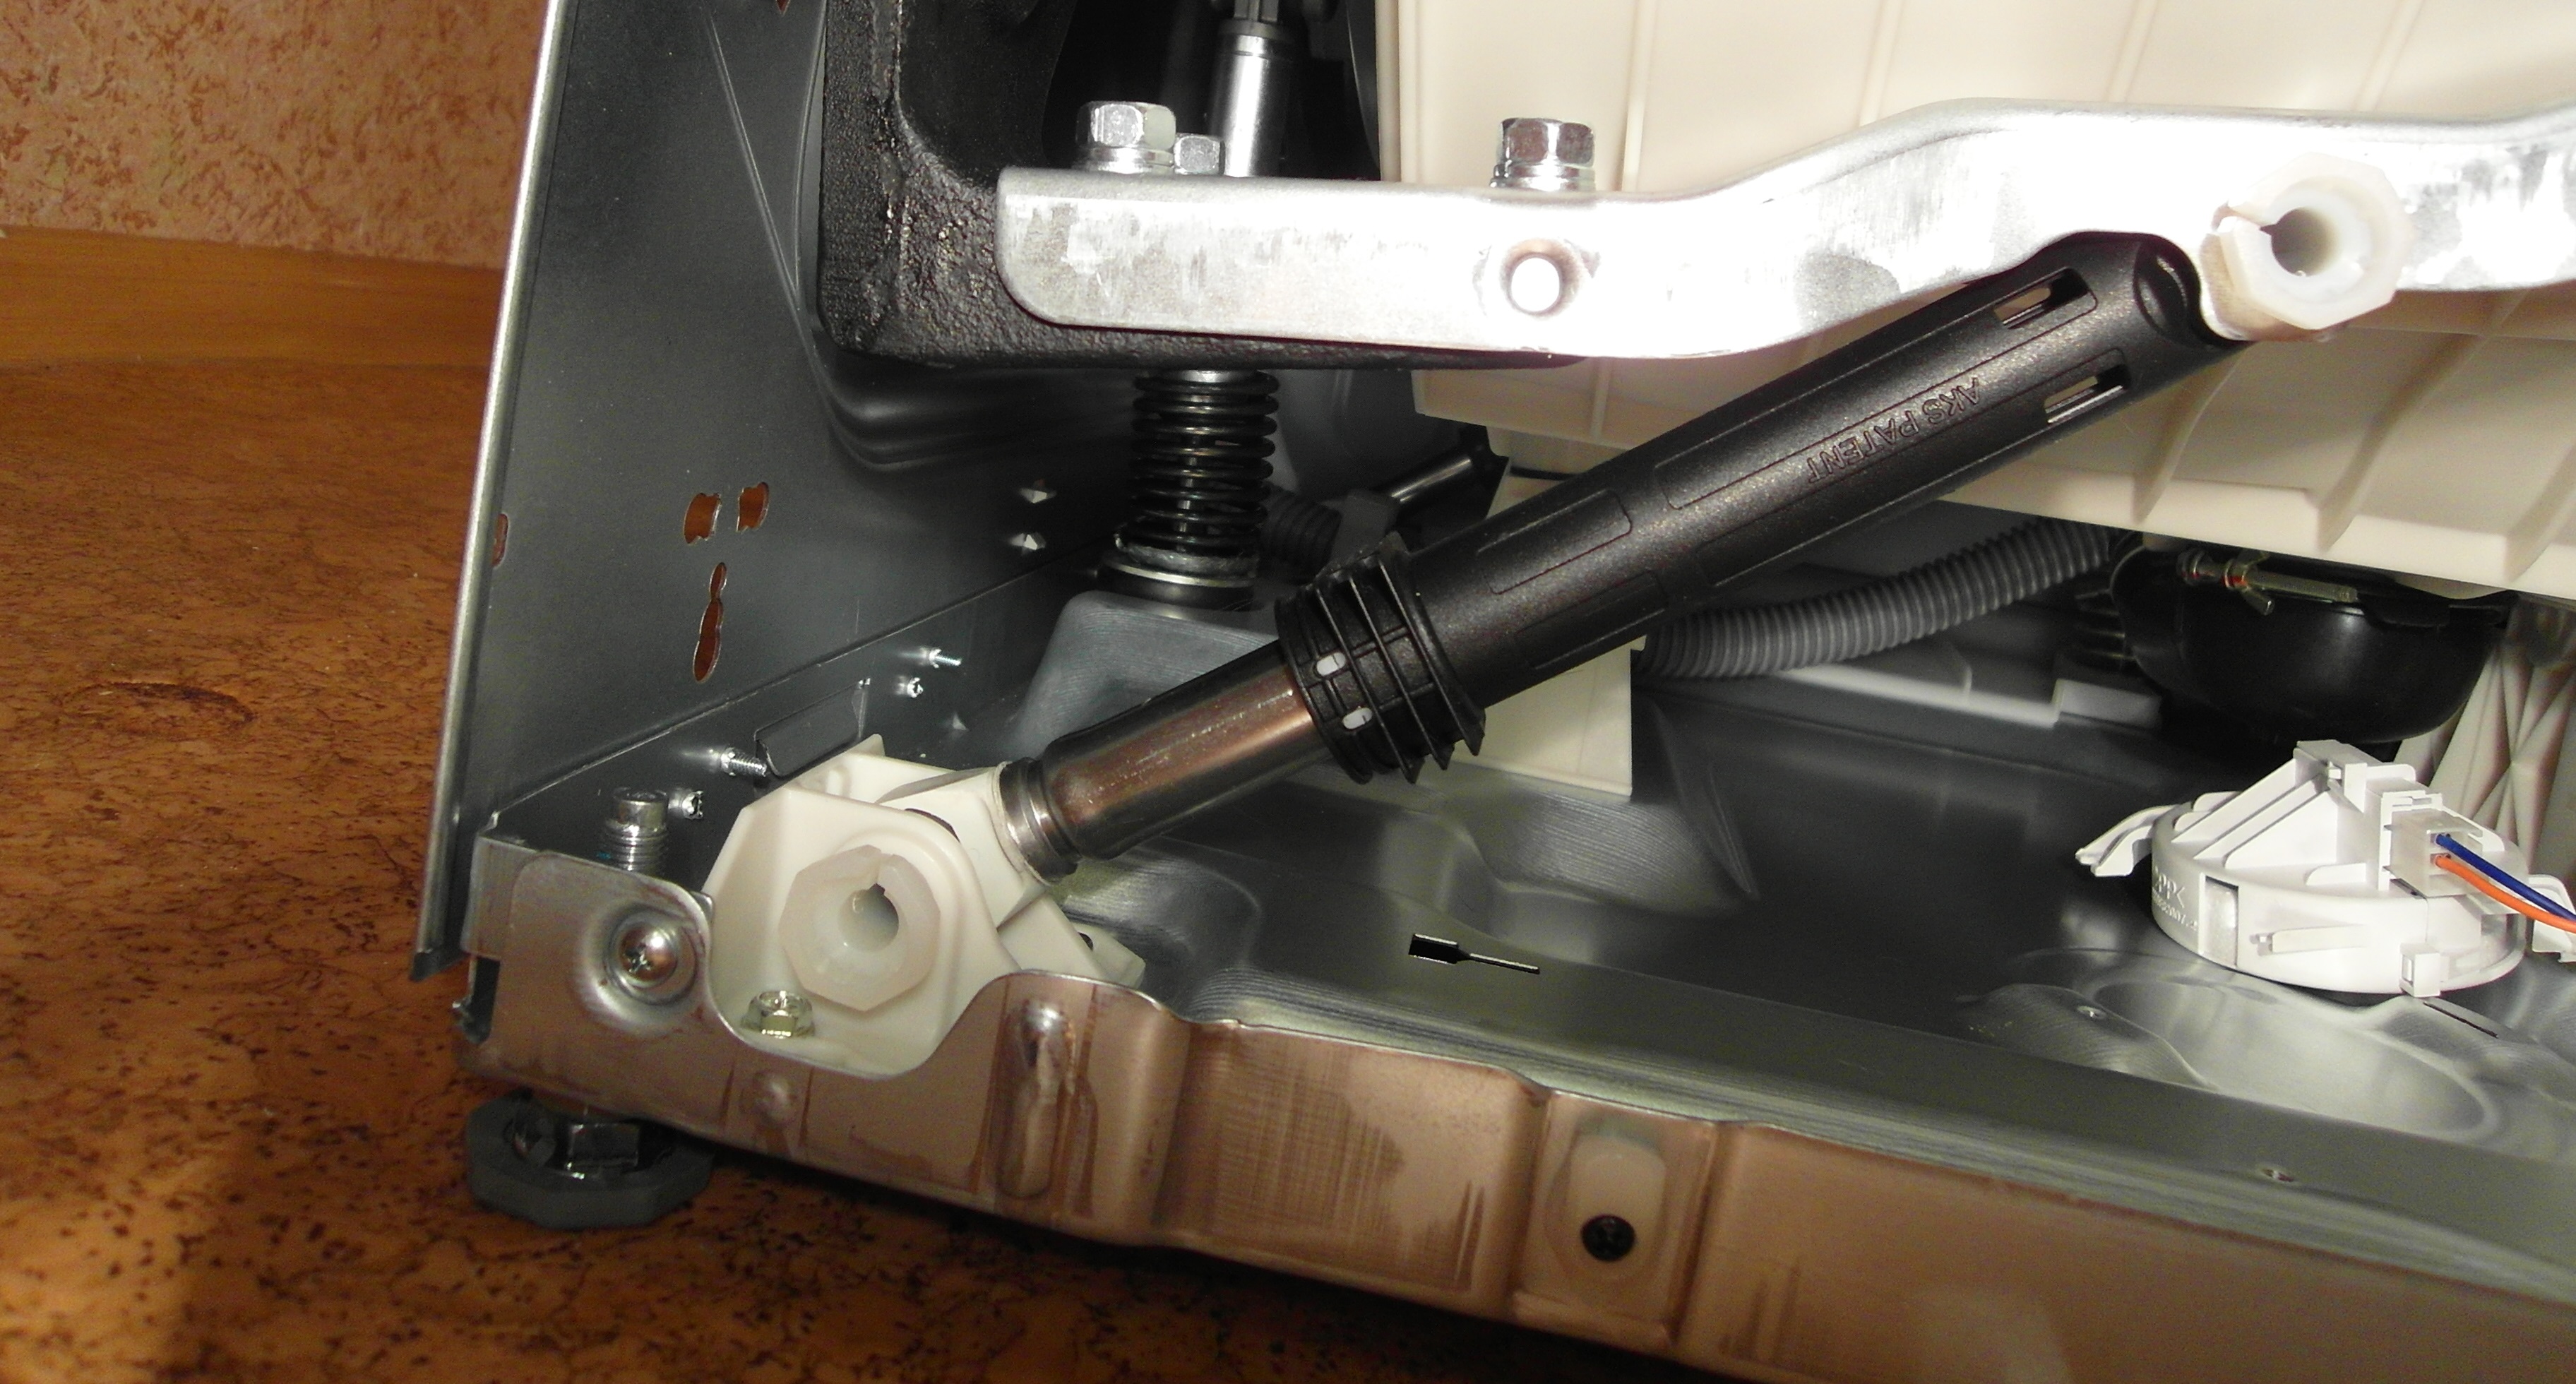


Add a comment