How to make a lathe from a washing machine motor
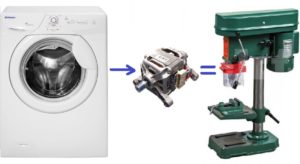 Whether in a professional workshop or a regular garage, it's common to need to precisely drill several holes in metal, wood, or other materials for household chores. A standard household drill may not be suitable, especially when increased precision is needed. A DIY drilling machine made from a washing machine—or, more precisely, from a washing machine motor—can come to the rescue. It's quite inexpensive. This article will discuss how to make such a machine.
Main details
Before assembling a drilling machine using a washing machine motor, it is necessary to clearly understand the safety rules both during assembly and during subsequent operation of such equipment.
Remember! Working with a homemade drilling machine can be dangerous to life and health! Exercise extreme caution and remember that if you lack the necessary skills, you should not attempt to build such machines. We do not encourage anyone to build or use drilling machines and provide this information for informational purposes only.
So, what parts are needed to make a drilling machine? Conventionally, all the necessary parts of the machine can be divided into 3 groups: the engine and drive mechanism, the frame and the mechanism for moving the drill in the vertical plane, and the electronic components. The first group includes:
- collector electric motor from an automatic washing machine;

- engine pulley;
- pulley on the drill shaft;
- V-belt.
Details of the second group:
- steel angle 50 mm;
- steel beam 30x60x30 cm;
- square sheet of metal 40x40 cm;
- steel staples;
- old steering rack from VAZ eight;
- fasteners;
- drill shaft;
- bearings 6003 2RS;
- bearings 8103;
- drill chuck;
- A homemade spinner made from three pins welded together.
And finally, the third group of components includes electronic components that control the engine speed to ensure the drilling machine operates reliably and without interruptions. The easiest way is to use a ready-made microcircuit TDA 1085, although there may be other options.
Machine mechanism
When making a drilling machine from a washing machine motor and other engines, DIYers have long since realized that it's easier to achieve the desired result by using as many standard parts as possible. While this may make the design a bit more expensive, it will be more reliable and last longer, and most importantly, easier to assemble. A prime example is using a VAZ steering rack to create the sliding mechanism. Essentially, this is the sliding mechanism itself; all that remains is to design a suitable frame for it.
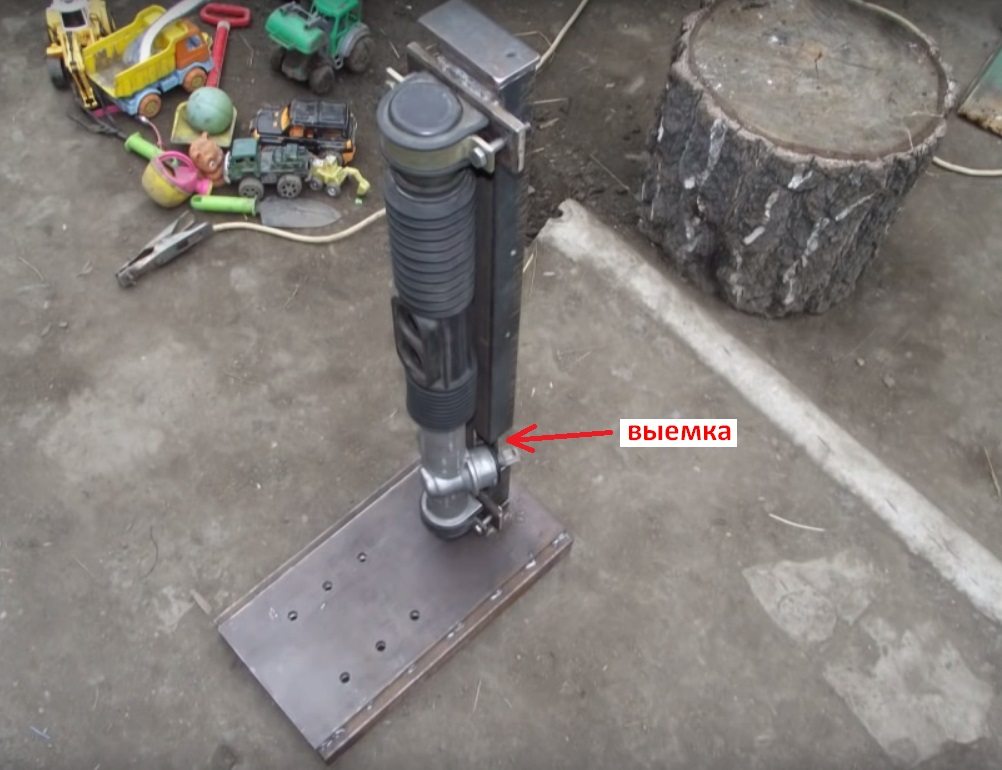
The picture above shows the initial stage of manufacturing the drilling machine mechanism. We securely weld a steel beam to a sheet metal plate, thus creating a strong and durable frame. We bolt a VAZ 2108 steering rack to the vertical steel beam using brackets and bolts, as shown in the picture.
Next, we cut a thin steel stud into five pieces and weld them together to form a turntable. You can buy a ready-made turntable from any machine tool of the appropriate dimensions.
In this case, we immediately ran into problems with securing the turntable, and had to cut a small notch in the base of the steel beam.
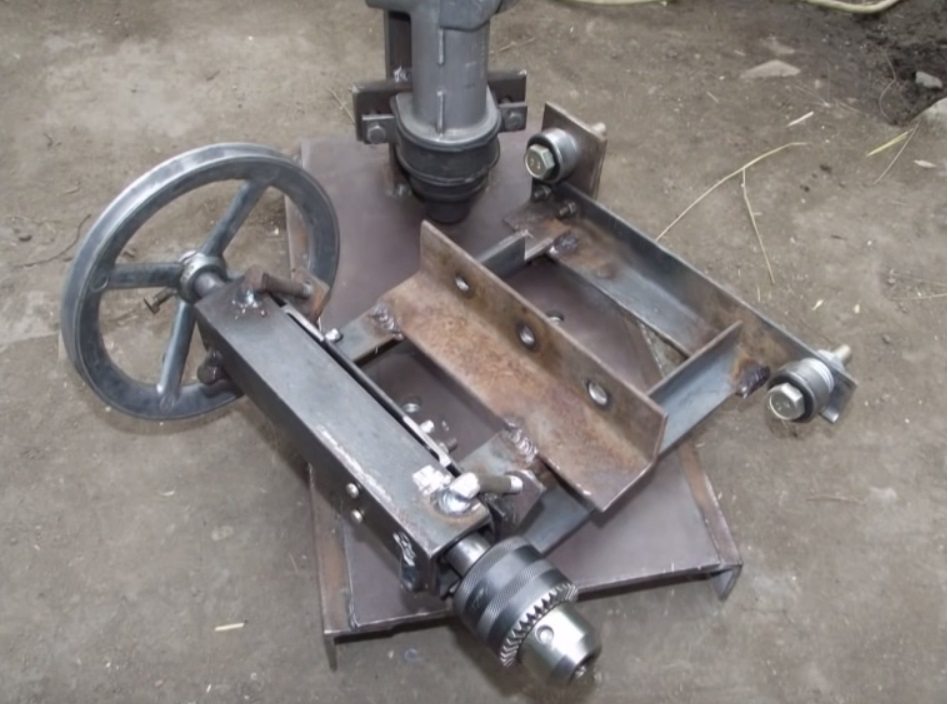
Now we move on to a more complex stage: the manufacture of the base of the moving mechanism and the parts of the mechanism itself, without which the drilling machine cannot function. This part of the machine is shown separately in the figure above.
- From the corner scraps, you need to make a rectangular frame with an allowance on one side for fasteners. These large bolts are fitted with bearings, which allow this vital structural element to move up and down the beam as if on rails.
- We weld another piece of angle iron to the side of the frame, drilling a hole in it for the bolts. These bolts secure the frame to the sliding steering rack.
- We weld two pieces of angle iron into a square section. We'll insert the drill shaft and bearings into the section. The chuck will be mounted on one end of the shaft, and the pulley on the other.
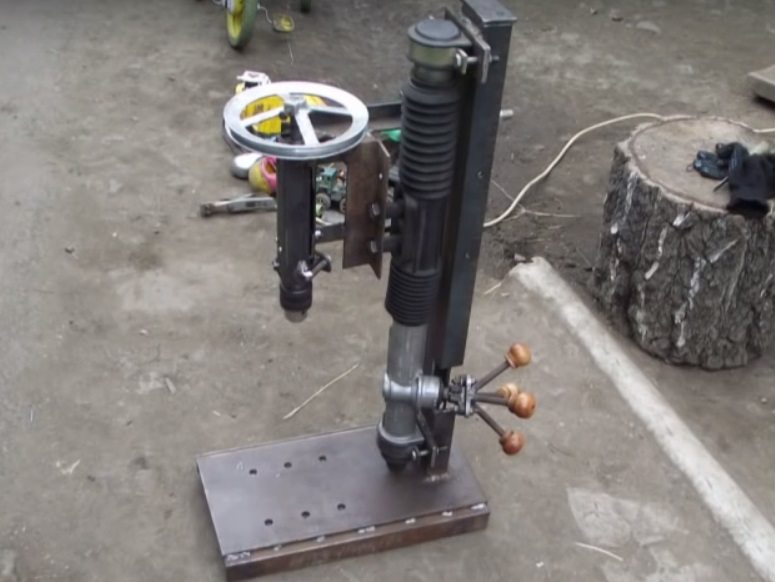
Now all that's left to do is screw the part pictured above to the steering rack. We've now created a solid base that already looks like a drilling machine.
Motor and its connection
Connection, testing and adjusting the washing machine motor speed We have discussed this many times in other publications, so we will not dwell on it. Let us just note that before installing the motor on the drilling machine, it would be a good idea to check its functionality..
So, we weld a frame from angle irons onto which we mount the motor and bolt this structure to the side of the drilling machine's sliding mechanism. First, we install a pulley onto the motor shaft.
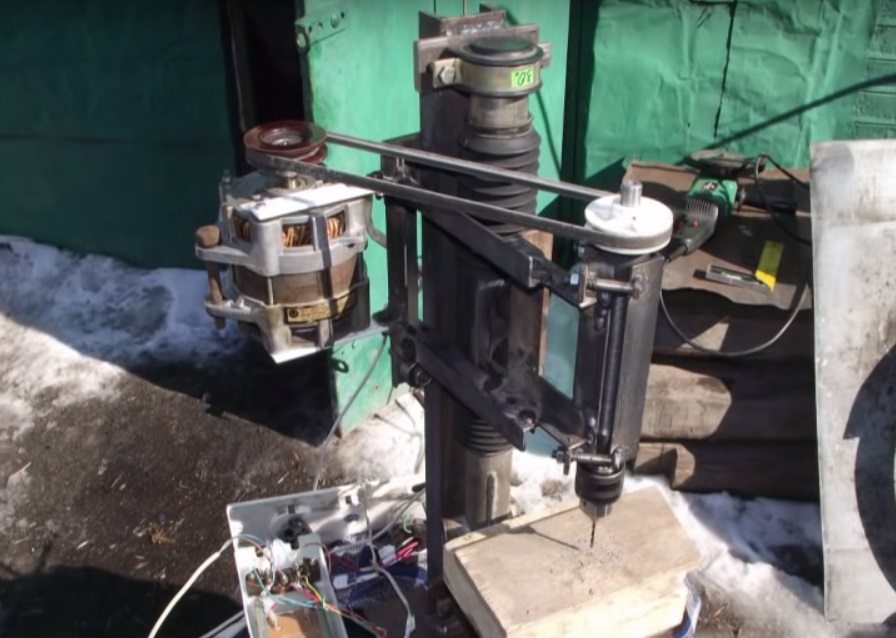
Now all that's left to do is stretch the drive belt between the pulleys, connect the motor to the TDA 1085 microchip board, power the machine from a household electrical outlet, and you can test out the new drill press you painstakingly built. Load the chuck with drill bits of various diameters and watch how the drill press handles drilling holes in thick sheets of metal—it's a mesmerizing sight.
Important! When connecting the microcircuit to the motor, be sure to protect it with a plastic case. You never know what might fly into it during work in the workshop.
In conclusion, it's entirely possible to build a drilling machine using a motor from a used washing machine, provided you have the right hands, a strong desire, and a workshop with the right equipment. Such a machine "will cost you a pittance, and it will work!" Good luck!
Interesting:


Readers' comments
Headings
Washing machine repair


For buyers


For users


Dishwasher


Add a comment