The dryer does not drain
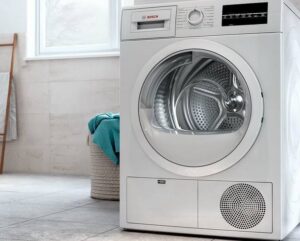 Even the highest-quality appliances are not immune to breakdowns, even if the user hasn't made any serious mistakes during operation. A very common situation is when a dryer doesn't drain, leaving all the condensation in the drum. If this happens to your "home helper," drying will be impossible, requiring immediate repair. We'll take a detailed look at the most likely causes of the malfunction and how to fix them.
The main culprit is a blockage
Most often, the dryer does not drain water into the tank due to a simple blockage in the system. Lint clumps and other debris are a problem that almost every owner of an automatic dryer faces. This problem is easily solved with regular preventative cleaning. However, neglecting preventative cleaning can lead to serious problems with your dryer components.
- Drain filter. Clogs typically occur in this element, which filters water before it enters the drain pump. It's conveniently located so the owner can clean it manually. The filter is located behind a hatch in the lower right or left corner of the dryer's front panel. Clean it with a strong stream of hot tap water and a stiff brush, or with a citric acid solution.
Preventive cleaning of the drain filter must be carried out at least once every 2-4 months.
- Drainage. Dryers are typically connected to the drain via the sink's trap, which is often where a blockage occurs. To check the drain, you'll need to disconnect the drain hose from the trap and place it in either the bathtub or toilet, then activate the dryer's drain. If the liquid drains without issue, the clog should be located in the trap or sewer system. You'll likely need to call a plumber to clear the blockage.
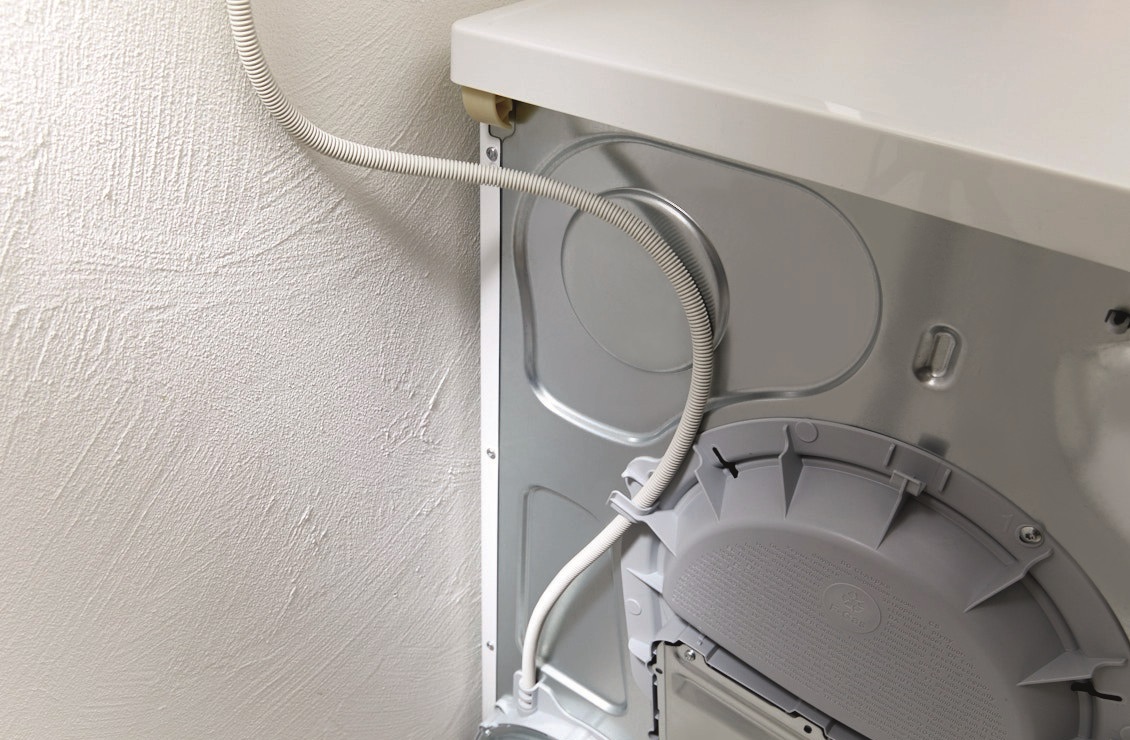
- Drain hose. It's also possible that the drain hose is clogged, requiring partial disassembly of the dryer. This should only be attempted independently if the appliance is under warranty. If the warranty period is still underway, you'll need to call a service technician. They'll disconnect the hose from the drain, access the drain pump, which is attached to the other end of the drain hose, remove it, and then clean it using a cable, soft brushes, and a jet of water. If you have a budget dryer, the pump can be found underneath the unit by simply tilting it on its side. Otherwise, you'll need to disassemble the front or back panel.
- Drain pump. The volute housing the drain filter can be considered a part of the drain pump. To clean it, remove the drain filter and carefully inspect the pump impeller, which is often clogged with hair, threads, and other nasty debris. Carefully remove any debris with tweezers, being careful not to damage the fragile part. If this doesn't help, you'll likely need to call a repairman to disassemble and clean the pump.
- Drain hose. Finally, the hose may be clogged. To access it, you need to lay the appliance on its side and partially disassemble it. This process involves loosening the clamps and disconnecting the hose from either the drain pump or the tank side. After all this, reach inside by hand and remove any foreign objects or debris.
Thus, five key components of the dryer can be damaged by a simple clog that you simply forgot or neglected to address. That's why regular preventative cleaning is so important.
Let's check the pump
A lack of drainage is not always due to a blockage, as the problem often arises due to damage to the pump.In this case, the dryer either cannot pump out the condensate or does so at an extremely slow rate. The drain pump may continue to make the characteristic noise of intense operation as if everything is fine, so it is important to check the unit reliably by accessing it through the bottom of the dryer.
- Disconnect the equipment from the power supply and place it on its back wall.
Be sure to place some unnecessary towels or something else soft under your "household helper" to avoid accidentally damaging your floors and appliances.
- Unscrew all fasteners securing the pump to its mounting location.
- Disconnect the connector with wires, remembering to first take a photo of the correct wiring connection.
- After removing the screws, turn the pump housing counterclockwise to remove it.
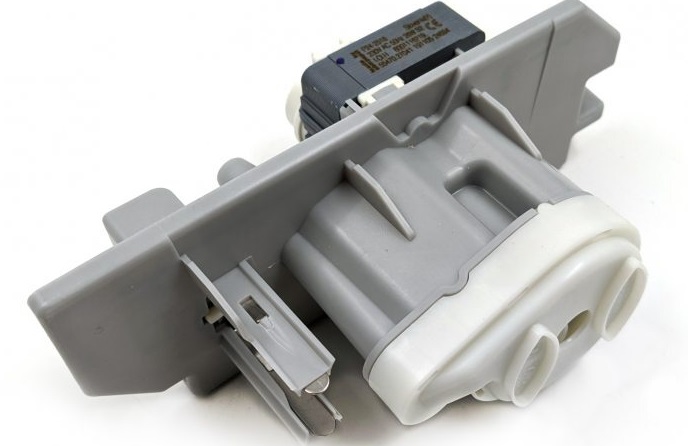
- Carefully inspect the impeller for damage.
- If the impeller is OK, check the coil with a standard multimeter set to ohmmeter mode. The normal resistance of a dryer pump winding is between 150 and 250 ohms. If the readings are correct, the pump winding does not need to be replaced.
- To check, disconnect the power wires from the pump and connect the tester probes to the terminals. A slight deviation of plus or minus 10 ohms is acceptable. If the display shows zero or one, this indicates a short circuit, and if it shows an infinite number, it indicates damage to the stator winding. Both situations can only be corrected by completely replacing the drain pump, as it is impossible to repair the damaged component.
A similar test can help check the integrity of the pump winding, but sometimes the problem lies not with the winding but with the impeller, which begins to jam due to worn bushings. If this is the problem, the user won't be able to detect it by simply spinning the impeller with a finger. Another way to check this is by plugging the pump directly into a power outlet, eliminating the dryer's electrical circuit from the equation.
- Take a power cord with a plug on one end and two wires with terminals on the other.
- Connect the wire terminals to the drain pump.
- Insert the plug into a 220 volt socket.
Under normal conditions, the pump impeller should rotate freely. If the element only clicks and does not move, the pump needs to be replaced, as the rotor body is likely rubbing against the stator, preventing the blades from moving.
Interesting:


Readers' comments
Headings
Washing machine repair


For buyers


For users


Dishwasher


Add a comment