The dryer does not turn on.
 Any household appliance can break down over time. It's good when the cause is easy to figure out, for example, if your dryer has stopped spinning or the drying performance has deteriorated. It's much more difficult to figure out when the dryer won't turn on at all. Is it possible to restore the functionality of your "home helper" or should you start looking for an alternative in stores? Let's take a closer look at this annoying problem, which no one is immune to.
What happened to the dryer?
The worst thing you can do in such a case is to start panicking and planning radical actions. It is quite possible that the cause of the problem lies in a banal lack of power supply in the house or a damaged power cord. If the cord is indeed damaged or pinched by a heavy object, it needs to be freed or replaced. If the cord is intact, try plugging the dryer into a different outlet and ensure there's power. What should you do and check if there's power in the house and the cord is intact, but the dryer still won't turn on?
- Thermal fuse. This sensor is necessary to protect the equipment from overheating and to monitor the operation of the heating element. Because the fuse is located within the electrical circuit and current flows through it constantly, if the sensor is damaged or overheats, the circuit's integrity will be disrupted, and electricity will simply not reach the heating element. Therefore, if the thermal fuse is not working, normal circulation of hot air within the system is impossible. The unit cannot be repaired; a new fuse will have to be purchased and installed in its place.
- Start switch. Checking this component of your dryer is very simple: just turn it on. If the dryer produces a low-frequency hum, the component is fine, and the cause of the problem should be looked for elsewhere. If you don't hear any hum or see any reaction after starting the dryer, the start switch is most likely faulty.
- Control panel. Finally, and lastly, check for the rarest, but still possible, problem. The dryer's control panel may stop working due to a faulty microcontroller or control board. This could be caused by a sudden power surge, a short circuit, or water ingress into the circuit. In this unfortunate situation, the only solution is to purchase a new unit.
The reasons have been identified, let's move directly to localizing the problem.
Testing and replacing the thermal fuse
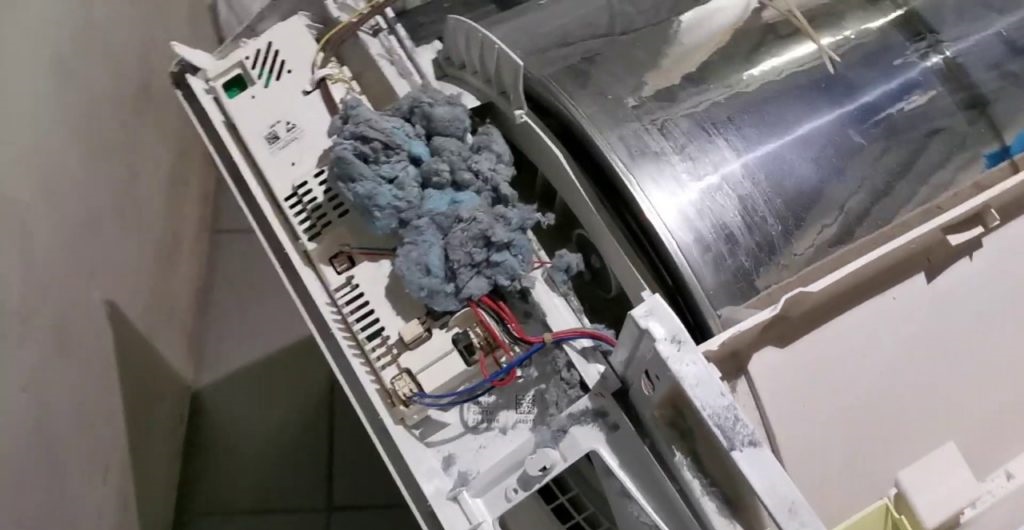
Most often, the fuse is located next to the heating element, so it is easy to find. To check the part, you will first need to gain free access to the heating element, which, depending on the dryer model, may be installed in different places. The heater is usually located at the rear of the machine, so the user needs to remove the rear panel of the machine, having first removed the fasteners from it.
Be sure to unplug your "home assistant" from the power supply before you begin disassembling it.
The fuse is installed near the heating element in a small plastic box. Carefully open the box and remove the thermal fuse. Check its integrity with a standard multimeter set to resistance measurement mode. Zero resistance indicates a functioning fuse, while an open circuit indicates a faulty fuse, which should be replaced with an original spare part. It's best not to use similar parts with the same amperage rating, as they will have a shorter lifespan.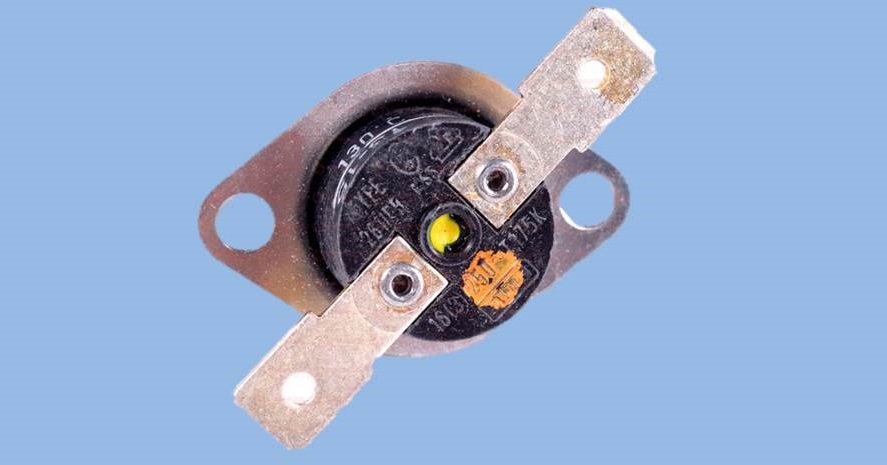
After replacing the unit, a test run should be performed to ensure that the cause of the problem has actually been eliminated.
Checking the starter switch
The starting switch will also need to be tested on a de-energized appliance. To check, you'll need to partially disassemble the appliance, carefully following our instructions.
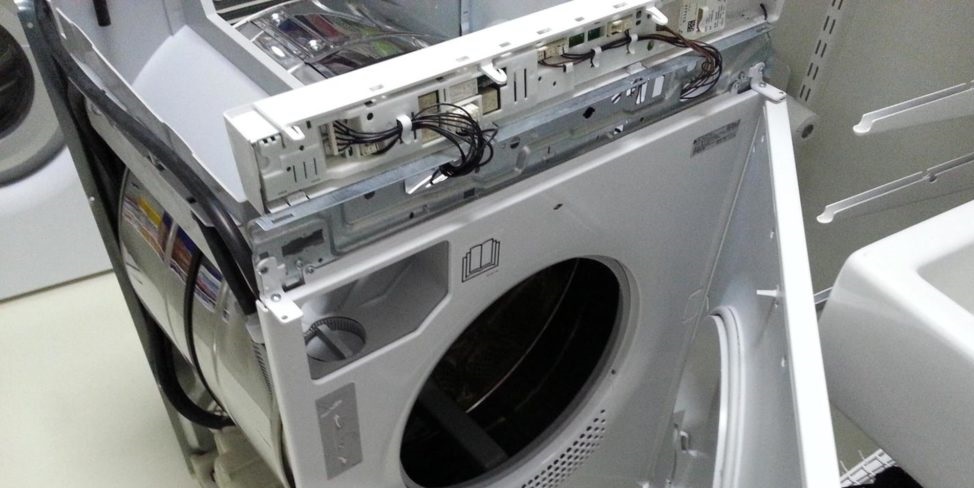
- Carefully remove the top cover of the case, having first unscrewed the two fixing screws.
- Now remove the screws on the end of the control panel and also on the side.
- Slowly remove the panel from its seat, being careful not to break the wires.
- Locate the back of the starter switch, which will have two or three wires connected to it.
Don't rush to disconnect the wiring - take a few detailed photos first so you have a reference when reassembling.
- Using pliers, remove the contact connectors from the terminals.
- Now set your multimeter to the resistance mode, usually labeled "R1" or "RX1".
All that remains is to test the element's functionality. If the switch has two outputs, connect the tester probe to each terminal. The device should read infinity. Once the probes are on the terminals, activate the start switch. If the tester shows zero, then everything is fine; if the value is different, then you will have to buy a new switch to replace the damaged one.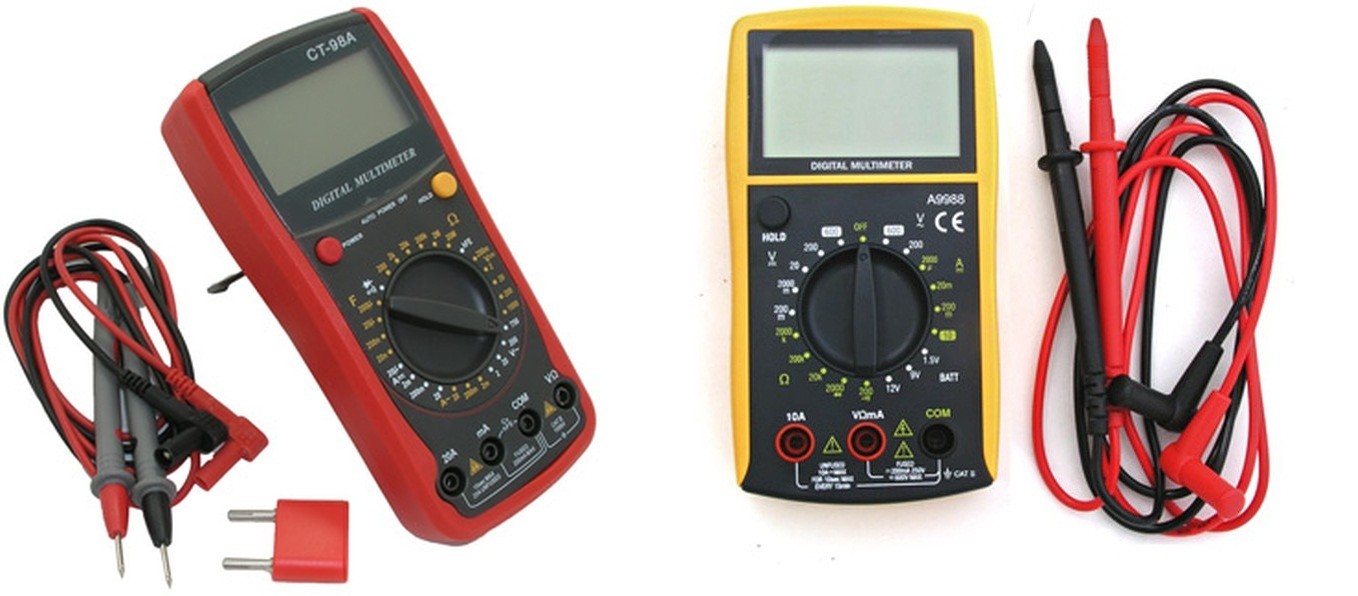
If the switch has three contacts, first find the "NC" or "CT1" terminal. Connect the tester probe to this terminal, and place the other probe on the terminal marked "CO" or "R1." The tester should display infinity. The rest of the testing is similar: if the multimeter shows zero, everything is fine; if anything else, the switch needs to be replaced.
You should buy original spare parts that will work perfectly with your appliance, without endangering either the appliance or the user. If you can't find a suitable switch, it's best to contact a service center so they can help you find the right part.
Dryer control board
Unfortunately, if the control board is suspected, you won't be able to resolve the issue yourself, so you'll need to call an experienced technician. This is because someone without experience and specialized equipment won't be able to properly test the component and identify the cause of the problem. The most you can do yourself is inspect the board and test it with a multimeter, then share this information with a service center technician.
Very often, problems with a circuit can be seen with the naked eye – burnt contacts and tracks are a guarantee that the unit needs repair or replacement.
Partially disassembling a household appliance and analyzing the dryer's control board requires specialized knowledge, so if you don't have it, it's best not to waste time and entrust this work to a professional. They can not only perform a thorough diagnosis using their equipment and specialized software, but also repair the board, if possible, or replace it with a new one.
Interesting:


Readers' comments
Headings
Washing machine repair


For buyers


For users


Dishwasher


Add a comment