The washing machine tank is leaking
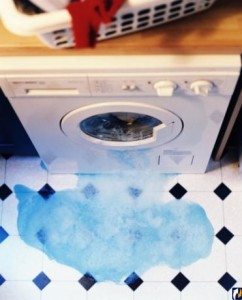 A leaking tank is one of the most dangerous problems with an automatic washing machine. In some cases, such a malfunction can be fatal. It's easy to spot a leak—water will constantly accumulate under the appliance. Finding the leak is what users find most challenging.
Washing machine tub leaks are often caused by worn bearings or seals. In this case, the problem is relatively easy to fix. If the plastic tank is damaged, more serious repairs are required. Let's explore the details.
Why does the tank start leaking?
Problems with automatic washing machine tanks are becoming more and more common. If the operating and transportation rules for washing equipment are not followed, the likelihood of damage to the tank increases. Modern washing machines are equipped primarily with plastic containers, so they need to be handled with particular care.
A leak in the tank can occur for a variety of reasons. Let's look at the main ones.
- The plastic was damaged during transportation of the washing machine. This can happen if the machine is transported without the shipping bolts. The container will not be secured and will bang against other internal components.
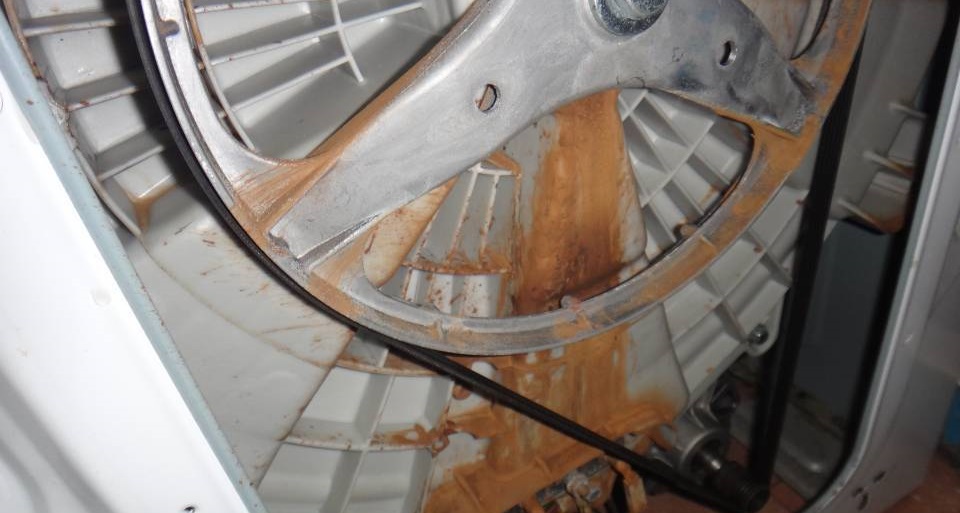
- The bearings and seal are worn out. In this case, rusty stains may be visible on the rear wall of the tank.
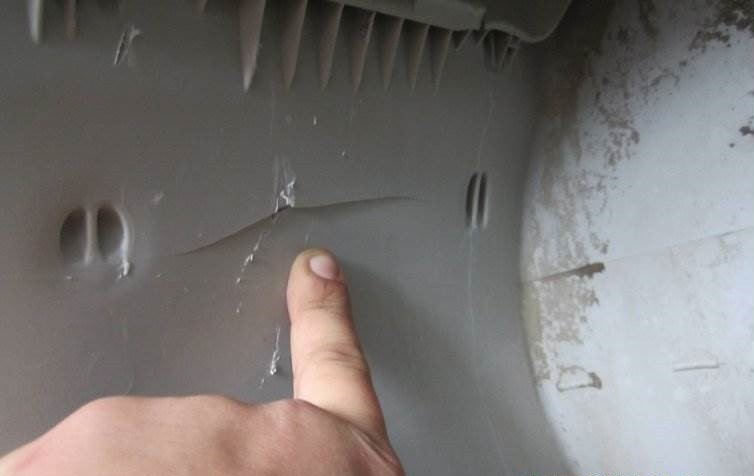
- The wall is damaged by a sharp, hard object lodged between the tub and the drum. For example, this can happen when a bra underwire gets inside the machine. When the machine is running at high speeds, it can easily puncture the plastic tank.
- The weld between the two halves of the washing machine's drum has become damaged. This can happen if the washing machine hasn't been used for a long time (for example, if it's been sitting in a store warehouse for several years). Another possible cause is a manufacturing defect.
What should you do if you discover a leak? First, you need to identify the cause. If the washing machine's tub is leaking due to broken bearings or a worn seal, replacing the components will help. If the leak is due to damaged walls, you'll have to get creative.
A crack in a plastic tank can be soldered, which will help stop the leak.
Washing machine repair technicians have long been "fixing" cracked plastic tanks. The defect is sealed, and the machine stops leaking. However, no warranty is provided for this repair, as the repaired area may begin leaking again.
The ideal solution is to replace the drum-tank assembly. However, spare parts are quite expensive, and not everyone can afford them. Therefore, the user must decide for themselves whether to solder the crack or purchase new components.
First, remove the tank from the housing
To determine why your washing machine's tank is leaking, you'll need to remove it from the housing and inspect it. Before beginning, unplug the washing machine and turn off the water supply. Also, gather the tools you'll need: pliers, flat-head and Phillips-head screwdrivers, a screwdriver, and a socket set. The rest of the procedure is as follows:
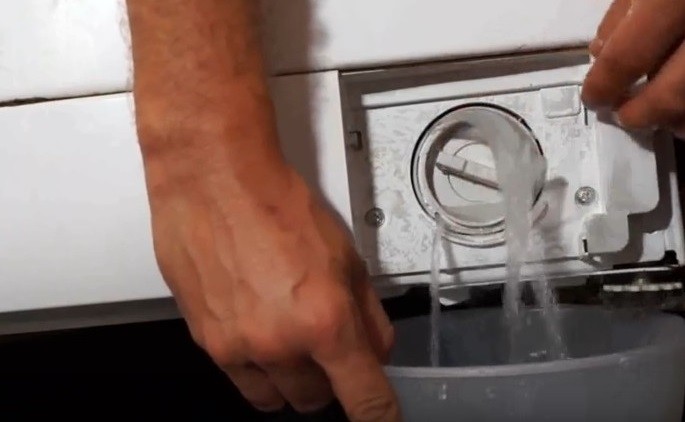
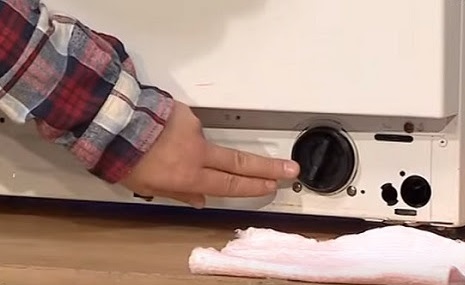
- drain the remaining water from the system by unscrewing the debris filter (it is located in the lower front corner of the washing machine);
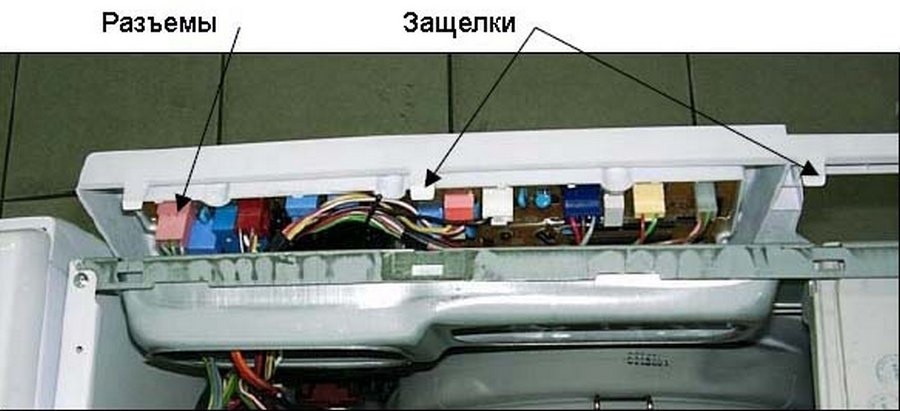
- Using a screwdriver, remove the bolts holding the top panel of the washing machine housing;
- remove the “lid” by first moving it back a little and then pulling it up;
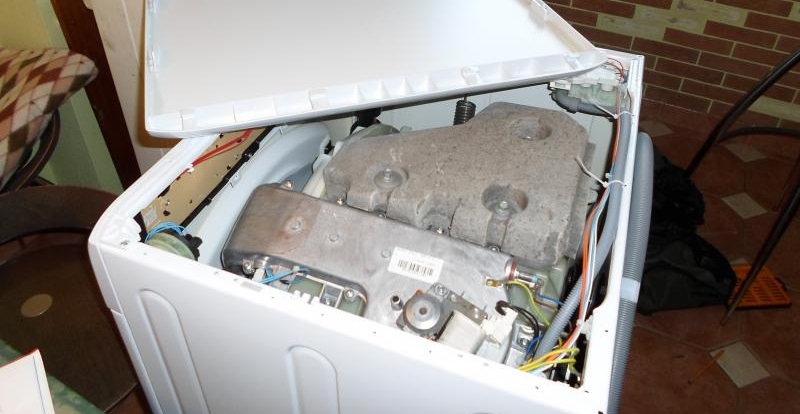
- Unscrew all the bolts holding the back wall of the machine;
- remove the back panel;
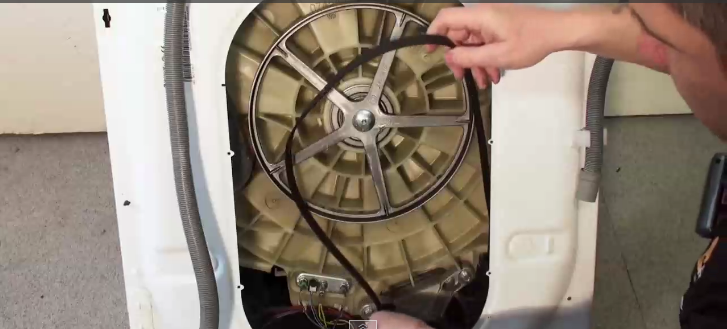
- remove the drive belt from the pulley;
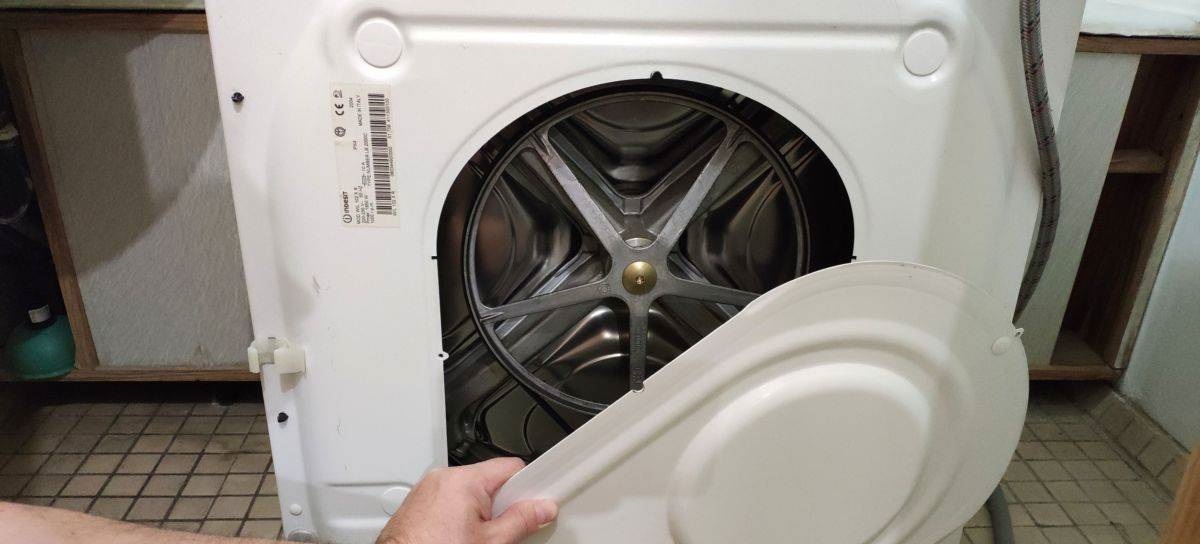
- inspect the rear of the automatic washing machine tank;
If you notice rusty streaks on the back of the tank, coming out from its center, you can confirm damage to the seal and wear of the bearings.
- disconnect the heating element and temperature sensor wires from the washing machine tank;
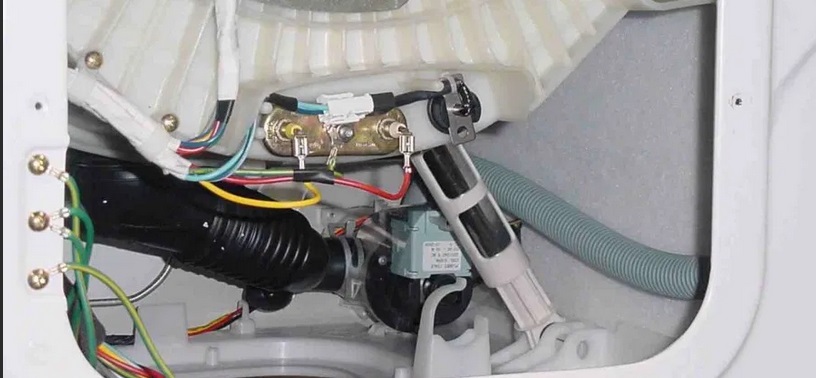
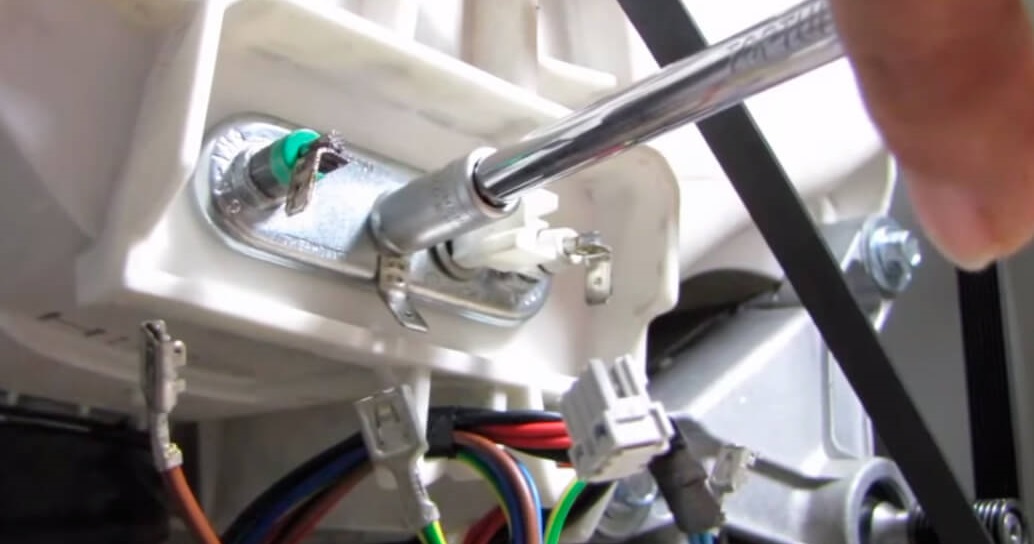
- remove the bolts holding the washing machine motor;

- remove the heating element from its socket by loosening its nut;
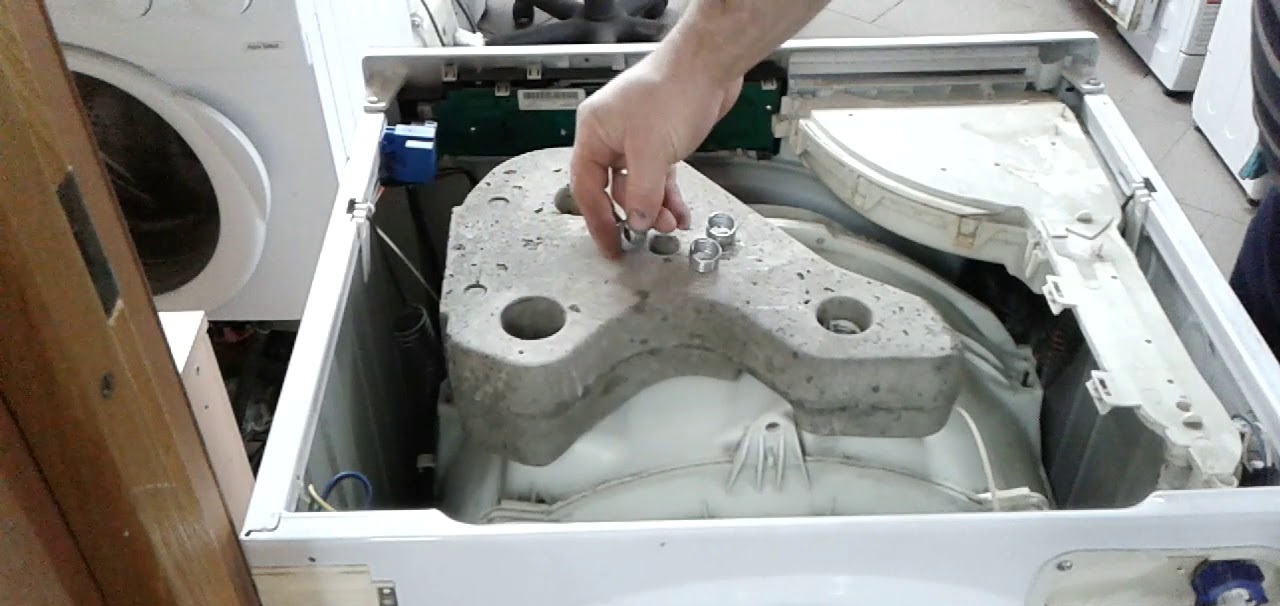
- remove the upper counterweights;
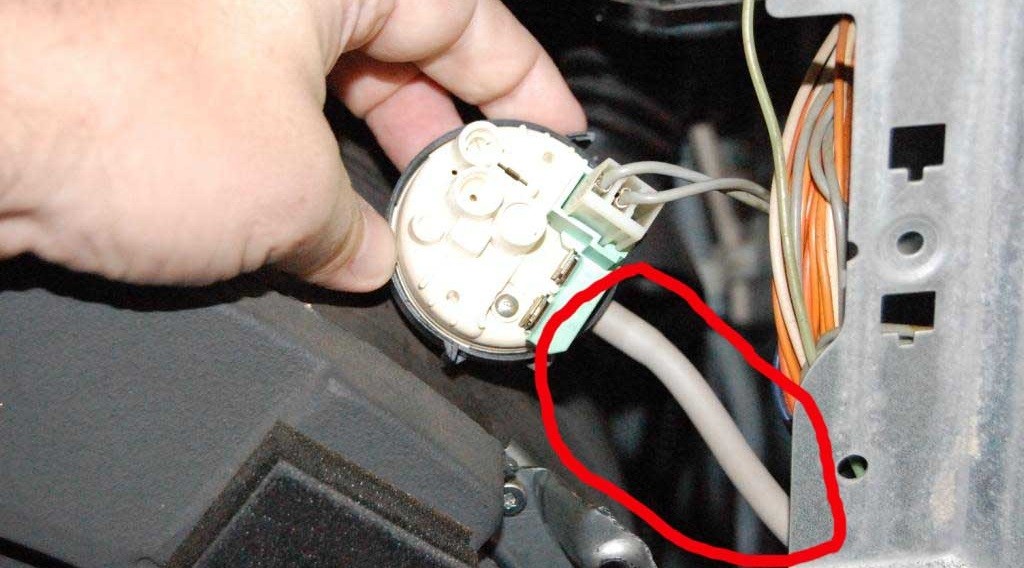
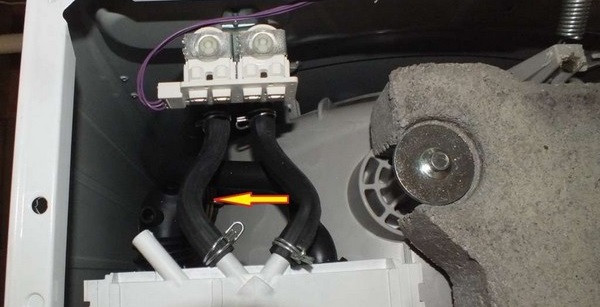
- disconnect the pipes and wires from the water level sensor, carefully remove the pressure switch from the machine;
- remove the detergent dispenser from the machine, then loosen the clamps on the hoses leading to the powder receptacle and remove the dispenser hopper;
- carefully place the washing machine on its right side, check if it has a bottom (if so, remove the tray by unscrewing the bolts holding it);
- remove the screws located on different sides of the drain filter;
- push the pump snail, where the debris filter is located, into the washing machine housing;
- unhook the connector with wires from the drain pump, remove all tubes from the pump;
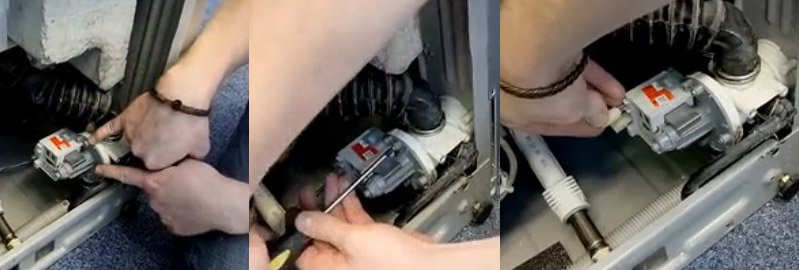
- remove the pump from the washing machine housing;
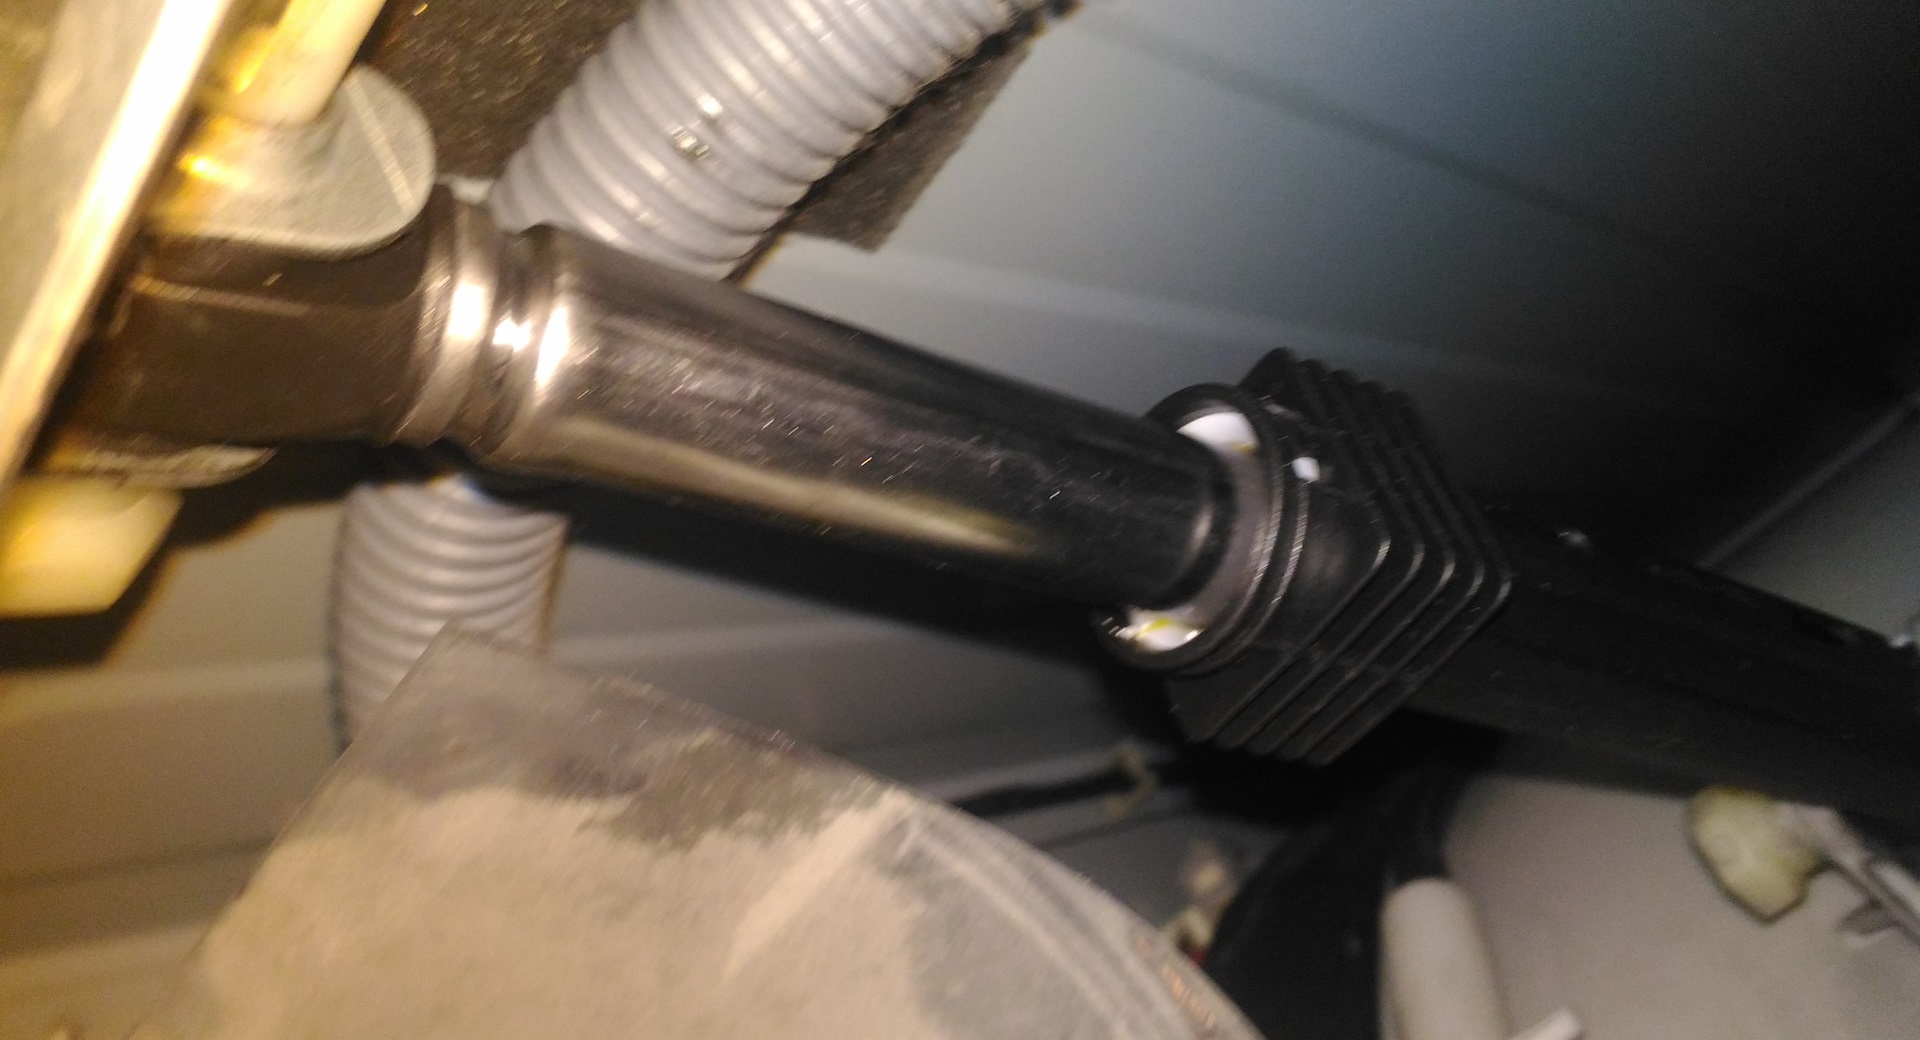
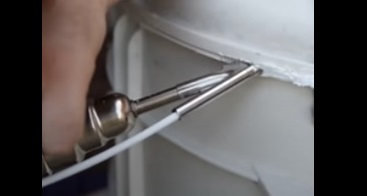
- unscrew the shock absorbers holding the tank from below;
- lift the washing machine (do this carefully, because the drum-tank unit will be secured to the body by only two springs;
- Unscrew the bolts holding the washing machine control panel, place the dashboard on top without disconnecting it completely;
- open the drum door, loosen the clamp holding the cuff;
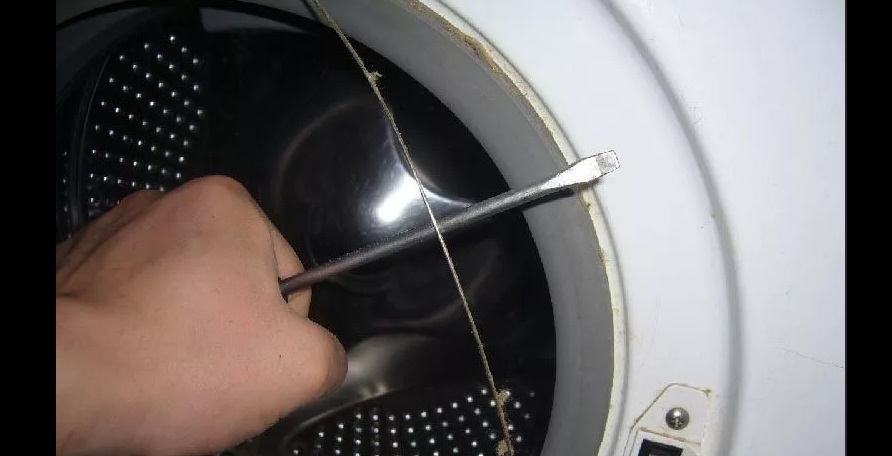
- remove the clamp from the housing, tuck the cuff inside the drum.
It is important to photograph the initial arrangement of the components, as well as the connection diagrams of the contacts to the parts, during the process – this will help avoid mistakes during reassembly.
Now there's nothing in the way of removing the tank. Remove the assembly from the shock absorbers and pull it out through the top of the housing. Next, you'll need to carefully inspect the tank.
How to solder a hole?
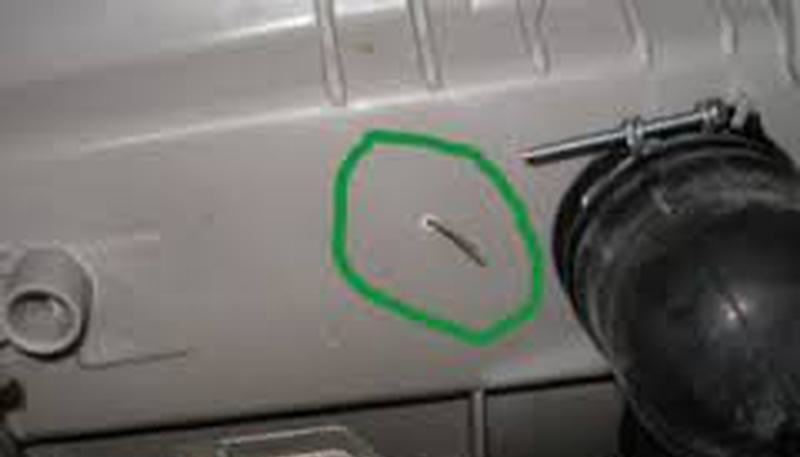
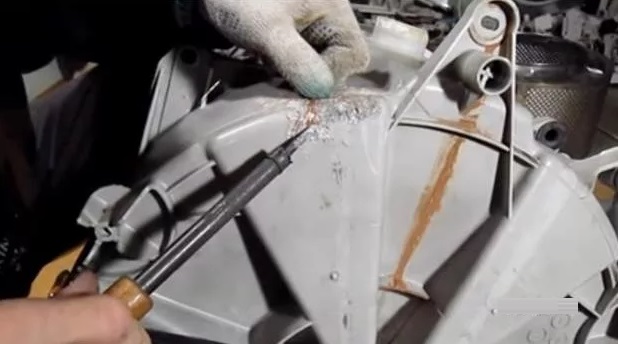
If the problem is not with the bearings, most likely the tank is leaking at the seam, or cracks have appeared on its walls. Holes in plastic can be soldered using a heat gun and plastic solder. The cost of such a repair is modest; a pack of rods can be purchased for $2.50–$3.50. The amount of material required depends on the extent of the damage to the container.
In addition to the hair dryer itself, you will need:
- a nozzle that narrows the opening of the hair dryer (usually included);
- welding nozzle that allows the introduction of filler material (rods);
- plastic solder in the form of rods.
Washing machine repair technicians recommend purchasing HDPE welding rods. They adhere best to the washing machine tubs, making them ideal for spot repairs.
The algorithm of actions for sealing a crack in a tank will be as follows:
- Place the tank on a flat surface;
- Attach a constrictor attachment to a hair dryer;
- take a welding nozzle and one rod;
- Attach the soldering nozzle to the hair dryer, turn on the tool, and wait until the air becomes very hot;
- Insert the rod into the nozzle and carefully “patch” the defect.
If the tank leaks along the seam, treat it along the weld line in this manner. This may require about 10 rods. Considering there are 40 in the package, you won't need to buy an extra pack.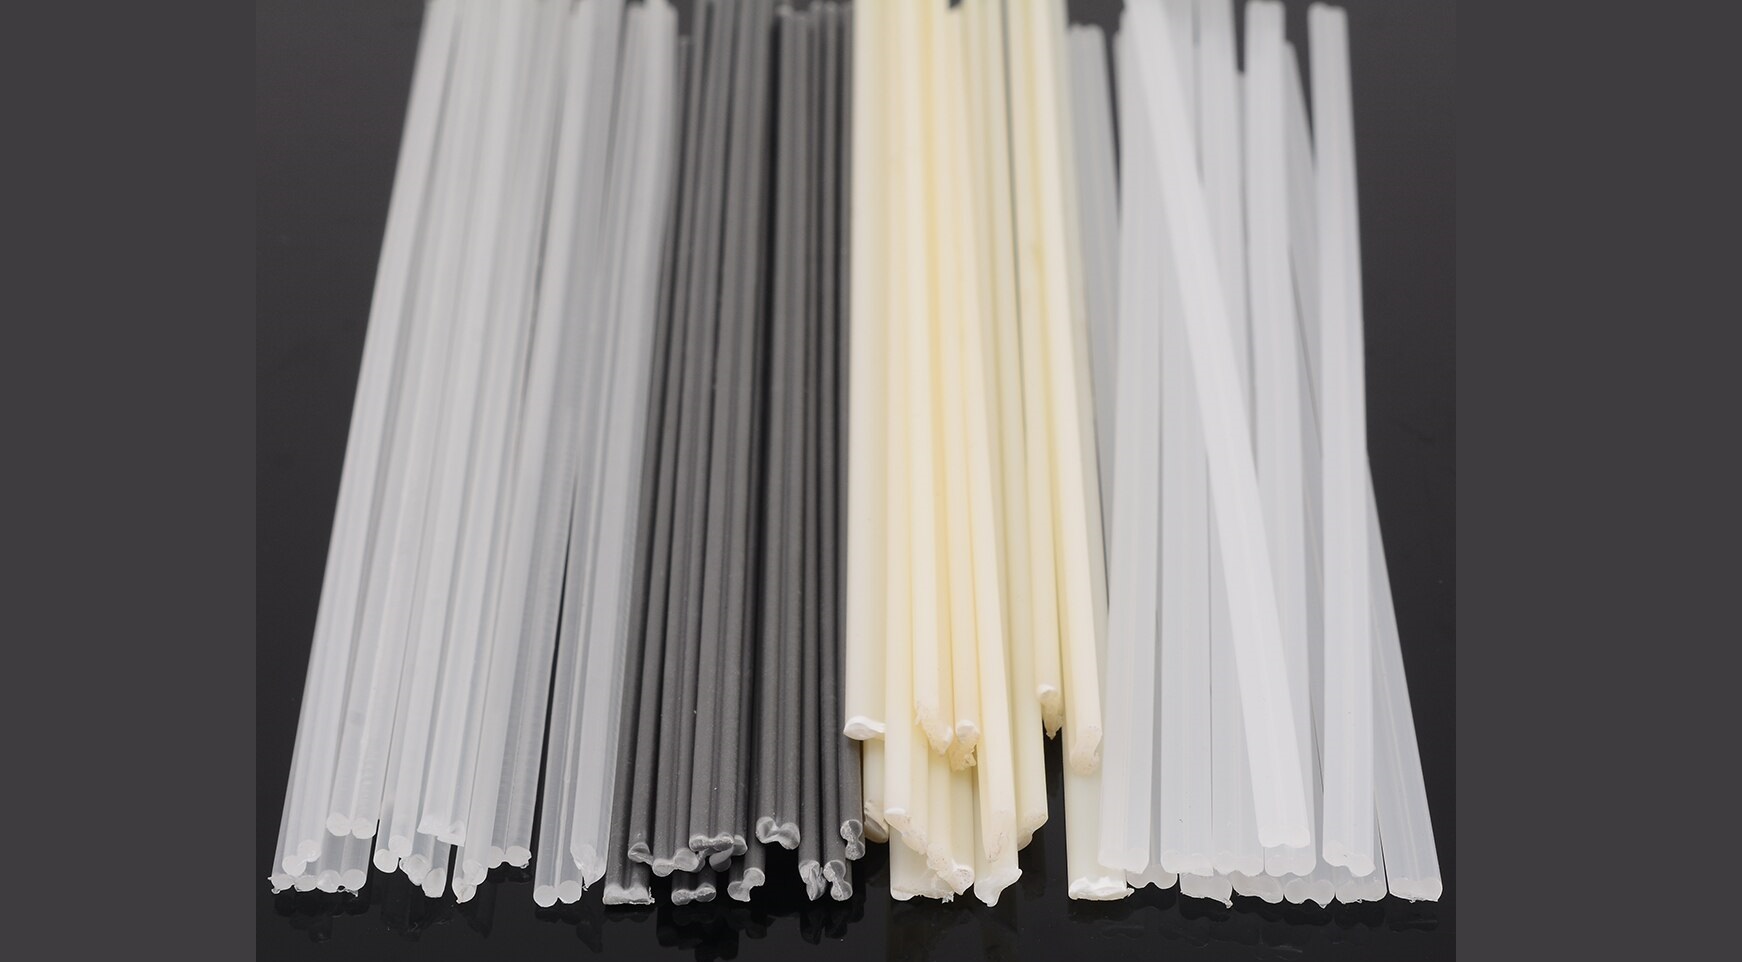
Another way to repair a hole in a plastic tank is with a soldering iron. This method is suitable for small cracks. The general procedure is as follows:
- Find a piece of plastic that is similar in quality to the material from which the tank is made (some technicians even cut off a small piece from the same washing machine tank, in a place where its absence will not affect the operation of the device);
- Place a piece of plastic on the crack and “melt” it with a soldering iron to “patch” the defect.
Once the tub is repaired, you can reinstall it. Reassembly of the washing machine is performed in reverse order. It's recommended to refer to the photos you took earlier to avoid errors when connecting the wiring and pipes.
Once assembly is complete, run a test wash. If the machine stops leaking, the problem is resolved. During further use, monitor the condition of your "home helper" and prevent foreign objects from entering the drum.
Interesting:


Readers' comments
Headings
Washing machine repair


For buyers


For users


Dishwasher


Add a comment