Leak in Candy washing machine
 Despite their complex design, modern washing machines break down quite often. This applies to household appliances of absolutely all brands, so it's no surprise that a Candy washing machine is leaking. In this situation, the problem can range from barely noticeable to serious, threatening your flooring and even the neighbors below. In any case, using a "home helper" with a leak is prohibited, so it's important to detect and fix the leak as quickly as possible. We'll show you how to quickly fix it at home without calling a service center technician.
How to find a gap?
If you notice a leak at the bottom of your Candy machine, you should not leave it like that. First of all, unplug the machine from the power supply. If a puddle has already formed under the washing machine, carefully unplug the cord from the socket without touching the water to avoid electric shock.
Even the smallest detail can help you locate the leak, so try to remember at what point during operation the appliance began to leak.
Often, the cause of water leaking under a washing machine can be determined with a simple inspection. If the leak is coming from under the door, the rubber seal in the door is likely deformed. If the leak is coming from above, check the detergent drawer located in the upper left corner of the machine. Also worth considering is a leak coming from below, which could be due to damage to the tub or pipes. This can only be detected through a detailed inspection, which may require removing the rear and side panels of the Candy automatic washing machine.
Accordingly, the repair will depend solely on the location of the leak. If the cause is a rubber seal or a deformed detergent dispenser, you'll need to purchase new parts and install them yourself. However, if the leak is coming from underneath due to a faulty tank, you'll likely need to call a technician. Water leaking under a washing machine is often caused by common reasons.
- The user did not follow safety precautions and operating rules.
- During the work, low-quality household chemicals were regularly used.
- Factory defect.
- Damage to the key unit of the device.
What if your beloved "home assistant" has already been disconnected from the power supply, disassembled, and examined, but the naked eye still can't identify the cause of the problem? In this case, you need to manually test each individual component of the device to find the source of the problem. Let's start with the most basic section—the dust filter—to avoid wasting time and gradually move on to the most complex issues.
Inspect the drain hose and filter
Water under a washing machine doesn't always indicate damage to a component; a leak could be caused by simple user error. For example, a housewife might have incorrectly installed the waste filter after a routine cleaning. Be sure to check that the emergency drain hose is properly installed, as poorly secured components could be causing the leak.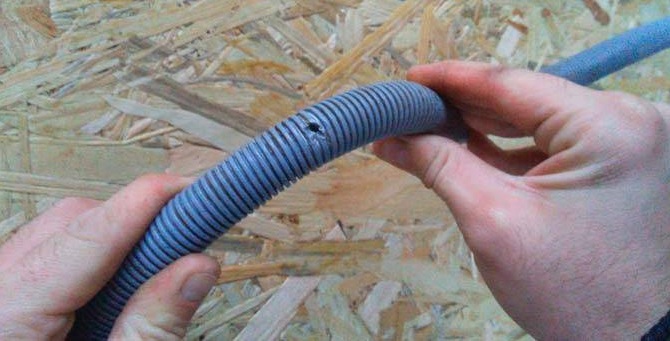
If the drain filter is working properly, check underneath the unit. It's possible the leak is caused by a loose clamp securing the hose to the pump, or by a deformed fitting. In this case, fixing the problem is very easy—just tighten the clamp firmly or carefully seal all cracks with waterproof sealant. It's much easier and safer to simply replace the damaged components with new ones, and forget about them for a long time.
Dispenser tray, nozzle
If you find a large puddle under your Candy "home assistant", this does not mean that the leak is coming from below. The source of the problem may be hidden in the detergent drawer, where an excessive amount of washing powder has accumulated on the walls, causing the overflow. In this case, the liquid simply won’t be able to pass into the tank, so it will start to actively spill out onto the floor.
The detergent drawer could also have simply cracked, given the fragile plastic it's made of. Remove the element and carefully inspect it for damage. If everything appears intact, wipe the bottom and then fill it with water to test. If drops start to leak from the bottom after filling, the detergent drawer has become leaky and needs to be replaced.
You should also carefully examine the water inlet hose, which can fail even in new Candy washing machines after just a few years of use. This is believed to be due to the use of low-quality materials during manufacturing.
If the device leaks while drawing water from the water supply, it is the chemical tray, the inlet pipe, and the inlet hose that should be examined.
Finally, the cause of the breakdown can be found in the inlet hose. This element can also deform over time, causing microcracks that can leak water. Additionally, the clamps where the hose attaches to the washer body may have simply become loose, which can also cause a leak.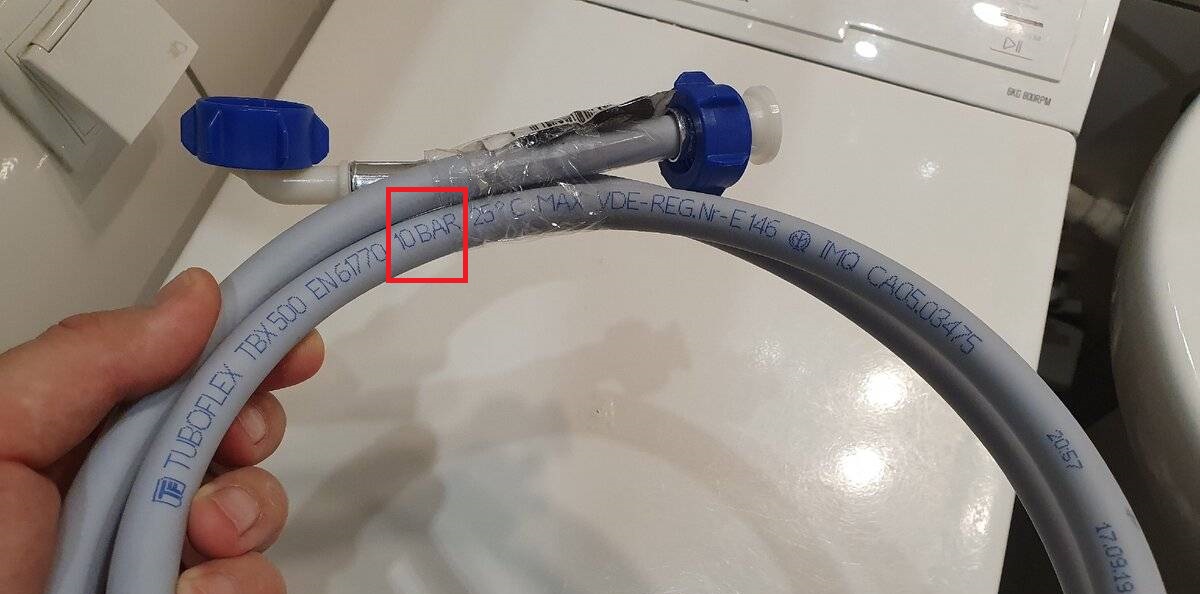
If the leak occurs during the wash cycle, not while filling with water, you should also examine the drain hose, which runs from the drum to the pump. To test this theory, simply look under the machine and check whether the hose is wet on the outside. If so, you'll need to replace the hose with a new one.
Troubleshooting will be easier if you remember that leaks often occur in areas where hoses are attached to Candy washing machine components. For this reason, our repair service team recommends treating these areas with a waterproof sealant to provide additional protection against leaks.
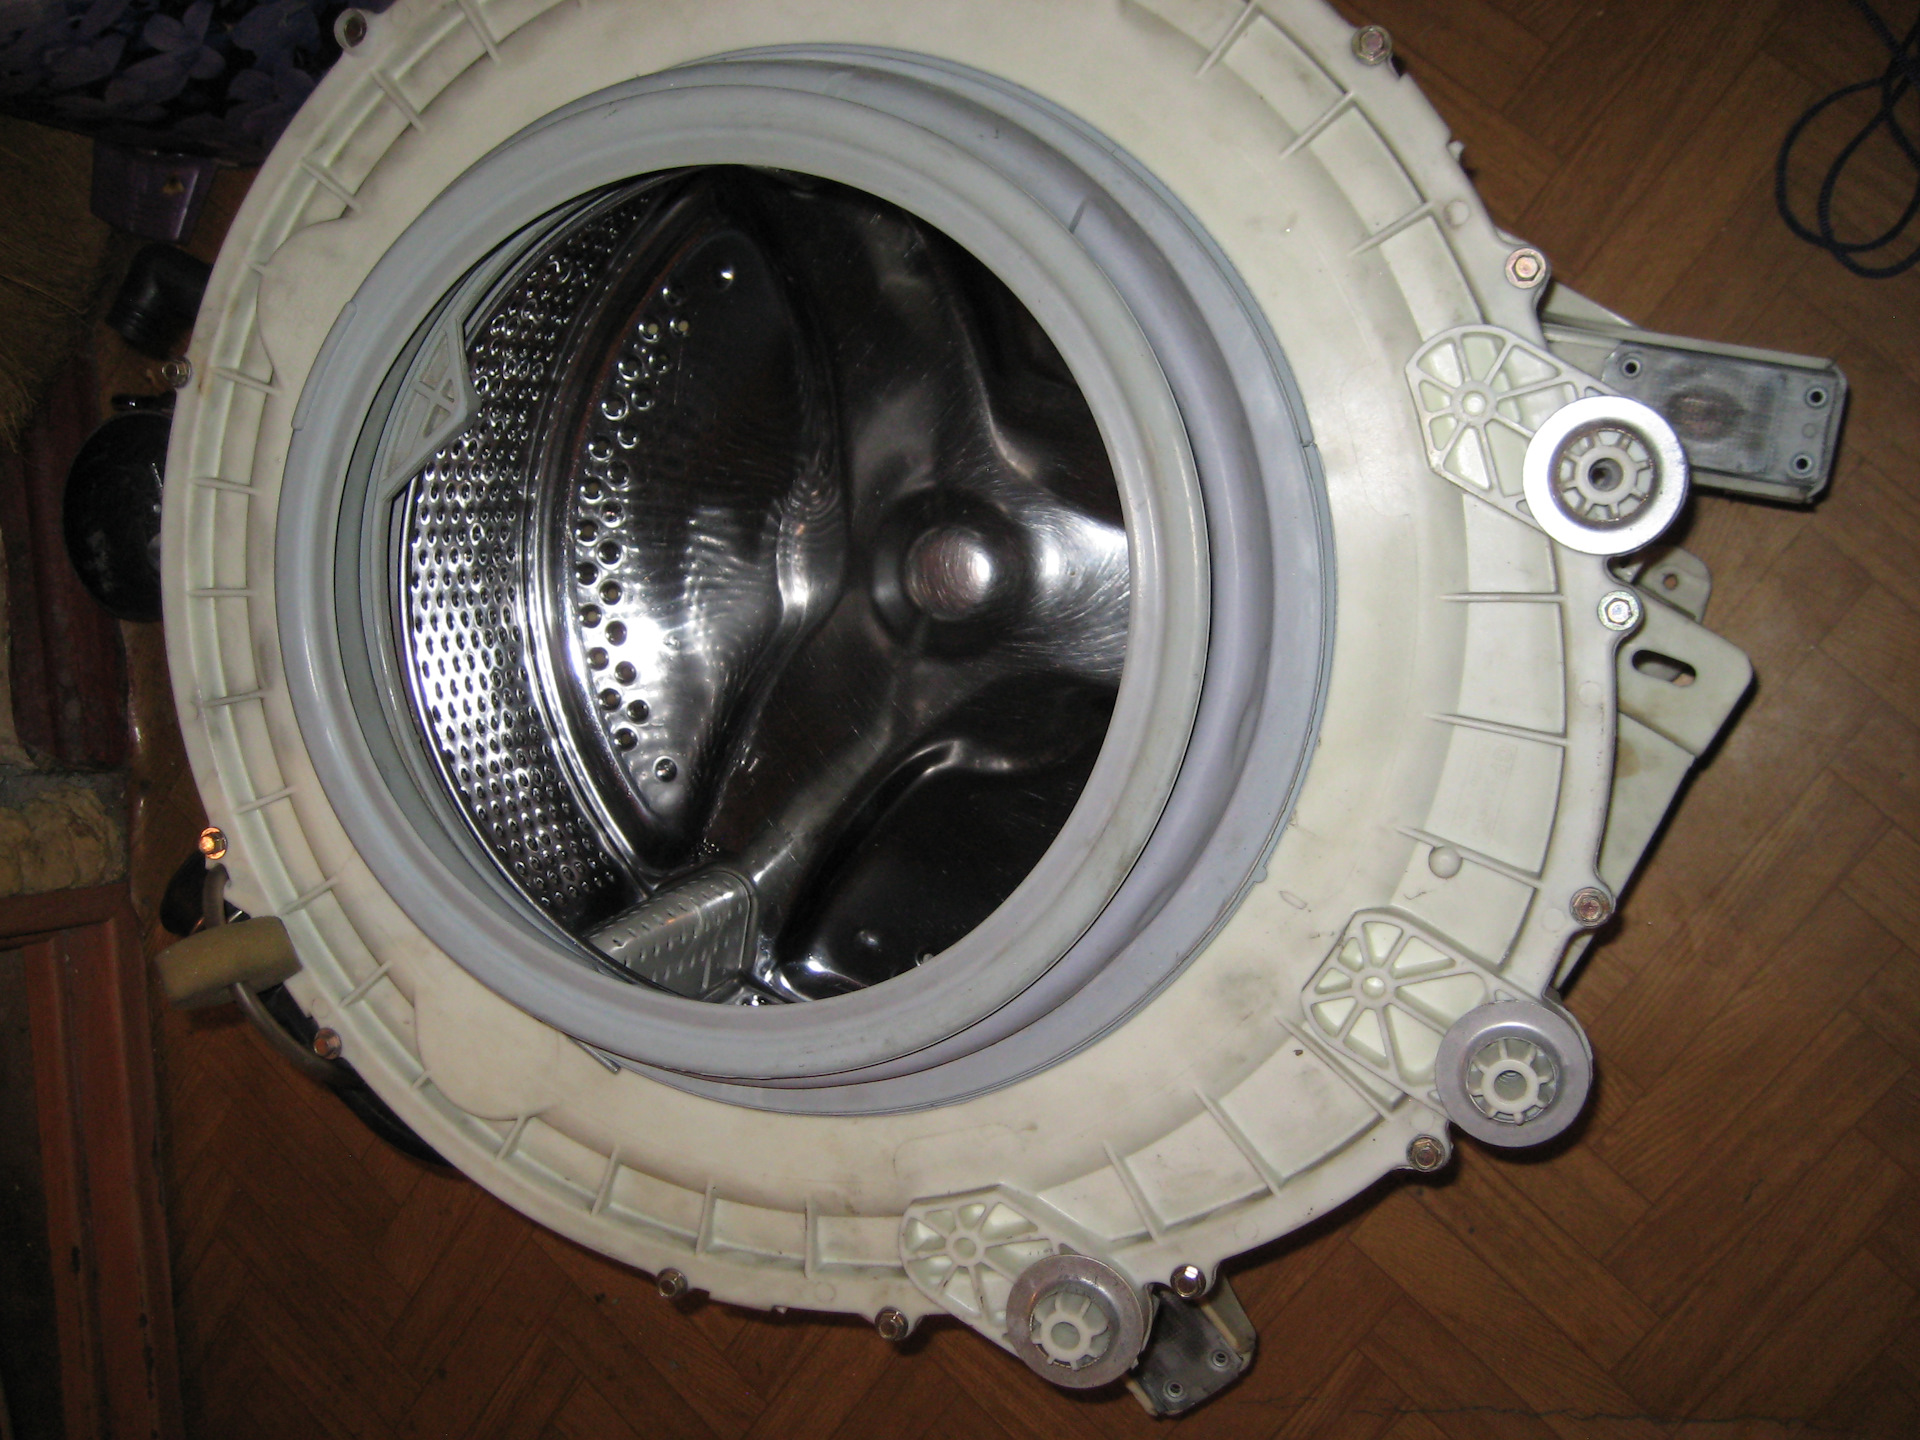
Drum or tank "rubber"
It's incredibly frustrating when the cause of a breakdown is a cracked washing machine tub. This means repairs are likely impossible, so you'll have to buy a new tub, which can be a significant drain on your family budget. This can happen due to a foreign sharp object that gets into the tank along with clothing, such as a nail, paper clips, hairpin, or bra underwire. In addition, regular cleaning of shoes or a simple manufacturing defect could have had an effect.
Inspecting the tank requires disassembling the appliance, which typically involves removing the lid, back, and front panels. However, without repair experience, it's best not to attempt replacement; it's best to entrust the job to a service center specialist.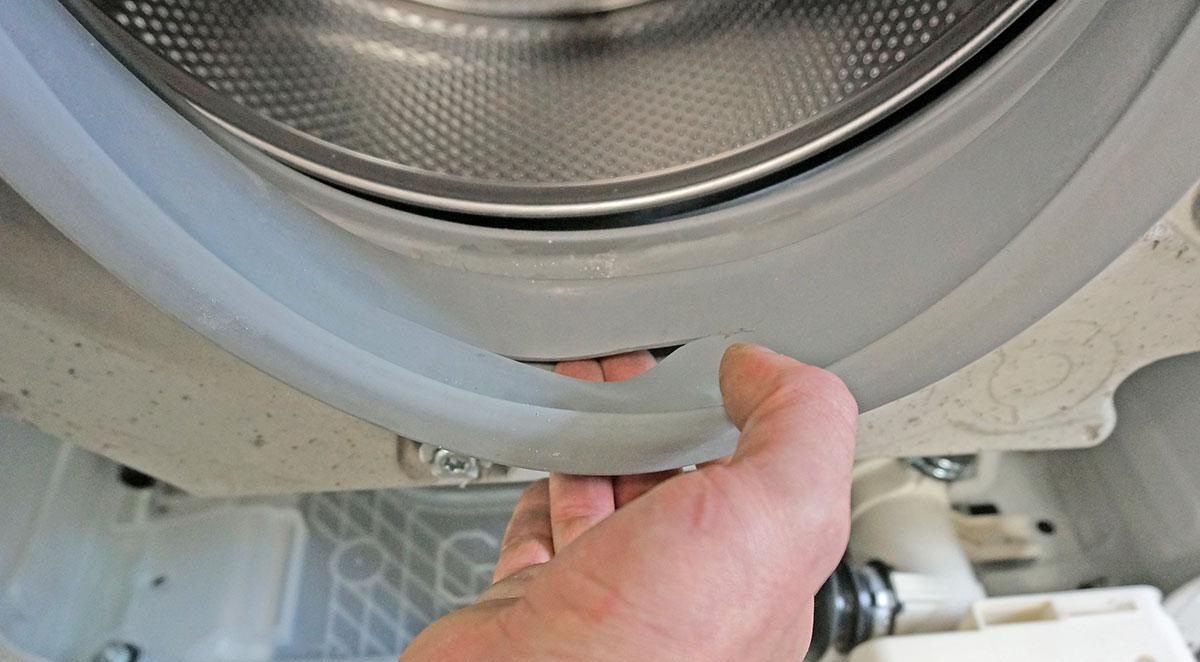
If the problem isn't in the tank, but the leak appears under the hatch door, the source is most likely a damaged rubber seal. If the hole is small, a patch or waterproof sealant can be used. You can also simply turn the seal upside down if the damage is underneath. However, the best solution in this situation is to simply buy a new rubber seal to prevent future leaks.
Avoiding damage to the rubber seal is very simple: carefully load the laundry into the drum and remove it just as carefully after washing. Also, avoid leaving sharp objects in pockets, such as nails, keys, or paper clips, as they can cut the rubber seal.
We find and fix the problem
Remember, if your "home assistant" is still under warranty, it's best not to even attempt to repair it yourself. In this situation, you should immediately call a service center to have the device inspected and repaired free of charge under warranty. If the warranty period has already expired, you can try to fix the problem yourself at home.
The first step after detecting a leak is to disconnect the appliance from the power supply, avoiding puddles. If this is impossible due to excessive water and inaccessibility to the appliance, then the power should be disconnected from the home's electrical panel. What should you do next with the appliances?
- Close the shut-off valve and disconnect the machine from the water supply.
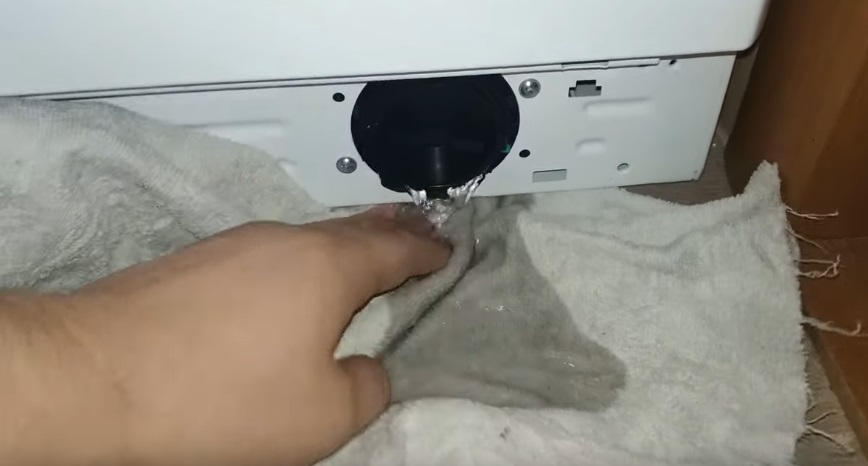
- If there is any water left in the system, you will need to drain it yourself using the emergency drain hose or through a drain filter.
Be sure to prepare a container for the used liquid in advance to avoid flooding the floors even more.
- Open the washing machine door and take out the laundry.
- Start a full device scan.
The next steps depend on the source of the problem. If the problem is caused by hoses or pipes, it's safer to simply remove them and then install new parts. If for some reason purchasing a replacement isn't possible, it's acceptable to patch the damaged part or apply a waterproof sealant.
Leaks on the left or top indicate that the problem is most likely in the detergent drawer. Remove it from the housing and examine it carefully. Limescale deposits may be the cause, which should be removed with an abrasive sponge or a citric acid solution. Clogged holes in the detergent drawer may also be the cause, and these should also be cleaned periodically.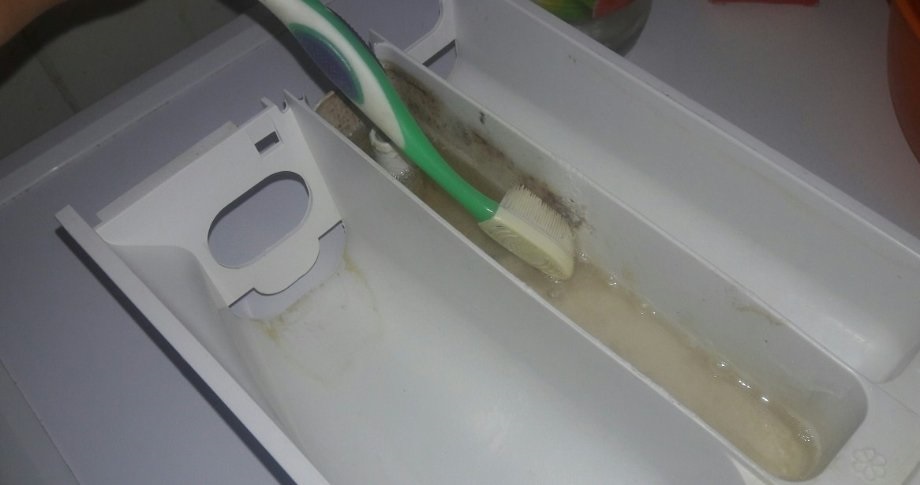
If your detergent drawer is broken, it's best to buy a new one immediately rather than attempting to repair it. In this case, take the damaged part with you to the store as a reference, or write down the serial number of the washing machine to avoid choosing the wrong detergent drawer.
Occasionally, a leak may occur due to excessive water pressure - in this case, you just need to slightly close the inlet valve.
If fluid is leaking through the hatch door, check the drum's rubber seal. Inspect the seal for cracks or kinks, and replace it if you find critical damage that cannot be repaired. To remove it, you'll need to remove the clamps holding it in place. If the crack is small, you can either patch it or coat the element with a waterproof sealant.
Also pay attention to the time of the leak. For example, if a leak appears immediately after the start of the working cycle, then you need to inspect the inlet valve. To do this, you'll need to remove the lid of your Candy washing machine. If the problem is truly with the valve, it will need to be replaced, as repairing this component is pointless.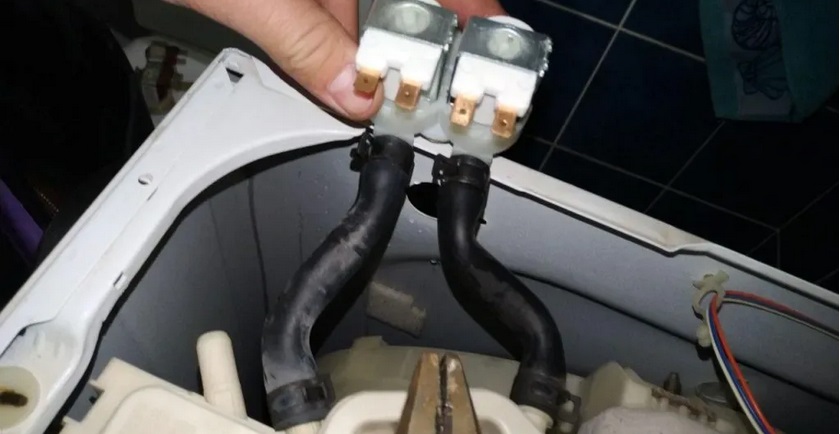
If you suspect a leak is caused by a faulty inlet hose or clamps, carefully inspect the area where the hose connects to the housing. If you notice any leaks, immediately:
- remove the filling sleeve;
- wipe the connection point with a dry cloth;
- remove the glue that is at the fastening point;
- dry the joint area;
- treat the end of the hose with waterproof sealant or glue;
- install the element in its seat.
It's also possible that the leak is caused by simple wear or deformation of the inlet hose. If this is the case, you'll need to install a new hose in its place. However, don't try to extend its life with glue or patches, as this is very dangerous due to the high water pressure that regularly passes through it.
Finally, if the problem is caused by a cracked tank, a long and complicated repair is in order, which begins with disassembling the "home helper." What should be done?
- Remove the top panel of the CM.
- Remove the household chemicals drawer.

- Remove all the bolts that hold the control panel in place and set the control panel aside.
Carefully disconnect the wiring, and don't forget to take a photo of the correct connection of all the wires so that you have an example to hand for reassembly.
- Remove the back panel clips and then the back panel itself.
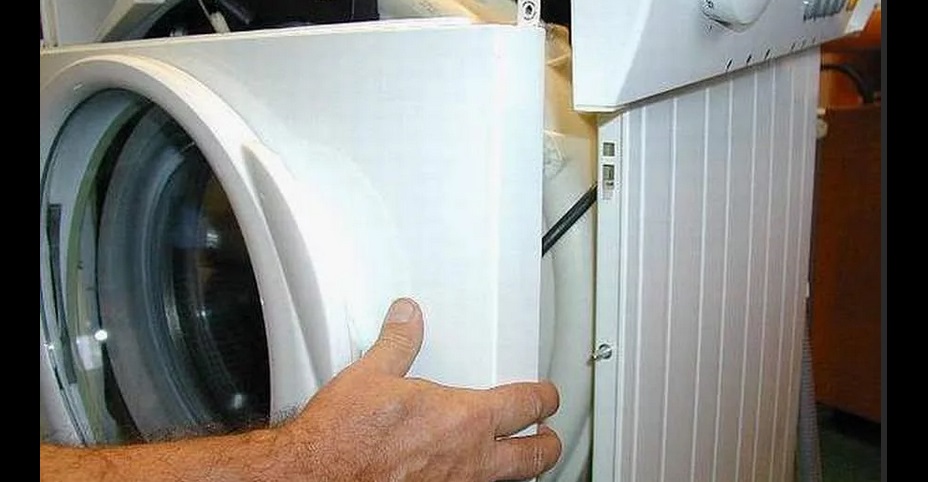
- Remove the front panel of the washing machine.
- Remove each element in turn that interferes with the removal of the tank - the drive belt, pressure switch, counterweights, water heater, electric motor, and so on.
- After the shock absorbers, all that remains is to remove the washing tank from its seat.
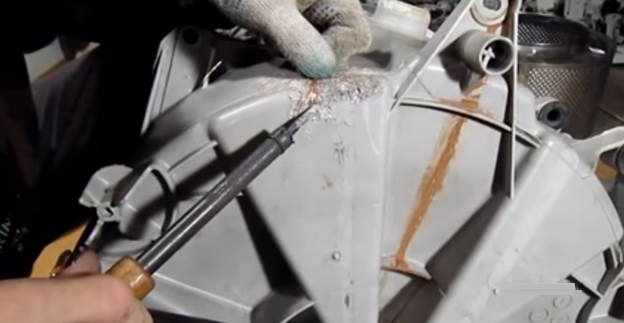
- If the crack in the tank is not very large, you can try to repair it with a household soldering iron. However, if the damage is serious, you'll have to buy a new unit.
Finally, if your washing machine leaks during the spin cycle, it's most likely due to a faulty seal or drum bearings. These parts can only be accessed by splitting the drum in half. Repairing these components is not possible; they can only be replaced with new ones.
Interesting:


Readers' comments
Headings
Washing machine repair


For buyers


For users


Dishwasher


Add a comment