Installing an Atlant washing machine yourself
 When buying a new washing machine, a dilemma arises: should you install it yourself or seek professional help? Sometimes, appliance manufacturers prohibit self-installation. Violating this rule voids the warranty. If you decide to install your Atlant washing machine yourself, clarify this important detail with the store. If there are no restrictions, you can proceed with the installation without fear of losing your warranty coverage.
Preliminary check of the unit
Whether you're purchasing your washing machine yourself or ordering home delivery, check its functionality before signing the paperwork. In the presence of a sales representative, open the packaging and inspect the washing machine's body. It should be free of even the slightest damage.
Most often, they occur during delivery, when it is transported or lifted into an apartment carelessly. If, upon inspection of the washing machine, you see chipped paint or a mark from an impact, do not sign the report. Demand that the product be replaced with a fully functional one without damage.
If the washing machine arrives safe and sound, feel free to sign the acceptance documents. But before you let the courier leave, make sure you have the store's number so you can contact them. This will be helpful if a defect is discovered later or if you need to resolve other issues quickly.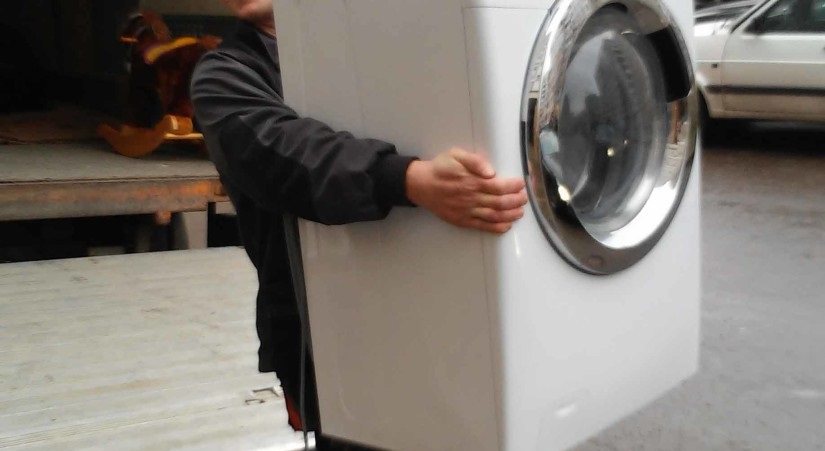
The next step in checking your washing machine is connecting it to the power supply. Plug it in and make sure the display and control panel backlight is lit. Turn the washing machine's mode dial; the display should change.
Preparing for the procedure
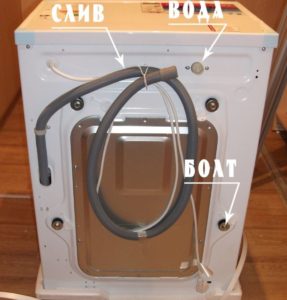
Now you can begin connecting the appliance. To do this, you need to remove the retaining bolts located on the rear wall of the washing machine. These are designed to hold the drum securely in place during transport. Remember that until you remove them, the washing machine drum will not move. Furthermore, starting the washing machine with the retaining bolts still attached will result in damage and out-of-warranty repairs.
Important! Before installing the washing machine yourself, please read the included instructions.
Remove the fasteners using a wrench or pliers. Once removed, cover the holes with plastic plugs. You'll find these in the parts kit supplied with your washing machine. For proper installation, refer to the manufacturer's instructions.
A place for a "home assistant"
Before connecting the washing machine to the plumbing and power supply, consider where exactly you'll place it. It's best to choose a location in advance and purchase a washing machine that fits the dimensions of your bathroom or kitchen (depending on where it will be located). If you're buying a built-in washing machine, be sure to consider how you'll close it. The door should be the right length and width, fit the surrounding environment, and be easy to install.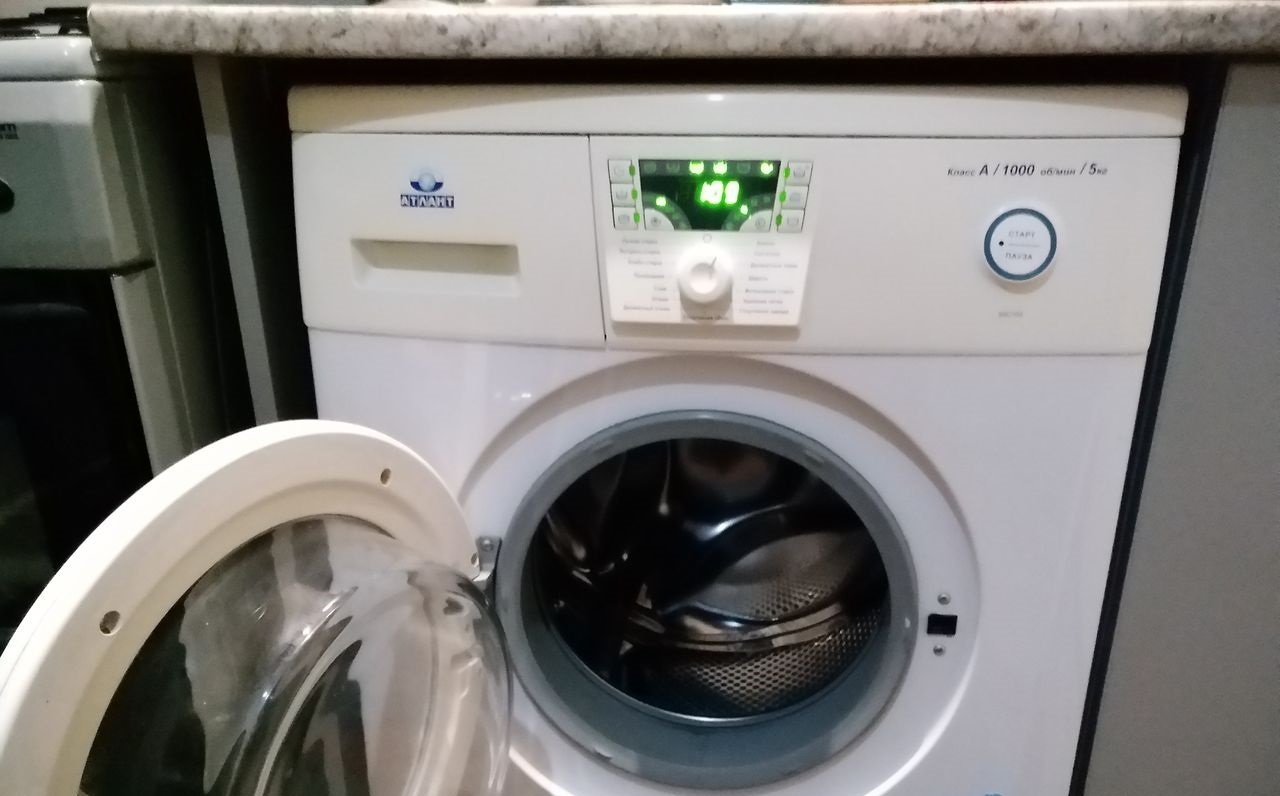
Consider the flooring on which the washing machine will be placed. Concrete or tile are the most durable options. If there are planks underneath the washing machine, they must be reinforced beforehand.
Important! It's best not to place appliances on laminate flooring, as a leak will cause it to swell and become unusable.
When choosing an installation location, pay special attention to the length of the hoses; they should be long enough to reach the connection points. Once you've prepared the area and ensured the washing machine fits, you can begin connecting. Follow the instructions carefully.
Does the socket comply with the standards?
To ensure electrical safety, a washing machine requires a dedicated outlet with the appropriate voltage. It must be grounded and protected from liquid spills. Although modern household appliances generally comply with all electrical safety regulations, it's better to be safe than sorry.
The standard length of an electrical cord is usually one and a half meters. Therefore, it's important to consider the location of the outlet close to the washing machine. While an extension cord is certainly an option, it's much more dangerous.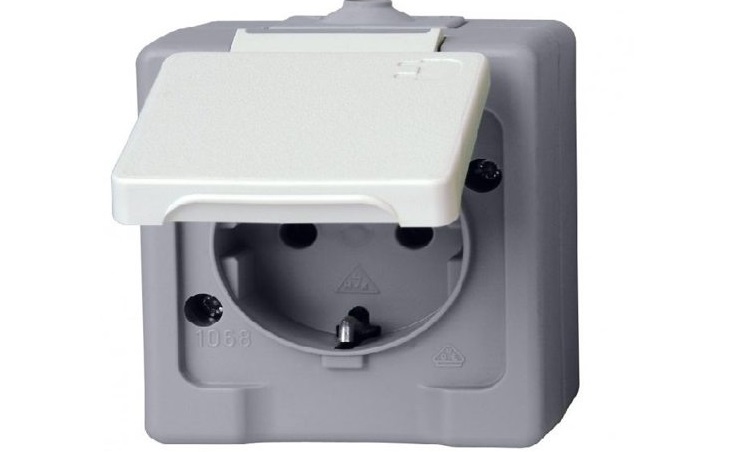
Why is grounding necessary in an electrical outlet? It prevents minor electric shocks that occur when voltage is applied to the external parts of the machine. This poses no serious danger to the user, other than inconvenience. For this reason, grounded outlets are recommended.
We provide equipment with water
Next, you need to connect the machine to the sewer and water supply. Typically, the washing machine's water intake hose is connected to a cold pipe. There are models that can be connected to hot water, but this is rare and certainly not beneficial to the appliance. A washing machine has a heating element that brings the water to the required temperature for a given cycle.
Moreover, connecting to a hot pipe can cause harm:
- the water entering is more polluted, which leads to constant filter clogging;
- High hardness reduces the quality of washing; you will have to use much more washing powder to achieve results.
Read the instructions, and if the manufacturer doesn't provide a hot water connection, connect the hose to a cold water supply. Don't even consider other options. They will only damage your new washing machine.
If an old washing machine was previously in this location, DIY installation will be straightforward. Simply attach the new hoses to the same outlets. Afterward, turn on the water and check for leaks at the connection point.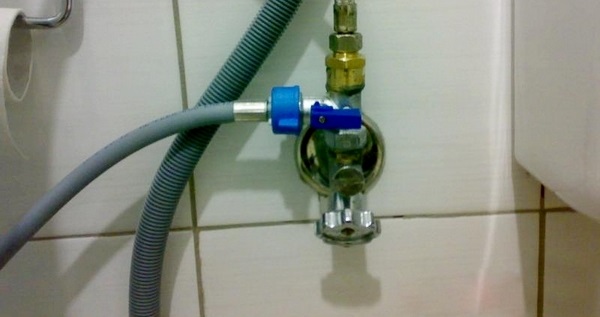
Connecting the washing machine to a new location will be more difficult. If you don't already have a pipe connection, you'll have to do it yourself or call a professional. It all depends on your experience and tools.
Important! The tap that supplies water to the washing machine must be kept closed when not in use to prevent leaks.
When connecting the water yourself, keep the following important points in mind. Be sure to use only the hoses supplied with your washing machine. Pay attention to the pressure in the pipe; it should fall within the values recommended in the instructions.
Sewage outlet
In addition to connecting to electricity and water, you should also consider wastewater disposal. Some people simply run the hose down the bathtub or sink, but this is completely unsightly and unhygienic. Surfaces quickly become dirty and coated with a film, requiring much more frequent cleaning.
The correct solution is to connect it to the siphon nipple, a special outlet found in almost all modern plumbing fixtures. It is closed with a plug that must be removed and replaced with a drain hose. The connection is securely fastened with a clamp.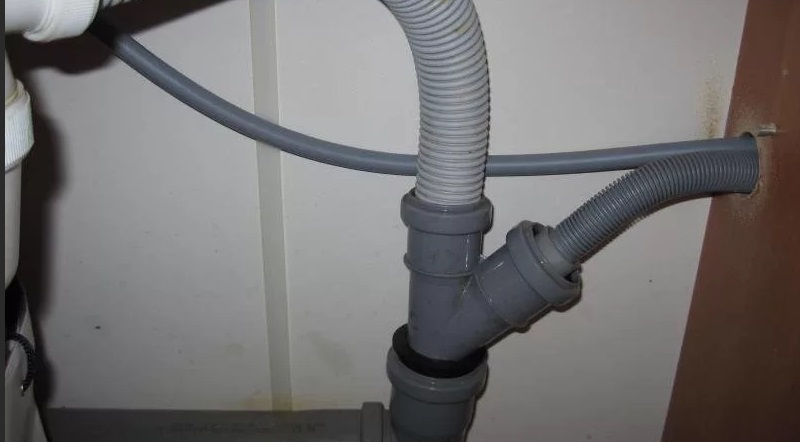
When connecting, please note that the drain hose has a special bend. This prevents unpleasant odors from the sewer system from entering the washing machine. Otherwise, even the most fragrant fabric softeners won't help.
So, you've connected your washing machine to the power, water, and sewer lines. Now it's time to adjust it and try out your new appliance. When you first start it up, be sure to be nearby to spot any problems. In practice, installing an Atlant washing machine is quite simple and usually doesn't cause any problems. The key is to follow the instructions and the recommendations above.
Interesting:


Readers' comments
Headings
Washing machine repair


For buyers


For users


Dishwasher


Add a comment