Installing a Whirlpool Washing Machine
 After purchasing a new automatic washing machine, users often wonder whether to install it themselves or hire a service technician. It's important to note that manufacturers often prohibit owners from installing the machine themselves, as doing so will void the warranty. If you plan to install your Whirlpool washing machine yourself, be sure to check with the service technician to ensure this won't affect the manufacturer's warranty. If not, proceed with the installation.
We make sure that the unit is in good working order
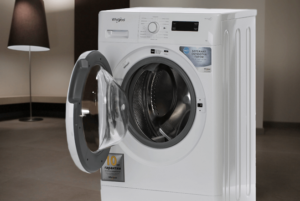
First, have your washing machine inspected at the store. Check that the machine's body is intact and undamaged—free of dents and cracks. Open the door, spin the drum by hand, and check how smoothly and quietly the drum rotates. Then, ask the sales representative to connect the machine to the power supply and make sure the control panel is working properly. The indicator on the dashboard should light up, and the programmer should cycle through the user modes smoothly.
If you plan to deliver the device yourself, you need to pay even more attention to checking. By signing the documents and paying for the goods, you assume full responsibility for the transportation of the cargo.
Customers often choose to pay for their washing machine and have it delivered to their home. In this case, upon receiving the unit from the courier, there's no need to sign the delivery receipt immediately. Open the packaging and inspect the exterior again, as chips and other damage to the walls are common during transportation. Plug the machine in and check the functionality of the control panel.
If you discover dents that weren't there before, don't sign the paperwork; instead, demand a replacement. It's better to wait until you receive your Whirlpool washing machine in good working order. If the machine arrives undamaged, you can sign the paperwork. Make sure you have the seller's contact information so you can contact them if necessary. If not, ask the courier for the store's phone number.
Preparing the machine
After receiving your product from the store, don't install the machine immediately. Let the washing machine sit at room temperature for 2-3 hours. Only after this time can you begin using it.
Before installing your Whirlpool washing machine, be sure to read the instructions for the machine.
The user manual describes the entire process of connecting the machine to utilities, and provides tips to help you complete the installation without errors. First of all, you need to remove the transport bolts from the housing. These are located at the rear and are necessary to secure the drum during transportation. It's crucial to remember to remove the shipping bolts. Starting the machine with the bolts still in place will inevitably result in equipment failure. Such damage to the machine will not be covered by the warranty in any case.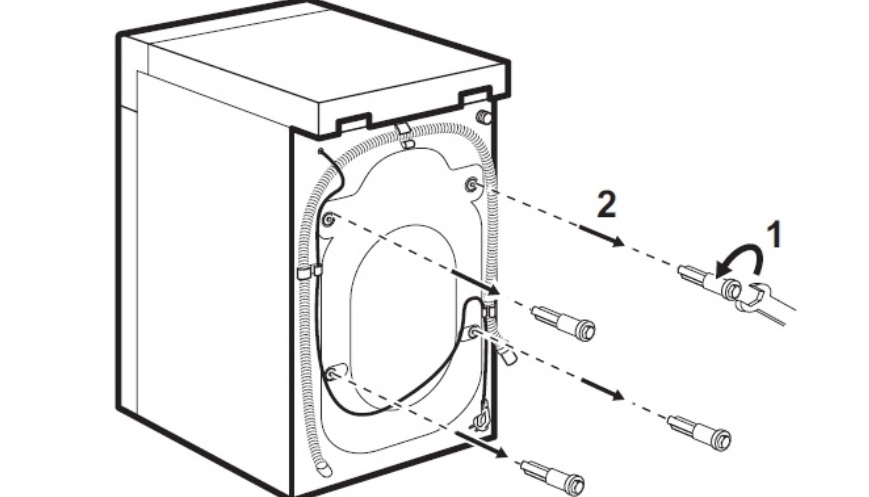
To remove the bolts, you'll need pliers. The process for removing the fasteners is described in detail in the equipment manual. The holes left after removing the shipping screws are covered with special plugs included in the kit.
Where will your car be located?
Typically, a space for a washing machine is allocated before purchasing the appliance itself. The machine is selected based on the dimensions of the bathroom or kitchen, depending on where the washing machine will be installed. When purchasing a built-in model, ensure it fits perfectly with the dimensions of the furniture. It's important to consider the distance of the installation site from the house's utility lines. The machine's hoses must be long enough to reach the outlets. Extending the hoses is not recommended, as this may negatively impact the washing machine's performance.
The floor covering under the automatic machine must be level and durable.
Ideally, the floor on which the "home helper" will stand should be tile or concrete. If it's a wooden floor, it's advisable to reinforce it first. It's best not to place the machine on laminate flooring, as a leak could cause the material to swell and become unusable.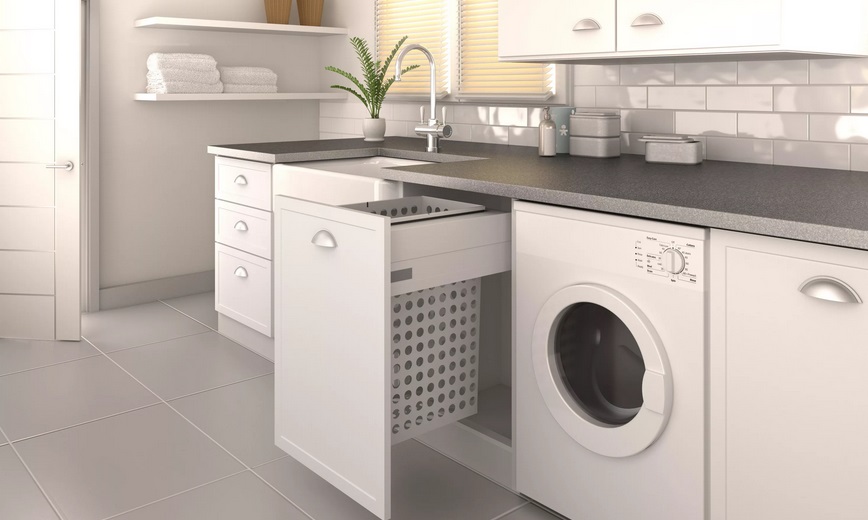
Pay close attention to the socket
It is very important to think about how the machine will be connected to the electrical network. The washing machine requires a separate outlet with the appropriate voltage, grounding, and protection from moisture. Manufacturers prohibit using an extension cord on their washing machines, as this violates safety regulations. Whirlpool machines typically have a 1.5-meter power cord. Therefore, it's important to ensure there's an outlet close to where your washing machine is installed.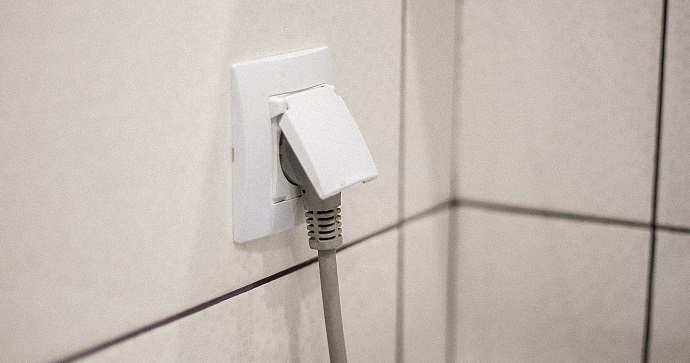
Grounding the electrical outlet is essential to protect users from micro-electric shocks. If you plug the washing machine into a standard outlet without a grounding contact, you'll feel an unpleasant tingling sensation when touching the machine while it's running. While this isn't a serious danger, it can still be inconvenient for family members.
Water supply
Next, you need to connect to the water supply. Typically, the washing machine's inlet hose is connected to a cold water supply. Some Whirlpool models can be connected to a hot water supply, but this is considered impractical and even harmful to the machine. Every machine has a heating element—a tubular heater that provides the desired water temperature, depending on the selected wash program.
So, connecting to hot water will be fraught with:
- Frequent filter clogging. Hot water is more polluted, so even more impurities will settle on the filter elements;
- Decreased washing quality. Because warm water is harder, washing results are worse—you'll need to use more detergent to achieve the desired effect.

Therefore, be sure to read the instructions. If the manufacturer specifies a cold water connection only, don't consider other options. This will damage your "home helper." Connect the inlet hose to the correct pipe. If another washing machine was previously installed in this location, connecting the new machine will be straightforward. Simply screw the inlet hose to the existing outlets. Then open the shutoff valve and check for leaks at the connection. Connecting the machine in a new location is more difficult. If the pipe connection isn't provided, you'll need to make one yourself or call a professional.
! It is important to use the hoses supplied with your Whirlpool washing machine for the connection.
It's advisable to keep the shut-off valve closed when not in use. This will prevent leaks. When connecting to the water supply, it's important to check the pressure in the pipe—it should match the standard parameters specified in the instructions.
Discharge of dirty water
In addition to connecting to the water supply and providing a separate outlet, it's necessary to ensure the drain hose is connected. Sometimes people simply lower the corrugated hose into the bathtub or sink, but this method is not only unsightly but also unhygienic. Dirt and debris contained in the wastewater settle on the walls, leaving the plumbing fixtures coated with a film that must be constantly cleaned off. The correct method for connecting to the sewer is to attach the drain hose to the siphon nipple. The connection should be secured with a special clamp. It's crucial to connect the corrugated hose correctly. According to the instructions, the sewer outlet point should be located at a height of 50-60 cm from the floor level, and the drain hose should be positioned at a certain bend.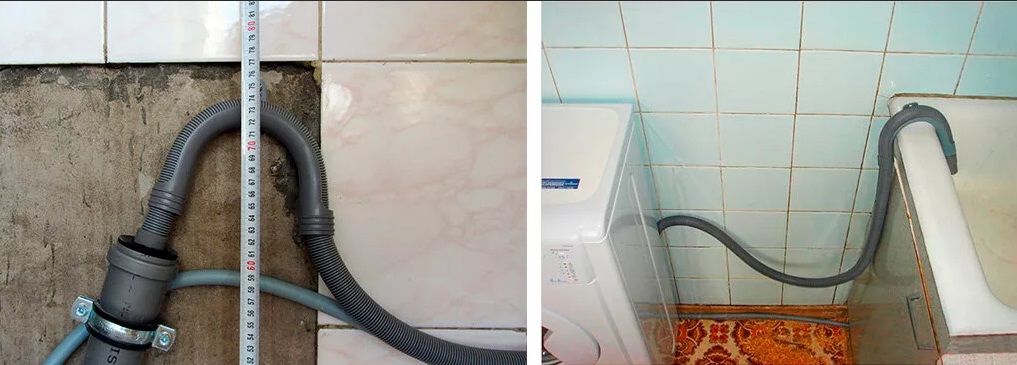
The bend is necessary to prevent unpleasant odors from the drain from entering the machine. If the drain hose is positioned straight, the foul odor will permeate the machine. The connection height specified in the instructions is also deliberate; if it is ignored, water will drain out of the drum by gravity. After connecting the machine to the drain and water supply, adjust the level of the machine by adjusting the feet. Then, you can run a test wash with the drum empty.
Interesting:


Readers' comments
Headings
Washing machine repair


For buyers


For users


Dishwasher


Add a comment