How to install a Gorenje dishwasher
 It's a common belief that proper maintenance and periodic thorough inspections are all that's needed to ensure a long-lasting dishwasher. In fact, careful maintenance begins even earlier – with installation and connection of the appliance to all utilities. Proper installation of a Gorenje dishwasher is extremely important, as it directly impacts the subsequent operation of the appliance. Therefore, today we'll take a detailed look at the initial installation of your "home helper" and everything related to it.
Gorenje dishwasher equipment
Slovenian engineering company Gorenje doesn't skimp on the accessories for its equipment, so the packaging includes everything you need for comfortable use. This includes a number of items.
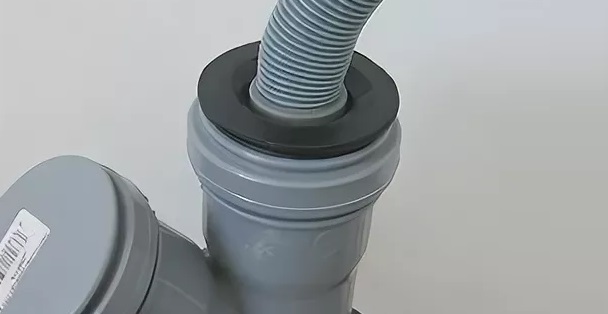
- A plastic hose holder used to secure the drain and fill hoses.
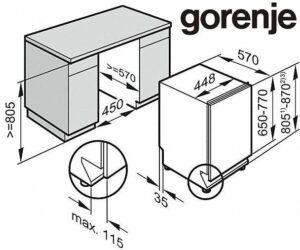
The holder is necessary because, according to the device's specifications, the drain and inlet hoses cannot be connected to the utilities without raising them to a height of 35 centimeters or higher.
- Racks and baskets for the washing chamber to make it easy to arrange dirty dishes.
- A mounting kit for easy installation of the washing machine. Kits vary for fully and partially built-in versions.
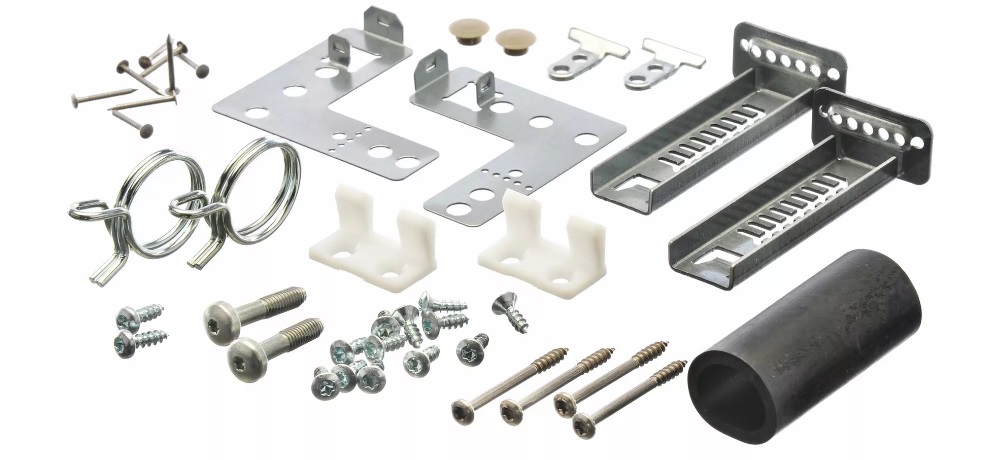
- Feet are needed to level the machine on the floor if it is a freestanding dishwasher.
- A starter kit of detergents designed to prepare your appliance for use. It typically includes special salt, rinse aid, and either multi-purpose tablets or another detergent.
Never use ordinary table salt in your dishwasher, as it is not effective in maintaining the machine's ion exchanger, which softens hard tap water and loses its properties over time.
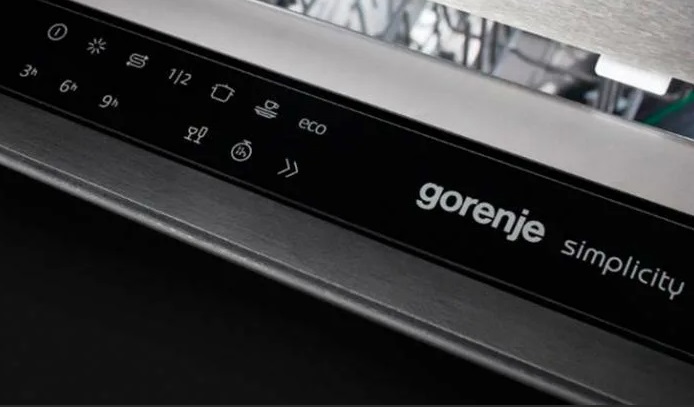
Gorenje appliances also excel in additional features. Most of the brand's modern dishwashers are equipped with the following advanced technologies:
- Smart control panel, more convenient and intuitive for users;
- the function of opening the door immediately after the working cycle to remove hot steam and allow a fresh flow of air to dry the dishes;
- a quick wash mode in 15 minutes to quickly wash a mountain of dishes when you're short on time;
- smart automatic mode that automatically selects settings depending on washing conditions;
- Automatic filter cleaning function after use, so you don't have to clean the drain manually on a regular basis;
- the ability to adjust the height of the baskets inside the washing chamber to accurately accommodate the largest items;
- the ability to wash dirty dishes with a powerful water pressure to save cycle time;
- Finally, a special purity sensor that analyzes the transparency of water to save water consumption and control the rinsing mode.
Gorenje keeps pace with its more established competitors, offering users a rich set of additional features, making this brand's appliances increasingly popular. The equipment has been selected, now all that's left is to select the tools and install the appliance.
Additional components and tools
Despite the extensive kit, the company cannot include installation tools in the starter kit. Therefore, before installation, you will have to go to a hardware store and purchase everything you need if you don't have any of the items listed at home.
- A regular minus screwdriver, plus, Torx screwdriver, also known as a “star”.
- A tape measure for measuring the niche where the device is planned to be placed, if we are talking about a built-in dishwasher.
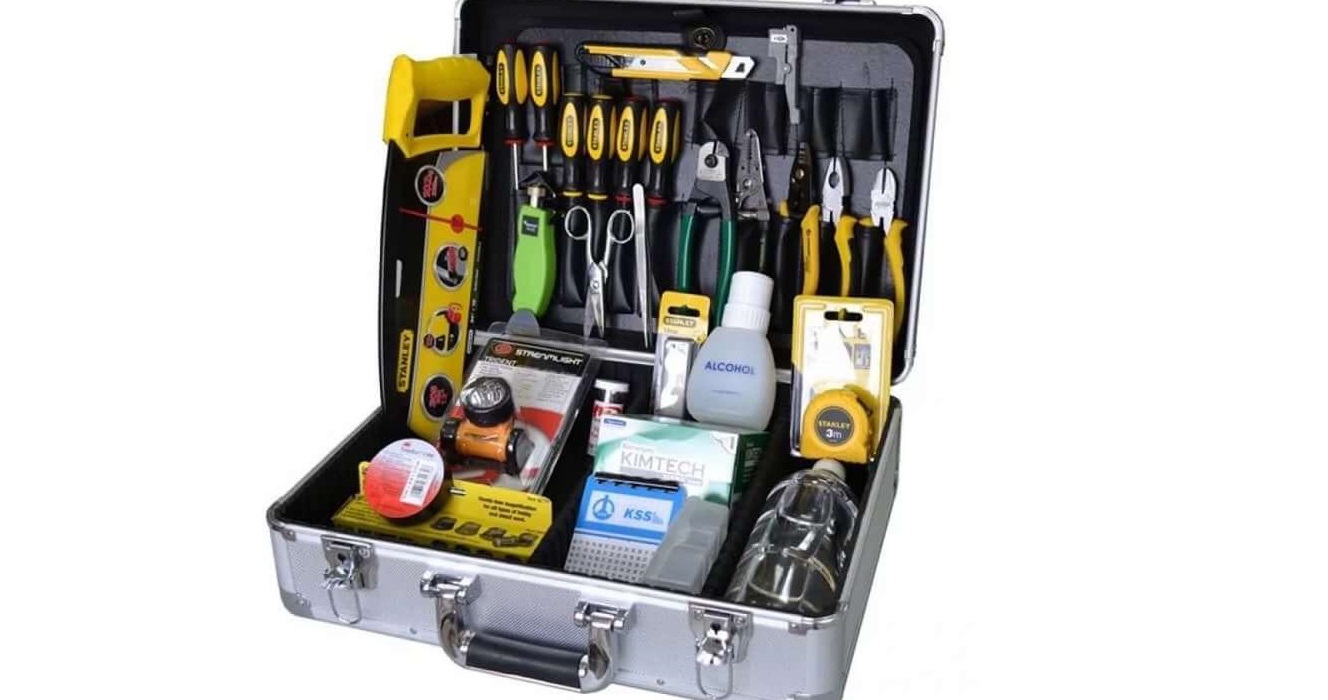
- A building level for high-quality, level installation, which is important for free-standing equipment.
Any dishwasher must be level to prevent the possibility of imbalance in the appliance's mechanism and subsequent failure, possibly leading to flooding of the floors.
- FUM tape and regular scissors for additional sealing of all connections.
You should also have a ¾ shut-off valve installed in your home to connect your dishwasher to it. If you don't have such a valve, you'll either have to buy one and call a service center technician for installation, or you can buy an adapter from ½ to ¾, which will be cheaper and easier.
Installing the Gorenye dishwasher in place
Housewives often think that connecting to the water supply and sewerage system is a complicated process that they can't handle without professional help. In fact, the initial installation is quite straightforward if you follow the instructions exactly. We'll explain in detail how to properly connect a Gorenje dishwasher.
- Unpack the appliance and move it to its intended location. Avoid pushing the machine directly against a wall or into a kitchen cabinet to ensure access to the appliance.
- Connect the appliance to the sewer and water supply. Ideally, the drain should be no more than one and a half meters long to prevent water from stagnating in the hose after use.
- Connect the dishwasher to the power outlet. It's important that the outlet be located at a height of 25 centimeters or more to prevent water leaks from damaging the power supply. For this reason, experts recommend purchasing grounded outlets with water protection shutters.
If there is no dedicated outlet near the unit, you should call an electrician to install one. Never use an extension cord, as it may not handle the voltage, melt, or even cause a fire.
- Place the washing machine in the designated location. It's best to choose a niche that allows easy access to the power outlet, so you can quickly unplug it if necessary.

- All that's left to do is check the machine's functionality, which can be accomplished with a test wash cycle. During this cycle, you'll be able to ensure that the dishwasher is working properly, all connections are tight, water is not leaking, and that it drains freely after use.
So, just 5 steps separate you from the moment you purchase your brand new “home helper” until the moment it washes its first batch of dirty dishes.
Interesting:


Readers' comments
Headings
Washing machine repair


For buyers


For users


Dishwasher


Add a comment