How to install a Hansa dishwasher
 You don't need to hire a professional to install a Hansa dishwasher. Any handyman can handle this job. We'll explain how to connect the dishwasher to the water supply, sewer system, and electricity. We'll also discuss the tools and materials needed for installation.
Where shall we put the car?
Even before purchasing a new dishwasher, you need to consider where it will be placed. When choosing a location for the machine, consider several guidelines. It is essential to place the dishwasher close to utilities to avoid any difficulties with its connection. We will tell you about all the recommendations.
- The dishwasher should be installed close to utility lines. The drain and inlet hoses and power cord for Hansa dishwashers are typically 1.5 meters long. Therefore, an electrical outlet, water supply, and sewer line should be close by.
- It is advisable to install the machine near the sink – this will make it easier to load dishes into the baskets.
- The floor covering under the machine must be level and durable.
- It is advisable to avoid placing the dishwasher next to an electric stove and washing machine.
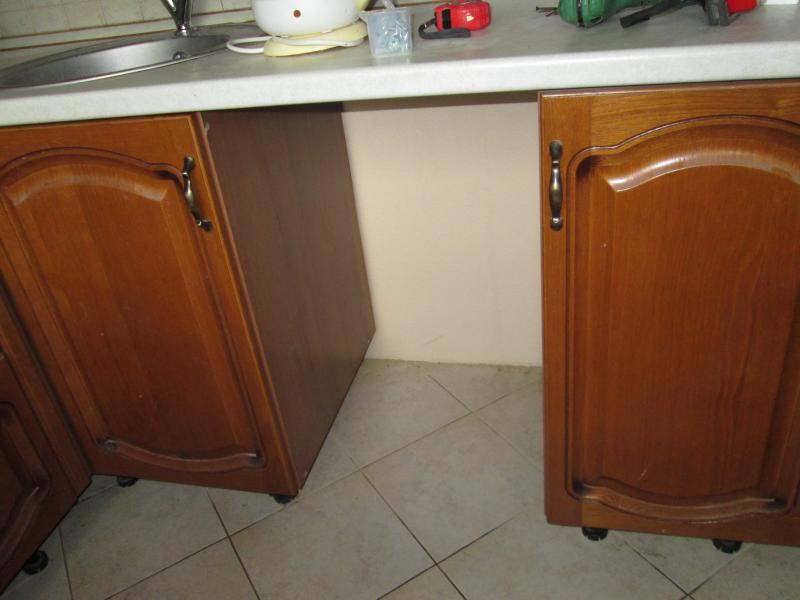
- If it is a compact model of the Hansa dishwasher, it can be placed directly under the sink, on an “unused” countertop, or hung on the wall above the sink or table.
- It's best not to install a dishwasher on the edge of the kitchen. This will require covering the side wall, which adds additional expense.
The ideal location for a full-size Hansa dishwasher is to the right or left of the kitchen sink.
This dishwasher placement has several advantages. Firstly, the dishwasher will be located close to utility lines. Secondly, it will be easy to load – you won't have to carry dirty dishes across the kitchen.
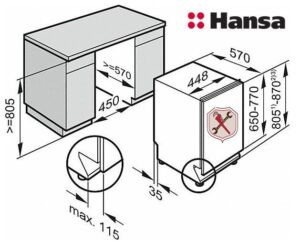
If you're purchasing a built-in Hansa model, pay special attention to the dimensions of the niche where you plan to install the machine. It's important to leave a small gap (5-10 mm) between the side panels of the appliance and the cabinet walls, and 6-7 cm at the back to connect the inlet and drain hoses.
What might we need for work?
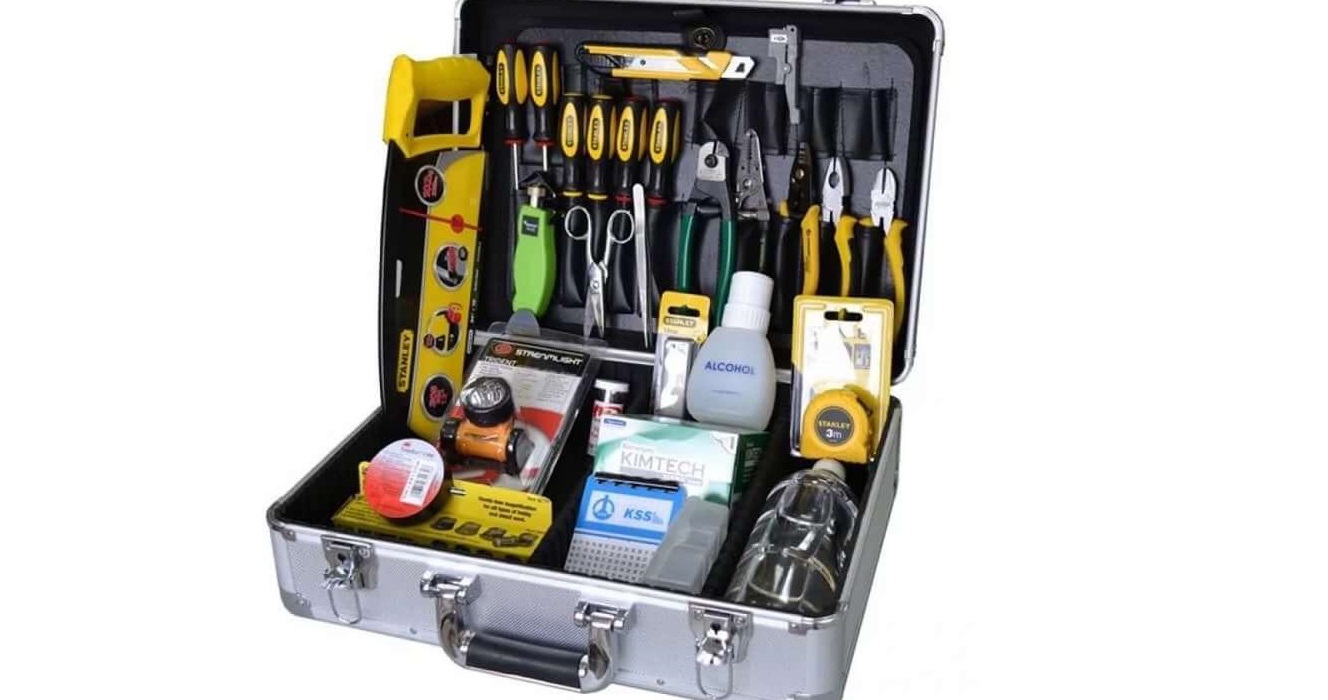
To connect to the water and sewer lines, you'll need specialized tools, which, by the way, are common in every home. You'll also need to purchase some consumables. It's best to prepare everything in advance to avoid distractions during the work.
Some tools you should have on hand include:
- adjustable wrench;
- Phillips and slotted screwdrivers;
- building level;
- pliers.
As for consumables, these are:
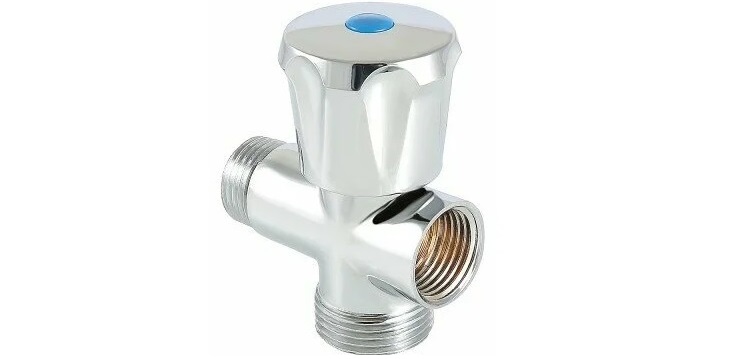
- 3/4 tee tap for connection to water supply;
- flow-through coarse filter (special mesh);
- moisture-resistant sealant (for processing threaded connections);
- FUM tape;
- drain hose clamp;
- siphon with a side outlet (if a “knee” without an additional fitting is installed under the sink).
Almost all modern traps have a side outlet, but if your sink has an elbow without outlets, you'll need to replace it. If you also have a washing machine in the kitchen, you'll need a trap with two additional outlets.
Please note that the Hansa dishwasher's drain and fill hoses are one and a half meters long. If the factory fittings don't reach the pipes, you'll need to replace them with new, longer ones. Buying adapters and joining two corrugated hoses into one is not recommended, as it will increase the risk of leakage.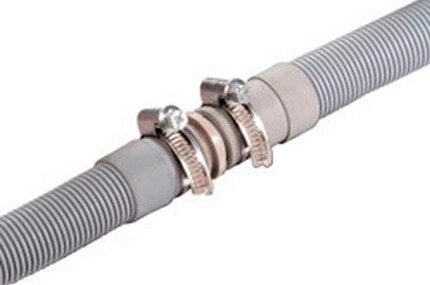
If you need a separate outlet for the dishwasher, you'll need a hammer drill for cutting grooves in the walls, an indicator screwdriver, and wire cutters. Consumables include a three-wire copper cable, a moisture-proof outlet, a cable duct, a residual-current circuit breaker, and a voltage stabilizer.
You cannot connect the dishwasher to the power supply through an extension cord - this is unsafe.
You can't skimp on the outlet; it's essential to buy high-quality components. A dishwasher is a powerful appliance that places a significant strain on the electrical system. Therefore, it's not recommended to neglect installing a voltage stabilizer.
As mentioned earlier, the compact Hansa dishwasher can be installed above the sink. To do this, attach a special shelf to the wall with dowels. Place a rubber mat underneath the dishwasher to prevent slipping.
Installation progress of Hansa PMM
If you decide to install the Hansa dishwasher yourself, study the user manual. The dishwasher manual describes how to connect the machine and put it into operation. Be sure to follow all manufacturer's recommendations.
First, you need to install a power outlet for the dishwasher. The outlet should be located 40 cm above the floor to prevent water from leaking. The procedure is as follows:
- make grooves in the wall for the wire;
- turn off the power to the apartment;
- install the automatic transmission;
- remove the wire from the panel and lay the cable in the cut channel;
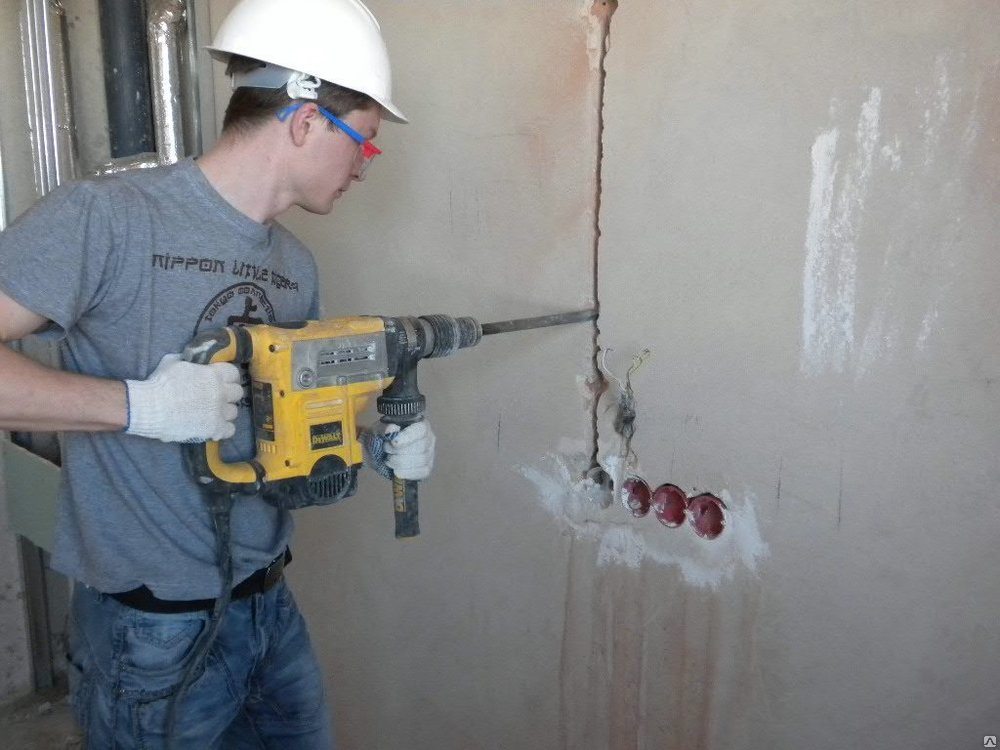
- make a hole for the socket box;
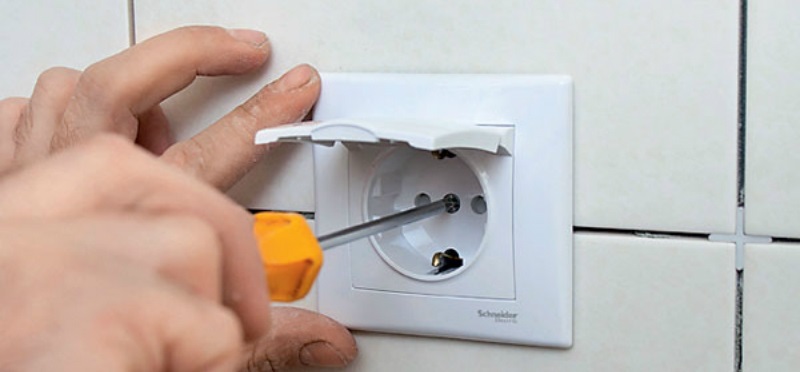
- install a wall box and connect the wire to it;
- Plug in the socket.
Next, connect the machine to the water supply. To do this, install a special tee valve in the pipe. Connect the sink faucet to one end, and the dishwasher's inlet hose to the other (with a coarse filter installed before it). All threaded connections should be sealed with FUM tape or sealed with sealant. Before starting work, be sure to shut off the water supply to the apartment.
The dishwasher is the last to be connected to the drain. You can screw the drain hose directly to the pipe using a special tap, but it is recommended to connect it to a trap. This minimizes the risk of wastewater backing up into the dishwasher.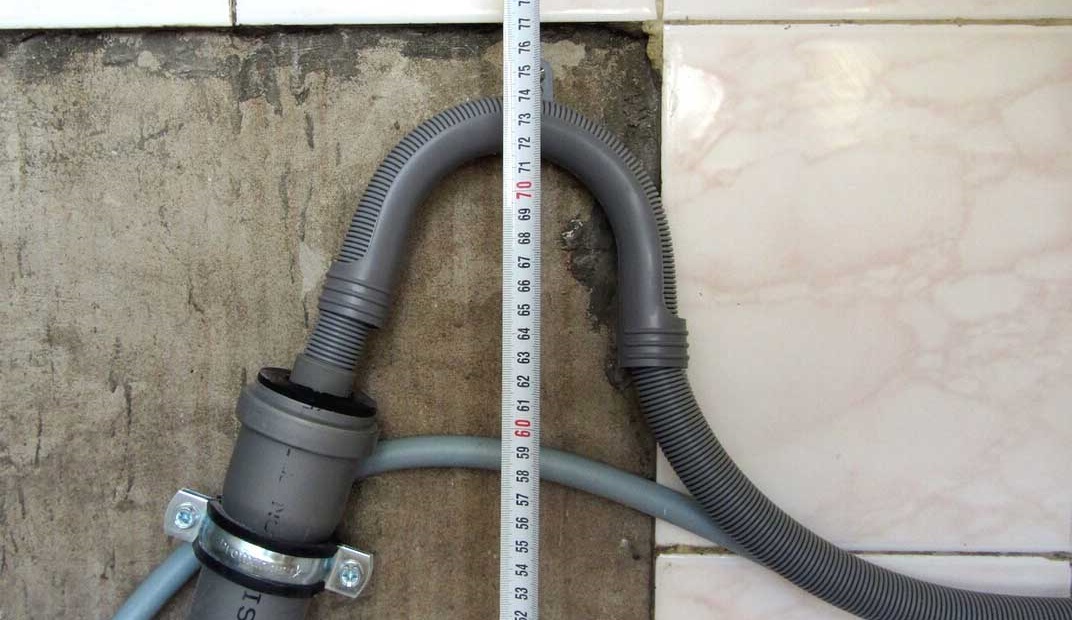
Establishing a drain is the simplest task. Simply connect the end of the drain hose to the drain outlet. Wrap the joint with FUM tape.
Once the hoses are connected to the house utilities, you can connect them to the dishwasher and place it in its designated spot. The dishwasher body will need to be leveled by adjusting the feet. For built-in dishwashers, you'll still need to hang the front panel.
The front panel is inserted into special brackets included with the built-in dishwasher. The decorative panel is also secured with screws.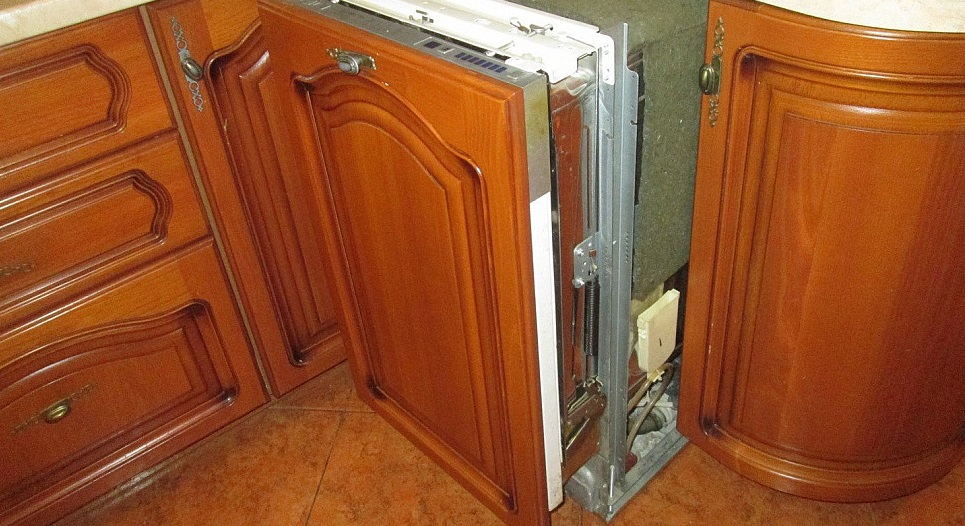
Once you've installed and connected the machine, run a test wash. The instructions for running the first cycle are detailed in the machine's manual. It should be empty, meaning there are no dishes in the chamber. Adding detergent and regenerating salt is mandatory.
During the test cycle, observe the Hansa dishwasher. Check for any leaks at the joints. If everything is in order, you can load the dishwasher with dirty dishes and run a full wash.
Interesting:


Readers' comments
Headings
Washing machine repair


For buyers


For users


Dishwasher


Add a comment