How to install an Indesit dishwasher
 You can install an Indesit dishwasher yourself, without the help of a professional. It doesn't matter whether it's a freestanding or built-in model. The steps for connecting the appliance to the house utilities are the same. Let's look at how to connect your new dishwasher and what tools you'll need.
Preparatory stage
Before you buy a new dishwasher, you need to decide on a place for it. Freestanding models are usually located to the left or right of the kitchen sink and are installed simply under the countertop. For built-in dishwashers, it is necessary to provide a cabinet of suitable dimensions.
It's recommended to plan the installation of a built-in Indesit model as soon as you begin renovating your kitchen. This is the ideal option. Installing a dishwasher in an existing kitchen is much more difficult. Therefore, draw a sketch and order the cabinetry in advance, making sure to include a separate cabinet for the dishwasher.
Also, on the kitchen area sketch, include the connection points to the water supply, sewerage system, and electrical network. This will help you avoid mistakes when planning the placement of kitchen cabinets and the dishwasher itself.
It's important to consider the dishwasher's distance from utility lines. The drain hose and power cord for most Indesit models are 1.5 meters long. Therefore, the dishwasher should be placed close to a power outlet and water and sewer connections.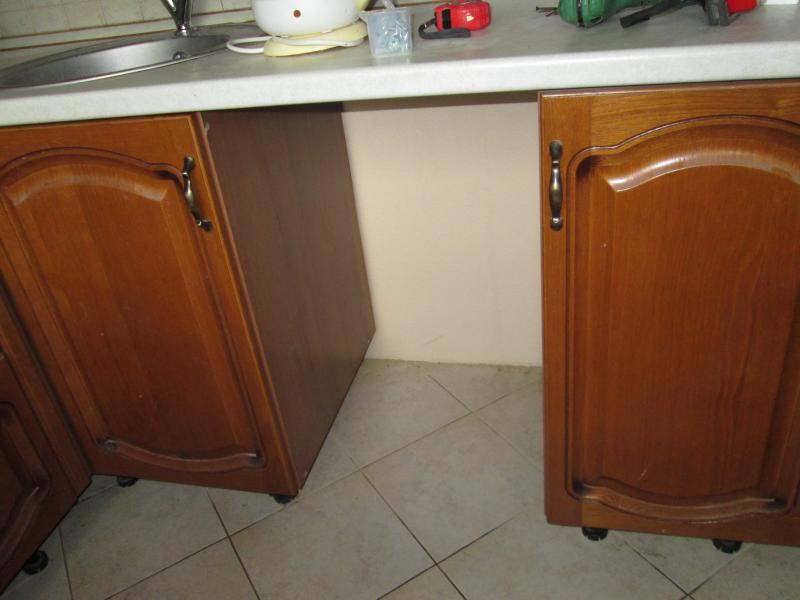
It's worth remembering that it's not recommended to place a dishwasher near older electric stoves (their bodies get very hot) or near washing machines. Such proximity is detrimental to the equipment. Ideally, place the dishwasher to the side of the kitchen sink.
Some users prefer to purchase all the kitchen appliances first and then order cabinetry based on the appliance sizes. This approach is valid, but it's not entirely convenient for a number of reasons:
- the construction of a kitchen can take several months, and during this time the equipment will need to be stored somewhere;
- Purchasing all the kitchen appliances at once will require a lot of money, which can be difficult on the family budget;
- Even a one-time purchase of all electrical appliances won't guarantee that the cabinet makers won't make a mistake in the dimensions when building the kitchen, so unnecessary sacrifices are unnecessary in this case.
Measure the dimensions of the dishwasher you like in the store, share the dimensions with the cabinet makers, and after the kitchen is built, purchase the dishwasher.
The same approach is recommended for all other kitchen appliances. Even if the cabinet makers make a mistake, the problem can always be solved. The main thing is to remember to leave some slack. We'll explain how to correctly calculate the space for a built-in dishwasher.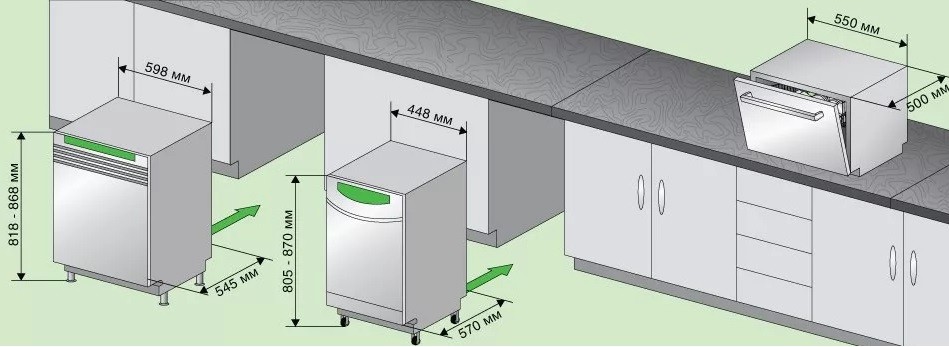
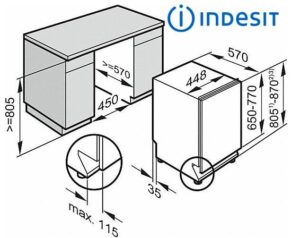
For example, the dimensions of an Indesit built-in dishwasher are 450x820x550 mm. When planning the size of the dishwasher cabinet, consider:
- the thickness of the material from which the furniture is made;
- the need to leave a small gap (5-10 mm) between the dishwasher and the cabinet walls;
- height of the dishwasher legs;
- the need to leave space behind the machine to connect the drain and inlet hoses.
So, the width of the dishwasher cabinet in our example should be at least 450 + 20 + 10 = 480 mm. This includes 10 mm for the material thickness on both sides, and 5 mm for the gap between the walls and the appliance.
The cabinet height is calculated similarly. The gap only needs to be at the top, but the height of the dishwasher's legs (e.g., 50 mm) must be taken into account at the bottom. Add 20 mm of material thickness, and you get: 820 + 5 + 20 + 50 = 895 mm.
Next, we calculate the depth of the niche. A back wall is usually not included, so the material thickness doesn't need to be taken into account. Need to Be sure to leave 80-100 mm free behind the dishwasher to connect the hoses and power cordWe get 550+100=650 mm.
Therefore, a cabinet for a built-in Indesit dishwasher measuring 450 x 820 x 550 mm must have dimensions of at least 480 x 895 x 650 mm. Successful dishwasher installation depends on accurate calculations. Therefore, approach this matter responsibly.
Collecting tools
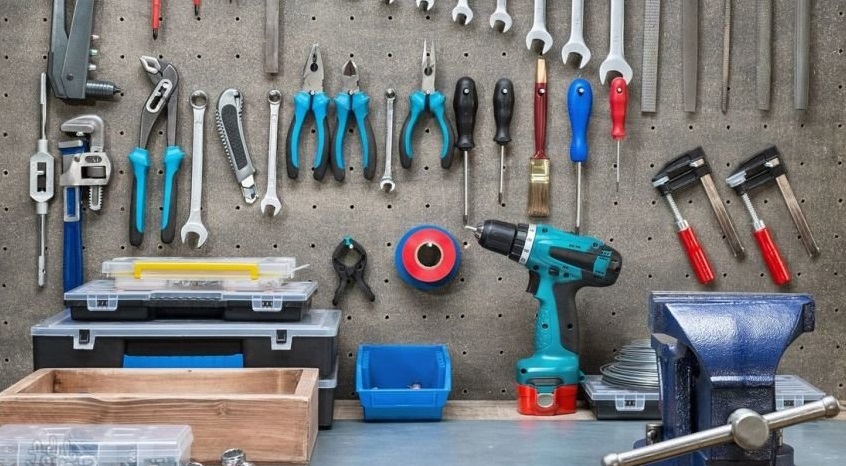
If you decide to install the dishwasher yourself, check if you have the necessary tools at home. It's best to gather everything in advance to avoid distractions during the installation process. So, you'll need to have the following on hand:
- adjustable wrench;
- slotted and Phillips screwdrivers;
- construction tape measure;
- pliers;
- screwdriver;
- level.
The exact set of components will depend on whether another dishwasher was installed in the same space. If so, the tee fitting for connecting the inlet hose will already be installed. If not, you'll have to install it yourself.
List of consumables:
- tee tap for water pipe;
- mesh filter;
- FUM tape;
- set of rubber seals;
- a siphon with at least two outlets (or a tee tap on the sewer pipe);
- plastic clamps.
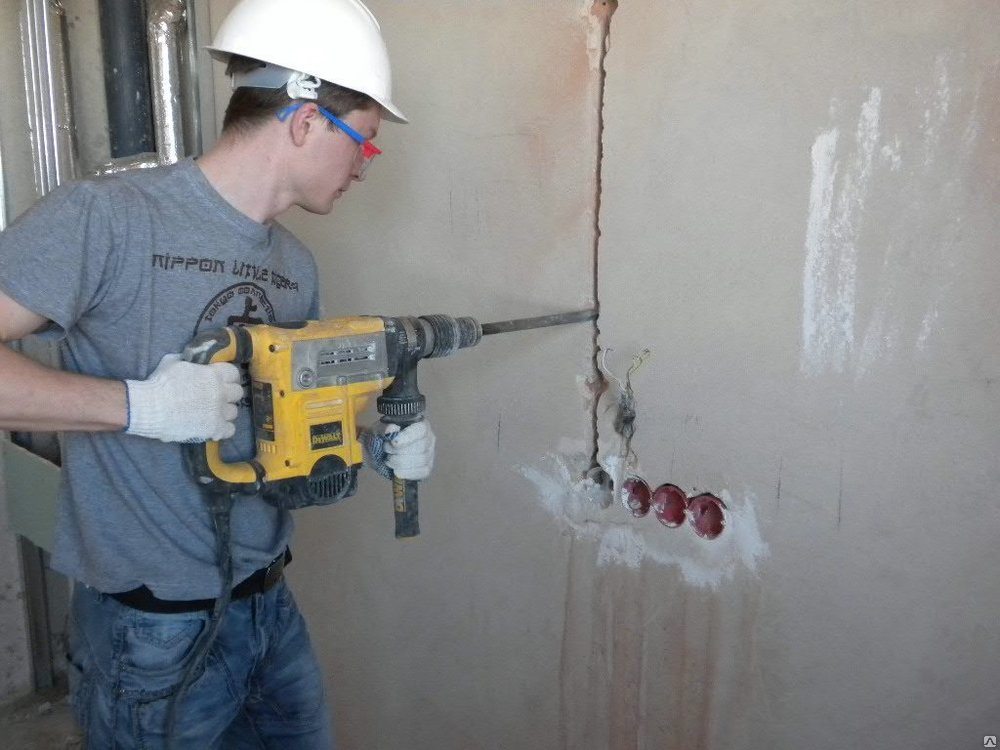
If you need to install a separate outlet for the dishwasher, you will also need a hammer drill for cutting grooves in the walls, an indicator screwdriver, and the following accessories:
- socket with moisture protection;
- socket box;
- three-core copper cable;
- residual current circuit breaker;
- voltage stabilizer;
- cable channel.
Skimping on outlets isn't recommended. You should buy the highest quality components possible. A dishwasher is a powerful appliance, and it puts a significant strain on the electrical system. The use of an extension cord for the dishwasher is not permitted.
A voltage stabilizer is designed to protect the appliance. In principle, you can do without one. However, it's still better to protect your expensive dishwasher from power surges.
Water supply, sewerage and electrical communications
A separate outlet must be provided to power the dishwasher. It should be located 40-50 cm above the floor, grounded, and moisture-proof. If you are inexperienced with electrical wiring, it is best to seek professional assistance. During installation, you will need:
- use a hammer drill to make a groove in the wall;
- install a residual current circuit breaker, remove a three-core copper wire from the electrical panel;
- lay the wire in the cut channel up to the location of the socket;
- carve out a place for the socket box;
- install a socket box, run the wire;
- connect the socket to the cable.
When working with electrical networks, it is essential to follow basic safety rules: de-energize the apartment and wear protective gloves.
The vast majority of Indesit dishwashers are connected to a cold water supply. There are some models that can be connected to a hot water supply, but these are rare. This feature is mentioned in the machine's instructions.
To connect the dishwasher to the water supply, you need to:
- turn off the cold water supply to the apartment;
- install a tee tap at the end of the cold water supply pipe
 ;
; - install a mesh filter;
- connect the corrugated hose to the sink mixer to one outlet of the tee, and the inlet hose of the dishwasher to the other;
- Treat all threaded connections with FUM tape.
The dishwasher is connected to the sewer last. There are two options:
- connect the PMM drainage hose directly to the sewer pipe;
- connect the drain corrugated pipe to the siphon under the sink.
The best option is to connect the dishwasher to the drain outlet. If there's a drain elbow under the sink without a second outlet, replace it. At this point, the dishwasher installation is practically complete.
We connect the unit to all communications
Once the hoses are connected to the water and sewer lines, you can route them to the dishwasher and place it in the designated area. The dishwasher body must be leveled by adjusting the feet. If the dishwasher is built-in, the next step is hanging the front panel.
The built-in washing machine comes with special fasteners. The front panel is then inserted into these fasteners. The decorative panel is then secured with additional bolts.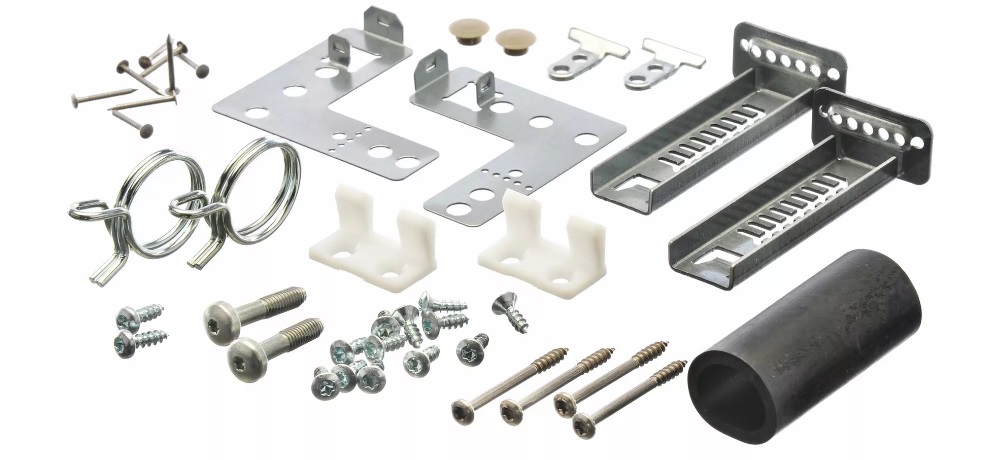
If your Indesit dishwasher is freestanding, simply slide it under the countertop and level it. Once connected, you can run a test wash cycle. There are some nuances here, too. All information on using the dishwasher for the first time is provided in the machine's instructions.
The first test run of the dishwasher is carried out without dishes in the chamber, but with detergent.
Observe the machine during the test cycle. Make sure water is continuously filling and circulating freely. Check for leaks at the hose connections. If everything is OK, you can put the dishwasher into operation.
Interesting:


Readers' comments
Headings
Washing machine repair


For buyers


For users


Dishwasher


Add a comment