How to install a Korting dishwasher
 These days, everyone is trying to make money on every little thing, even something as simple as installing a Korting dishwasher. It may seem like a complex, labor-intensive process that requires paying a service technician several hundred dollars, but in reality, there's nothing complicated about installation that you can't figure out without instructions. We'll explain in detail how you can prepare your dishwasher for use yourself.
Installation site requirements
You've bought brand new equipment, removed the packaging, and removed all the excess foam and other junk. Where do you start? First of all, it is always necessary to take care of the place where the “home assistant” will be located in the future. Whether you have a built-in dishwasher or a freestanding one, it should be equipped with everything you need.
- The installation location should be close to water lines to make it easier to connect the inlet channel and drainage hoses.
- There should also be a separate grounded outlet nearby with moisture protection to protect the house from fire due to possible flooding.
Do not use extension cords if the power cord of your Korting dishwasher is insufficient. It is better to install a new outlet or simply move the machine to a different location, as an extension cord can cause a fire in the house.
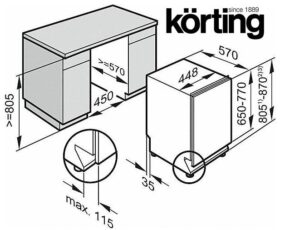
- When installing the machine in a kitchen cabinet, make sure that the dishwasher door is level with the kitchen counter.
- If the dishwasher is to be placed on the floor separately from the kitchen cabinets, it's crucial that the floors are as level as possible and that the dishwasher is positioned without tilting. Otherwise, there's a risk of critical imbalance in the dishwasher's mechanism, which could either break or damage the floor.
Make sure all the steps are completed before you can proceed to installing the door panel to ensure the appliances fit into the overall kitchen design.
How to hang the door front?
Now let's begin installing the outer panel, for which service center specialists usually charge a hefty fee. To significantly save time on calling a technician and your family budget, you can hang the door panel yourself as follows:
- carefully remove the door front;
- install hooks on the outer panel of the wash chamber door;
- insert the locking hooks into the hole located on the dishwasher door;
- Fix the decorative panel firmly;
Make sure that the distance from the side of the open dishwasher door to the edge of the kitchen counter is at least 50 millimetres, otherwise the door will not open freely.
- Finally, adjust the door spring tension. This is usually preset by the manufacturer, but if you're installing an external panel, you'll need to manually adjust the spring tension. To do this, turn the adjusting screw, either loosening or tightening the steel cable. The correct spring tension will be indicated by the fully open wash chamber door, which can be closed with a gentle touch.
As you can see, installing the decorative panel on the appliance door was even easier than initially preparing the niche. All that was left was to connect the appliance and begin the first wash.
Installation of dishwashers
The final step in preparing the machine for use is connecting it to the water supply, sewerage system, and electrical network. Let's proceed in this order.
- First, you need to determine the drain location. This can be either a regular sink, where you'll have to take the drain hose out every time, or a drain pipe, to which you should firmly connect the drain hose using a special plastic holder, which you'll find included with your dishwasher.
Remember that the drain hose itself should be placed at a height of between 35 centimeters and 1 meter, securing it to the wall using a special holder.
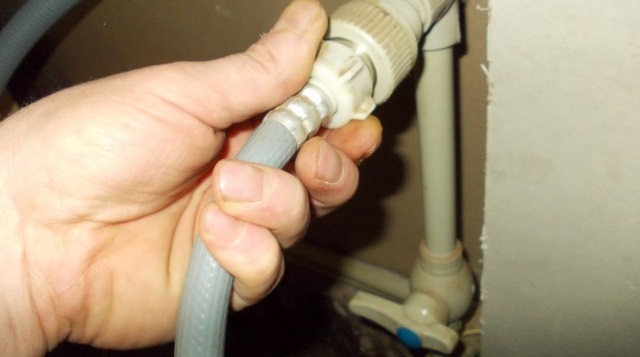
- Now you can connect the inlet hose to establish the water supply to the dishwasher washing chamber.
- At this stage, you need to connect the machine to the power supply. Ideally, the outlet should be at least 25 centimeters above the floor to prevent moisture ingress due to a system leak or other emergency.
- Move the appliance to its original location. It's best to leave the power outlet easily accessible afterward. This is necessary in case you need to unplug the power cord immediately.
- Carefully level your "home helper" by adjusting the feet. The rear feet are conveniently adjusted from the front of the machine by turning the screws on the left and right side of the kitchen counter. Adjust the front feet with a wrench until the appliance is perfectly level.
- Once leveling is complete, secure the dishwasher to prevent it from shifting during operation. If you have a standard surface, you can secure it using standard wooden screw-in fasteners. If you have marble or granite, install a bracket on one of the dishwasher's walls and then secure the dishwasher to the adjacent cabinet. For added security, place a rubber pad on the fastener.

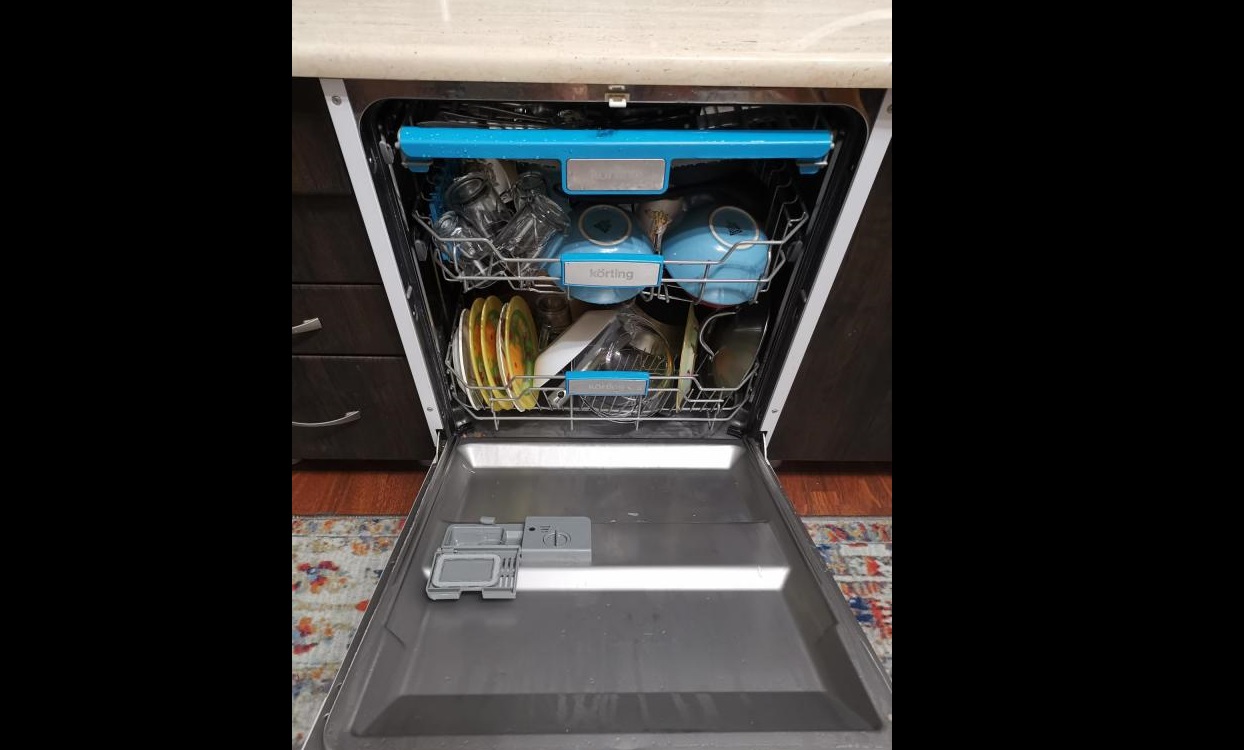
- The final step is to check the appliance's functionality and ensure it's properly connected. To do this, use the cleaning supplies from the starter kit included with most Korting dishwashers—add special salt, dishwashing liquid, and rinse aid. Afterward, run an empty cycle. This will not only check all the basic functions and the installation quality, but also clean the interior of any dirt and dust that may have accumulated during factory assembly or storage.
It is the final test that will show whether the equipment has been installed correctly. Do not move far from the equipment during the idle wash to ensure that nothing is leaking anywhere, that water is collected in the wash chamber, heated well, and then completely drained into the drain. If everything is in order, then you can start a full work cycle to properly evaluate your new acquisition.
Thus, it's really quite easy to prepare the space for the appliance, attach the decorative panel, and install the machine yourself. Calling a professional is most appropriate if you need to install a ¾ shutoff valve or install a separate grounded outlet for the safe connection of a Korting dishwasher. Otherwise, it's better to save on installation if you're confident in your abilities.
Interesting:


Readers' comments
Headings
Washing machine repair


For buyers


For users


Dishwasher


Add a comment