How to remove a bearing from a Samsung washing machine drum
Reaching into the washing machine's drum and removing the container isn't the most difficult part of the repair. Removing the bearings from the drum can be much more difficult, especially if the ring is stuck to the shaft or partially damaged. Even professionals spend a considerable amount of time on this, and for the average user, the task can seem daunting.
We'll tell you how to remove a Samsung washing machine bearing. We'll also explain how to remove stuck races from the shaft and bearing housing. We'll also explain which tool will make the job easier and how to make one yourself.
We try to knock it out carefully
Under normal conditions, knocking out the bearings of a Samsung automatic washing machine is not that difficult. When the rings are intact and not stuck to the shaft, they can be removed using a regular punch and hammer. You need to do the following:
Place the chisel on the outer rim of the bearing;
constantly moving the punch along the diameter of the ring, tap the part.
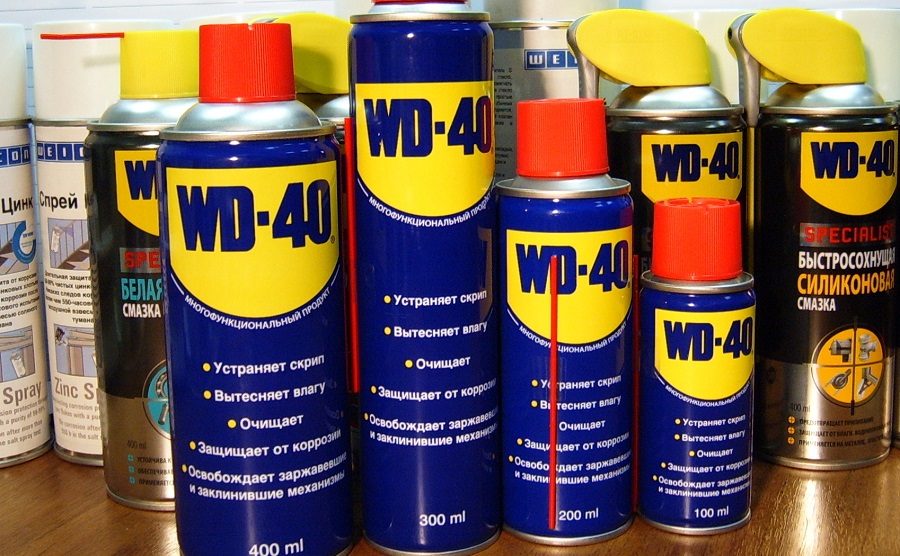
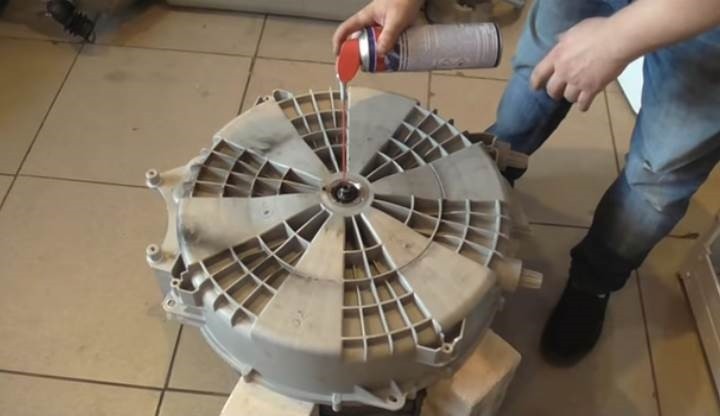
Multi-purpose lubricant WD-40 will help make it easier to remove a stuck bearing.
If the element doesn't come off with a chisel and hammer, spray the bearing with WD-40. Wait 15-20 minutes for the solution to take effect. Then try removing the ring again.
The washing machine's inner bearing is knocked out in the same way. The only difference is that the drift must be placed on the inner race of the ring. The hammer blows should be gentle.
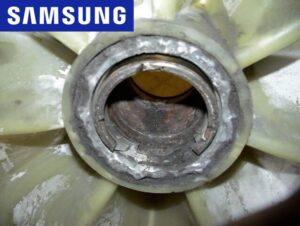
In most cases, knocking out both bearings completely removes them. It's extremely rare for a portion of the bearing race to become lodged inside the drum or on the shaft. Removing it is difficult, but necessary. We'll explain how to remove the partially damaged element.
It is necessary to remove the stuck clips and their parts
It's best not to allow any part of the bearing to remain in the washing machine drum. If this happens, you'll need to invest extra time and tools. The bearing race must be removed in any case—without this, the washing machine cannot be repaired.
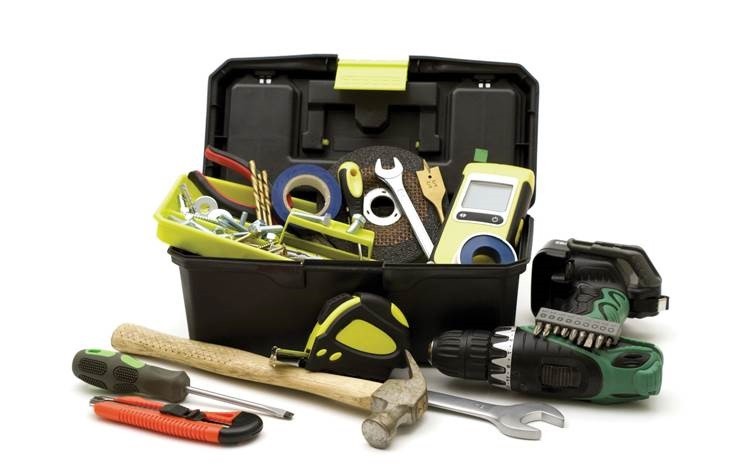
To remove a stuck bearing race you will need:
hammer;
a thin metal punch (1.2-1.5 cm in diameter);
slotted screwdriver;
Bulgarian;
gas wrench.
The algorithm of actions will be as follows:
clean the seat;
Treat the “nest” and the rest of the bearing with WD-40 lubricant;
wait 15 minutes for the liquid to take effect;
Use a screwdriver to clean off all rust, wear and loose dirt from the sleeve;
Treat the unit again with WD-40 liquid;
wait another 10 minutes;
Turn the drum cover over and inspect the seat from the back side - the edge of the stuck bearing race will be sticking out there;
place the drift so that it rests against the protruding edge of the stuck ring;
Using a crosswise motion, tap the inner support.
In the best-case scenario, the bearing will fall out after a few hammer blows. On average, you'll need to tap the rim 20 times. If you can't remove the damaged component, reapply WD-40 spray lubricant to the assembly. Wait 10-15 minutes for the bearing to soak, and then continue hammering the component out.
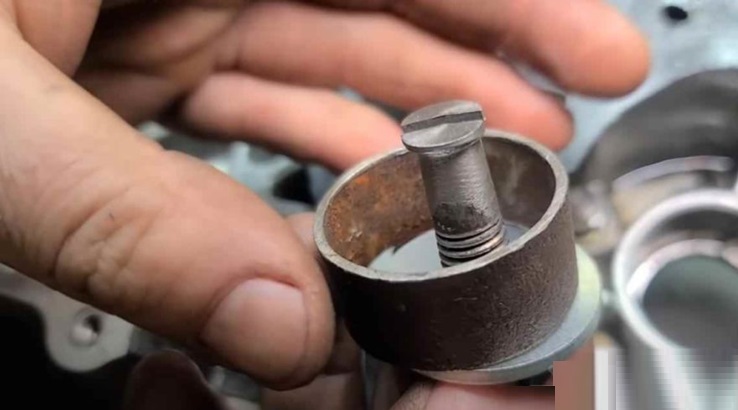
Sometimes the bearing race remains on the drum shaft rather than in its seat. In this case, it is necessary to:
treat the stuck to the shaft race with WD-40 liquid;
wait 15 minutes for the part to soak;
Unscrew the clip with a gas wrench.
If the key is slipping, you'll have to bring out the big guns. Grab a grinder, then:
Use a grinding machine to make notches on the stuck collar on the right and left (this must be done carefully so as not to damage the shaft sleeve);
Treat the area again with WD-40 aerosol, wait 15 minutes;
remove the rim with a gas wrench (the marks made with the grinder will help with this).
When working with a grinder, use special protective glasses - this is a mandatory safety rule.
You can always press out a broken bearing. The only problem is, the job can take anywhere from 20 minutes to several hours—depending on your luck. It's important to have patience and time. You need to act as carefully as possible so as not to damage the tank and the drum shaft.
Next, all that remains is to clean the mounting area of rust, dirt, wear marks, and metal shavings. Then you can install the new components—the bearings and seal. The rings are pressed in using the same punch and hammer. The drum and washing machine are reassembled in reverse order.
Make the simplest puller
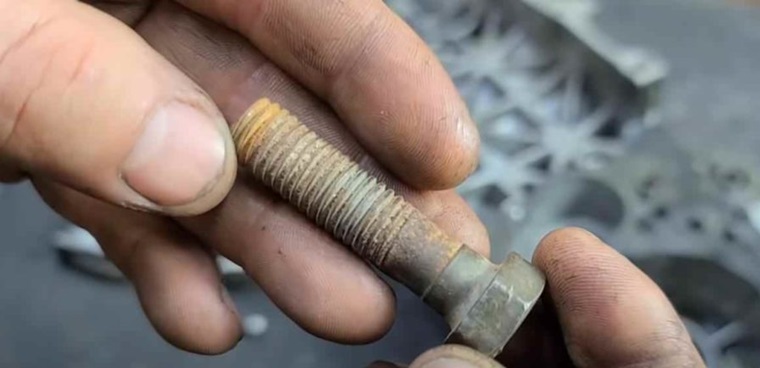
Service center specialists and private repairmen use a bearing puller to remove washing machine bearings. This tool can be made at home using a few metal parts and a common bolt. It takes half an hour to make, but it will make pressing the bearing rings out of the washing machine drum a breeze.
To design a puller, you will need:
bolt;
nuts and washers;
a piece of round steel pipe;
angle grinder;
set of wrenches;
vice;
pliers;
electric welding.
The further algorithm of actions will be as follows:
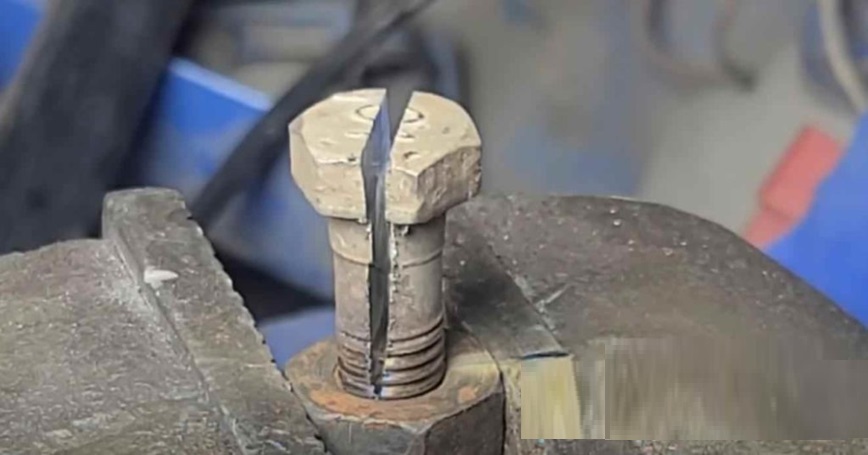
Use a grinder to split the bolt into two halves;
clamp the bolt in a vice;
Use a grinder to grind down the edges of the bolt head (this should be done until its diameter is just slightly larger than the shank);
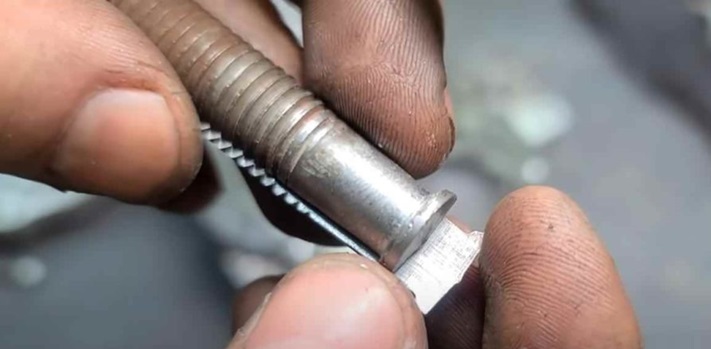
Use a grinder to cut off the excess part of the bolt head;
prepare a narrow strip of metal to be placed between the halves of the bolt (it will wedge its parts);
take a small piece of steel pipe and a washer, weld them together (this will form a kind of “nest” for the bearing);
place the welded cylinder on the seat where the bearing is located;
Insert the bolt into the bearing hole, then wedge it to begin screwing on the nut.
This will allow you to unscrew the bolt, which will lift the bearing. This will allow the ring to be easily pushed out of its seat. The device is reusable, so you can use it every time you need to repair your washing machine.
Unscrewing the bolt stem yourself isn't very convenient, so it's best to trim the top edges and weld a nut in place. This way, you can insert the puller, unscrew the nut, and immediately press out the bearing. This will make the process of pressing the rings out of the washing machine tub more convenient.
 Reaching into the washing machine's drum and removing the container isn't the most difficult part of the repair. Removing the bearings from the drum can be much more difficult, especially if the ring is stuck to the shaft or partially damaged. Even professionals spend a considerable amount of time on this, and for the average user, the task can seem daunting.
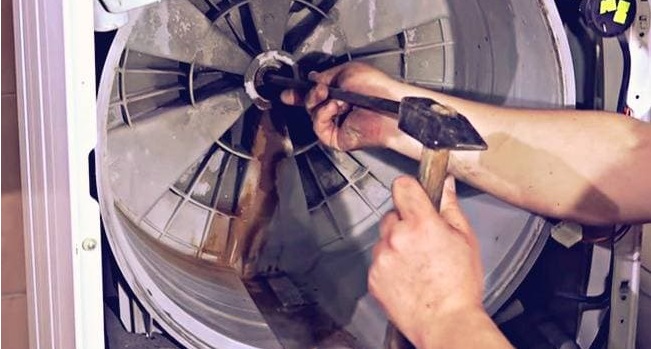


Add a comment