How to replace shock absorbers on an Ardo washing machine
If you've started hearing a loud banging, clanking, or unnatural rumbling noise during the wash and spin cycles, your washing machine's shock absorbers are likely to blame. Replacing the shock absorbers in an Ardo washing machine is a simple procedure that any repairman can handle. However, you can save money and fix the problem yourself. It's easy if you follow our instructions carefully. We'll explain how to properly prepare for repairs to your "home helper" and then replace the faulty shock absorbers.
What will be needed for such a repair?
If you decide to replace faulty dampers yourself, the most important thing is to take your time and follow the instructions step by step. First of all, you need to prepare a set of tools for further work. What does it include?
Screwdriver.
13 mm drill.
This drill is necessary for working with factory fasteners, in which a hole must be drilled to facilitate the removal of faulty dampers.
Set of heads.
Screwdriver.
Awl.
Pliers.
Of course, simply removing the old unit isn't enough; you also need to install a new one. Therefore, you should also have new spare parts on hand. It's best to buy original parts from an authorized dealer, which you can do online. These shock absorbers will definitely fit your washing machine and will last for many years. You'll also need 13mm bolts, two nuts, and two washers.
We get free access to the shock absorbers
To remove the old racks, you'll need to partially disassemble your Ardo washing machine. That's why the repair begins with a series of preparatory steps that must be taken.
Disconnect the device from all communications.
Secure all hoses and the power cord to the rear panel.
Move the machine away from the wall to make it easier to work with.
Never carry out repairs on equipment connected to the power grid or water supply – this is unsafe.
Remove the clips holding the CM cover, and then move the top panel itself aside.
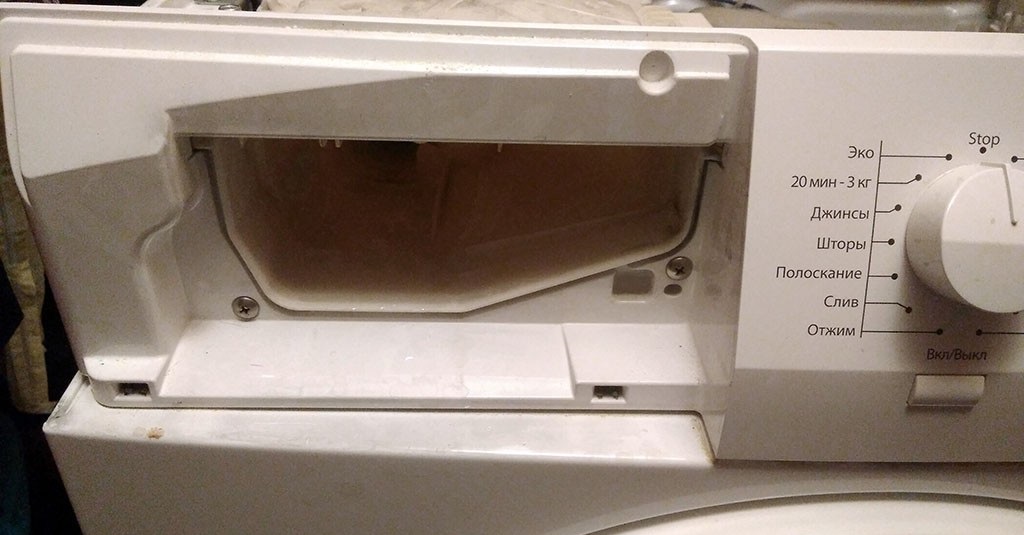
Remove the powder receptacle.
Behind the detergent drawer there are other fasteners holding the control panel in place, which also need to be removed.
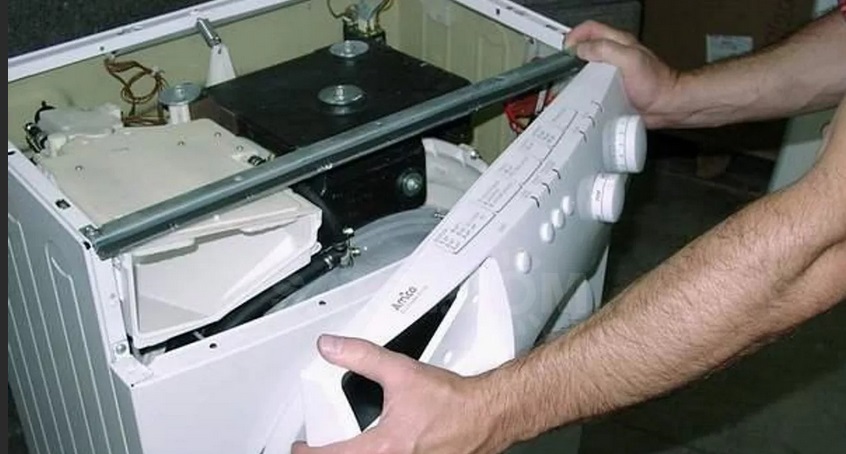
Remove the instrument panel from the body, remembering to disconnect all wires from it first.
Be sure to take a photo of the correct wiring connections, which will be useful during reassembly of the washing machine.
Carefully place the appliance on its back wall, having first covered the floor with towels.
Remove the bottom retaining bolts.
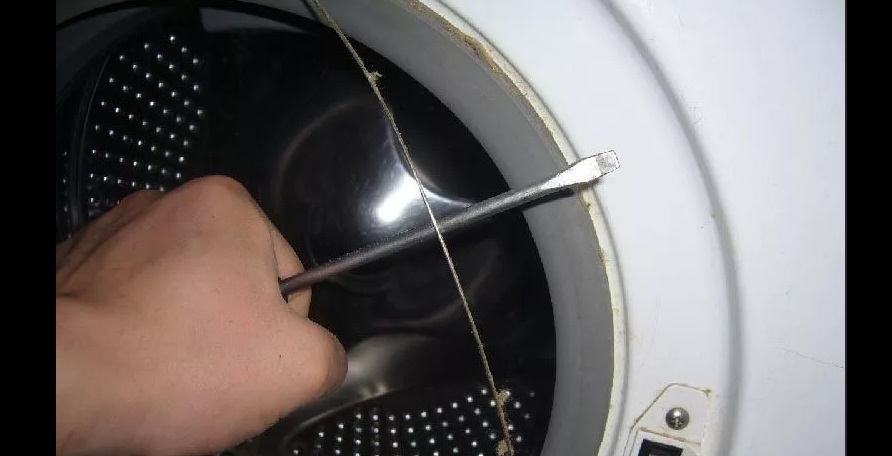
Open the hatch door and remove the outer clamp from the rubber seal.
Carefully insert the rubber band into the drum.
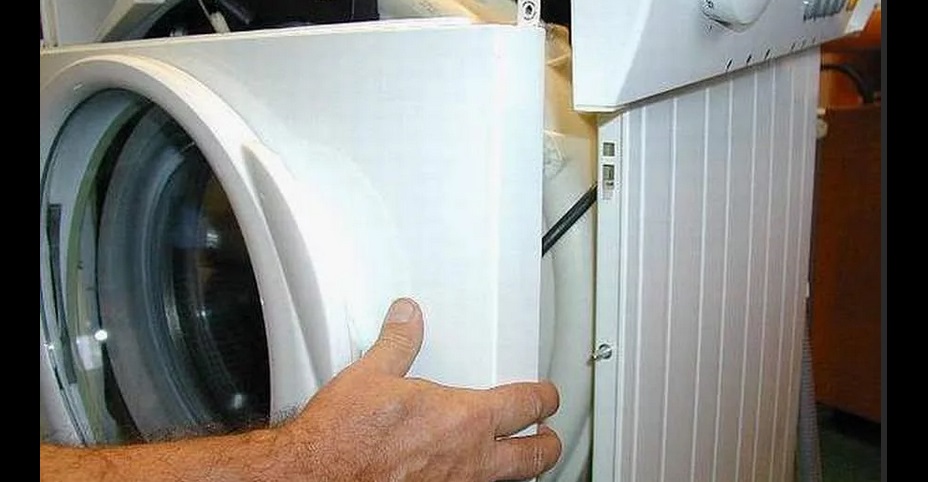
Unhook the front panel from the housing along with the hatch locking device wiring.
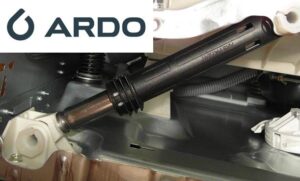
Once the front panel is removed, you'll be able to see the shock absorbers, which look like two pillars that hold the washer tub in place. It's best to continue disassembling the washer tub before attempting the shock absorbers. However, to speed up the process, you can leave the tub alone and move on to the shock absorbers. This makes the process a bit more difficult, but it'll take much less time.
We remove the damaged damper and install a new one.
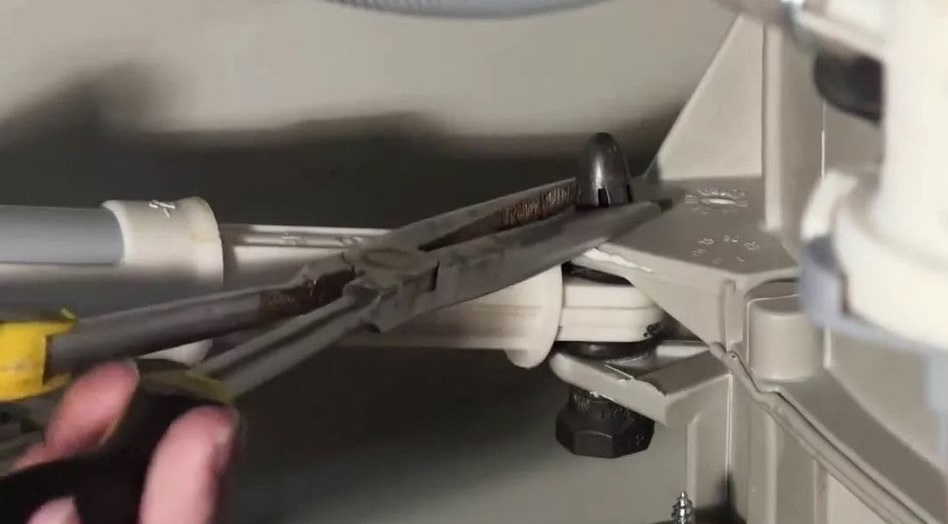
To replace the shock absorber assembly yourself, you first need to remove it by disconnecting it from the housing and tank. This is very easy to do at the bottom of the washing machine, as you only need to loosen the fasteners. At the top, however, there are special plastic fasteners that cannot be simply unscrewed. How do you remove them?
Take a screwdriver with a 13 mm drill bit.
Carefully drill through the fasteners to release the components.
There is nothing to worry about in this action, since damaged dampers cannot be restored. They need to be removed and thrown away, and new spare parts installed in their place, not forgetting to first clean the seat and then treat it with sealant. After this, you should install new shock absorbers, first screwing them with the clamps from below, and then hooking them through the prepared holes to the washing tank.
Once the repair is complete, reassemble the machine according to our instructions in reverse order and return it to its original location. Next, simply test your "home helper" with a test cycle. If the vibration and noise disappear, you can use the machine again.
 If you've started hearing a loud banging, clanking, or unnatural rumbling noise during the wash and spin cycles, your washing machine's shock absorbers are likely to blame. Replacing the shock absorbers in an Ardo washing machine is a simple procedure that any repairman can handle. However, you can save money and fix the problem yourself. It's easy if you follow our instructions carefully. We'll explain how to properly prepare for repairs to your "home helper" and then replace the faulty shock absorbers.
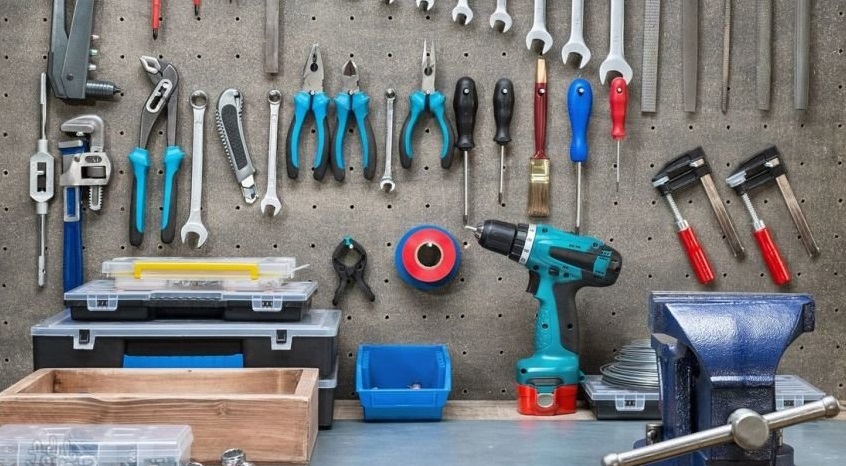


Add a comment